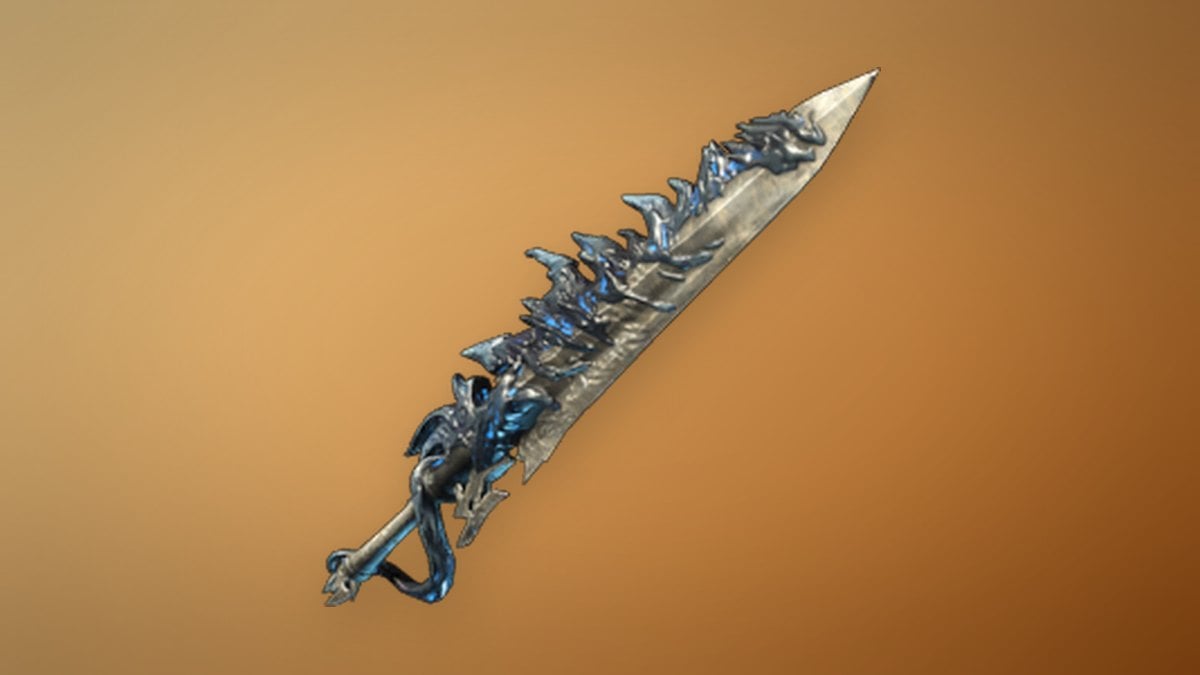
Mortal Shell 2: How to Cleanse the Slumwater Drain Beacon in the Central Sewers
Clear the false walls, drop through the sewers, and collect the Ovum to finish the Central Sewers dungeon in Fainweald.
Clear the false walls, drop through the sewers, and collect the Ovum to finish the Central Sewers dungeon in Fainweald.
by AllThingsHow Staff
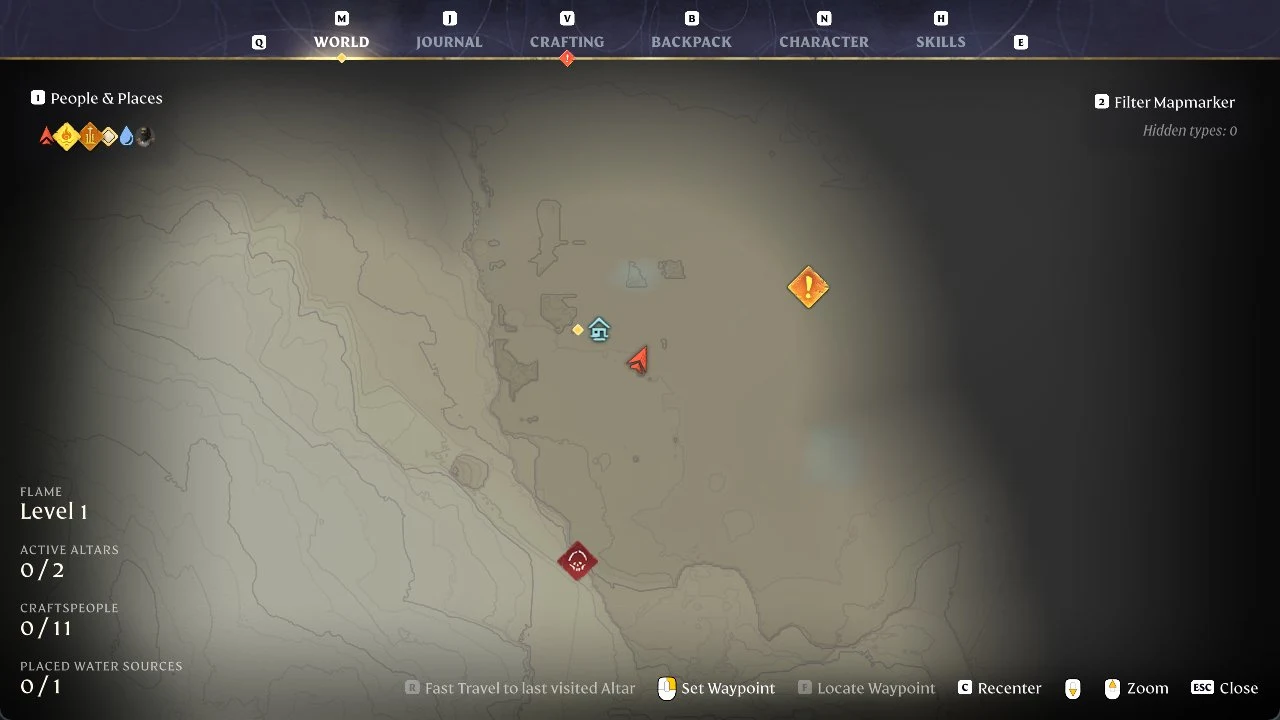
The Slumwater Drain Beacon sits inside the Prisoner’s Domain Corrupted Gate, tucked into the western corner of Fainweald in Mortal Shell 2. Its Cleanse Beacon dungeon, the Central Sewers, is one of the trickier rooms to clear because it hides loot behind false walls and pushes you down through several layers of tunnels before the final fight.
Quick answer: Ride the elevator into the Central Sewers, break the two false walls in the first room, drop through the loose floorboards, work down through the sewer tunnels, use the updraft to reach the scaffolding, cross the Bone Gate, then kill the spear-wielding elite knight and cleanse the corruption behind him to collect the Ovum.
Take the elevator down into the Central Sewers. At the bottom you land in a large room full of enemies. Clear them all out before you start searching for the hidden loot, since two false walls in this room block your first rewards.
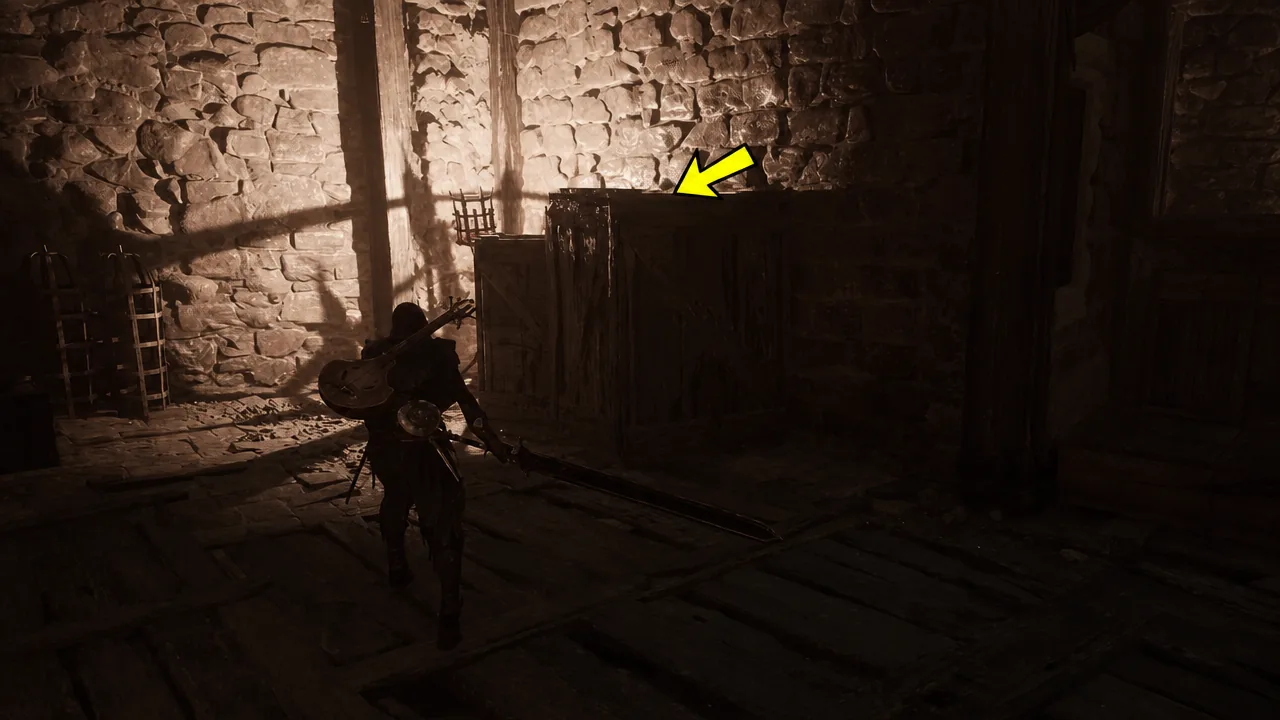
Head to the corner and smash the large wooden crate, then attack the false wall behind it to dispel the illusion. Inside the small room you’ll find one Laterite.
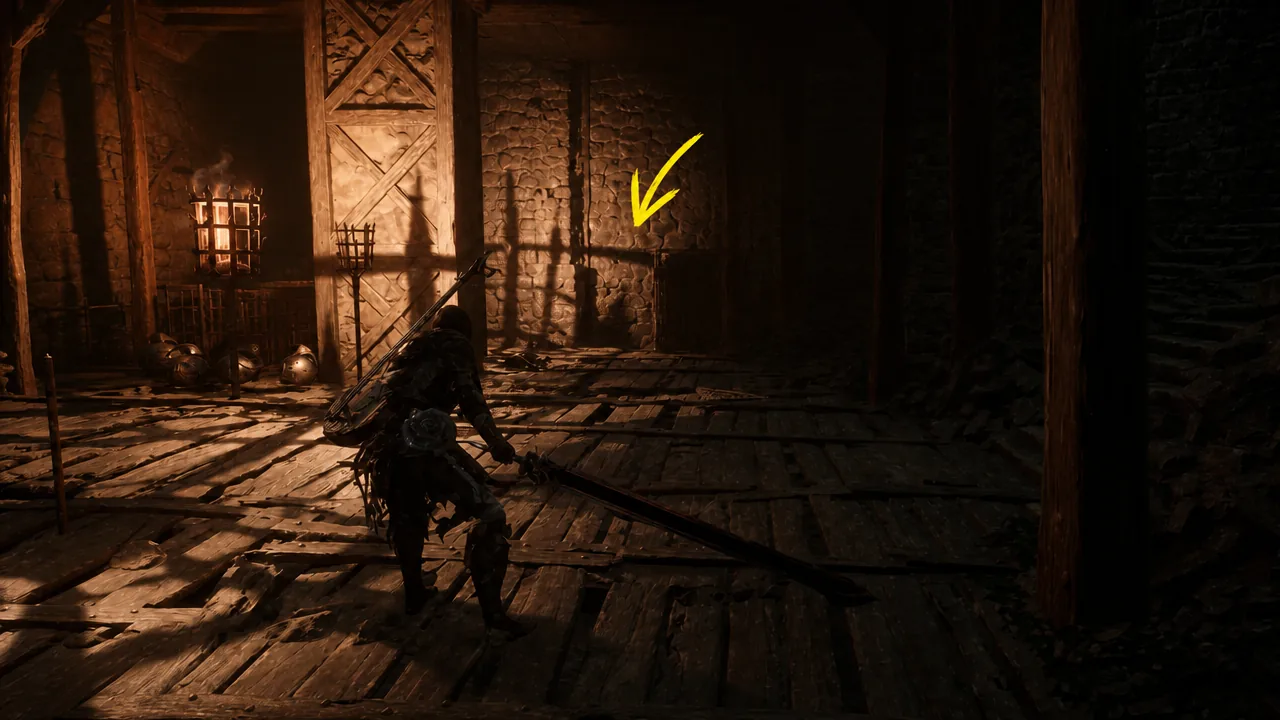
Move to the right corner beside the lit brazier and attack the wall there to reveal the second hidden room. Inside you’ll find a Sheep, a white bone chair with a skeletal imprint, and a gloom stalk. Kill the Sheep for a Sheephead Totem, touch the purple skeletal imprint for a Dorsalite, and break the gloom stalk for 120 Gloom.
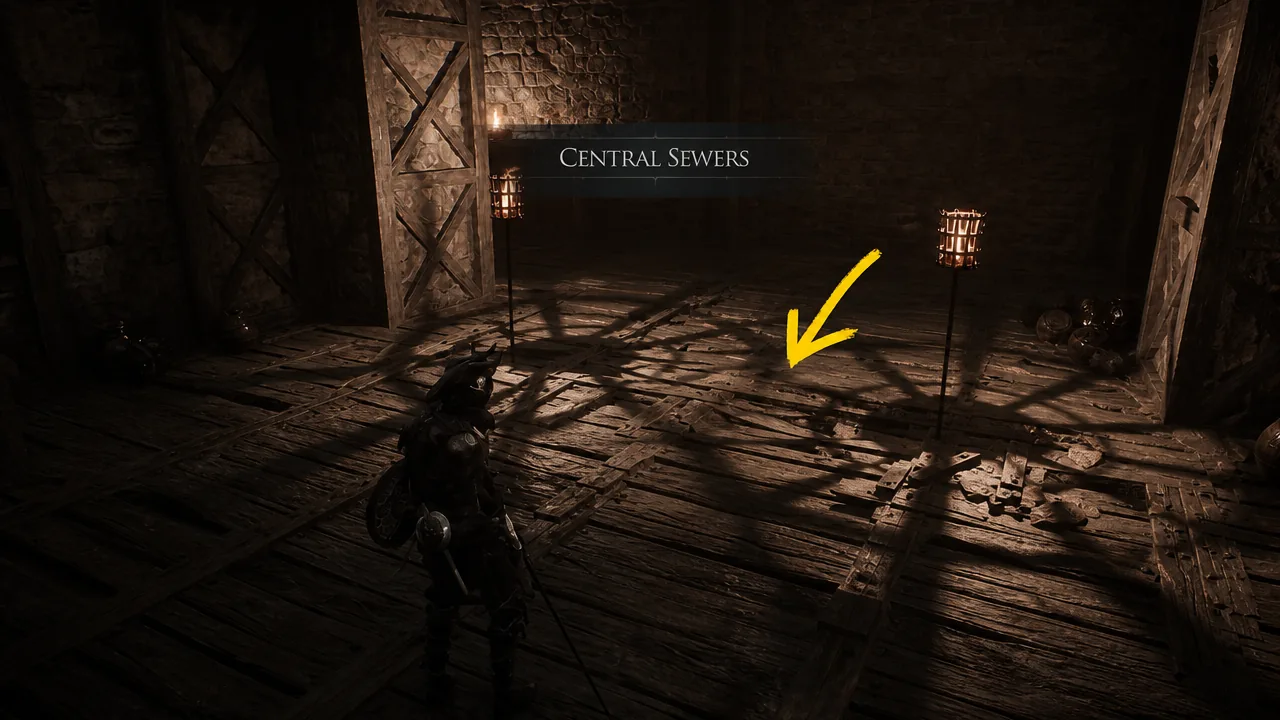
Return to the main chamber and look at the floor directly in front of the stairs. You’ll spot a set of loose floorboards. Walk onto them and they break automatically, dropping your character to the level below.
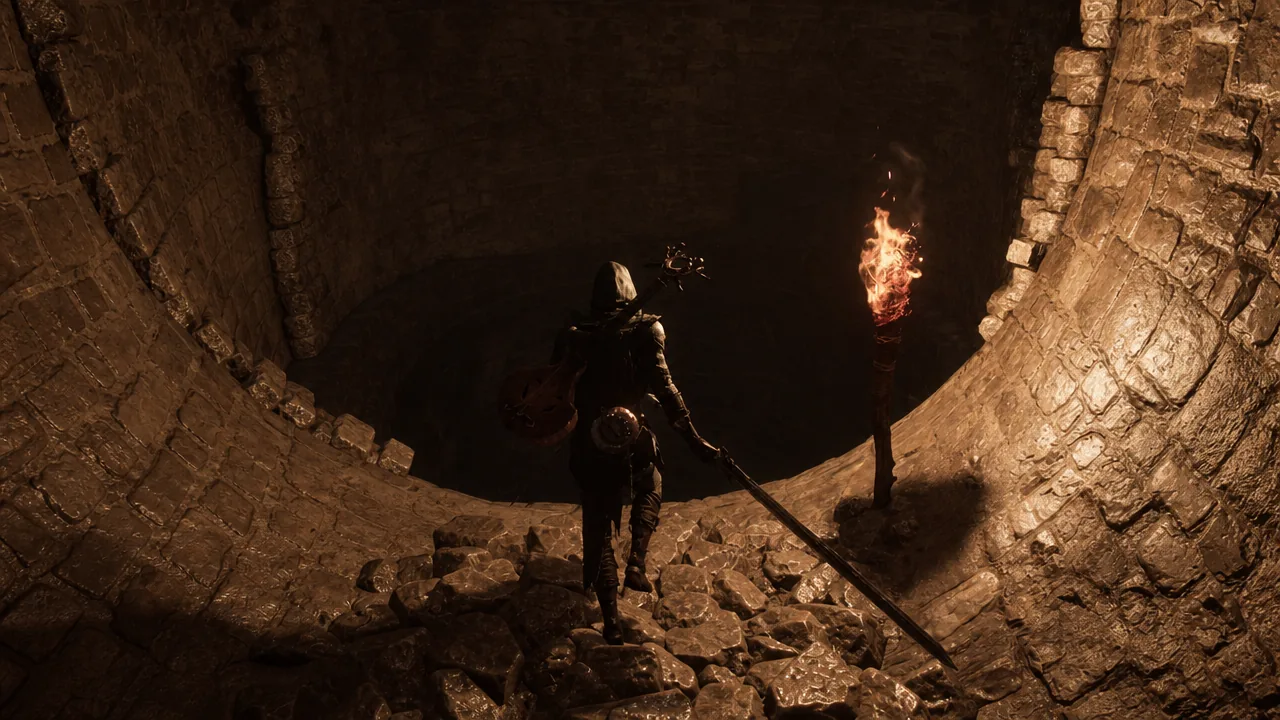
You land in a narrow sewer tunnel. Take out the two poison zombies here and grab the item behind them for +100 Gold. Turn around, follow the tunnel to the far end, and drop through the hole you find there.
Keep following the tunnel, clear the enemies blocking the path, and drop through the next hole. Below you’ll face more poison zombies alongside snake enemies. With this many enemy types crowded together, the Troubadour’s Lute is a strong option for turning them against each other.
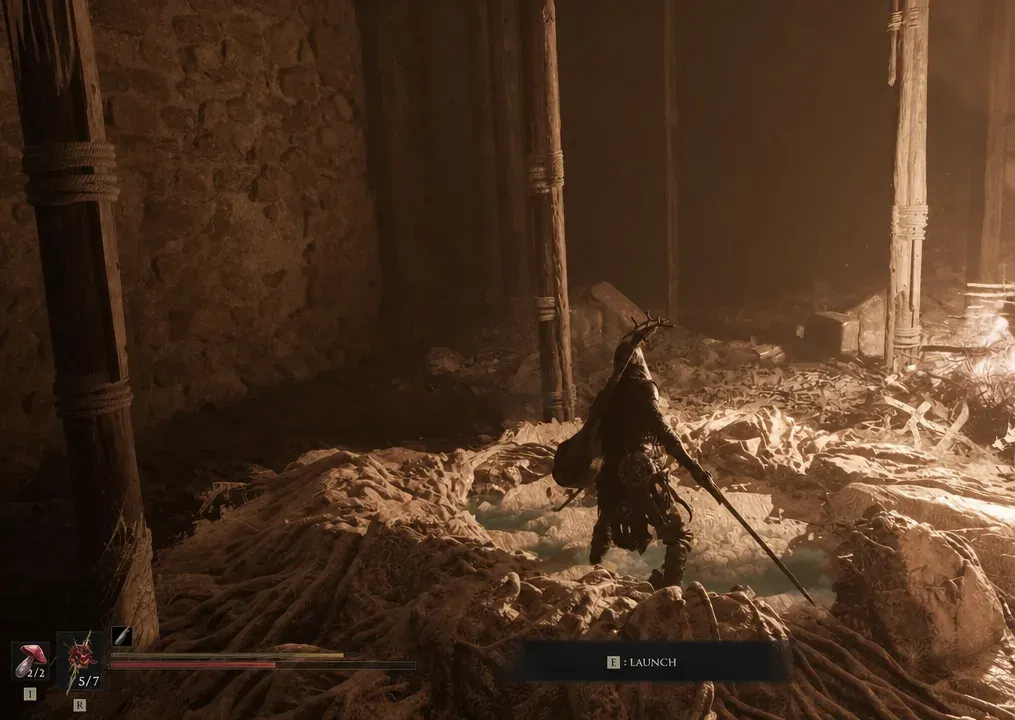
Once the room is clear, find the updraft next to the large fire pit in the corner. Use it to launch up to the wooden scaffolding, follow the path upward, and climb into the broken section of wall at the top to re-enter the sewer tunnels.
You’ll reach a fork. Take the right branch first and break the wooden wall next to the gloom stalk, then pull the Ventrium from the statue behind it. Break that gloom stalk for +2500 Gloom, then double back and take the left path.
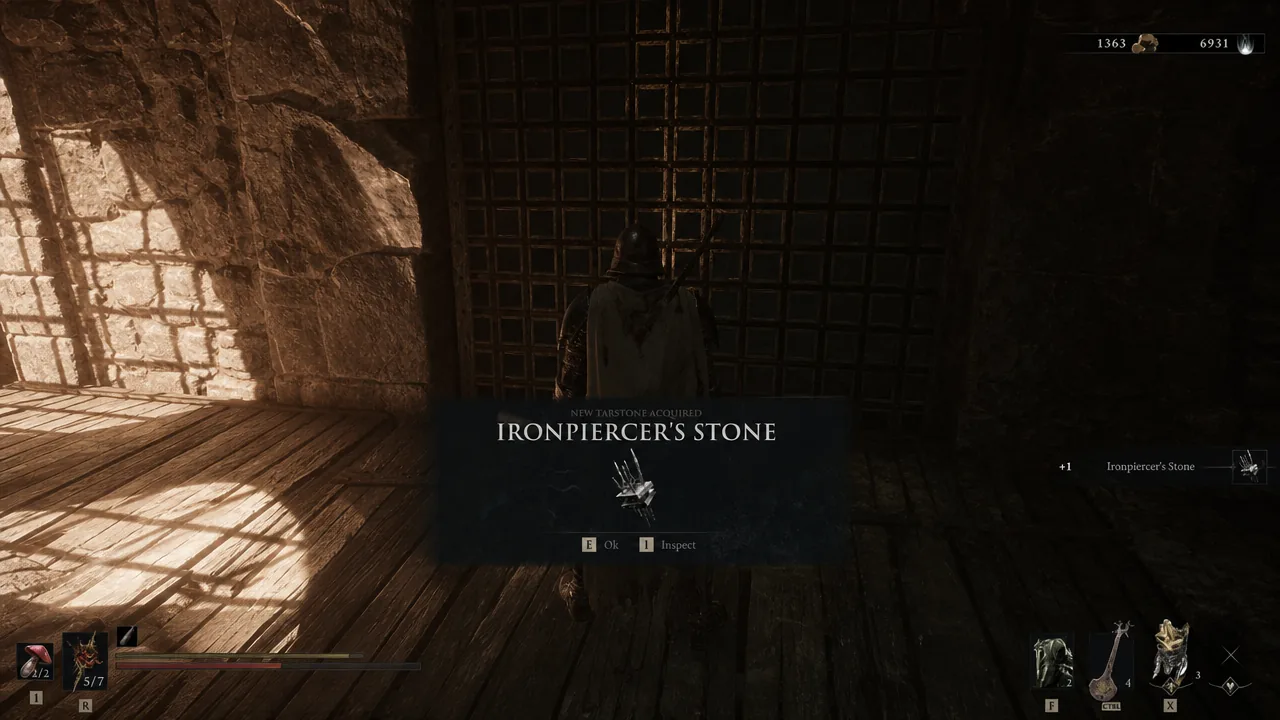
Use the Bone Gate to jump the gap and open the chest right beside it to claim the Ironpiercer’s Stone Tarstone, which lets projectiles pierce through enemies. Cross the wooden bridge in front of the chest, clear the enemies on the far side, and take the Dorsalite from the effigy nearby.
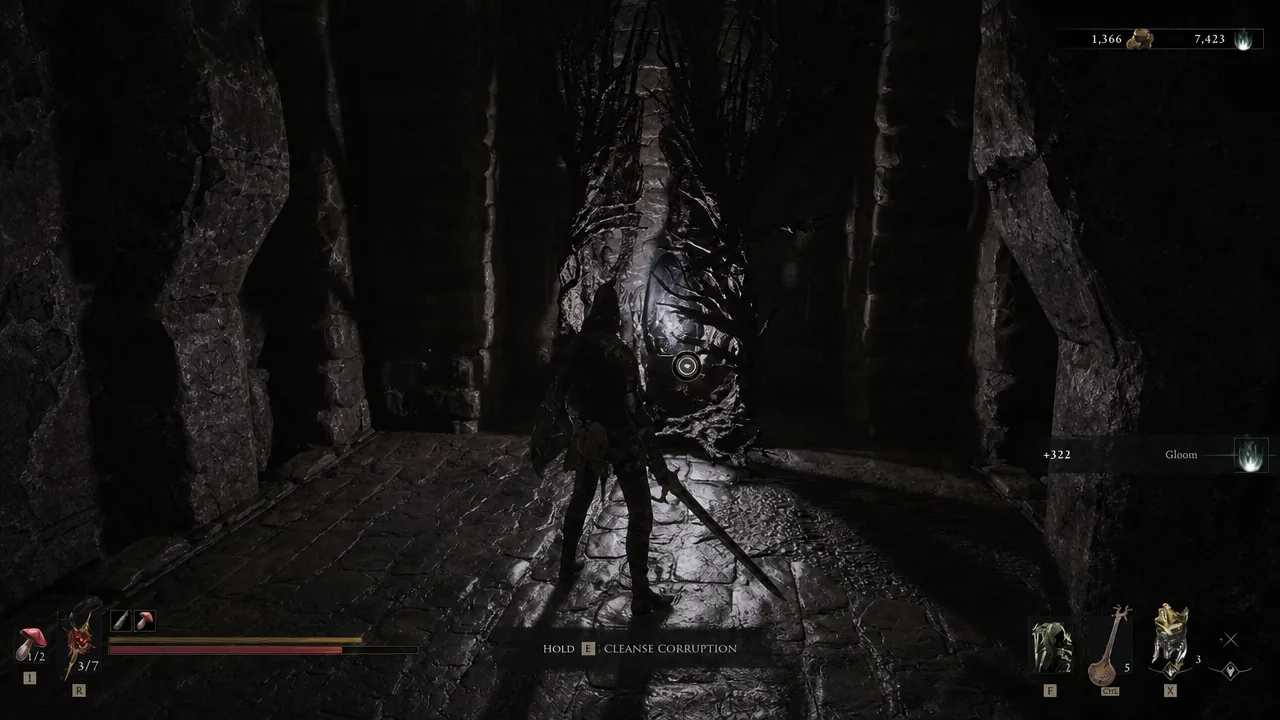
Finish the dungeon by defeating the spear-wielding elite knight guarding the stone bridge. Once he’s down, hold the prompt to cleanse the corruption behind him and collect the Ovum.
All Central Sewers rewards
Reward
Where to find it
Laterite
Behind the first false wall (break the wooden crate)
Sheephead Totem
Kill the Sheep in the second hidden room
Dorsalite
Skeletal imprint in the second hidden room
120 Gloom
Gloom stalk in the second hidden room
+100 Gold
Behind the poison zombies in the first tunnel
Ventrium
Statue behind the wall on the right path at the fork
+2500 Gloom
Gloom stalk on the right path at the fork
Ironpiercer’s Stone
Chest beside the Bone Gate
Dorsalite
Effigy across the wooden bridge
+1 Glimpse
Cleansing the beacon
How to confirm the beacon is cleansed
Once you collect the Ovum after clearing the corruption, the Slumwater Beacon counts as cleansed. The game teleports you straight out of the dungeon and hands you a reward of +1 Glimpse, which is your sign that the run is complete. If nothing happens when you approach the final blockage, make sure the elite knight is fully defeated first, since the corruption only becomes interactable after he’s dealt with.