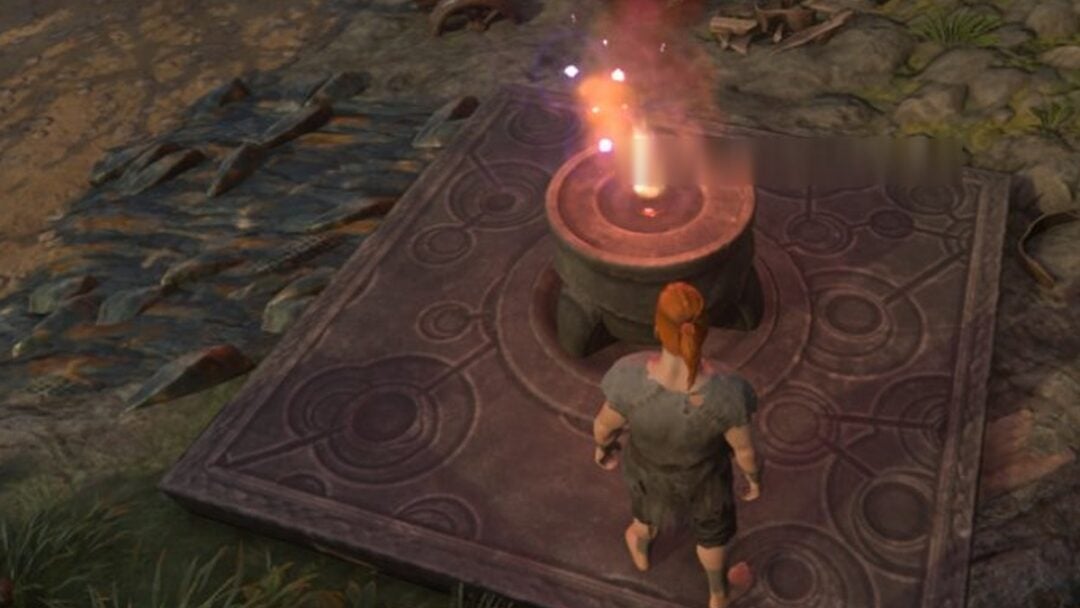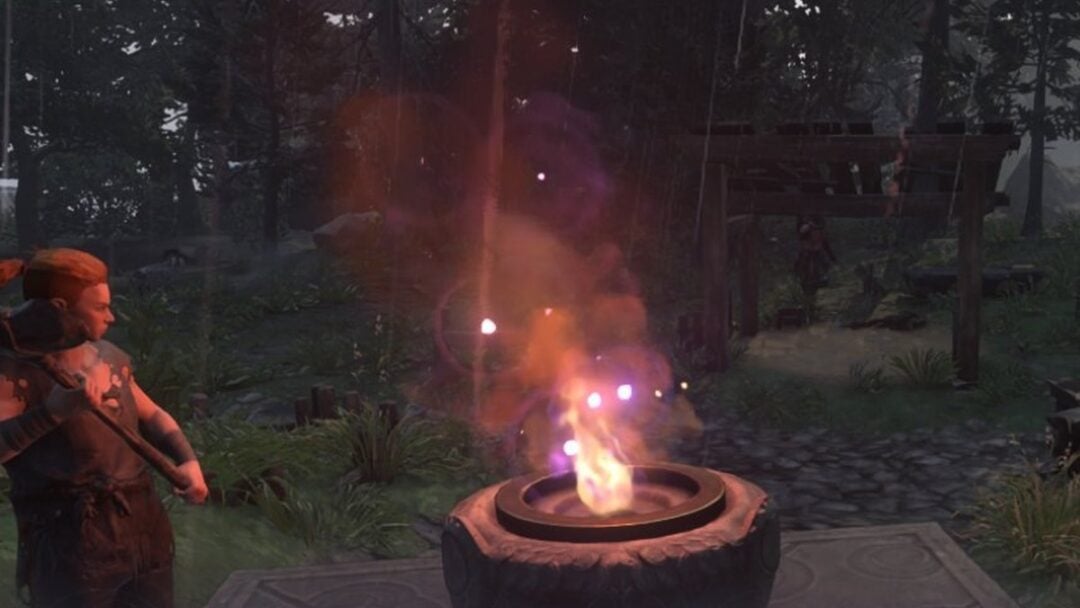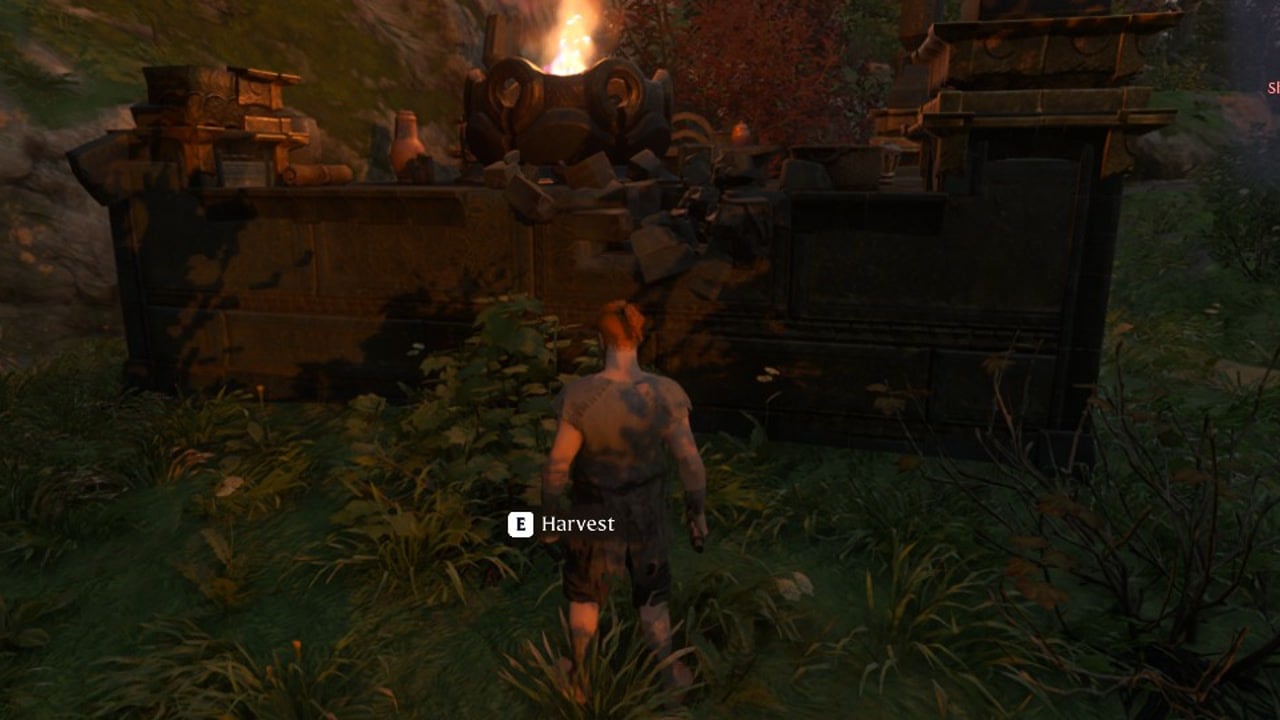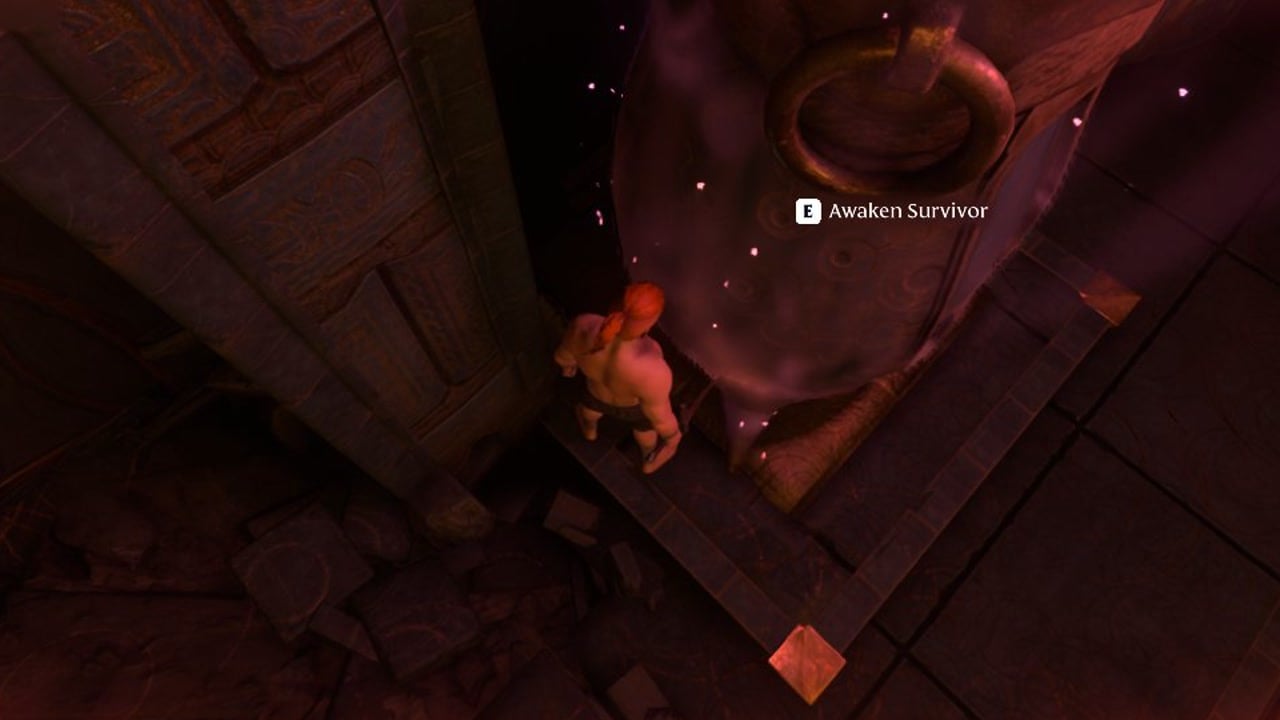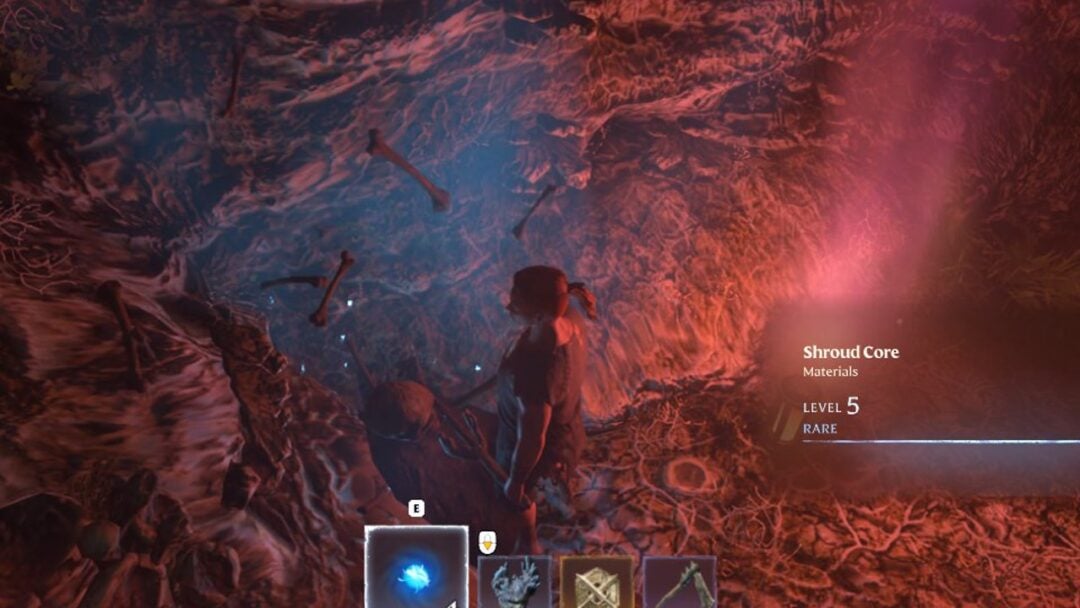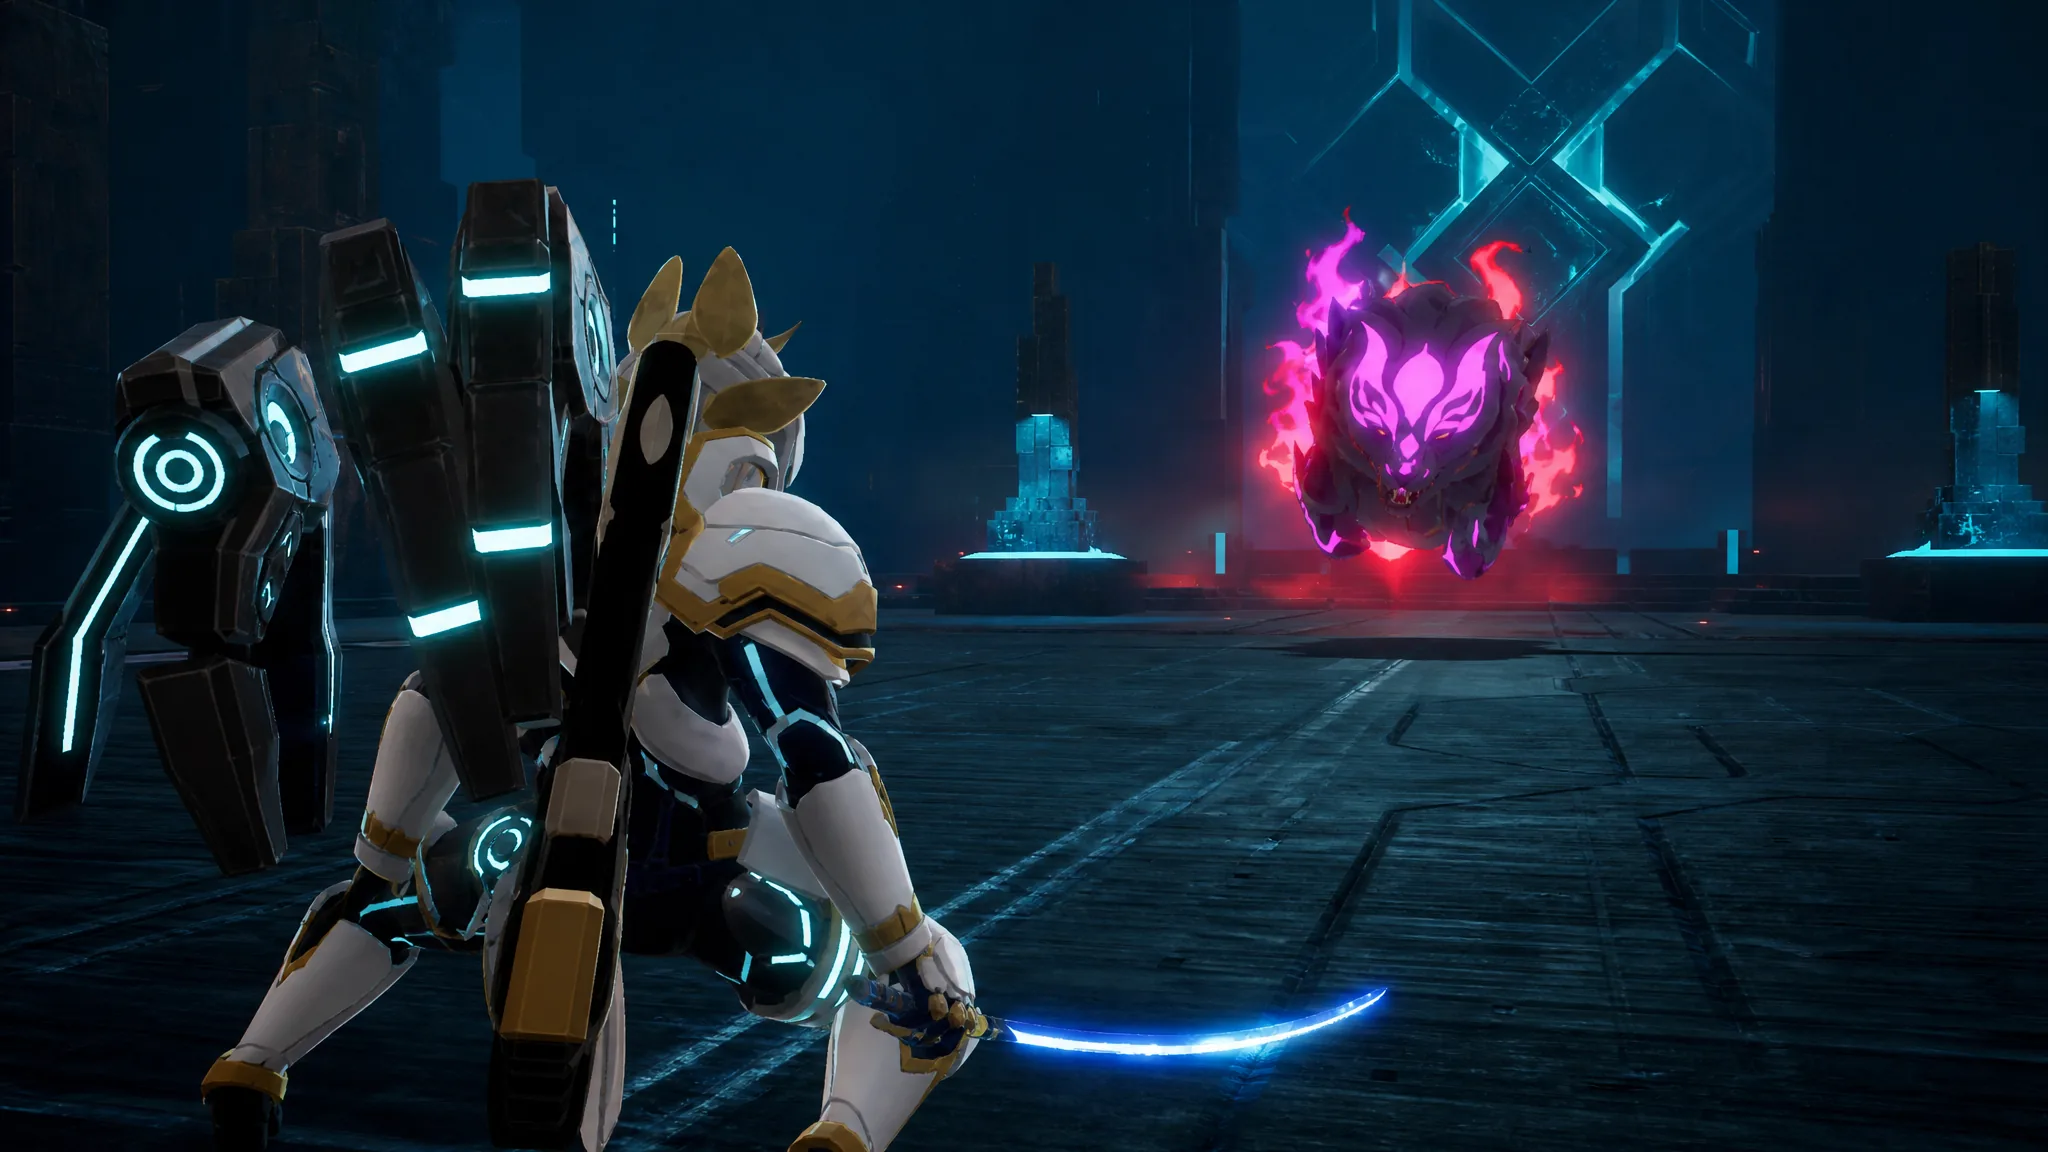
Blazamut Ryu on Ultra Difficulty is an end-game raid boss in Palworld 1.0 with 2,550,000 HP and a level of 80. It fights in two distinct phases, and the whole strategy hinges on switching your damage type to match each one. Phase 1 is Fire and Dragon, so it takes extra damage from Water. Phase 2 shifts to Electric, so it takes extra damage from Ground.
Quick answer: Use a Water raid army (Shaolong) with an Azurobe mount in Phase 1 to exploit its Fire weakness, then swap to a Ground raid army (Aegidron) with a Gildane mount in Phase 2 to exploit its Electric weakness. Keep your mount alive, dodge AoE attacks, and swap teams right before the phase transition.
Boss stats, weaknesses, and rewards
The core of the fight is type matching. Blazamut Ryu keeps using its Phase 1 moves even after it transforms, so you never fully escape Fire and Dragon attacks. What changes is which weakness you can exploit.
| Stat | Value |
|---|---|
| HP | 2,550,000 |
| Level | 80 |
| Phase 1 typing | Fire / Dragon |
| Phase 1 weakness | Water |
| Phase 2 typing | Electric |
| Phase 2 weakness | Ground |
Beating the Ultra raid drops a Huge Dragon Egg that hatches into Blazamut Ryu, plus a fresh Blazamut Ryu (Ultra) Slab so you can rerun the fight without collecting fragments again.
| Reward |
|---|
 Horns of Supremacy Horns of Supremacy |
 Ancient Civilization Core Ancient Civilization Core |
 Applied Gathering Handbook I Applied Gathering Handbook I |
 Applied Lumbering Handbook I Applied Lumbering Handbook I |
 Applied Mining Handbook I Applied Mining Handbook I |
 Blazamut Ryu (Ultra) Slab Blazamut Ryu (Ultra) Slab |
 Training Crystal Training Crystal |
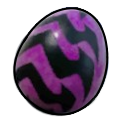 Huge Dragon Egg (Blazamut Ryu) Huge Dragon Egg (Blazamut Ryu) |
Minimum raid Pal requirements
Your raid army needs to be fully maxed for an Ultra raid, or your damage falls short before the 10-minute clock runs out. Every raid Pal should meet these conditions before you summon the boss.
| Requirement | Value |
|---|---|
| Level | 80 |
| Pal Soul upgrades | HP +20, Atk +20, Def +20 |
| Trust Level | 10 |
| Condense rank | 4-Star |
| Awakened | Yes |
| Alpha | Yes |
| Copies in base | 15 or more (depends on base size) |
Phase 1: Water team setup
Ride an Azurobe in Phase 1. Its mount ability changes your attacks to the Water element, letting you hit Blazamut Ryu’s Fire weakness while you shoot its head. The support Pals stack Attack, super-effective Water damage, and weak point damage on top.
| Role | Pal |
|---|---|
| Active (mount) |  Azurobe Azurobe |
| Support |  Penking Lux Penking Lux |
| Support | Solenne |
| Support |  Cryolinx Terra Cryolinx Terra |
| Support | Vanwyrm Cryst |
The recommended Azurobe passives are Vanguard, Stronghold Strategist, Reload Master, and Idiosyncratic. If your mount keeps dying, swap in more defensive passives so it can tank hits and stay on the field longer.
Phase 1 raid army: Shaolong
Shaolong is the raid Pal for Phase 1 thanks to its raw strength and STAB Water attacks. As a Tower Boss Pal it cannot inherit some of the strongest passives like Lunker and Legend, so it runs Diamond Body and Demon God instead.
| Pal | Passives |
|---|---|
 Shaolong Shaolong | Serenity, Immortality, Diamond Body, Demon God |
| Skill | Type | Power | CT |
|---|---|---|---|
| Celestial Vortex | Water | 700 | 30 |
| Geyser Gush | Water | 600 | 30 |
| Hydra Charge | Water | 500 | 24 |
If you have a Panthalus ready, you can replace one Shaolong with it for stronger output, but only one Panthalus can be assigned to a base at a time. Panthalus also spawns high above the Pal Box, out of reach of most attacks, so it can run fully offensive passives instead of defensive ones.
| Pal | Passives |
|---|---|
 Panthalus Panthalus | Twin-Edged Holy Blade, God of Destruction, Musclehead, Demon God |
Phase 2: Ground team setup
When Blazamut Ryu turns Electric, swap out Azurobe and Penking Lux for Gildane and Turtacle Terra. The team plays exactly the same as Phase 1, except it trades Water damage for Ground damage to hit the new Electric weakness.
| Role | Pal |
|---|---|
| Active (mount) | 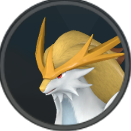 Gildane Gildane |
| Support | 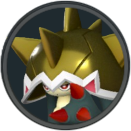 Turtacle Terra Turtacle Terra |
| Support | Solenne |
| Support | Cryolinx Terra |
| Support | Vanwyrm Cryst |
Phase 2 raid army: Aegidron
Aegidron carries Phase 2 with its exclusive Missile Burst attack. Unlike Shaolong, Aegidron can inherit passives through breeding, so it gets access to Earth Emperor and Legend for a stronger build.
| Pal | Passives |
|---|---|
 Aegidron Aegidron | Serenity, Immortality, Earth Emperor, Legend |
| Skill | Type | Power | CT |
|---|---|---|---|
| Missile Burst | Ground | 700 | 30 |
| Rocky Impact | Ground | 600 | 30 |
| Sand Twister | Ground | 500 | 24 |
Best player weapons, armor, and accessories
These builds are player-focused, so your own damage and survivability matter as much as the raid army. The Plasma Rifle is the strongest weapon in the game and should be your main gun, with the Drone Launcher adding steady chip damage.
| Weapon | Lv. | Attack | Durability |
|---|---|---|---|
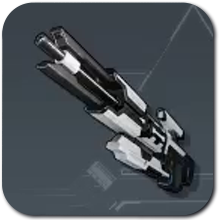 Plasma Rifle Plasma Rifle | 78 | 1860 | 25000 |
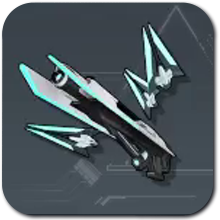 Drone Launcher Drone Launcher | 77 | 200 | 6500 |
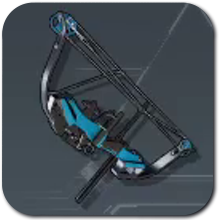 Mechanical Bow Mechanical Bow | 67 | 20000 | 2000 |
 Megaboost Gun Megaboost Gun | 63 | 250 | 400 |
The Megaboost Gun can buff your Active Pal, and the Mechanical Bow applies status effects with arrows. For armor, run the full base Ancient set at minimum, and upgrade to a higher tier if you have one. Since Ultra raids are end-game content, use the highest Defense equipment you can craft.
| Armor | HP | Def | Added effect |
|---|---|---|---|
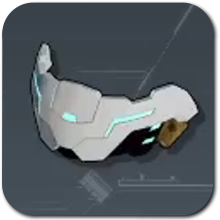 Ancient Helm Ancient Helm | 1200 | 500 | Neutral Damage Reduction Lv.1 / Dragon Damage Reduction Lv.1 |
| Ancient Shield | N/A | 2200 | None |
| Lightweight Ancient Armor | 2400 | 840 | Cold Resistance Lv.2 / Heat Resistance Lv.2 / Max Carrying Capacity Lv.4 |
Accessories should boost your own stats. Use the Attack-focused set below, or swap the attack pieces for resistance rings when a phase punishes you. Rings of Dragon Resistance and Fire Resistance help in Phase 1, and a Ring of Electric Resistance helps in Phase 2.
| Accessory | Effect |
|---|---|
 Attack Pendant Attack Pendant | Slightly raises Attack |
 Dogen Emblem Dogen Emblem | Greatly raises your Attack and your Pal’s Attack |
 Silvegis Emblem Silvegis Emblem | Raises your Defense and your Pal’s Defense |
 Warsect Terra’s Belt Warsect Terra’s Belt | Greatly raises Defense and Health |
Food buffs and healing items
Build a Feed Box before the raid starts so your raid army automatically eats before the fight. Fill it with Galeclaw Nikujaga to boost survivability, even for the Phase 2 army that may not get a chance to eat. Use Defense food on both your character and Pal, and switch to Attack food when you need more damage.
| Type | Item |
|---|---|
| Food buff |  Mammorest Curry Mammorest Curry |
| Food buff | Galeclaw Nikujaga |
| Healing |  Revival Potion Revival Potion |
| Healing | Advanced Recovery Meds |
Always bring Advanced Recovery Meds for HP regen during the fight, and keep Revival Potions on hand in case your Pal takes too much damage and dies.
Attacks to watch and how to survive them
Blazamut Ryu has a lot of wide AoE attacks that can kill your mount fast. Play defensively, keep moving, and shoot its head between attacks. Two things matter most: reading Magna Crush and timing the phase swap.
Magna Crush: When Blazamut Ryu disappears and turns into a purple orb, it is about to slam down with Magna Crush. It is hard to dodge and can one-shot your mount. Watch for where the attack lands and move clear. If you can’t dodge in time, recall your mount so it doesn’t take the hit.
Phase transition: Once the boss drops low on HP, it paralyzes everyone, heals back to around 45 percent HP, and becomes Electric-type. Watch for the transition animation and swap your team and raid army before the stun locks you out.
| Phase | Notable attacks |
|---|---|
| Phase 1 (Fire/Dragon) | Magna Crush, Brawn Impact, Meteorain, Blast Cannon, Dragon Meteor, Beam Slicer, Volcanic Rain, Fire Ball, Ignis Rage, Flame Funnel |
| Phase 2 (Electric) | Thunder Rain, Lightning Strike, All Range Thunder, Thunder Rail, Thunderstorm (plus all Phase 1 moves) |
Note: Blazamut Ryu keeps using its Phase 1 moves during Phase 2, so keep dodging Fire and Dragon attacks even after it turns Electric.
Pre-raid checklist
Because Ultra raids run long, running out of ammo mid-fight is a real risk. Stock up before you summon the boss. Farming ammo materials is slow, so catching a Legendary Ammo Merchant and assigning them to a base lets you buy ammo directly instead.
- Bring plenty of ammo for the Plasma Rifle and Drone Launcher.
- Build a Feed Box and fill it with Galeclaw Nikujaga.
- Carry Advanced Recovery Meds and Revival Potions.
- Confirm both raid armies (Water and Ground) meet the level 80, 4-Star, Awakened, Alpha requirements.
- Prepare your Phase 2 swap team so you can switch the instant the boss transforms.
Blazamut Ryu Ultra has a huge health pool, but the fight is very winnable once your type matching is correct. Lead with Water and Shaolong to melt the Fire phase, hold your ground during the paralysis and heal, then switch to Ground and Aegidron to close out the Electric phase before the timer expires.