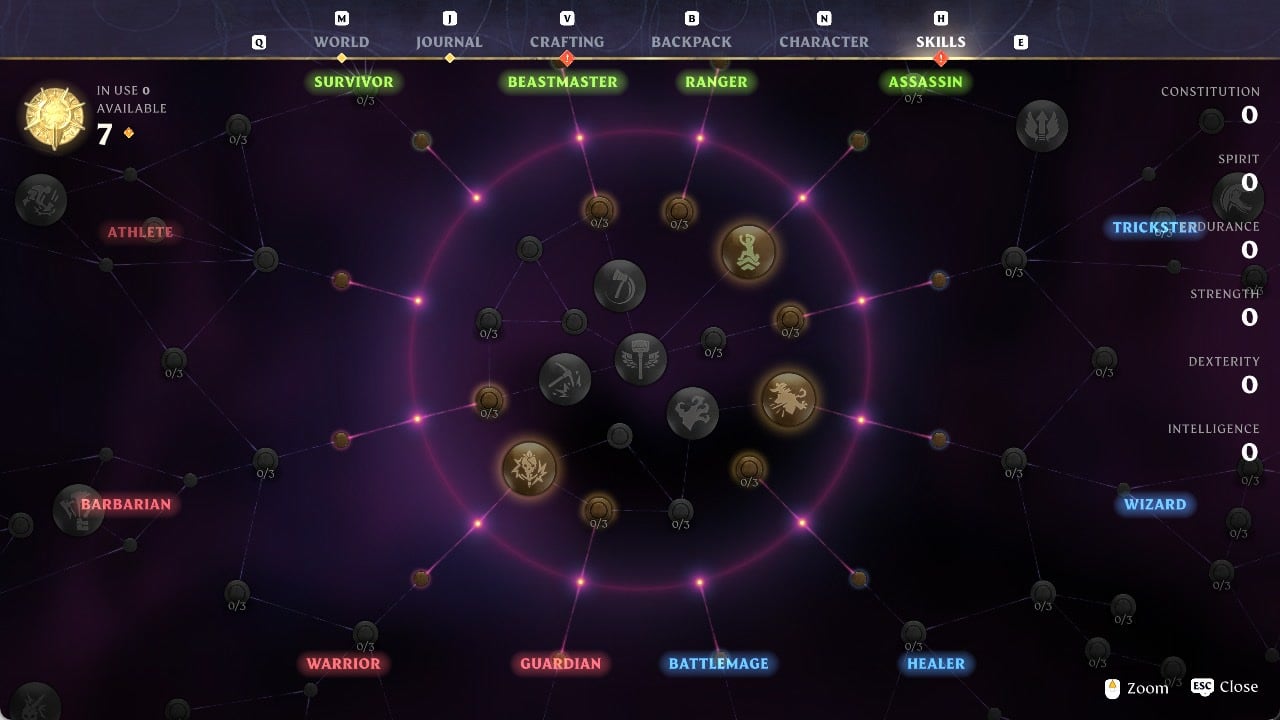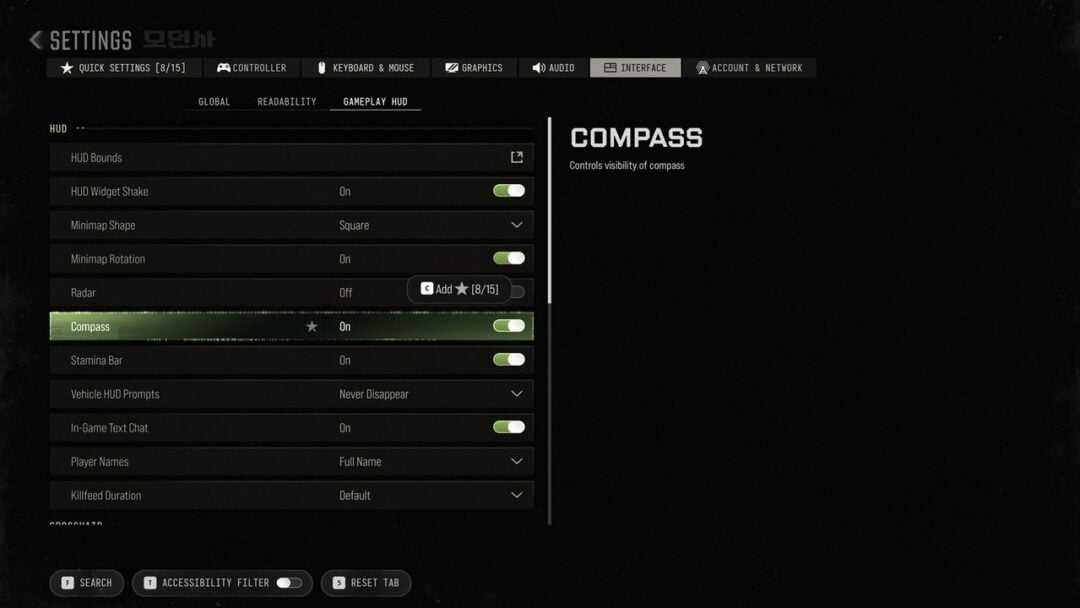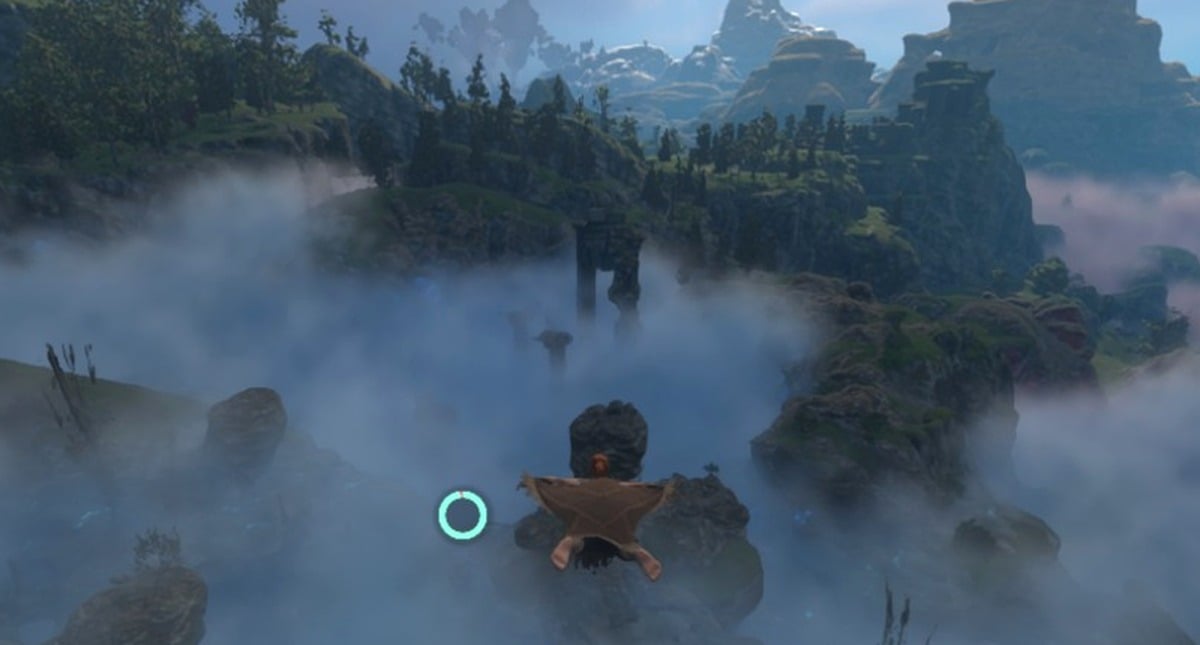
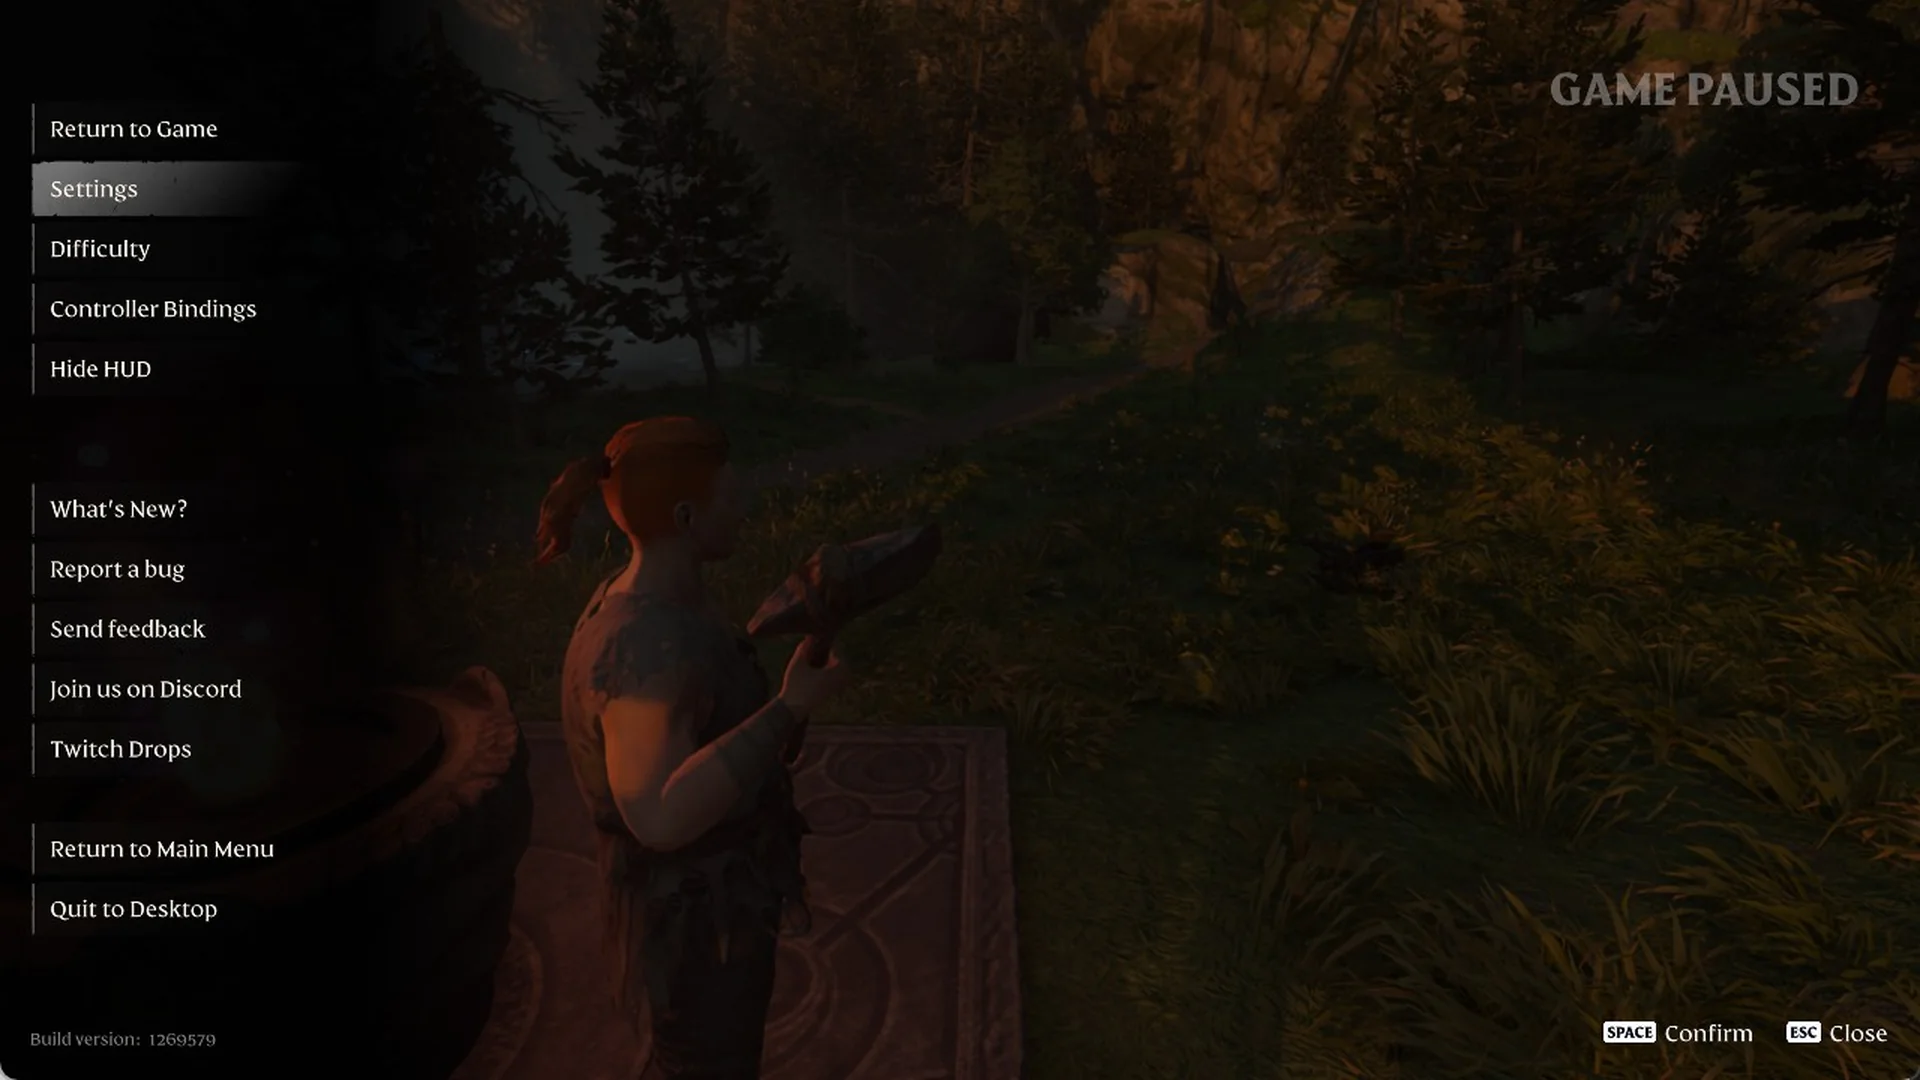
Enshrouded 1.0 lists its controls in two places. Keyboard and mouse bindings are inside Settings, and controller bindings have their own screen in the pause menu. Some keys do several jobs depending on context. The 1.0 tips roundup suggests checking your key bindings first, and the tables below list every default.
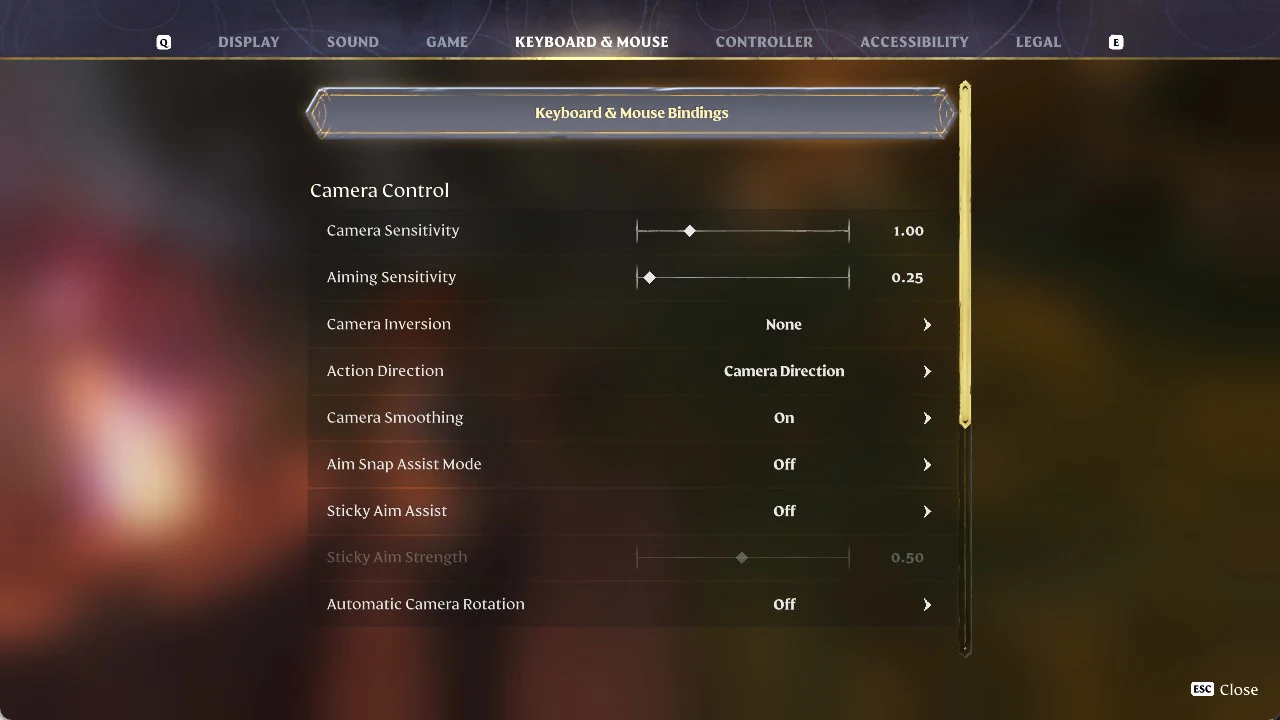
Quick answer: Press Esc, then go to Settings > KEYBOARD & MOUSE (switch tabs with Q / E) > Keyboard & Mouse Bindings. For a gamepad, press Esc and choose Controller Bindings.
The core keyboard defaults are WASD to move, Space to jump and glide, Shift to sprint, C to sneak and E for the contextual action, which covers talking, picking up and harvesting. The Left Mouse Button uses the item in hand and the Right Mouse Button blocks and parries. Ctrl evades, R triggers the weapon’s special ability and Q readies a ranged weapon. Tab opens the Construction Hammer menu.
How to open the Enshrouded keybind screens
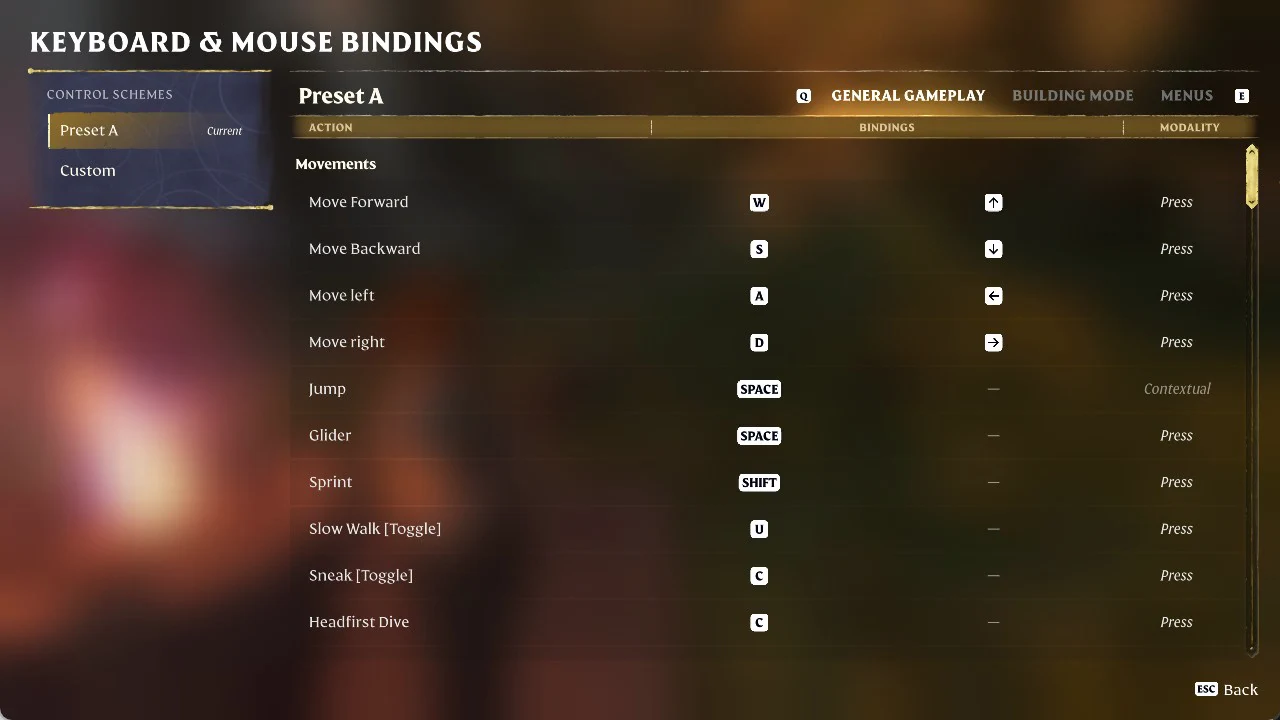
Each row lists the ACTION, two BINDINGS columns and a MODALITY. The first binding column is the main key and the second is an alternate. A dash means nothing is bound. The modality is one of Press, Tap, Hold, Release or Contextual.
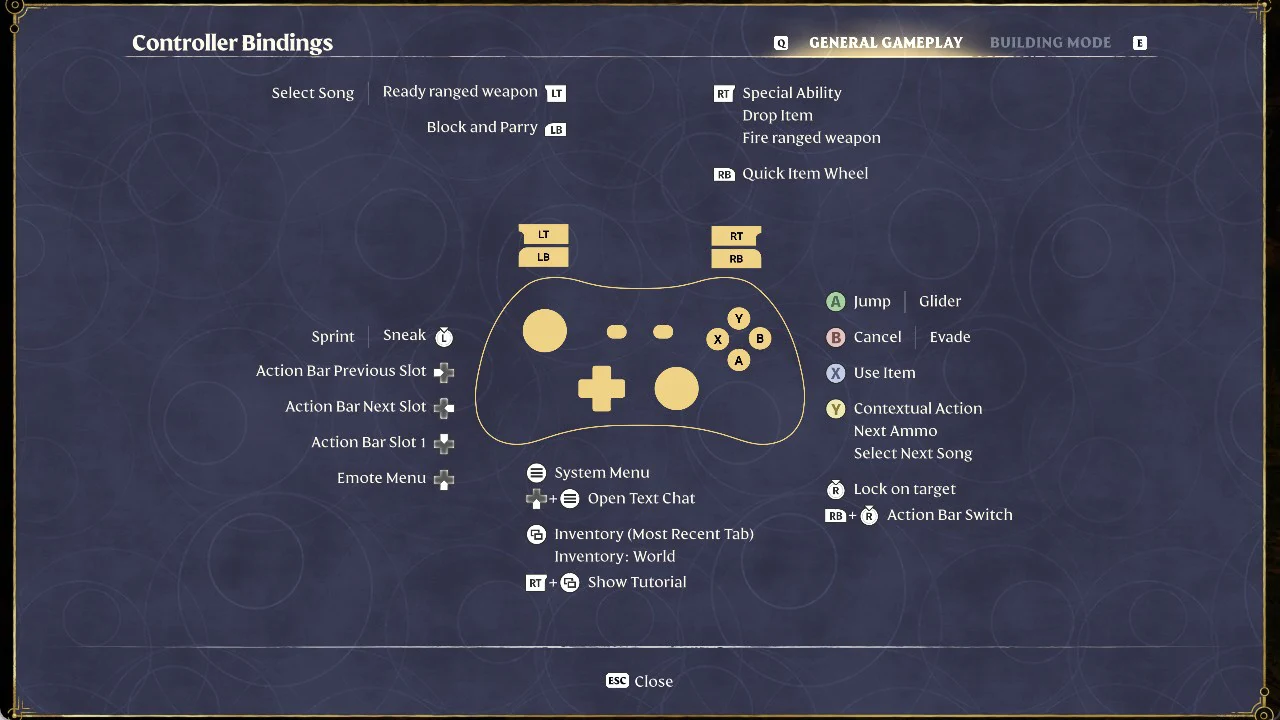
Open Controller Bindings from the pause menu to view the dedicated controller layout screen. Its diagram has GENERAL GAMEPLAY and BUILDING MODE tabs; switch between them with Q / E, and close the screen with Esc.
In Settings, open the GAME tab and find the “Action Bar” group. It lists Hotkey Behavior (Consumables) and Hotkey Behavior (Non-Consumables).
Enshrouded keyboard and mouse controls: General Gameplay
These are the Preset A defaults on the GENERAL GAMEPLAY tab, listed in the order the game shows them.
| Action | Key | Second key | Modality |
|---|---|---|---|
| Movements | |||
| Move Forward | W | Up Arrow | Press |
| Move Backward | S | Down Arrow | Press |
| Move left | A | Left Arrow | Press |
| Move right | D | Right Arrow | Press |
| Jump | Space | — | Contextual |
| Glider | Space | — | Press |
| Sprint | Shift | — | Press |
| Slow Walk [Toggle] | U | — | Press |
| Sneak [Toggle] | C | — | Press |
| Headfirst Dive | C | — | Press |
| Start Diving | C | — | Press |
| Swim Up | Space | — | Press |
| Swim Down | C | — | Press |
| Basic Actions | |||
| Use Item, Build | Left Mouse Button | — | Contextual |
| Contextual Action | E | — | Contextual |
| Drop Item | R | — | Press |
| Take All | F | — | Press |
| Emote Menu | X | — | Press |
| Cancel | Right Mouse Button | — | Press |
| Show Tutorial | Alt + F1 | — | Press |
| Select Song | Right Mouse Button | — | Press |
| Select Next Song | Mouse Wheel Down | — | Press |
| Select Previous Song | Mouse Wheel Up | — | Press |
| Pause / Resume Audio Player (in Gameplay) [Toggle] | L | — | Press |
| Push To Talk | P | — | Press |
| Camera | |||
| Zoom in | Page Up | Z + Mouse Wheel Up | Press |
| Zoom out | Page Down | Z + Mouse Wheel Down | Press |
| Action Bar | |||
| Action Bar Switch | Alt | — | Release |
| Action Bar Previous Slot, Change Shape | Mouse Wheel Up | — | Press |
| Action Bar Next Slot, Change Shape | Mouse Wheel Down | — | Press |
| Quick Item Wheel | — | — | Press |
| Action Bar Slot 1, Building Shape Slot 1 | 1 | — | Contextual |
| Action Bar Slot 2, Building Shape Slot 2 | 2 | — | Contextual |
| Action Bar Slot 3, Building Shape Slot 3 | 3 | — | Contextual |
| Action Bar Slot 4, Building Shape Slot 4 | 4 | — | Contextual |
| Action Bar Slot 5, Building Shape Slot 5 | 5 | — | Contextual |
| Action Bar Slot 6, Building Shape Slot 6 | 6 | — | Contextual |
| Action Bar Slot 7, Building Shape Slot 7 | 7 | — | Contextual |
| Action Bar Slot 8, Building Shape Slot 8 | 8 | — | Contextual |
| Combat | |||
| Block and Parry | Right Mouse Button | — | Press |
| Evade | Ctrl | — | Press |
| Special Ability | R | — | Contextual |
| Ready ranged weapon | Q | — | Press |
| Fire ranged weapon | — | — | Contextual |
| Previous Ammo | Mouse Wheel Up | — | Press |
| Next Ammo | Mouse Wheel Down | — | Press |
| Lock on target [Toggle] | Tab | Middle Mouse Button | Press |
| Target Selection Control: One Axis (Current Target Selection Control) | |||
| Cycle Target Lock: Left | F + Mouse Wheel Down | — | Press |
| Cycle Target Lock: Right | F + Mouse Wheel Up | — | Press |
| Target Selection Control: Two Axes | |||
| Cycle Target Lock: Left | Mouse left | — | Press |
| Cycle Target Lock: Right | Mouse right | — | Press |
| Cycle Target Lock: Up | Mouse up | — | Press |
| Cycle Target Lock: Down | Mouse down | — | Press |
| User Interface | |||
| System Menu | Esc | — | Press |
| Inventory (Most Recent Tab) | I | — | Press |
| Inventory: Crafting | V | — | Press |
| Inventory: Backpack | B | — | Press |
| Inventory: Character | N | — | Press |
| Inventory: World | M | — | Press |
| Inventory: Skills | H | — | Press |
| Inventory: Journal | J | — | Press |
| Inventory: Social | O | — | Press |
| Open Notification | — | — | Press |
| Open Text Chat | Enter | Enter | Press |
| Feedback | F1 | — | Press |
| Construction Hammer Menu, Attune summoning staff, Open Camera Menu | Tab | — | Press |
Quick Item Wheel, Fire ranged weapon and Open Notification have no keyboard default in Preset A.
Building Mode keybinds (keyboard and mouse)
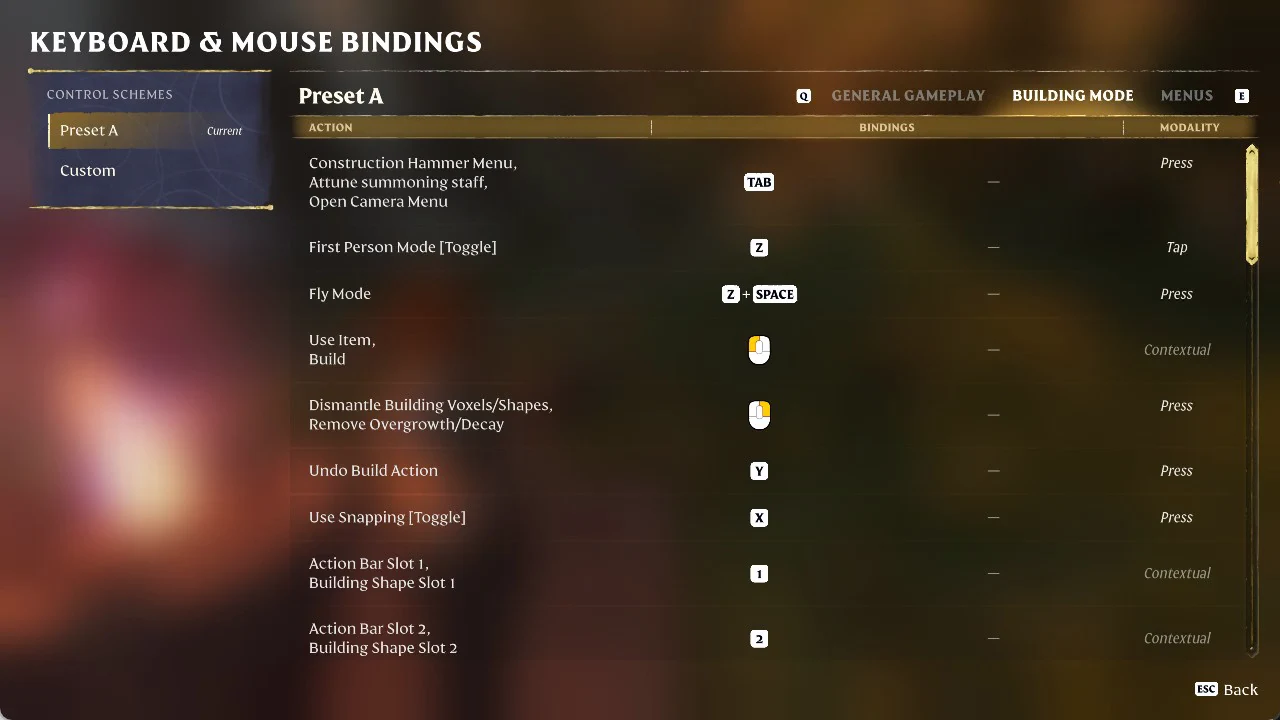
The BUILDING MODE tab covers the Construction Hammer. Many placement controls combine a held key with the mouse wheel.
| Action | Key | Second key | Modality |
|---|---|---|---|
| Construction Hammer Menu, Attune summoning staff, Open Camera Menu | Tab | — | Press |
| First Person Mode [Toggle] | Z | — | Tap |
| Fly Mode | Z + Space | — | Press |
| Use Item, Build | Left Mouse Button | — | Contextual |
| Dismantle Building Voxels/Shapes, Remove Overgrowth/Decay | Right Mouse Button | — | Press |
| Undo Build Action | Y | — | Press |
| Use Snapping [Toggle] | X | — | Press |
| Action Bar Slot 1, Building Shape Slot 1 | 1 | — | Contextual |
| Action Bar Slot 2, Building Shape Slot 2 | 2 | — | Contextual |
| Action Bar Slot 3, Building Shape Slot 3 | 3 | — | Contextual |
| Action Bar Slot 4, Building Shape Slot 4 | 4 | — | Contextual |
| Action Bar Slot 5, Building Shape Slot 5 | 5 | — | Contextual |
| Action Bar Slot 6, Building Shape Slot 6 | 6 | — | Contextual |
| Action Bar Slot 7, Building Shape Slot 7 | 7 | — | Contextual |
| Action Bar Slot 8, Building Shape Slot 8 | 8 | — | Contextual |
| Building Shape Slot 9 | 9 | — | Press |
| Building Shape Slot 10 | 0 | — | Press |
| Change Category | Alt + Mouse Wheel Up | — | Press |
| Change Category | Alt + Mouse Wheel Down | — | Press |
| Change Construction Material | Ctrl + Mouse Wheel Up | — | Press |
| Change Construction Material | Ctrl + Mouse Wheel Down | — | Press |
| Sample Material | F | Middle Mouse Button | Press |
| Change Sort Order | Ctrl + R | — | Press |
| Material Catalog [Toggle] | Ctrl + Right Mouse Button | — | Press |
| Rotate | R + Mouse Wheel Down | — | Press |
| Rotate Back | R + Mouse Wheel Up | — | Press |
| Rotate 90° | R | — | Tap |
| Rotate -90° | — | — | Press |
| Tilt Left | T + Mouse Wheel Up | — | Press |
| Tilt Right | T + Mouse Wheel Down | — | Press |
| Tilt Forward | G + Mouse Wheel Down | — | Press |
| Tilt Backward | G + Mouse Wheel Up | — | Press |
| Finetune Rotation [Toggle] | R + Right Mouse Button | — | Press |
| Raise | Q + Mouse Wheel Up | — | Press |
| Sink | Q + Mouse Wheel Down | — | Press |
| Finetune Position [Toggle] | Q + Right Mouse Button | — | Press |
| Scale | G + Mouse Wheel Up | — | Press |
| Scale | G + Mouse Wheel Down | — | Press |
| Shift Forward | Q + Mouse Wheel Up | — | Press |
| Shift Backward | Q + Mouse Wheel Down | — | Press |
In Building Mode, Raise and Shift Forward both use Q + Mouse Wheel Up. Q + Mouse Wheel Down is assigned to both Sink and Shift Backward. Scale uses G + Mouse Wheel Up and G + Mouse Wheel Down; those same combinations control Tilt Backward and Tilt Forward, respectively.
Menu, inventory, storage and map keybinds
The MENUS tab controls everything that happens inside a window, including inventory, storage chests, the map, the journal and crafting. Section rows note where each group applies.

| Action | Key | Second key | Modality |
|---|---|---|---|
| General Menu Control | |||
| Confirm | Space | Enter | Press |
| Back | Esc | Mouse Button 4 | Press |
| Up | Up Arrow | W | Press |
| Down | Down Arrow | S | Press |
| Left | Left Arrow | A | Press |
| Right | Right Arrow | D | Press |
| Secondary Action | F | — | Press |
| Tertiary Action | R | — | Press |
| Previous Tab | Q | — | Press |
| Next Tab | E | — | Press |
| Scroll Up | Page Up | Mouse Wheel Up | Press |
| Scroll Down | Page Down | Mouse Wheel Down | Press |
| Show Tutorial | F1 | — | Press |
| Zooming (Used in the Map and Skill Tree) | |||
| Zoom In | Mouse Wheel Up | — | Press |
| Zoom Out | Mouse Wheel Down | — | Press |
| Main Menu | |||
| Delete Save Data | Delete | — | Press |
| Item Browsing and Viewing (Used in the backpack, storage, equipment, and some crafting stations) | |||
| Actions | Right Mouse Button | — | Press |
| Delete | Delete | — | Press |
| Move | Left Mouse Button | — | Contextual |
| Move: Action Bar ↔ Backpack | Ctrl + Left Mouse Button | — | Tap |
| Compare Equipment | C | — | Press |
| Next Tab (Item Viewer) | Shift + D | — | Press |
| Previous Tab (Item Viewer) | Shift + A | — | Press |
| Sort Inventory | G | — | Press |
| Storage Interactions (Used at storage chests and some crafting stations) | |||
| Move: Character ↔ Storage | Shift + Left Mouse Button | — | Tap |
| Refill Stacks | F | — | Tap |
| Take All | F | — | Hold |
| Sort Storage | T | — | Press |
| Deposit Stacks | R | — | Tap |
| Deposit All | R | — | Hold |
| Toggle Quick Stacking | — | — | Press |
| Split Stack | |||
| Min | Q | — | Press |
| 50% | X | — | Press |
| Max | E | — | Press |
| Map | |||
| Feats of the Flame | 1 | — | Press |
| Filter Mapmarker | 2 | — | Press |
| Recenter | C | — | Press |
| Journal | |||
| Toggle Personal Progression | X | — | Press |
| View referenced Quest | C | — | Press |
| Pause / Resume Audio Player (in Journal) | L | — | Press |
| Toggle Audio Player Navigation | T | — | Press |
| Crafting | |||
| Craft ×10 | Shift + Space | — | Press |
| Toggle Material Selection | T | — | Press |
Enshrouded controller bindings
The Controller Bindings screen in the pause menu is a diagram rather than a list, with button labels LT, LB, RT, RB and A, B, X, Y. Where one button carries two actions separated by a bar, the screen shows them that way.
Controller: General Gameplay
| Button | Action |
|---|---|
| LT | Ready ranged weapon | Select Song |
| LB | Block and Parry |
| RT | Special Ability, Drop Item, Fire ranged weapon |
| RB | Quick Item Wheel |
| A | Jump | Glider |
| B | Cancel | Evade |
| X | Use Item |
| Y | Contextual Action, Next Ammo, Select Next Song |
| Right stick click | Lock on target |
| RB + Right stick click | Action Bar Switch |
| Left stick click | Sprint | Sneak |
| D-pad Left | Action Bar Previous Slot |
| D-pad Right | Action Bar Next Slot |
| D-pad Up | Action Bar Slot 1 |
| D-pad Down | Emote Menu |
| Menu button | System Menu |
| D-pad Down + Menu button | Open Text Chat |
| View button | Inventory (Most Recent Tab), Inventory: World |
| RT + View button | Show Tutorial |
Controller: Building Mode
In Building Mode, RT works as a modifier for most placement controls.
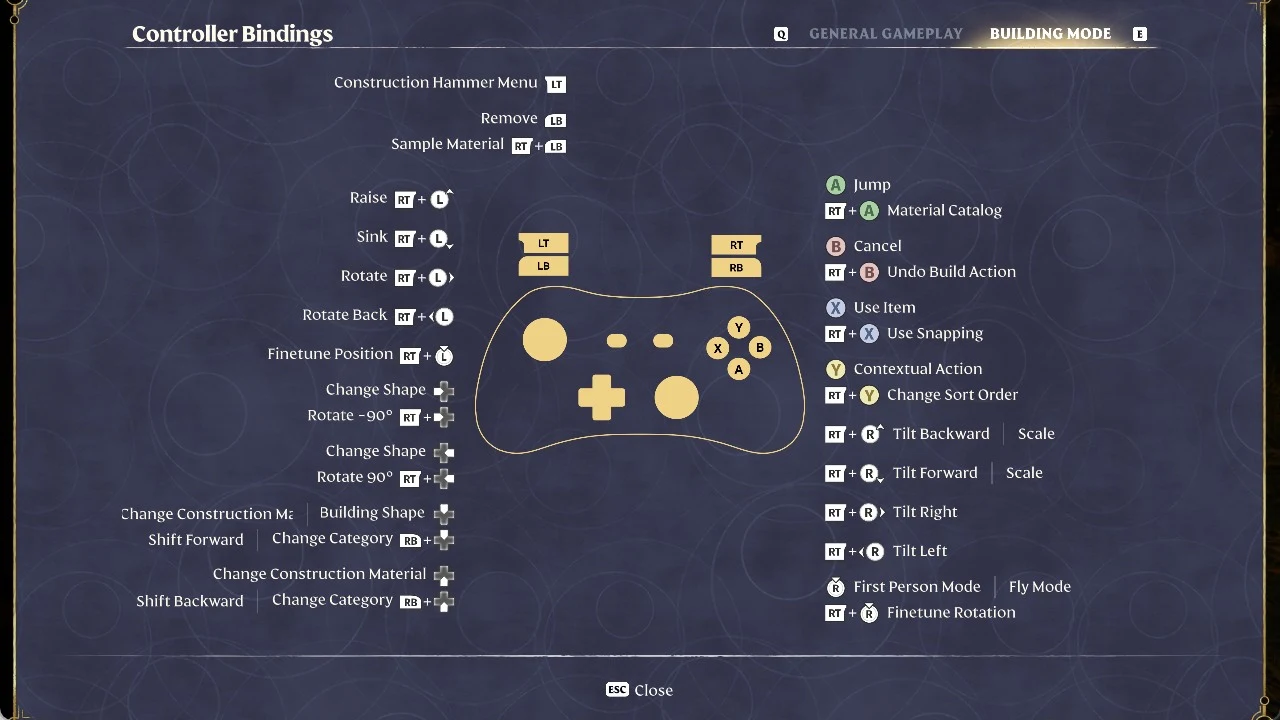
| Button | Action |
|---|---|
| LT | Construction Hammer Menu |
| LB | Remove |
| RT + LB | Sample Material |
| A | Jump |
| RT + A | Material Catalog |
| B | Cancel |
| RT + B | Undo Build Action |
| X | Use Item |
| RT + X | Use Snapping |
| Y | Contextual Action |
| RT + Y | Change Sort Order |
| RT + Right stick up | Tilt Backward | Scale |
| RT + Right stick down | Tilt Forward | Scale |
| RT + Right stick right | Tilt Right |
| RT + Right stick left | Tilt Left |
| Right stick click | First Person Mode | Fly Mode |
| RT + Right stick click | Finetune Rotation |
| RT + Left stick up | Raise |
| RT + Left stick down | Sink |
| RT + Left stick right | Rotate |
| RT + Left stick left | Rotate Back |
| RT + Left stick click | Finetune Position |
| D-pad Left | Change Shape |
| RT + D-pad Left | Rotate -90° |
| D-pad Right | Change Shape |
| RT + D-pad Right | Rotate 90° |
| D-pad Up | Change Construction Material | Building Shape |
| RB + D-pad Up | Shift Forward | Change Category |
| D-pad Down | Change Construction Material |
| RB + D-pad Down | Shift Backward | Change Category |
Keyboard keys that do more than one thing
Preset A puts several actions on the same key:
- Space: Jump, Glider and Swim Up.
- C: Sneak [Toggle], Headfirst Dive, Start Diving and Swim Down.
- R: Drop Item and Special Ability, plus Rotate 90° in Building Mode.
- Tab: Construction Hammer Menu, Attune summoning staff and Open Camera Menu in a single row.
- 1 to 8: Action Bar Slots and Building Shape Slots.
- Mouse Wheel Up / Down: change the action bar slot, change the shape while building and cycle ammo.
Double Jump (Space twice)
There is no separate Double Jump key in the list. Double Jump is a skill: its card reads “Allows jumping a second time while airborne”, lists “Cost: 10 Stamina”, and it takes 2 skill points to unlock (see how to unlock Double Jump). Once it was unlocked, we pressed Space to jump and Space again in the air, and used that second jump to get up onto the raised stone platform of a Flame Shrine.
How to use the Glider (Space)
The Glider uses Space, the same key as Jump, and timing matters. With the Glider equipped, step off an edge and wait for the prompt “SPACE Start gliding” to appear while you’re falling, then press Space. Pressing Space before the prompt shows up doesn’t open the glider, and you just keep falling.
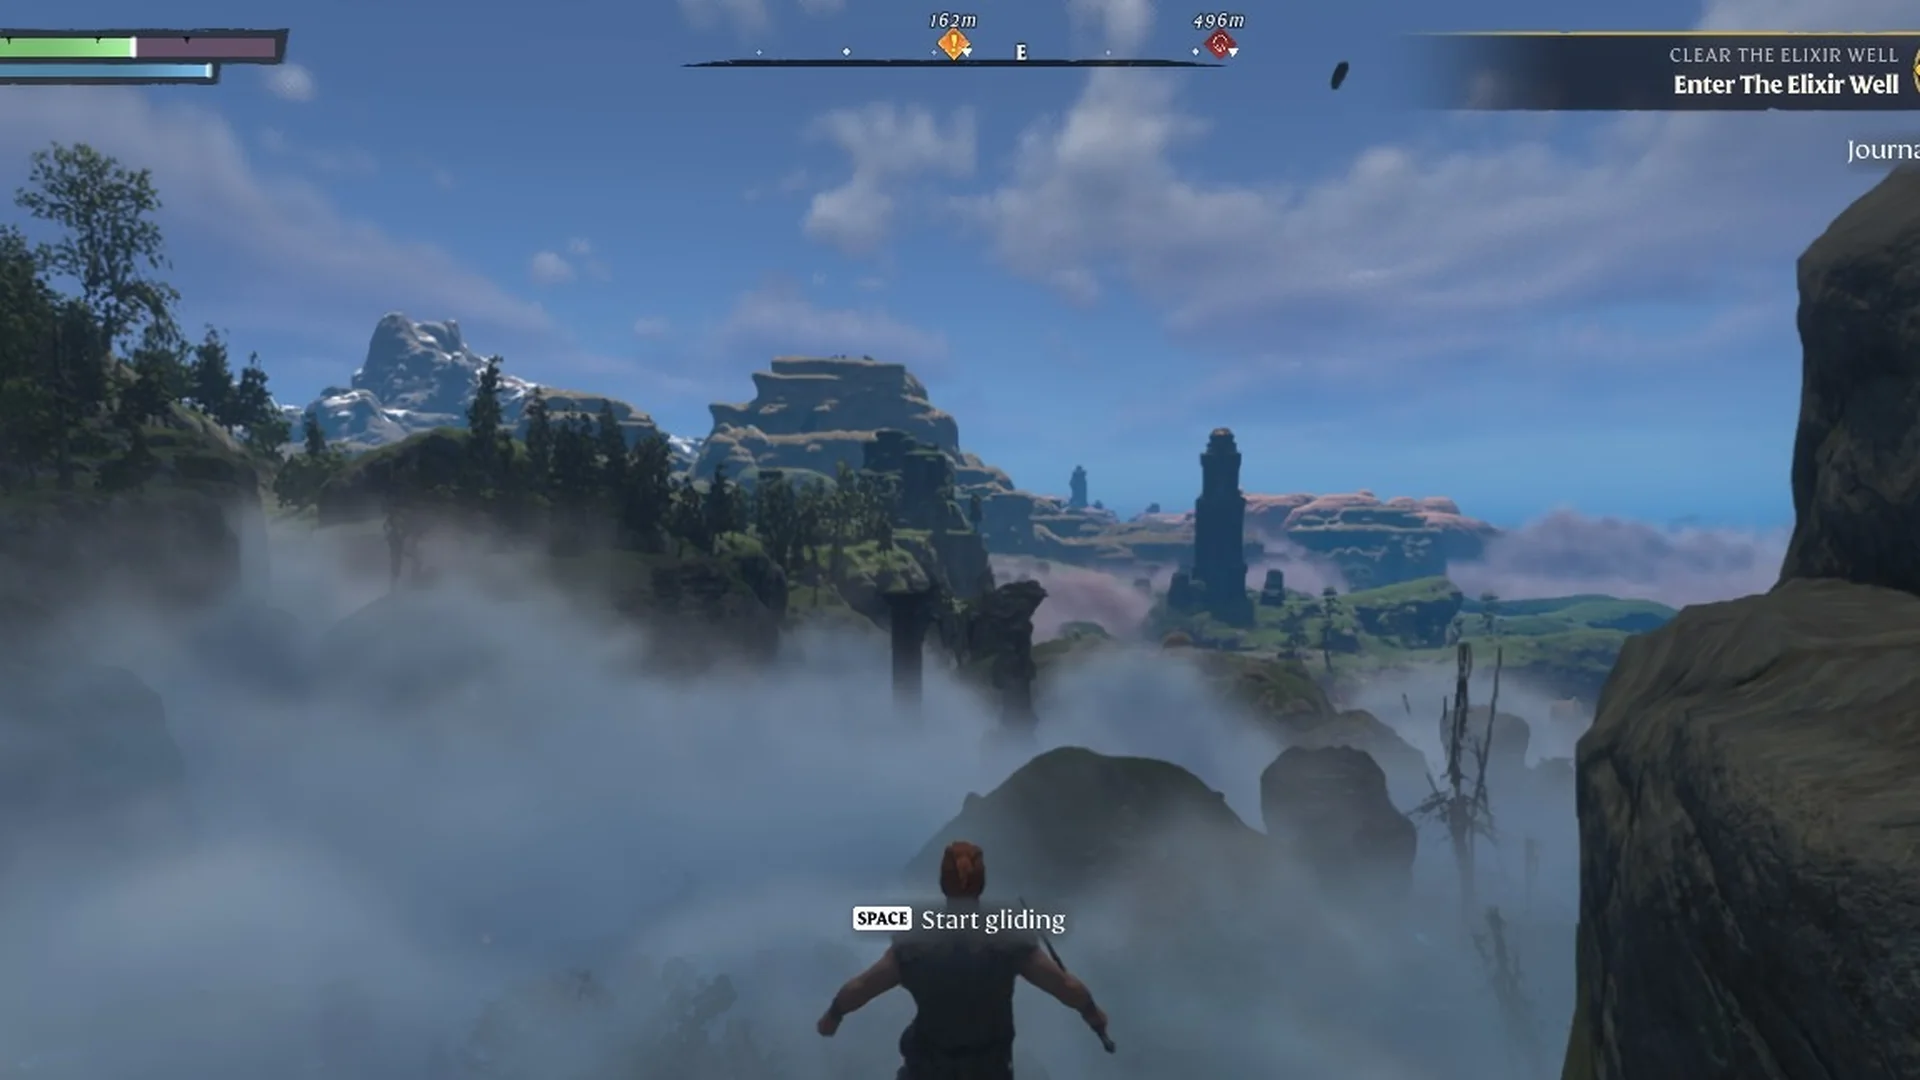
The glider may shut mid-flight if it hits terrain or an object such as a rock pillar. As you fall, the “SPACE Start gliding” prompt appears again; press Space to reopen the glider. During a glide, the display identifies Right Mouse Button as Cancel.
Hold E vs. tap E, and F / R at storage
Contextual Action (E) is listed with the modality Contextual, and in our play the right input depended on the prompt:
| Prompt or screen | Input |
|---|---|
| “E Collect nearby loot” (e.g. a fallen stick) | Hold E, about a second and a half |
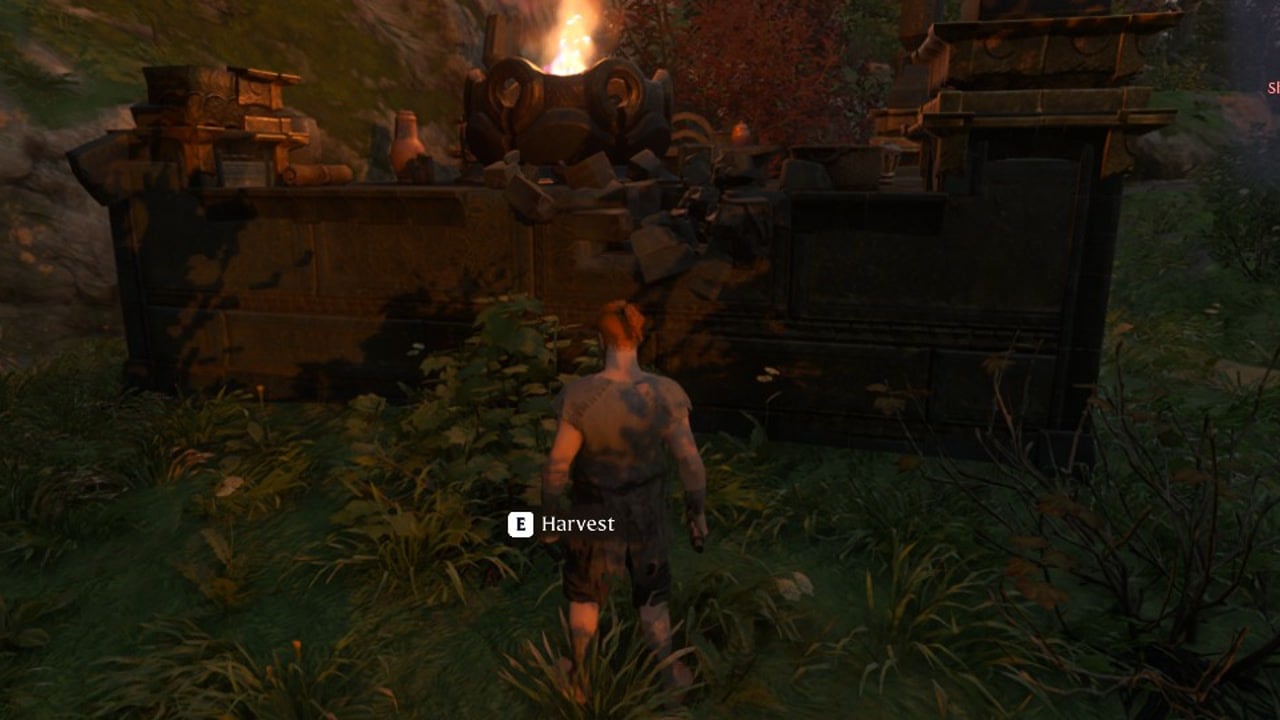
| “E Harvest” (e.g. a bush) | Tap E |
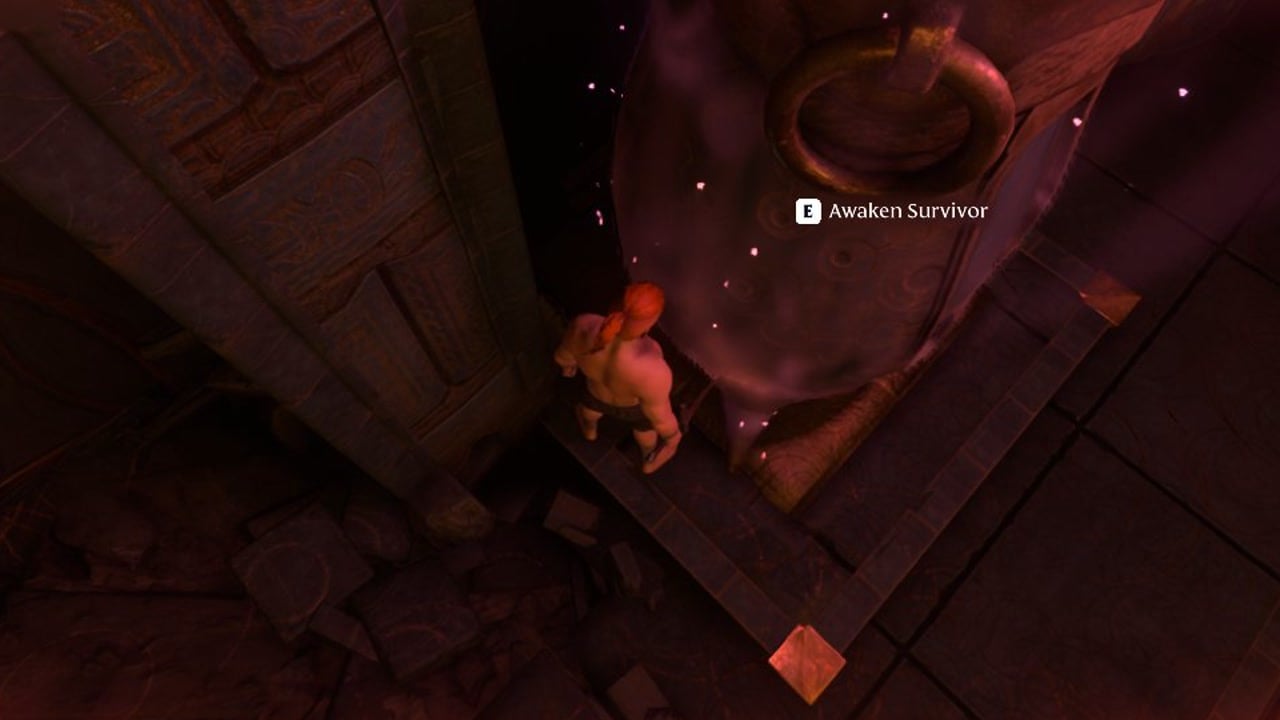
| “E Awaken Survivor” | Tap E (holding does nothing) |
| Flame Altar, “Commune with the Flame” | Tap E |
| Death screen, Respawn | Hold E |
| Storage chest, Refill Stacks | Tap F |
| Storage chest, Take All | Hold F |
| Storage chest, Deposit Stacks | Tap R |
| Storage chest, Deposit All | Hold R |
| Corpse loot window, “Take All” | F |
On the fallen stick, a tap did nothing at all; holding E picked it up (see the Twigs guide). Respawn on the death screen is covered in the death and dropped items guide.
Fast travel keys in Enshrouded
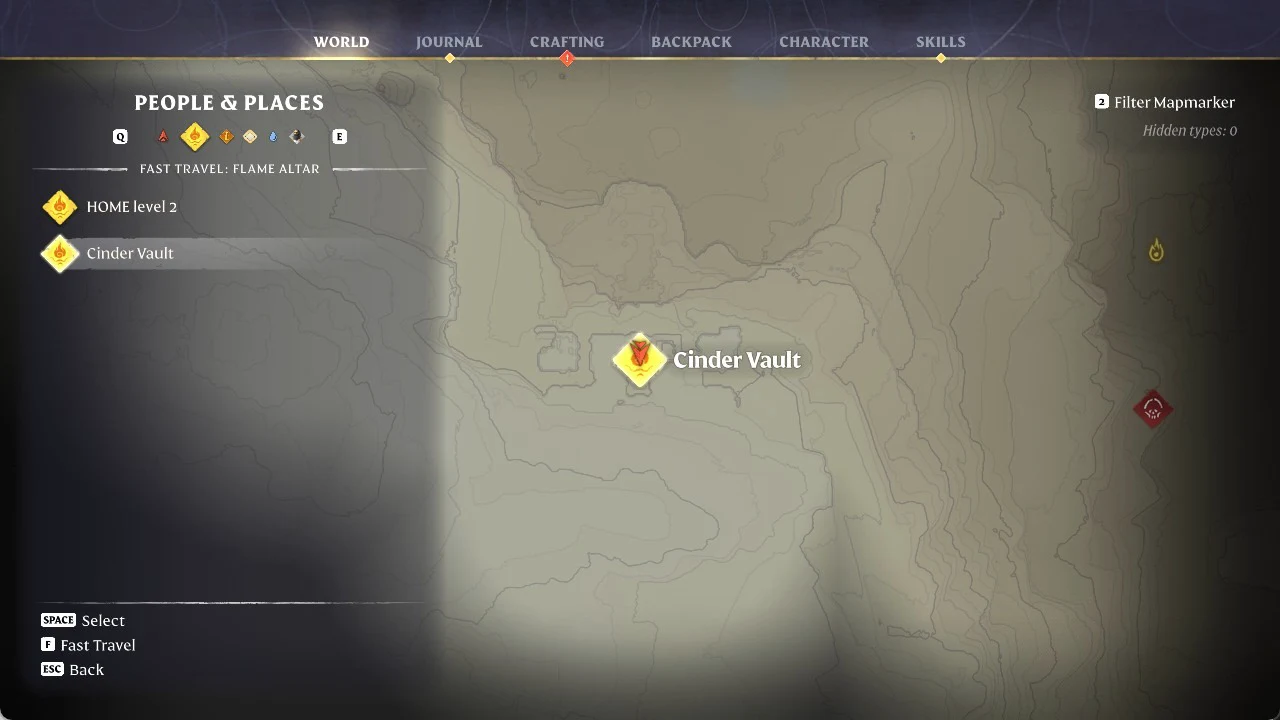
The altar order in that list can change when a new altar is added. In our game, Cinder Vault moved above HOME once it became an altar, so read the name before pressing F.
The map footer also offers “Fast Travel to last visited Altar” on a held R. Fast travel is not possible while you are in the Shroud. The fast travel guide walks through both routes.