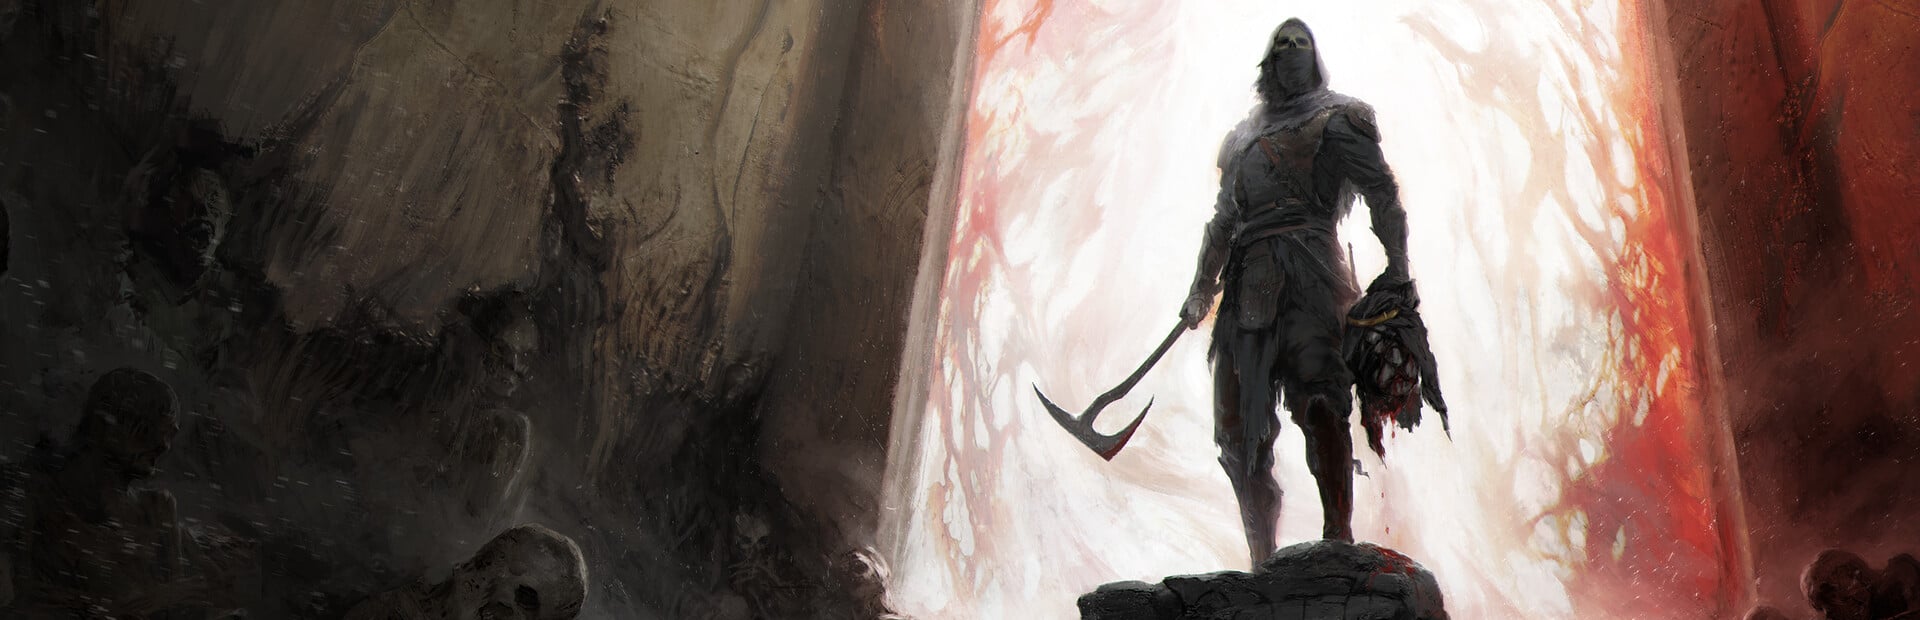
Within Mortal Shell 2’s endgame dungeon, the Unfound Path, the Monolith is one of three guardian bosses. The Obsidian Vault route ends at this boss; defeating it is necessary to remove the corrupted tendrils across the zone’s center before the final boss, Zmey the Unbidden.
Quick answer: Chip away at the Monolith’s massive health pool and get clear of its leaping slams. Once its health drops below half, it fires beams and rotates them; keep circling, dodging when a beam crosses your path. When it falls, cut the red gland to unlock the route onward.
How to reach the Monolith in the Obsidian Vault
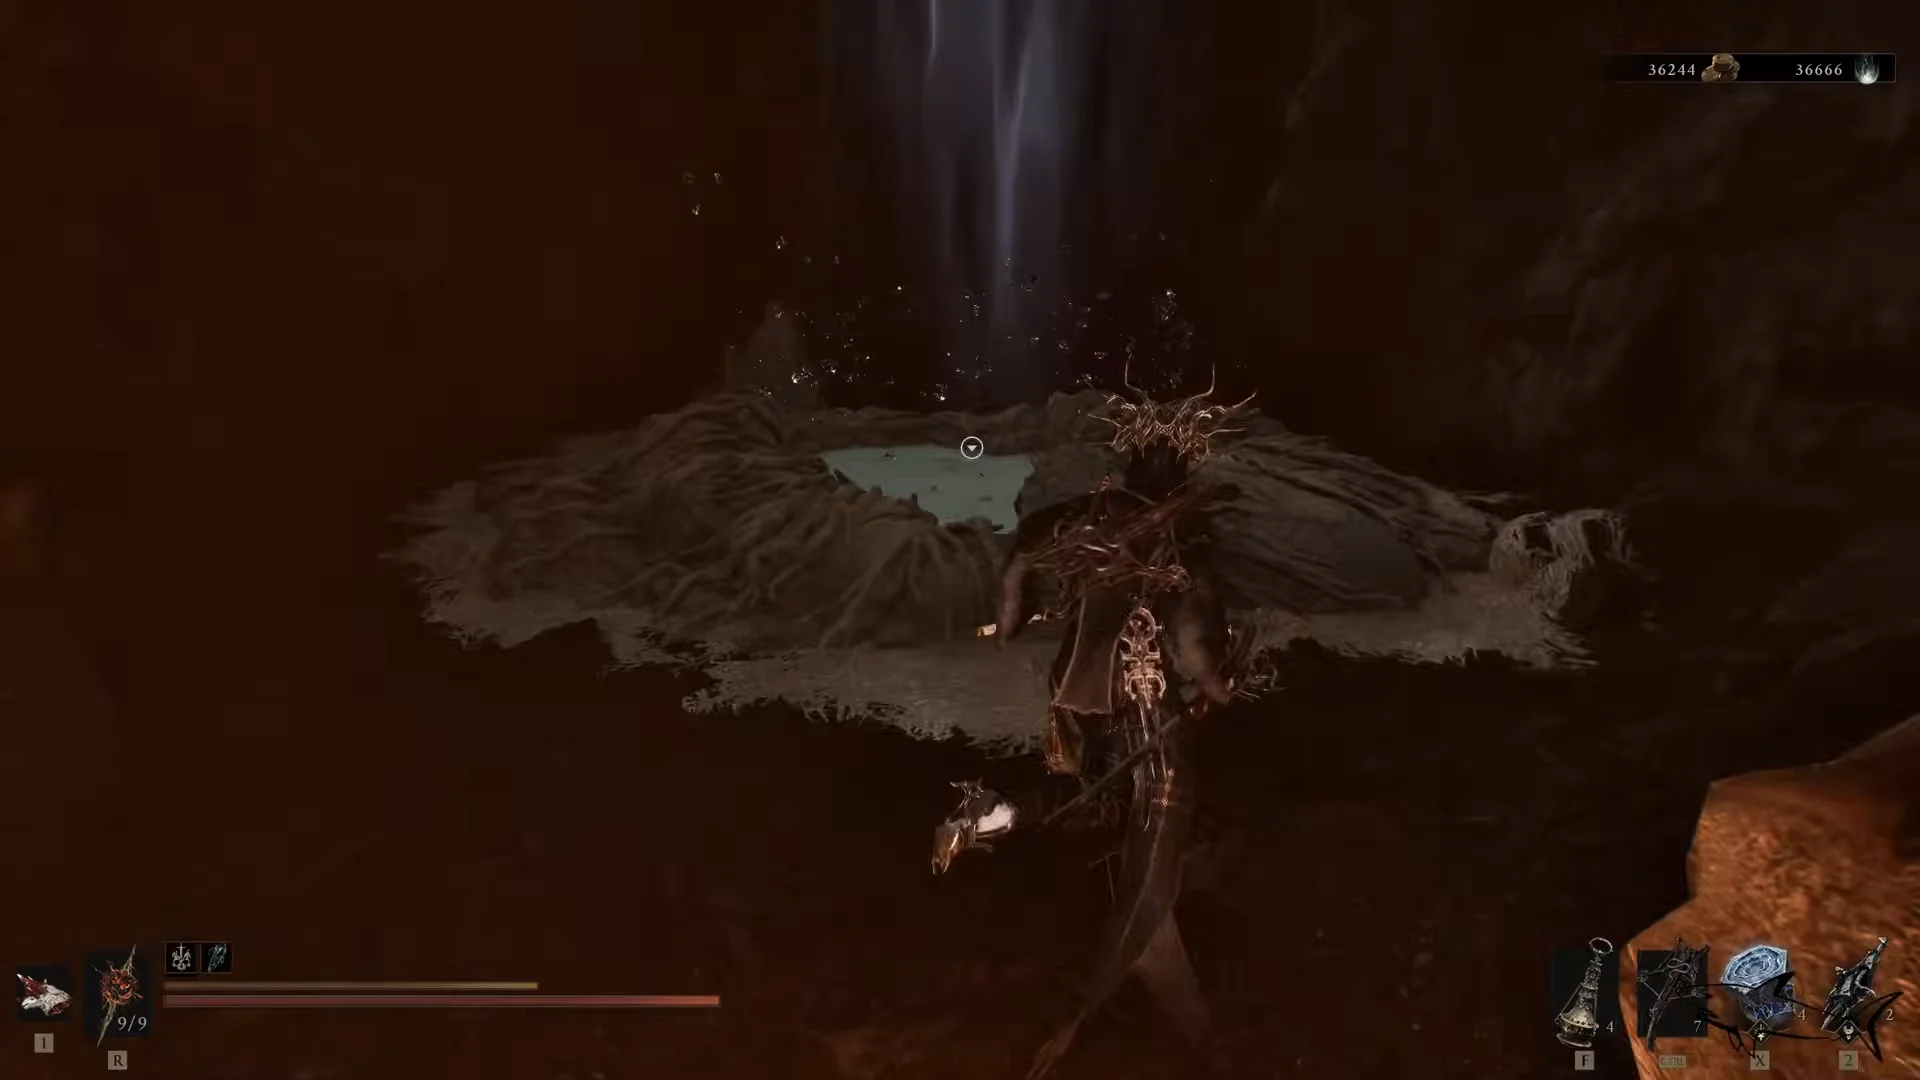
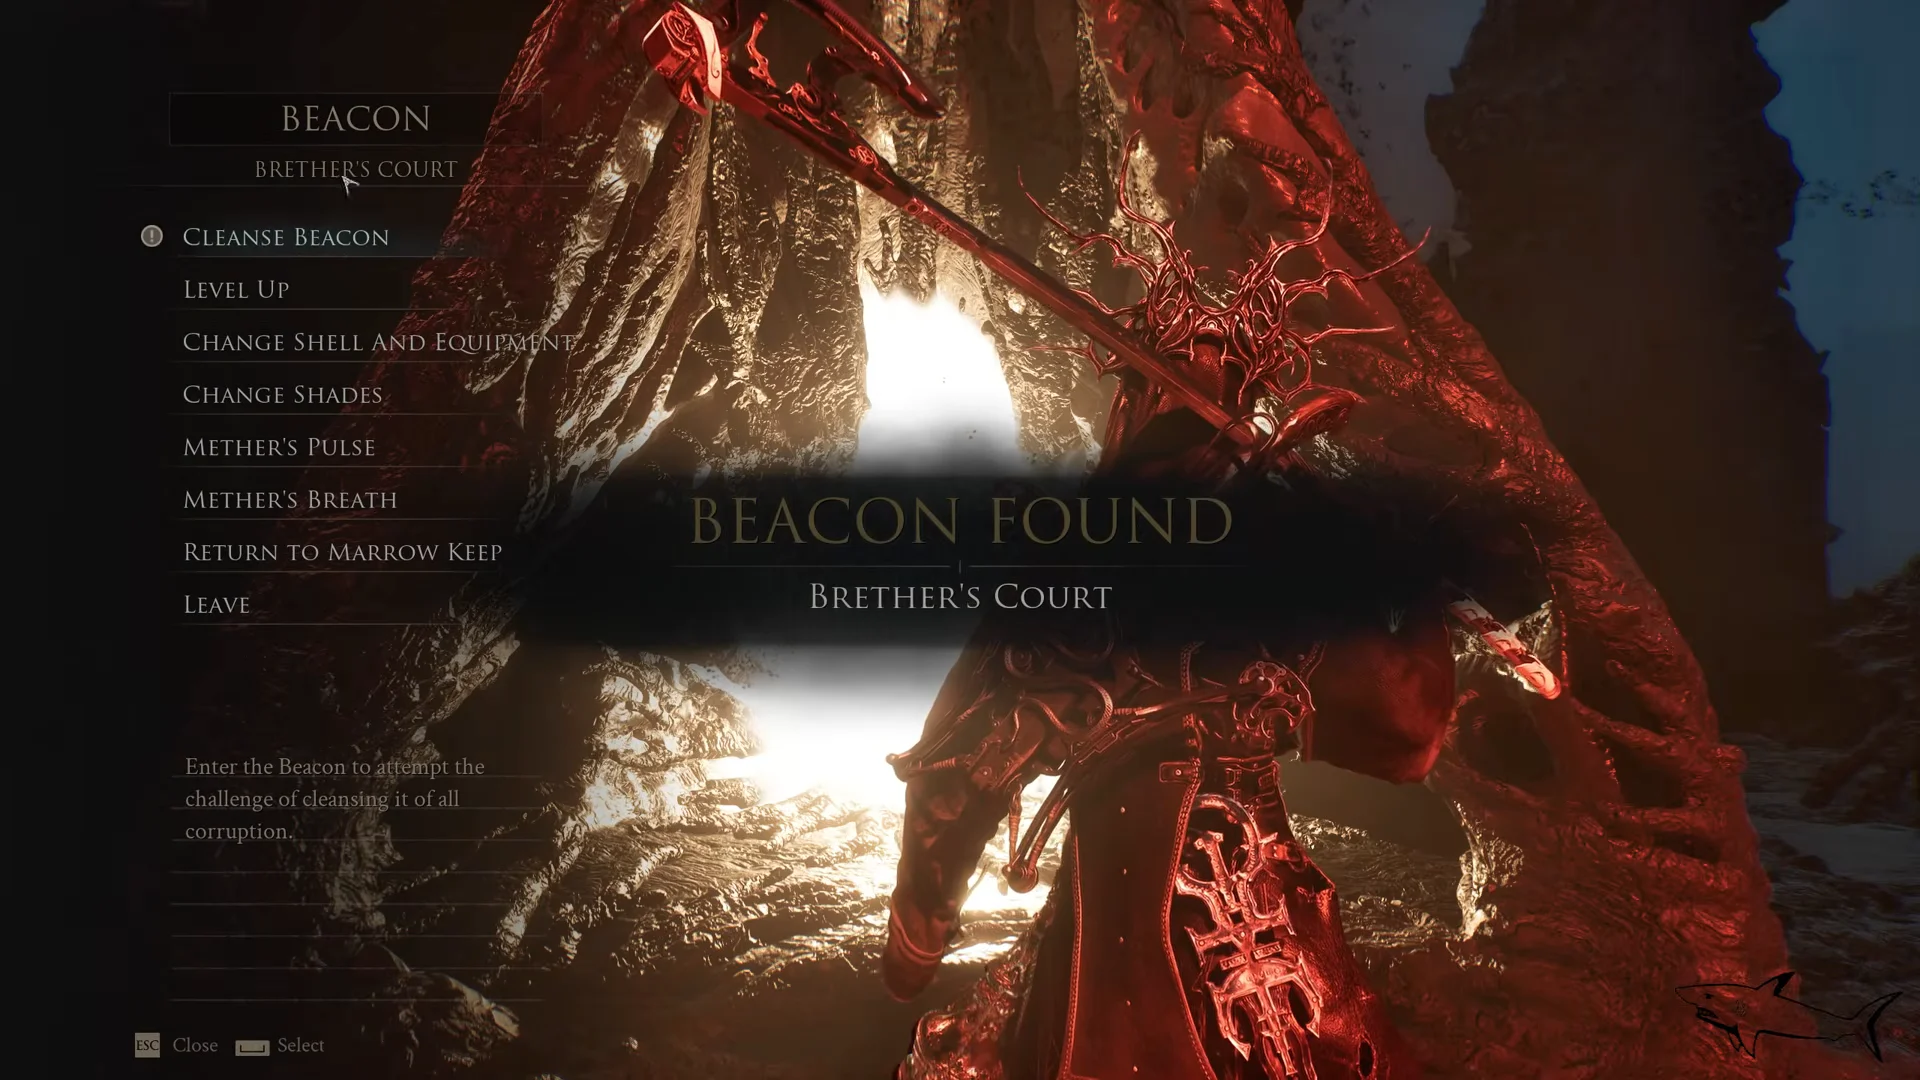
The Unfound Path only opens later in the campaign, after you have recovered enough Ova from the main Corrupted Gate bosses. The large platform in the middle of the dungeon starts sealed, and each of its three branches is guarded by a boss. The Monolith holds the Obsidian Vault branch; the others are Orrem, the Discarded Golem on the Bridge of Procession and the Malborn Offspring in Faithful’s Shelter.
Loadout to bring into the fight
You cannot summon a spectral shell for the Monolith, so no ally bought with Glimpses can join you. Choose a shell and weapon with timing you know well. A swift dual-blade such as the Axatana suits this encounter, where staying mobile matters more than trading hits.
- Mobility route: Genessa, the Wayward with the Axatana, staying agile and circling the arena.
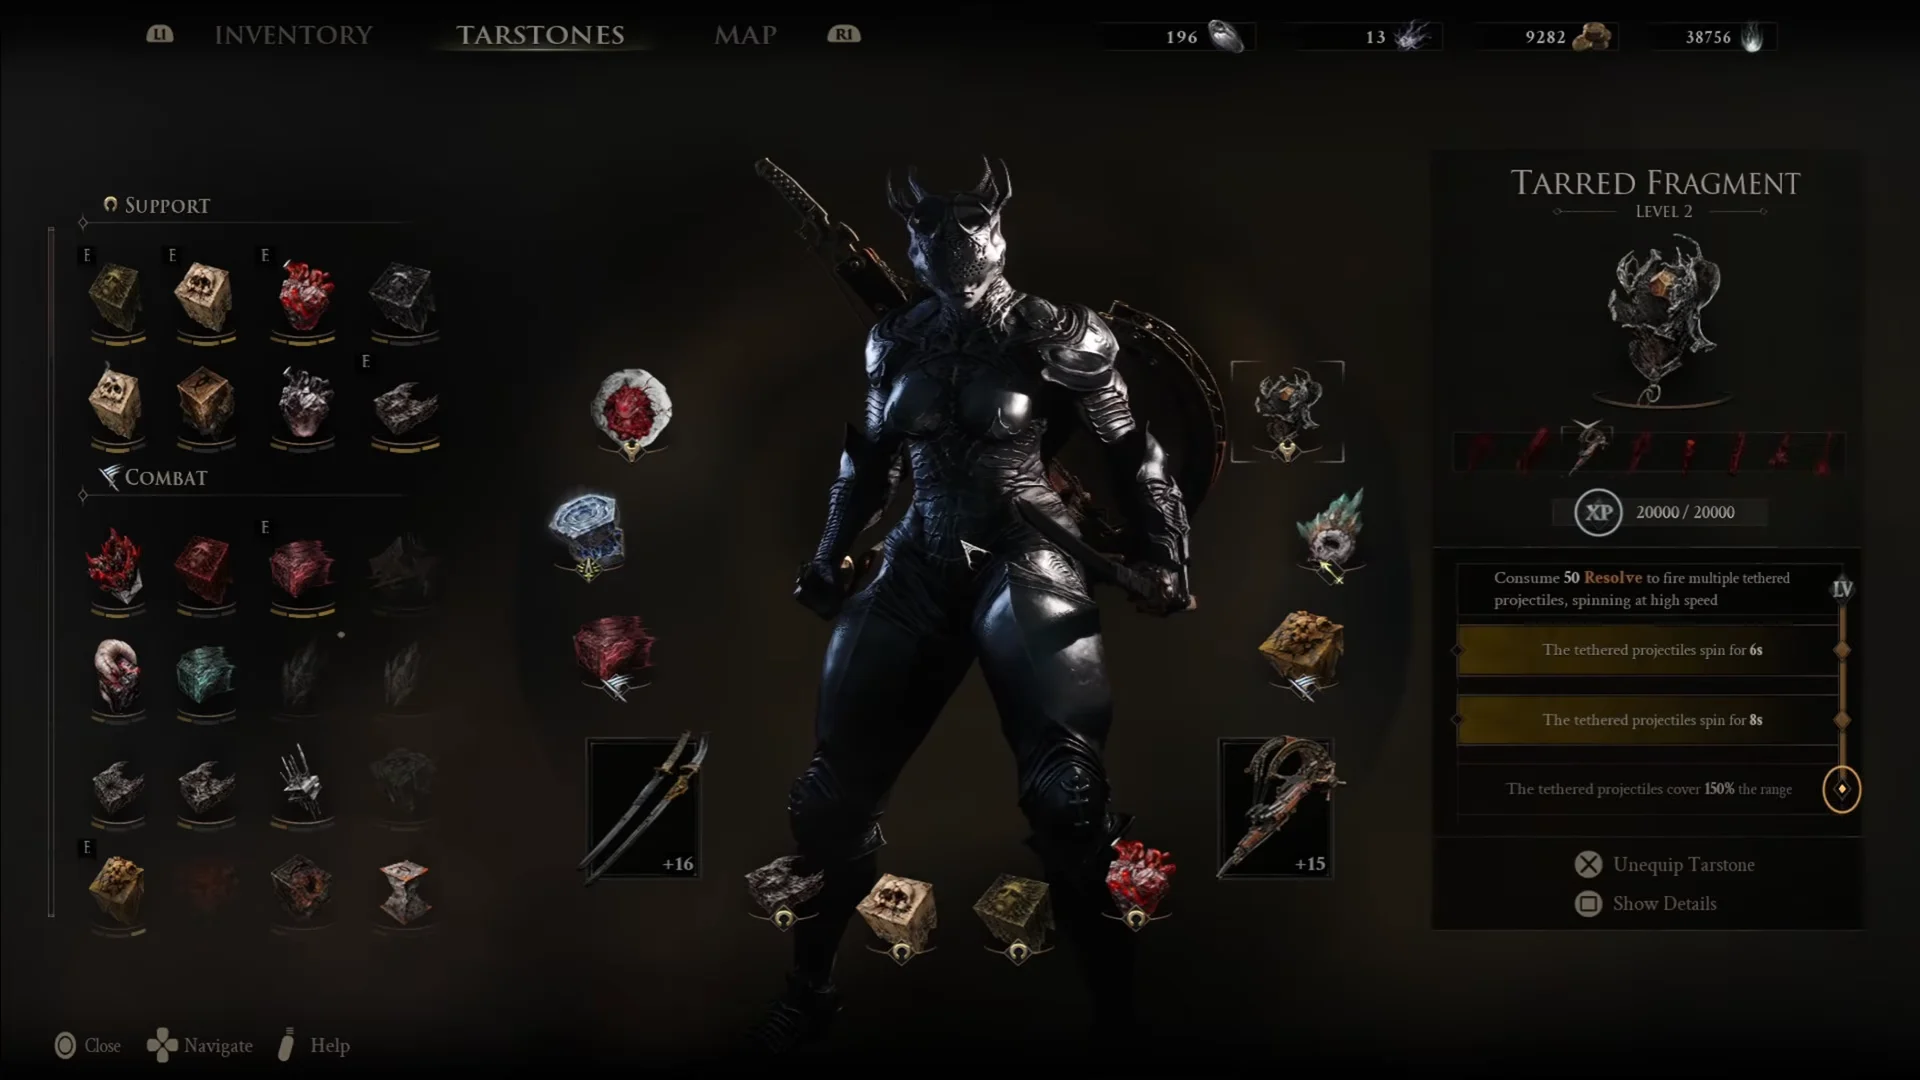
- Damage route: Obsidian Proxima shell with an Axatana +16 and the maxed Shrike Stone, whose ground plunge grants invulnerability frames while dealing 150 glyph damage.
- Parry route: Tiel, the Acolyte for stronger dodges and extra damage to the boss’s back, backed by Tarstones that boost damage and break buildup.
- The Grisha Remnant passive can draw aggro and add stagger while you reposition.
Balance Patch 1 cut the Monolith’s base damage by 19% and its maximum health by 10%, and changed the timing of several attacks. Judge its movements as they happen instead of relying on an old dodge count, and read any Tarstone’s description before trusting outdated percentage values.
The Monolith’s attacks by phase
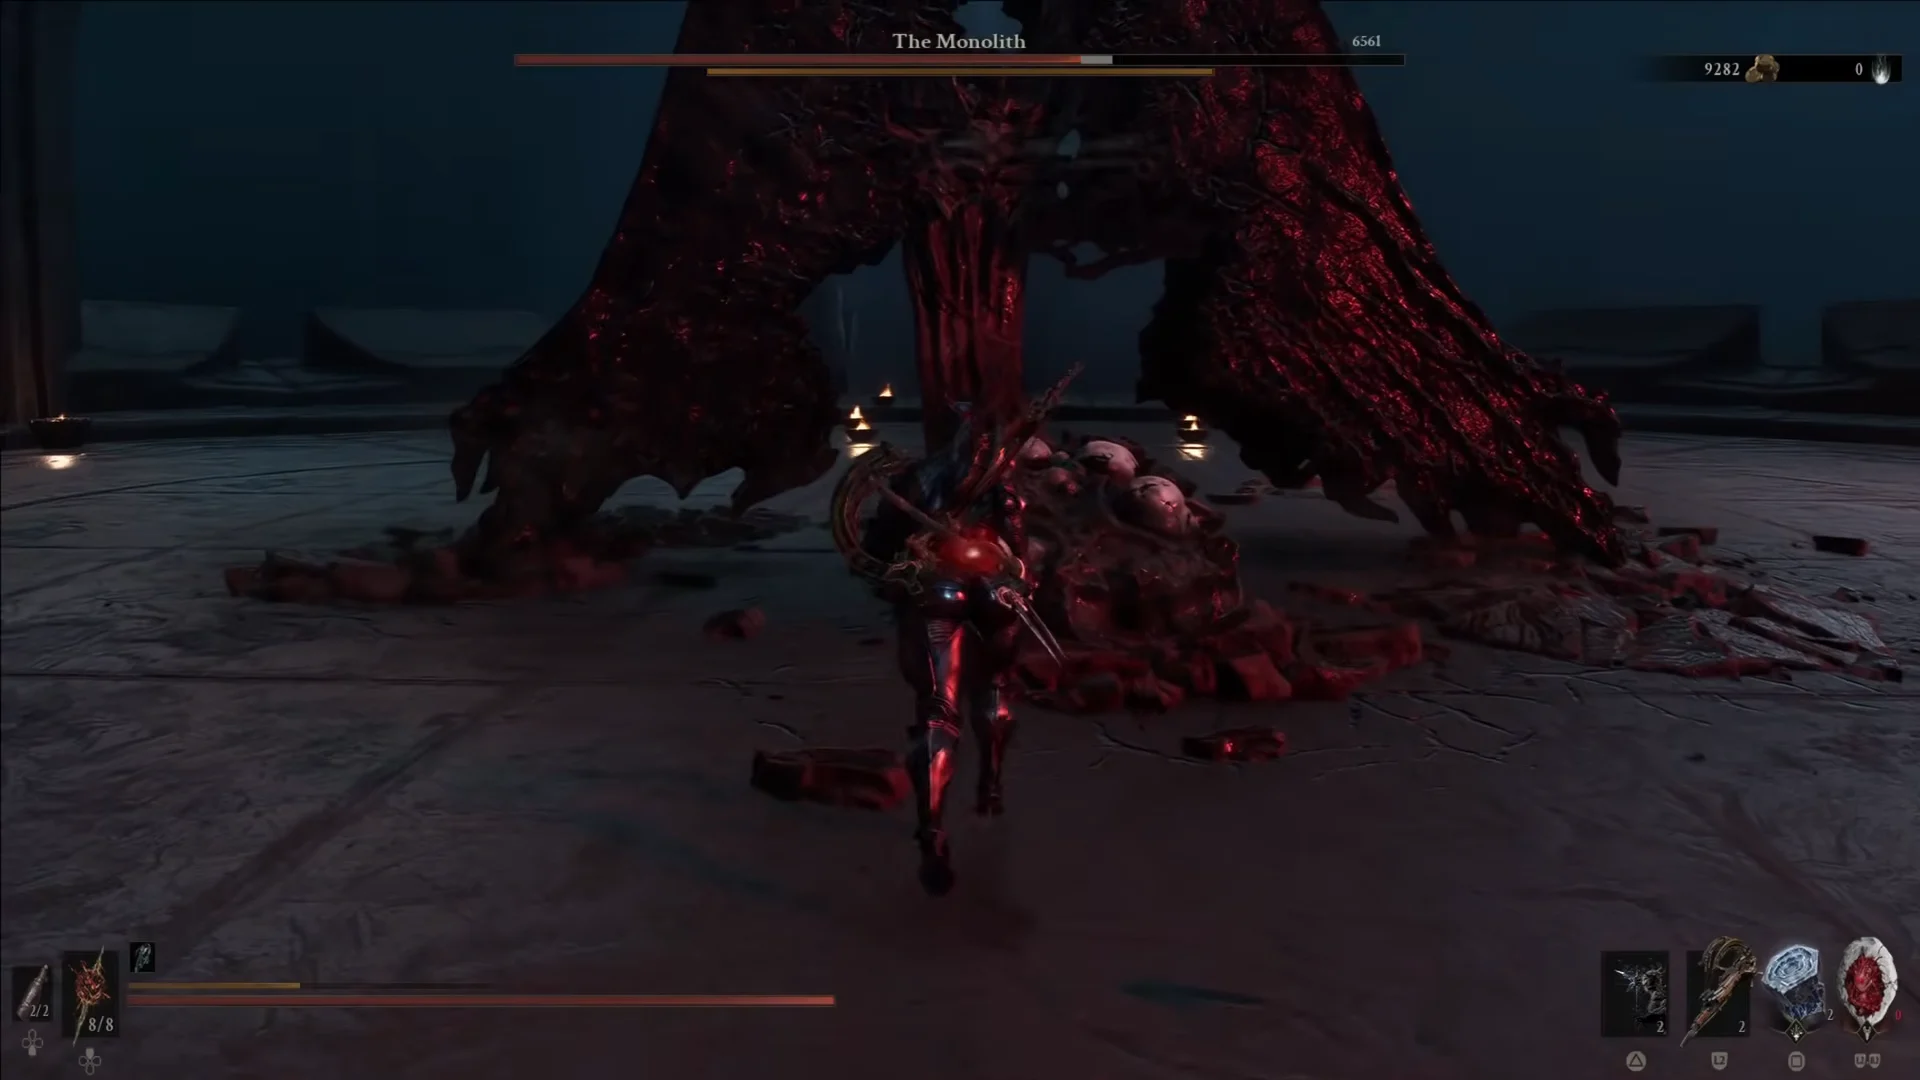
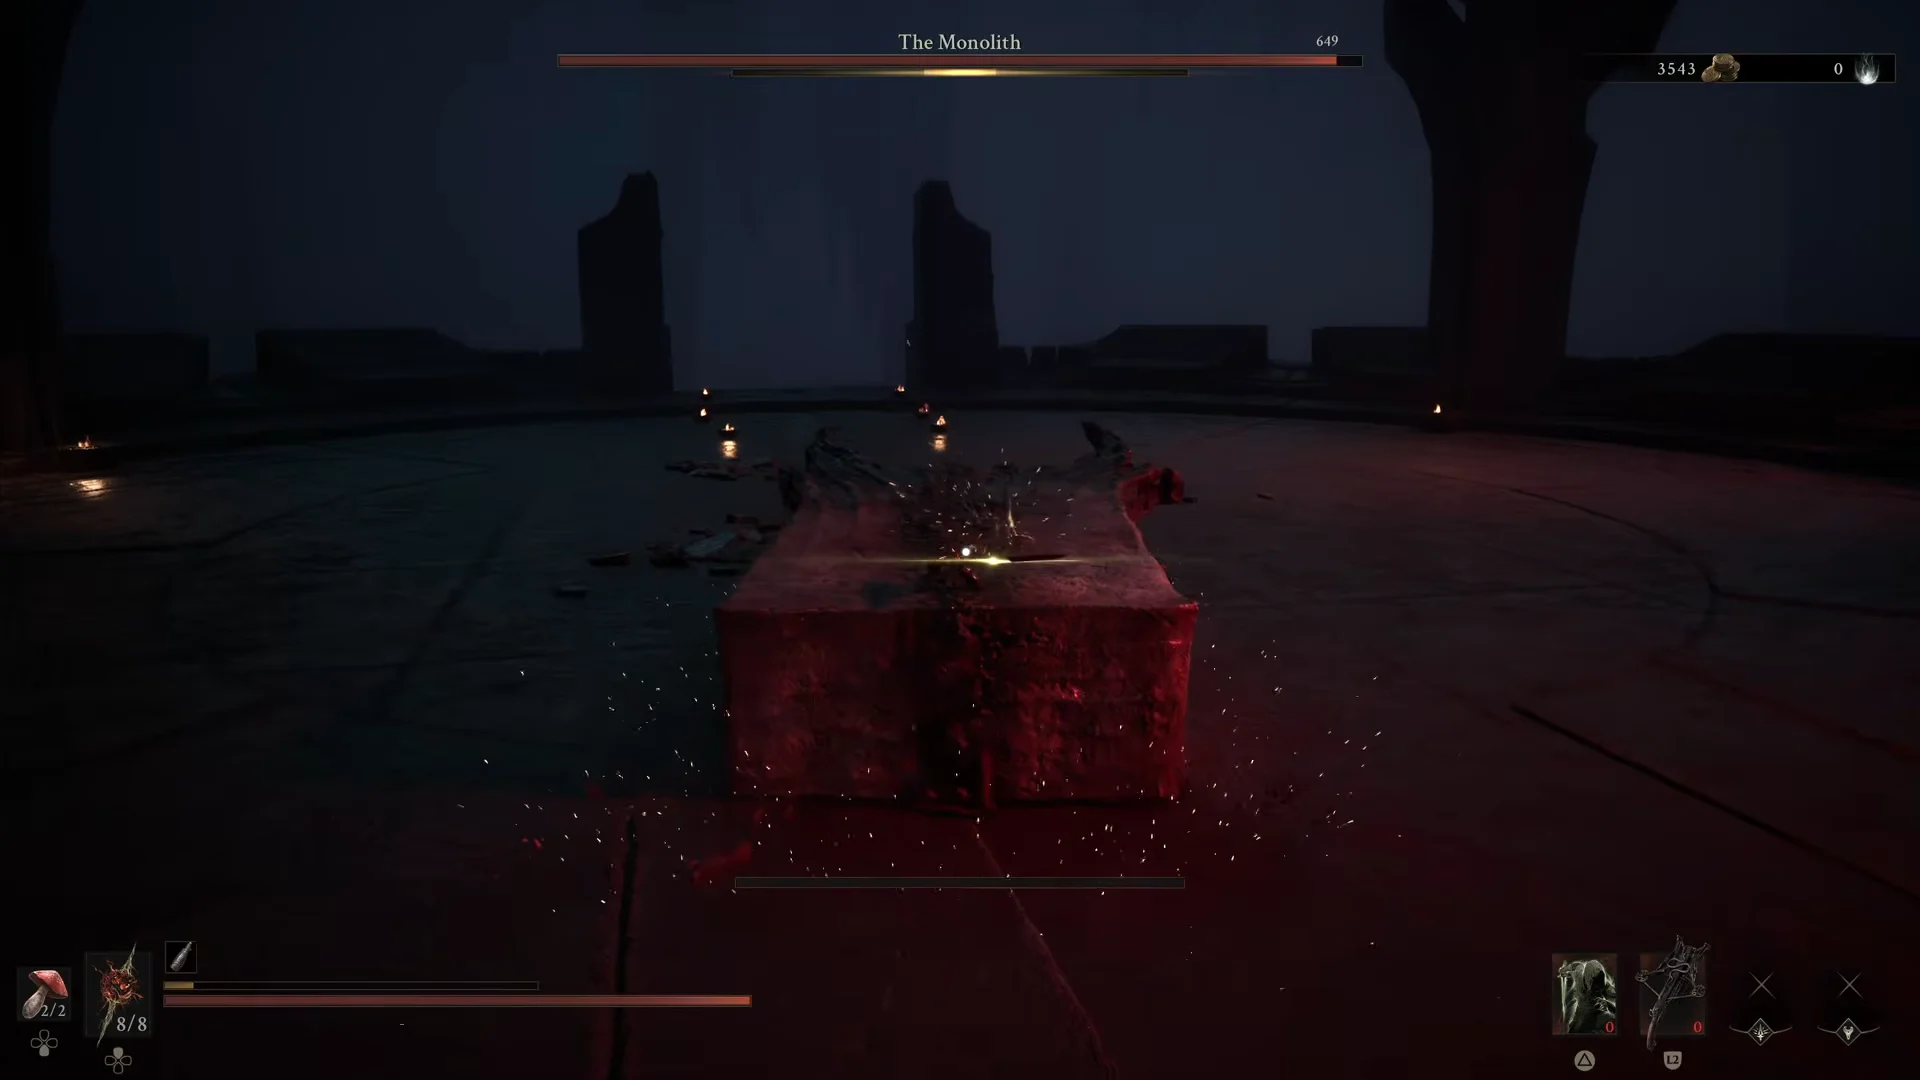
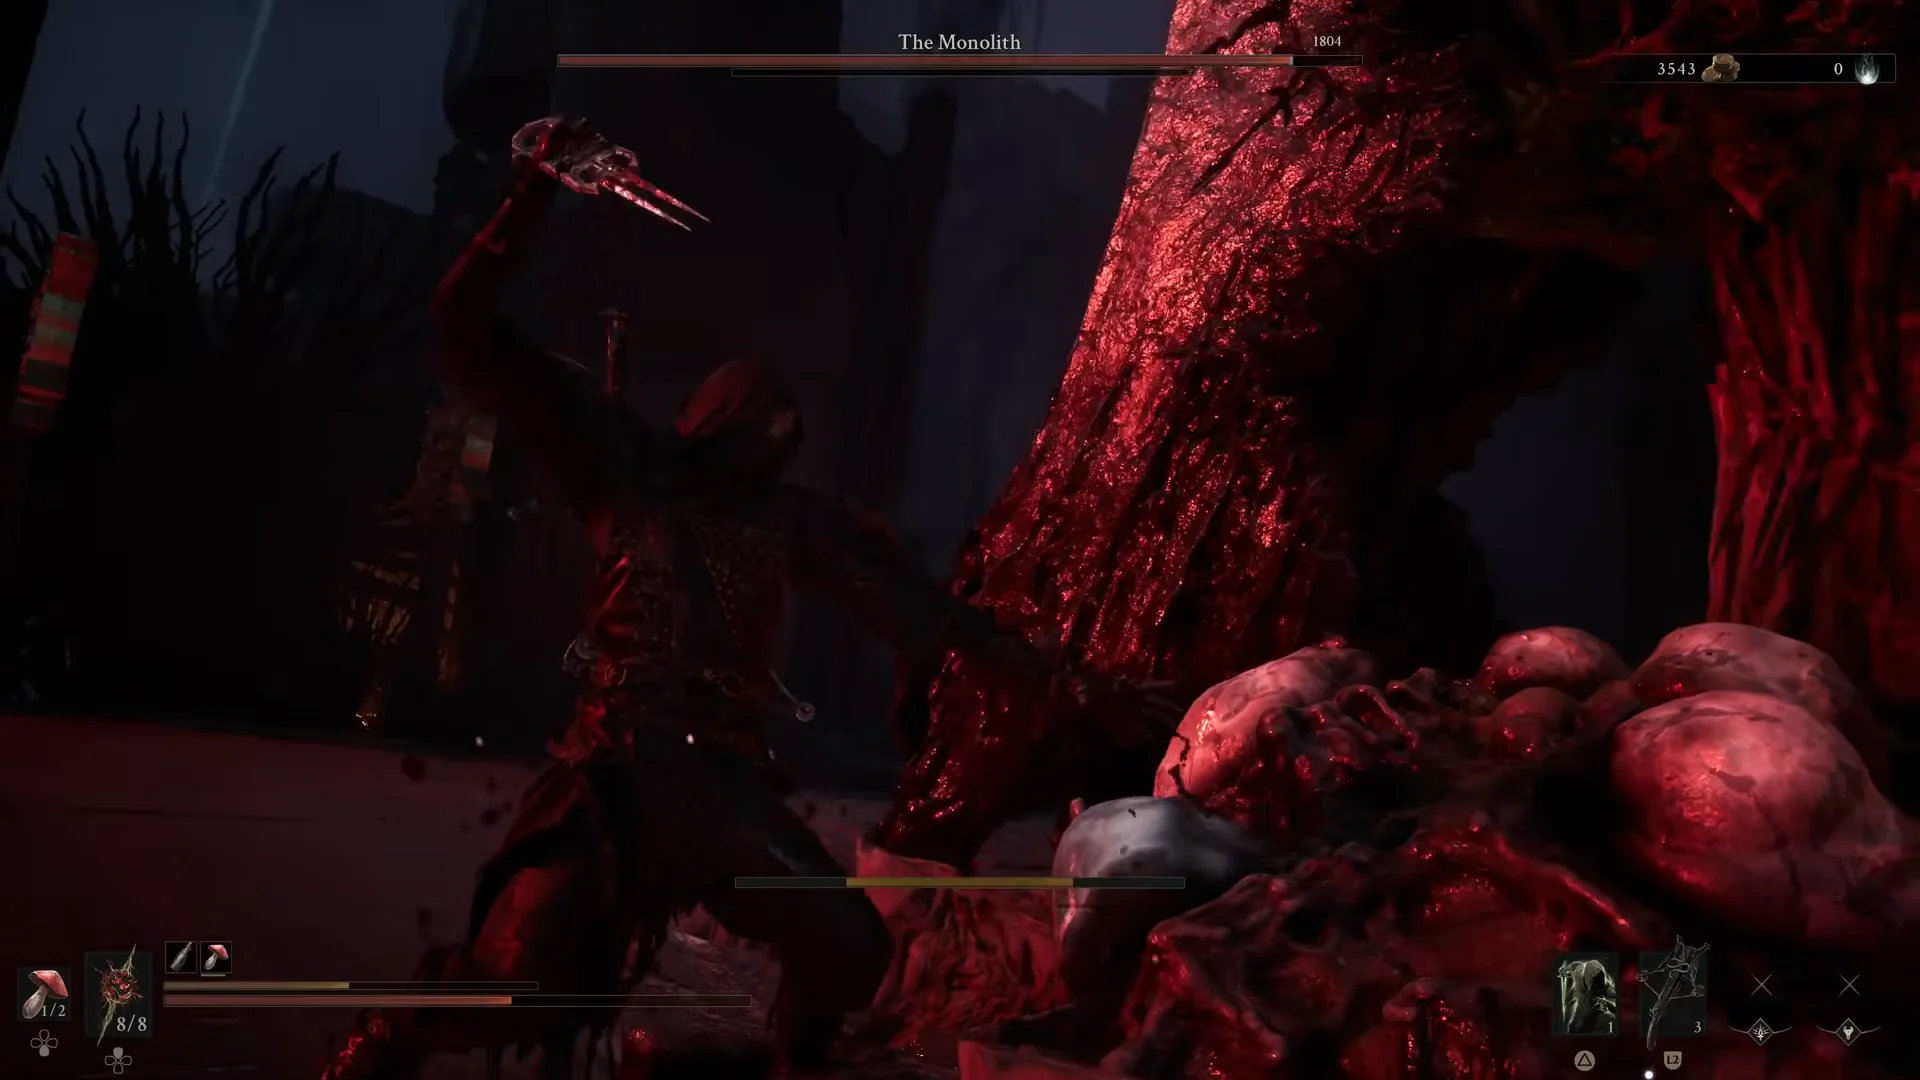
This towering stone block has an enormous health pool, making for a lengthy fight. It resists much of your damage, and its moveset shifts after its health drops below half. The fleshy center of its body repeatedly opens and closes; that opening provides your safest chance to attack.
| Phase | Attack | How to handle it |
|---|---|---|
| Early | Jumping body slam | Clear the shadow beneath its landing point, then strike during its recovery. |
| Early | Swinging / walking swing | Dodge to the side as it pulls back; wait it out if it walks. |
| Below 50% | Beam fire | Keep sprinting, then evade as the beam crosses overhead. |
| Below 50% | Side roll | Dodge back and away; it rolls up to three times. |
| Below 50% | Rotating / 360° beams | Circle with the rotation and dodge on the beam’s timing. |
How to beat the Monolith
Reward and how to progress after the kill
Beat the Monolith to earn the Praise him! trophy and collect Gloom and the Monolith Fragment, an etched piece of obsidian. The Fragment cannot be used in combat; trade it for 5,000 Tar if you prefer to sell it.
Killing the boss alone does not complete the encounter. Walk over to the arena’s hanging red gland and cut it. The sever prompt appears, then a transition cutscene plays, confirming that the Obsidian Vault branch no longer contributes to the central tendril barrier. After clearing that branch, take on Orrem and the Malborn Offspring before confronting Zmey the Unbidden at the Unfound Path’s end.