
Slither Prime is the final boss of The Sinking City 2, fought on a circular stone platform in the Badlands at the end of Part 9. The fight runs across three phases, mixes constant summoned enemies with wide area attacks, and gives you no restocking crates once it starts. Winning comes down to two habits: keep firing into its glowing head and shoot down every Slither it lifts into the air.
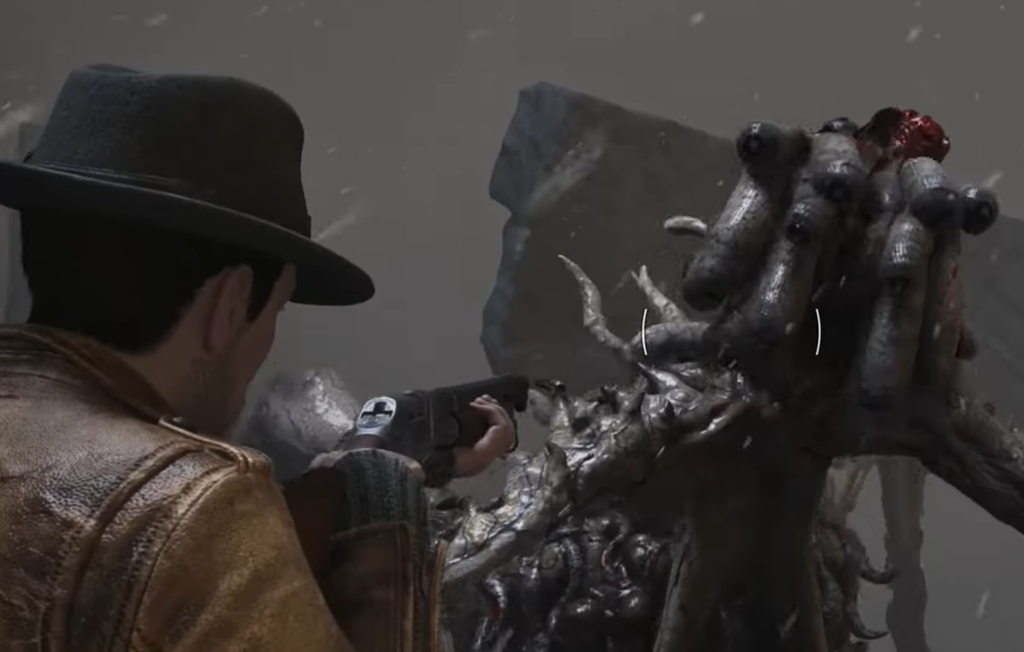
Quick answer: Aim for the front of Slither Prime’s glowing head for main damage, break off to clear summoned Slither before they surround you, and whenever it lifts enemies into the air to absorb their energy, shoot those airborne figures down immediately. Keep moving to dodge tentacle whirlwinds and AoE slams, and save grenades for the final phase.

Prepare in the last Safe Room before the fight
The final approach starts after you place the Engraved Pod in the portal machine, rotate its rings until the engravings line up, and step through the portal. You walk out onto the water and ice, take the boat forward, and exit into a cave that holds the last makeshift Safe Room.
This is your only real chance to load up. There are no endless supply boxes during the Slither Prime fight, so grab as much ammo and healing as you can here. You can still scavenge small amounts of ammo from the weaker enemies mid-fight, but you should treat that as a bonus, not a plan.
Save your game in the Safe Room before you continue through the door. That way a failed attempt drops you back here fully stocked instead of sending you through the portal sequence again.
Recommended loadout for Slither Prime
The fight rewards a mix of crowd control and focused single-target damage. A shotgun handles the Slither that crowd you, a submachine gun keeps steady fire on the head, and a sidearm covers reloads. Grenades are your highest damage tool and are best held back for the last phase.
| Weapon | Best use in the fight |
|---|---|
| The Minuteman (submachine gun) | Sustained fire into the glowing head and airborne Slither |
| Field Surgeon (shotgun) | Clearing summoned Slither that get close |
| Equalizer Mk. II (handgun) | Backup fire and finishing weak enemies to save ammo |
| Frag Grenades | Heavy burst damage, saved for the final phase |
Phase 1: Dodge tentacles and hit the face
The fight opens with a cutscene of the multi-limbed creature dropping through a flaming portal onto the platform. Once control returns, the objective Defeat Slither Prime appears on the HUD.


Phase 2: Shoot down the absorbing Slither
The second phase changes the priority. Slither Prime lifts a group of Slither zombies into the air, tethering them with dark energy beams and absorbing their energy to power up.
Phase 3: Outrun the tentacle whirlwinds
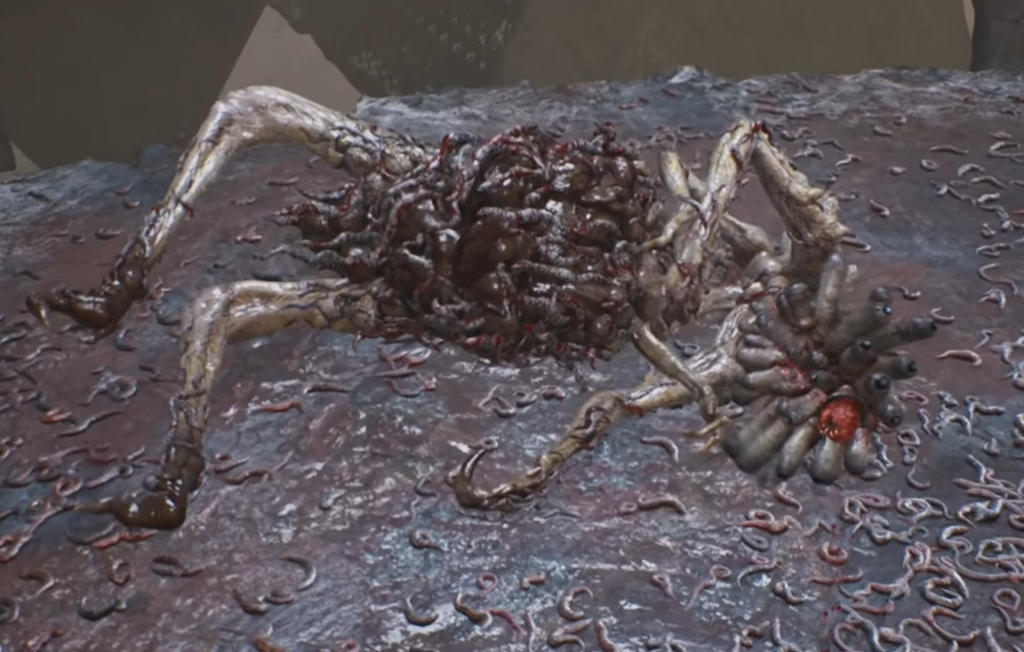
The final phase repeats the airborne absorption, then adds its most dangerous attack.
How you know the fight is over
When Slither Prime’s health is gone, the creature collapses and an ending cutscene plays automatically. Cal survives, and the objective clears. Defeating the boss in the Badlands during Part 9 also unlocks the Timeless Dawn achievement, “Awaken.”
After the cutscene, follow Faye to continue the ending sequence. From there the game moves into its final story beats, where Cal performs a ritual over Faye’s body and strikes a bargain with Yog-Sothoth for a physical life together. Those events play out on their own and require no further combat.
The two failure traps are simple to avoid. Ignoring the airborne Slither lets the boss heal through your damage and drags the fight out until you run dry, and standing still turns the tentacle whirlwinds and summoned adds into a quick death. Stay mobile, prioritize the head, and clear the air, and Slither Prime falls before your ammo does.