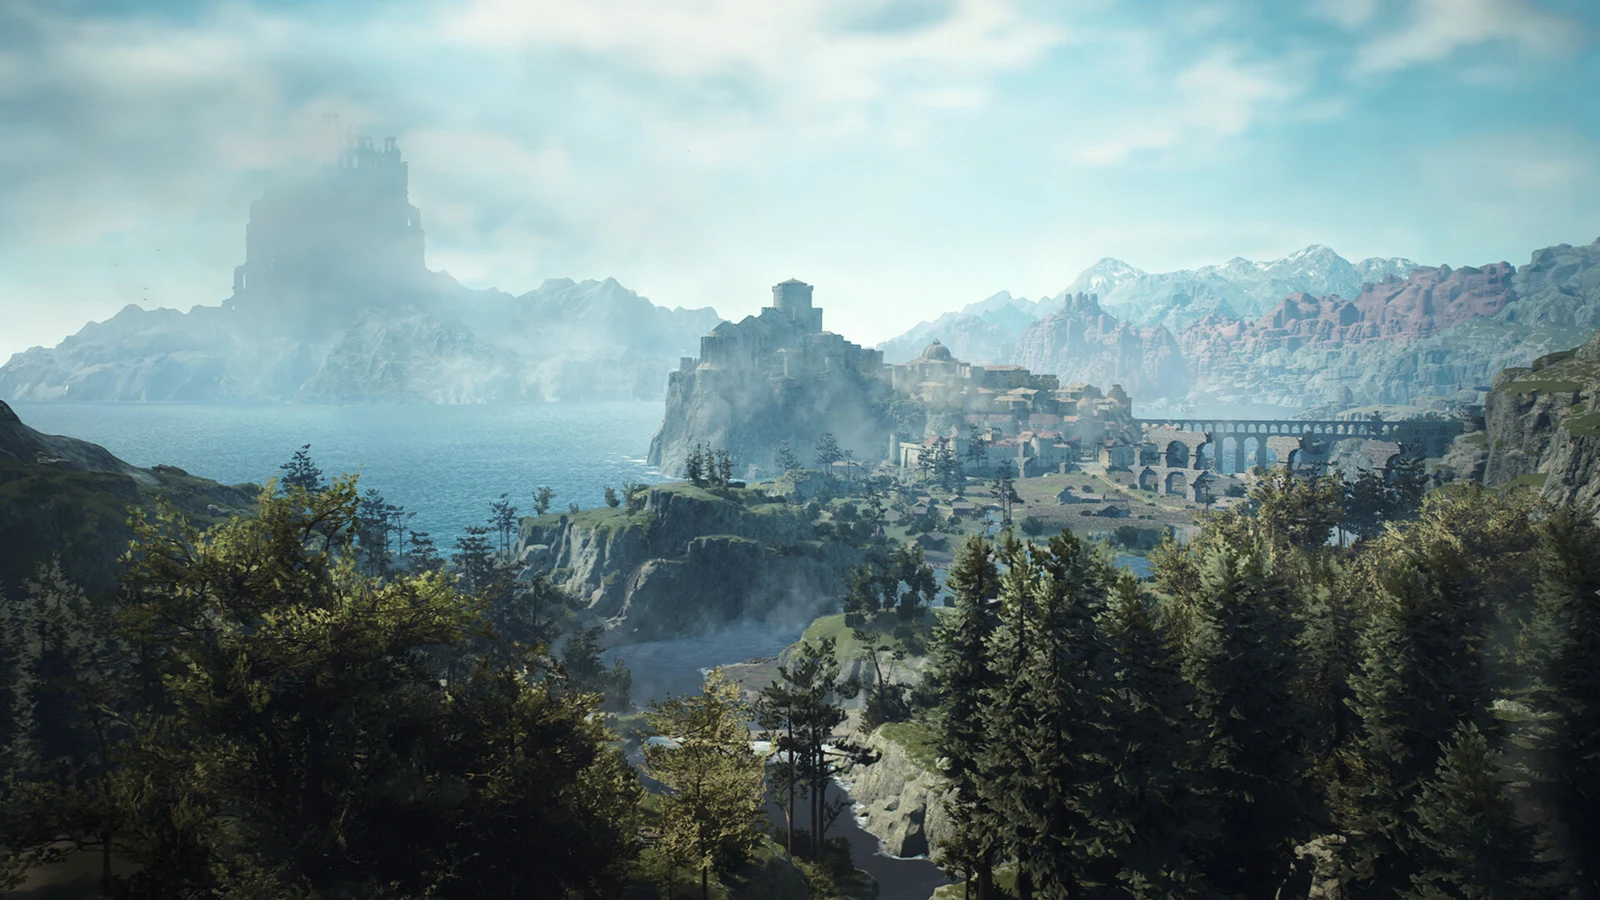
The Castle in the Ice is the Forsaken Dominion quest that brings the Norgan pursuit in Dragon’s Dogma 2: Dark Arisen to its target. The Fallen Dragon’s sought-after “life vessel,” is revealed to be a person. At the lowest point of Snowfall Valley Cavity, inside Lorade Castle, lies the armored corpse of Ser Rovall, Eir’s master. Your decision about his body determines whether Norgan’s story can proceed.
Quick answer: Pick “Agree not to harm the corpse” in the Lorade Castle throne room, then speak to the Sphinx at the Shrine of Wisdom. That completes The Castle in the Ice and opens Soul Searching.
The Castle in the Ice quest facts
This quest addresses one central problem: the Fallen Dragon keeps recovering. The Sphinx says the sole solution is to destroy its real body, hidden in a cold, quiet place inside Lorade Castle. Reaching the castle requires a long detour: hunt a gagana, fire a ballista at an ice wall, then descend through a cavern. The castle is the reward at the end.
- Quest type: Forsaken Dominion main quest
- Required quest: Rumbles in the North
- Stages: 19, including both branches of the corpse decision
- Characters involved: Eir, Ryatt, Wash, Amos, Polyeidus, Jiera, Rovall and Hal
- Leads to: Quilt Me Down with a Feather, No Spoils Get Left Behind and Hal’s Treasure Hunt
The final approach is set inside the Snowfall Valley Cavity in North Valgrian Frostgrove, with the active objective reading “Seek Lorade Castle within the snowfield cavity.” The castle walls aren’t empty. Airborne Succubi attack on the stairs up the ramparts, and Magma Scale saurians burst out of the snow and rubble near a riftstone on the battlements. One cliff face needs a Climbing Hook thrown to a wooden tether post before you can go further. A chest on the ramparts holds an Allheal Elixir, and Abandoned Supplies plus Lv. 3 spoils (Greaves, an Ancient Bowstaff and Ancient Long Weaponry) are scattered along the route.
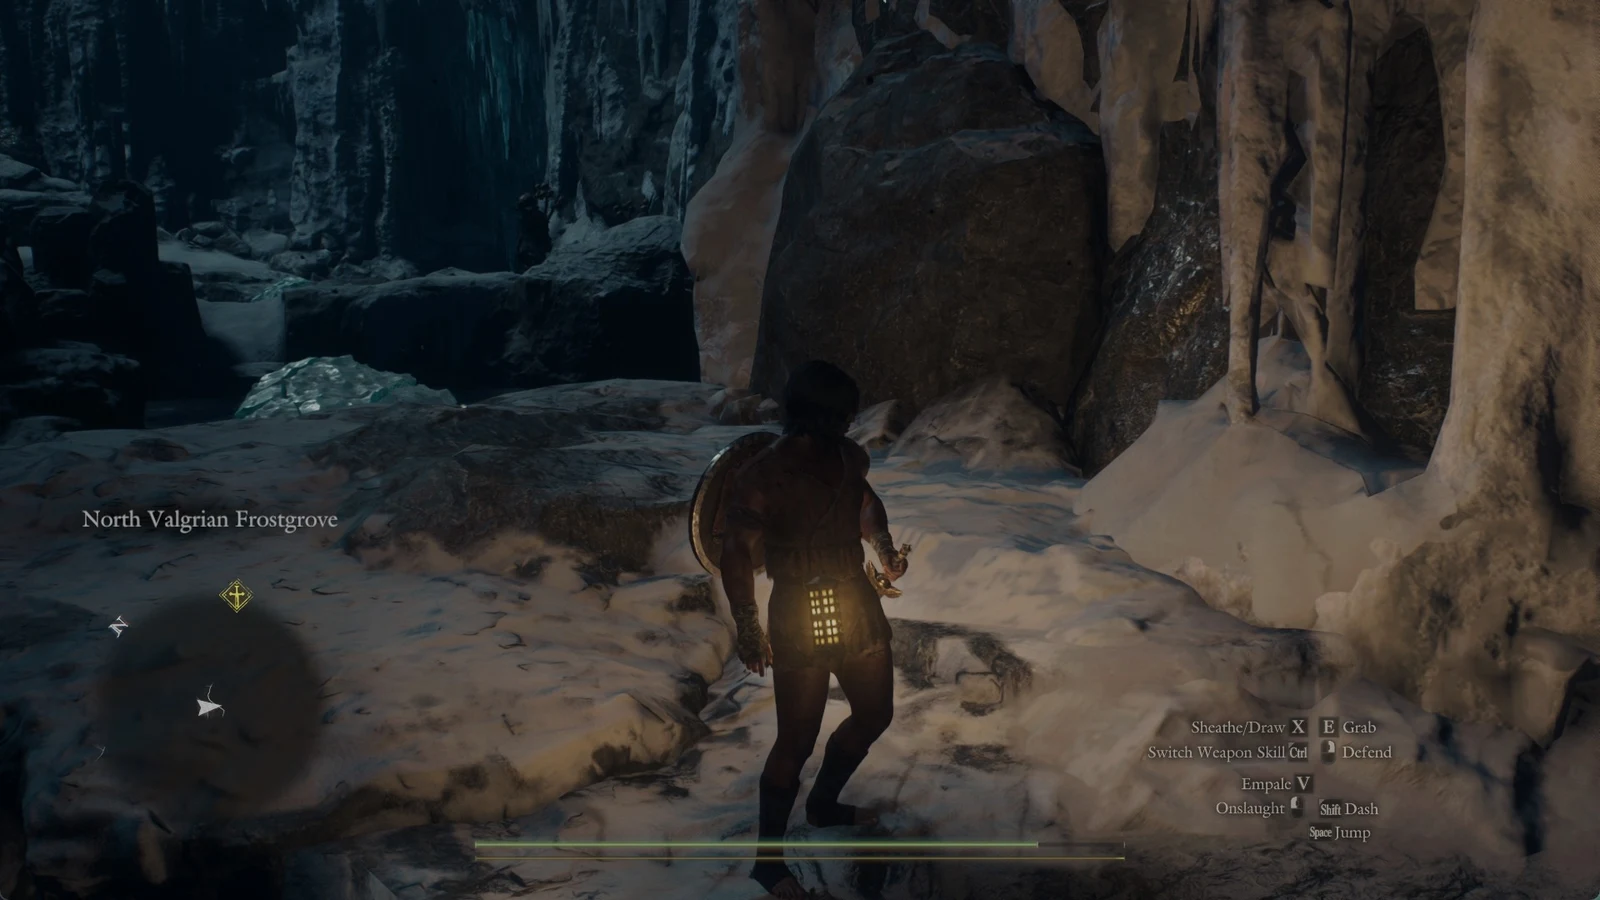
The castle has sheer drops. A missed jump near the ornate stone shield set into the wall is fatal, and a Wakestone is the way back from it.
Rovall’s corpse and the choice in Lorade Castle
Opening the inner door triggers a cutscene in the throne room. Rovall’s armored body is seated on the throne, and Eir stands guard in front of it. A notification confirms what the scene suggests: the corpse belongs to Eir’s master. Rovall once gave up his own soul to seal away an ancient evil, and his body became bound to the Fallen Dragon in the process. Destroying the body kills the dragon, and it also ends any chance of bringing Rovall back.
The objective switches to “Decide whether or not to destroy the corpse,” and the two paths split cleanly.
| Decision | Next objective | Outcome |
|---|---|---|
| Agree not to harm the corpse | Ask the sphinx how Rovall might be saved | Story continues |
| Destroy the corpse | Kill Eir, then destroy the body she protects | Eir fights you, then the vessel is destroyed |
The destroy branch is a real ending, not a detour. Eir defends her master’s remains to the end, and once the body is gone, Vernworth is spared the ruin you saw in your dream. Eir warns that the beast may simply rise in other worlds instead. It’s an abrupt, bad ending to Norgan’s story. The Dark Arisen main line, with Soul Searching, Where There’s a Will, There’s a Way and Reunion, only continues if you spare the corpse.
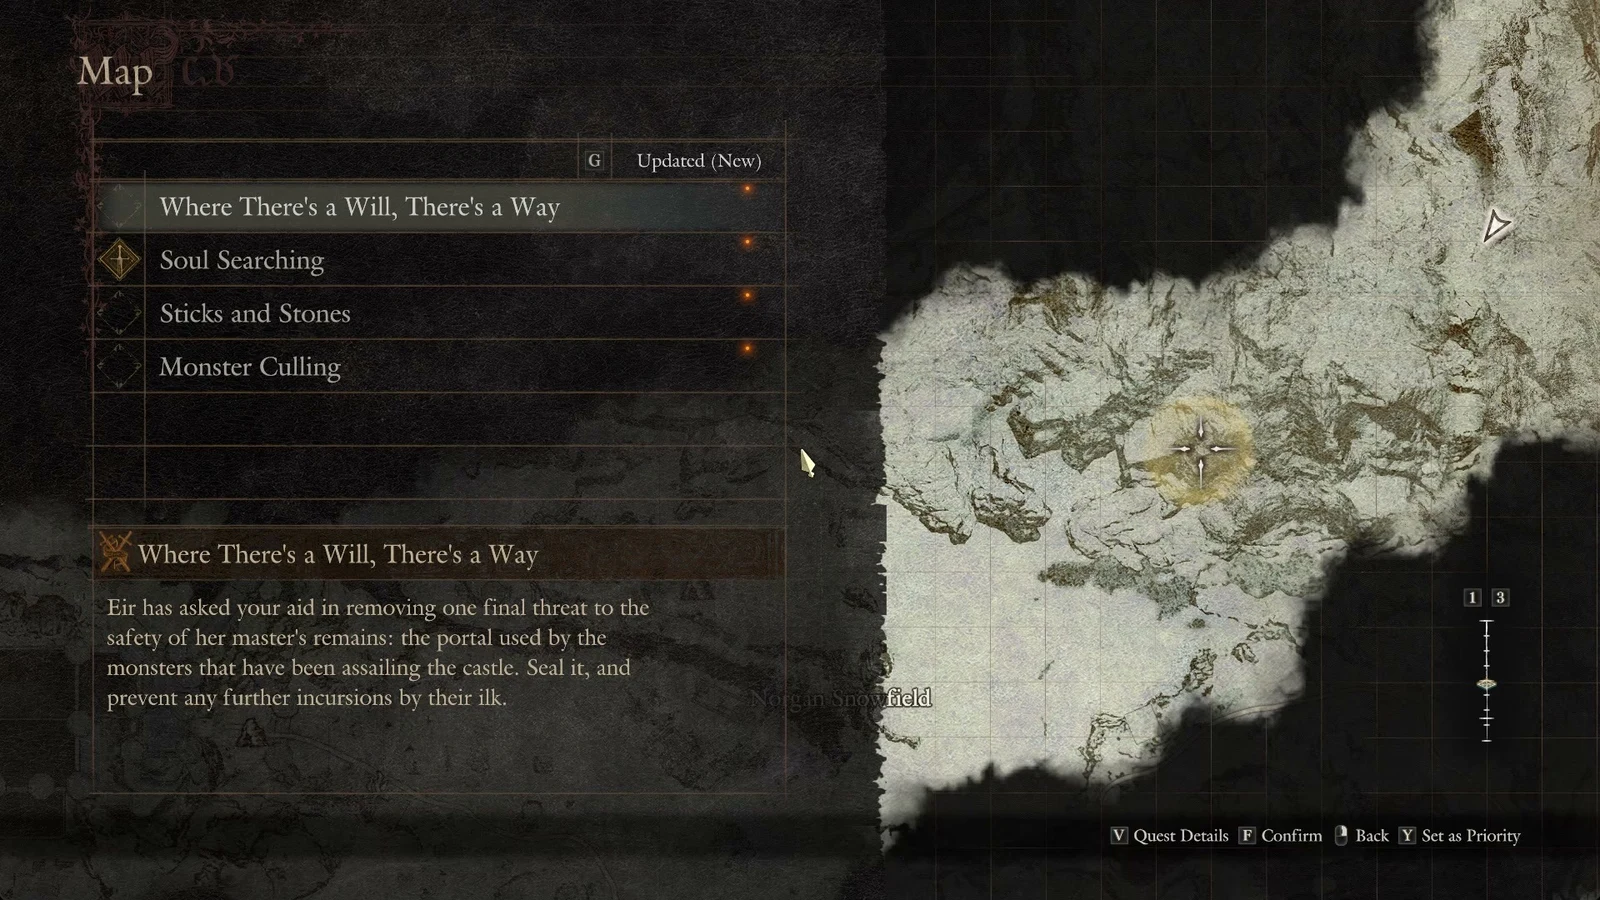
There’s also a “Do nothing” dialogue option when you speak to Eir. It doesn’t make the decision for you. The corpse choice that moves the quest forward is the explicit “Agree not to harm the corpse.”
The Sphinx at the Shrine of Wisdom ends the quest
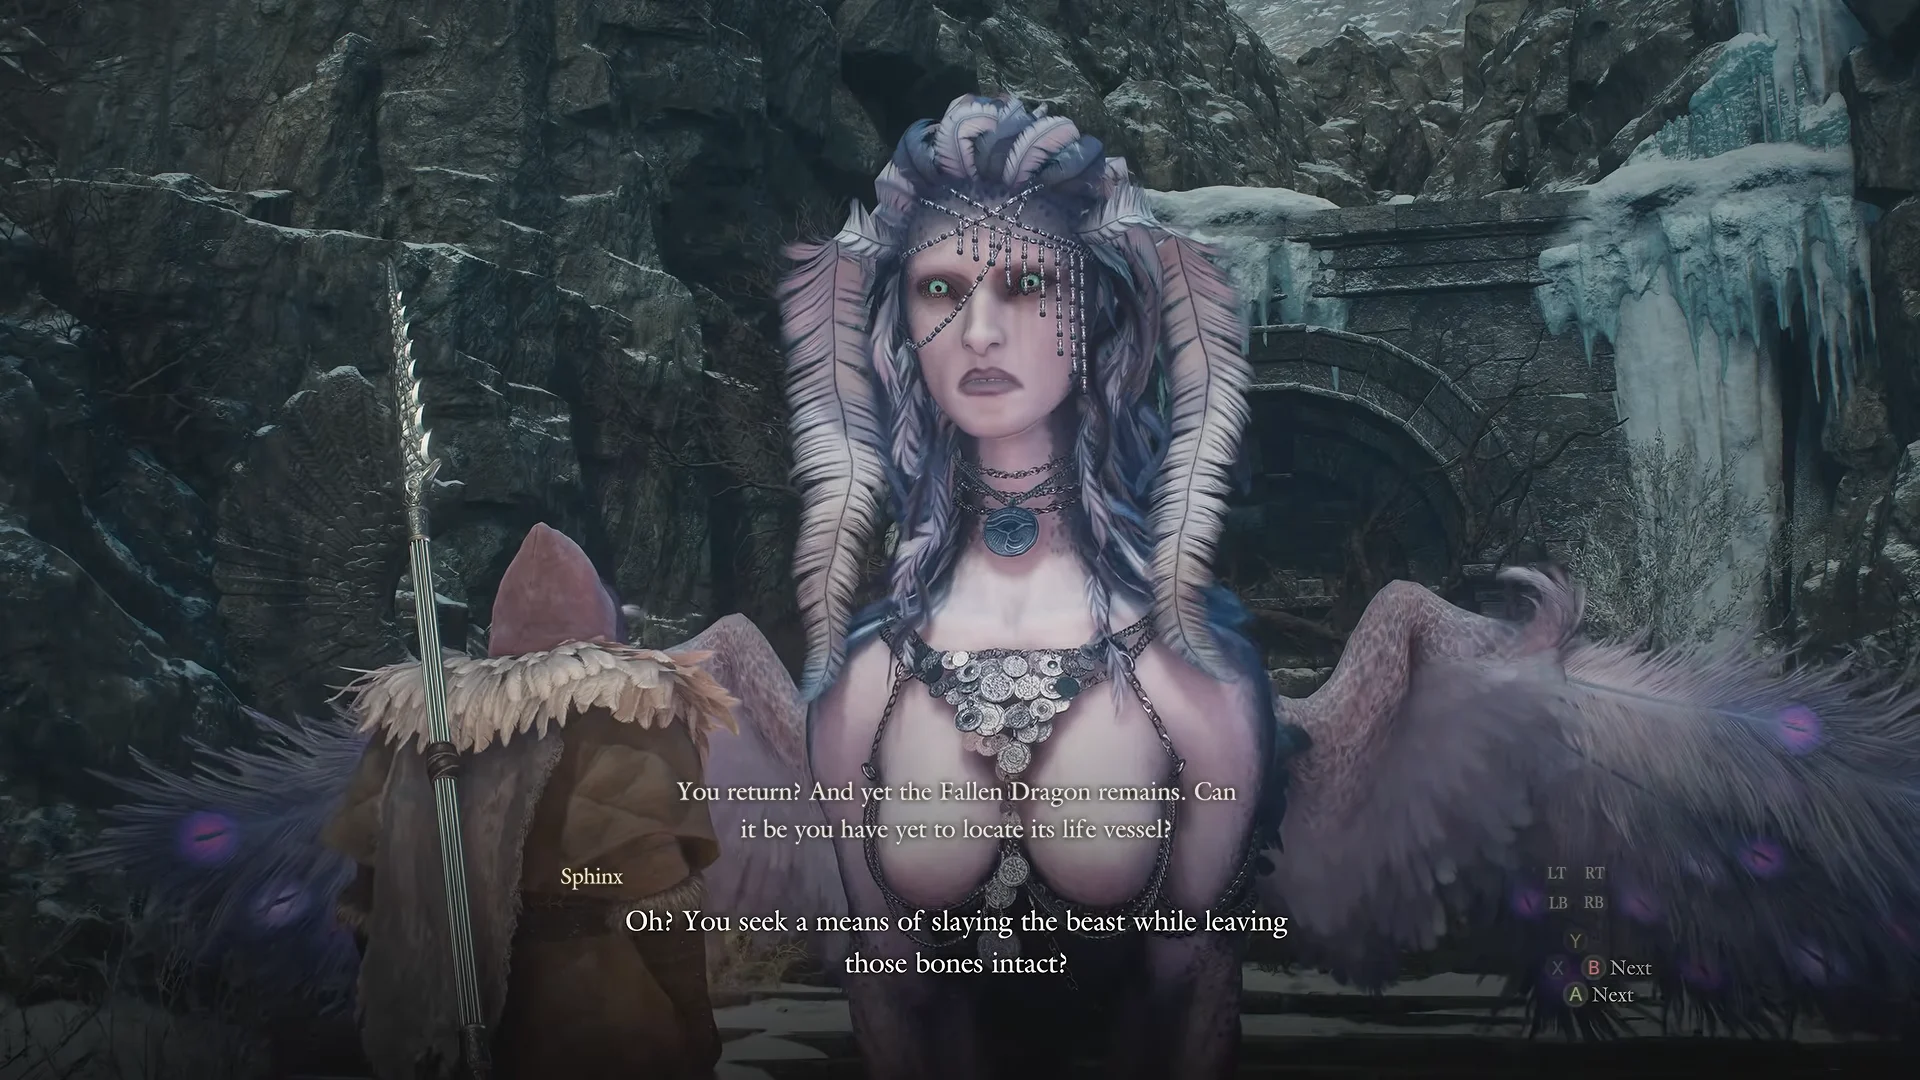
Eir believes the Sphinx knows how to end the Fallen Dragon without destroying Rovall’s remains, so the last stretch of the quest is a trip to the Shrine of Wisdom. An Eternal Ferrystone or the Shrine of Wisdom portcrystal gets you there instantly. The Sphinx’s answer reframes the whole campaign. Rovall can’t simply be killed, because he’s been cut off from death itself. Bringing him back means reuniting three things: his body, his will and his soul.
The conversation offers “Ask about the soul,” “Ask about the will” and “That is all.” Asking about both and closing out the dialogue completes the quest. You’ll know it worked when the log reads “Completed: The Castle in the Ice,” and Soul Searching appears with the objective “Consult with someone who knows Norgan’s history.” Where There’s a Will, There’s a Way also shows up with a “Speak with Eir” objective, covering the will half of the problem.
Soul Searching picks up straight after
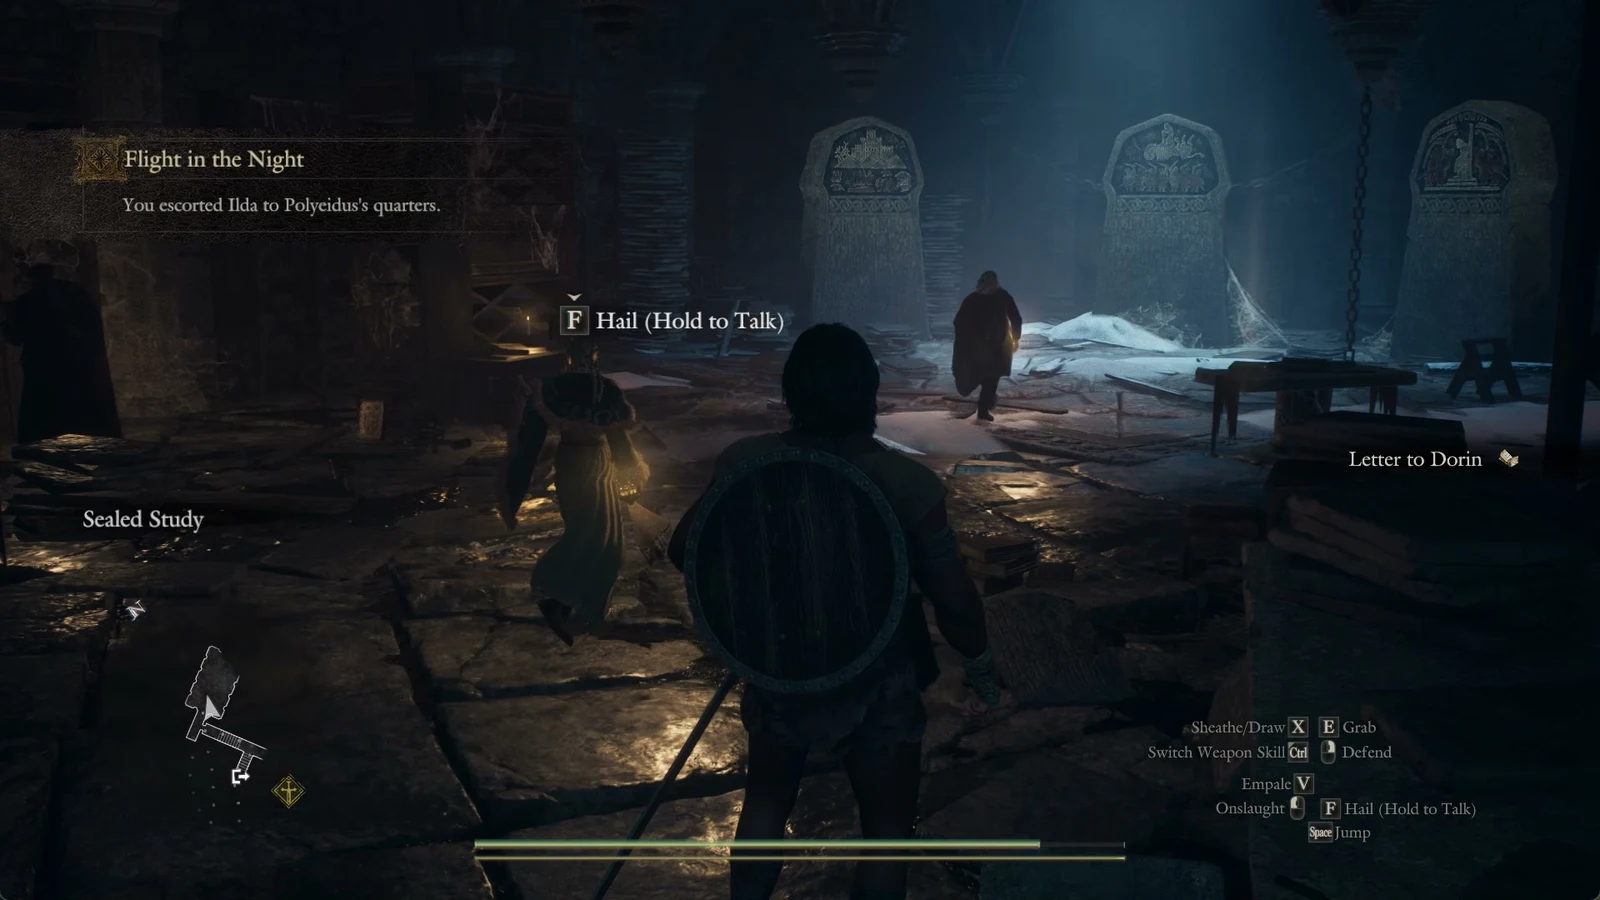
The quest log pins Soul Searching to the Sealed Study, the underground library where Polyeidus works. Soul Searching is a 22-stage main quest whose job is to work out where Rovall’s soul ended up, and it starts with reconstructing Norgan’s lost history.
Polyeidus and the Transcription Kit
Polyeidus has six carved slabs depicting Norgan’s past in mind, but three of them are missing. Comparing all six, he says, would point to Rovall’s soul. He hands over a Transcription Kit so you can copy the absent slabs where they stand, in a passage beneath the Norgan Snowfield.
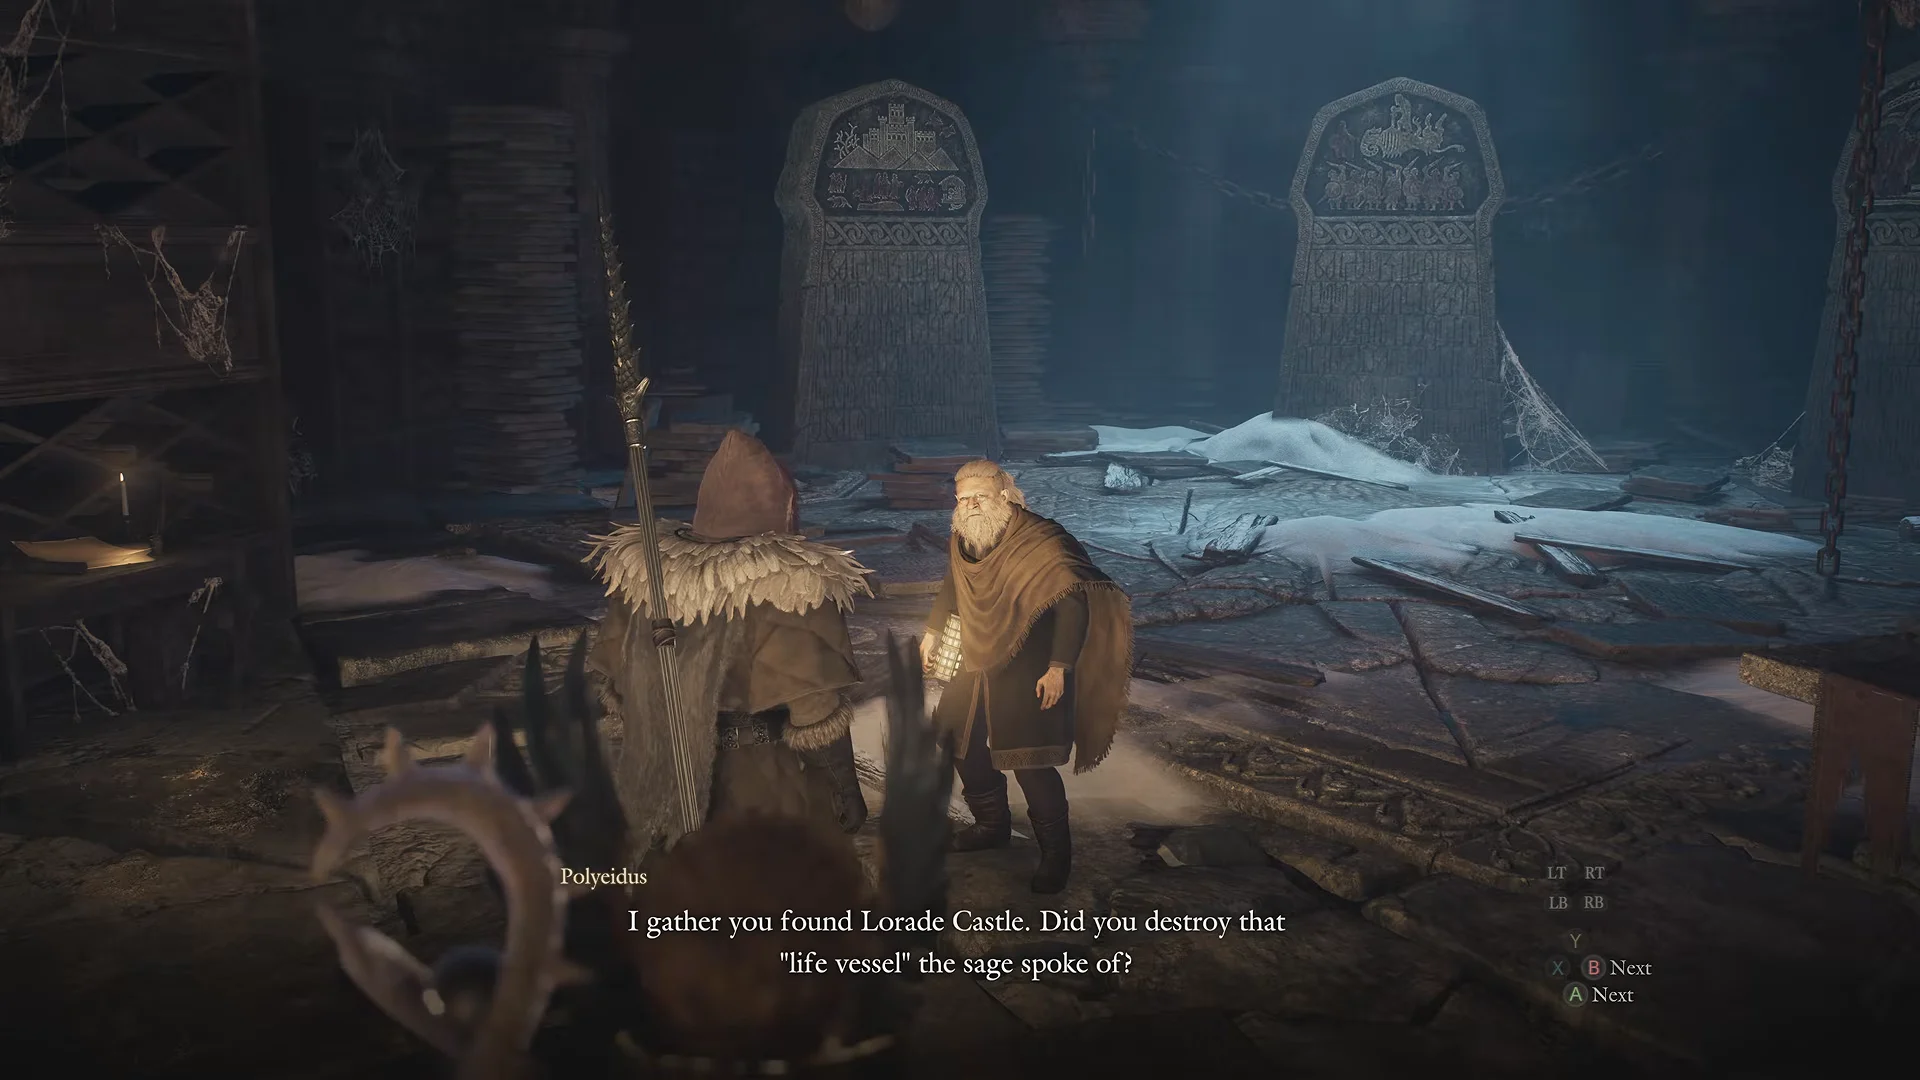
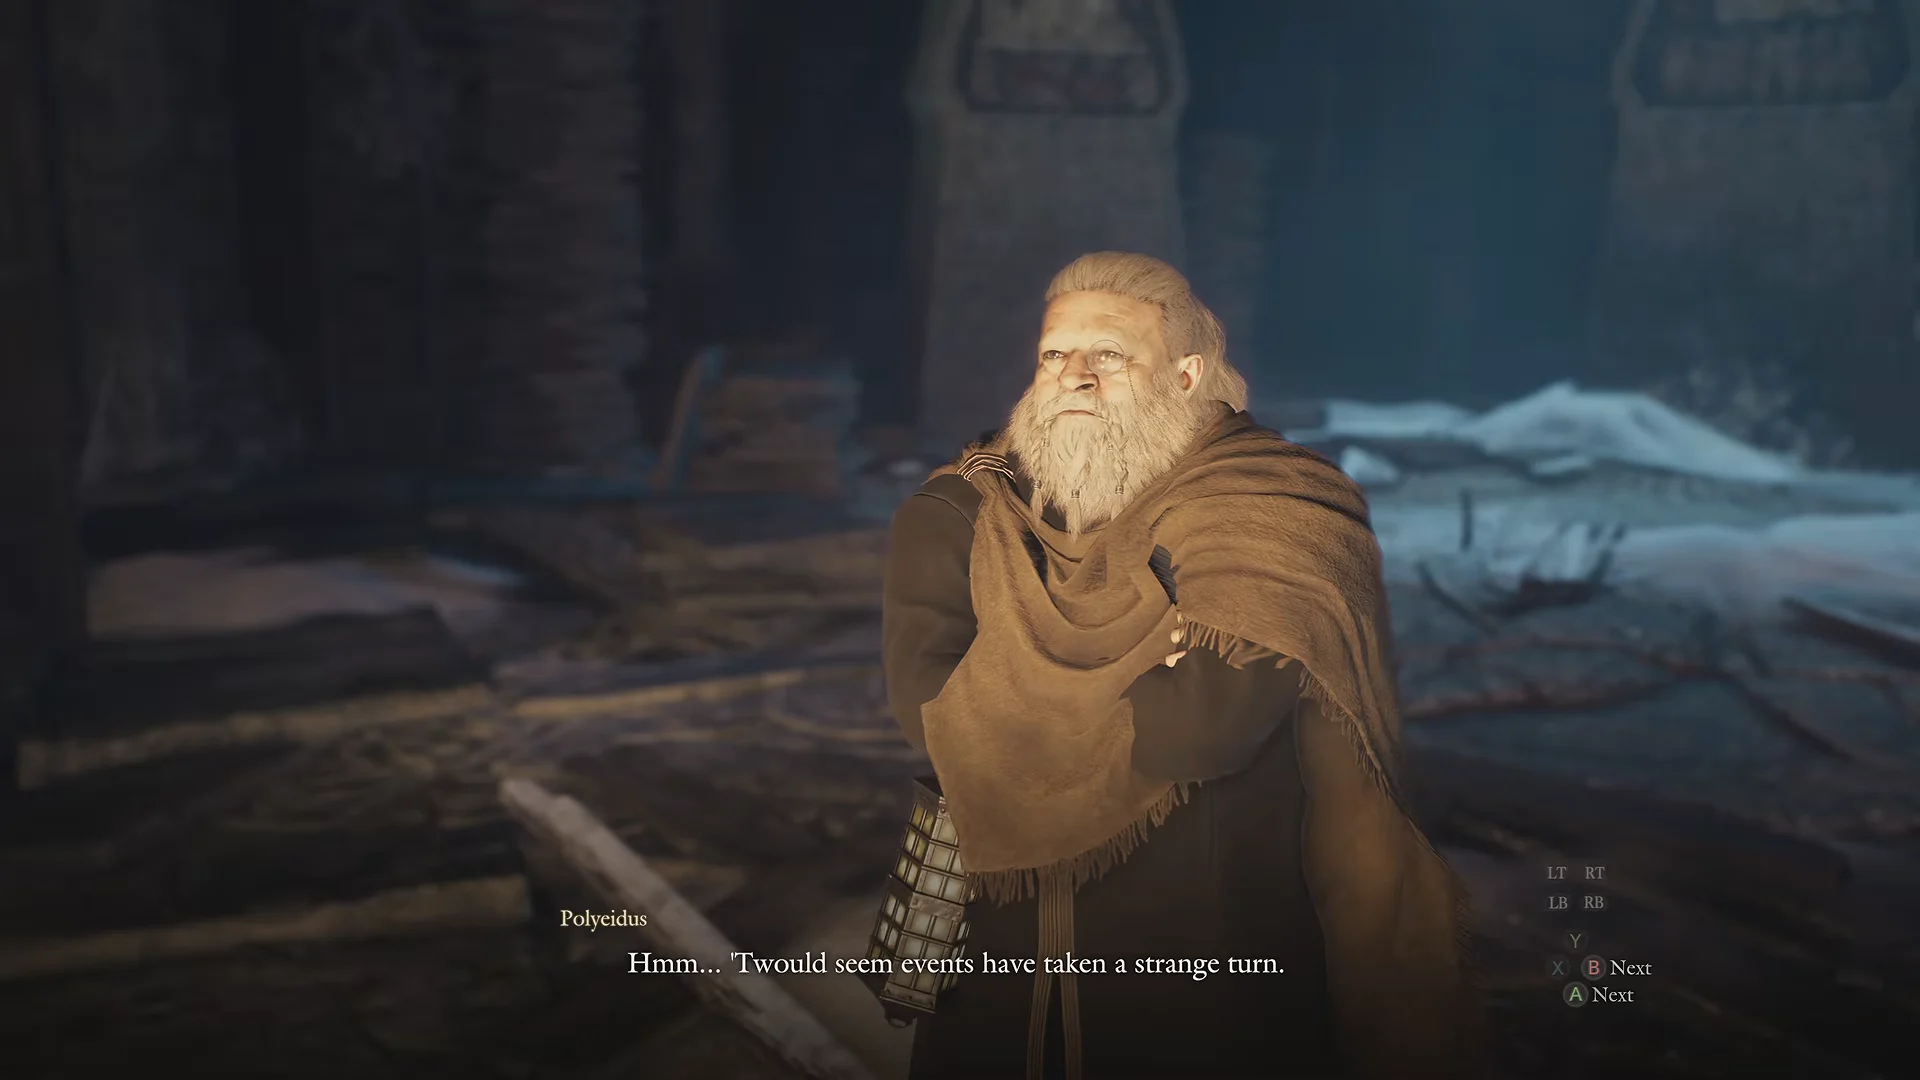
The scholar’s pitch is the comparison itself. With the three known slabs already in hand, the missing transcriptions are the only gap in his reconstruction of Norgan’s final chapter.
Into the Snowfall Valley Derelict Passage
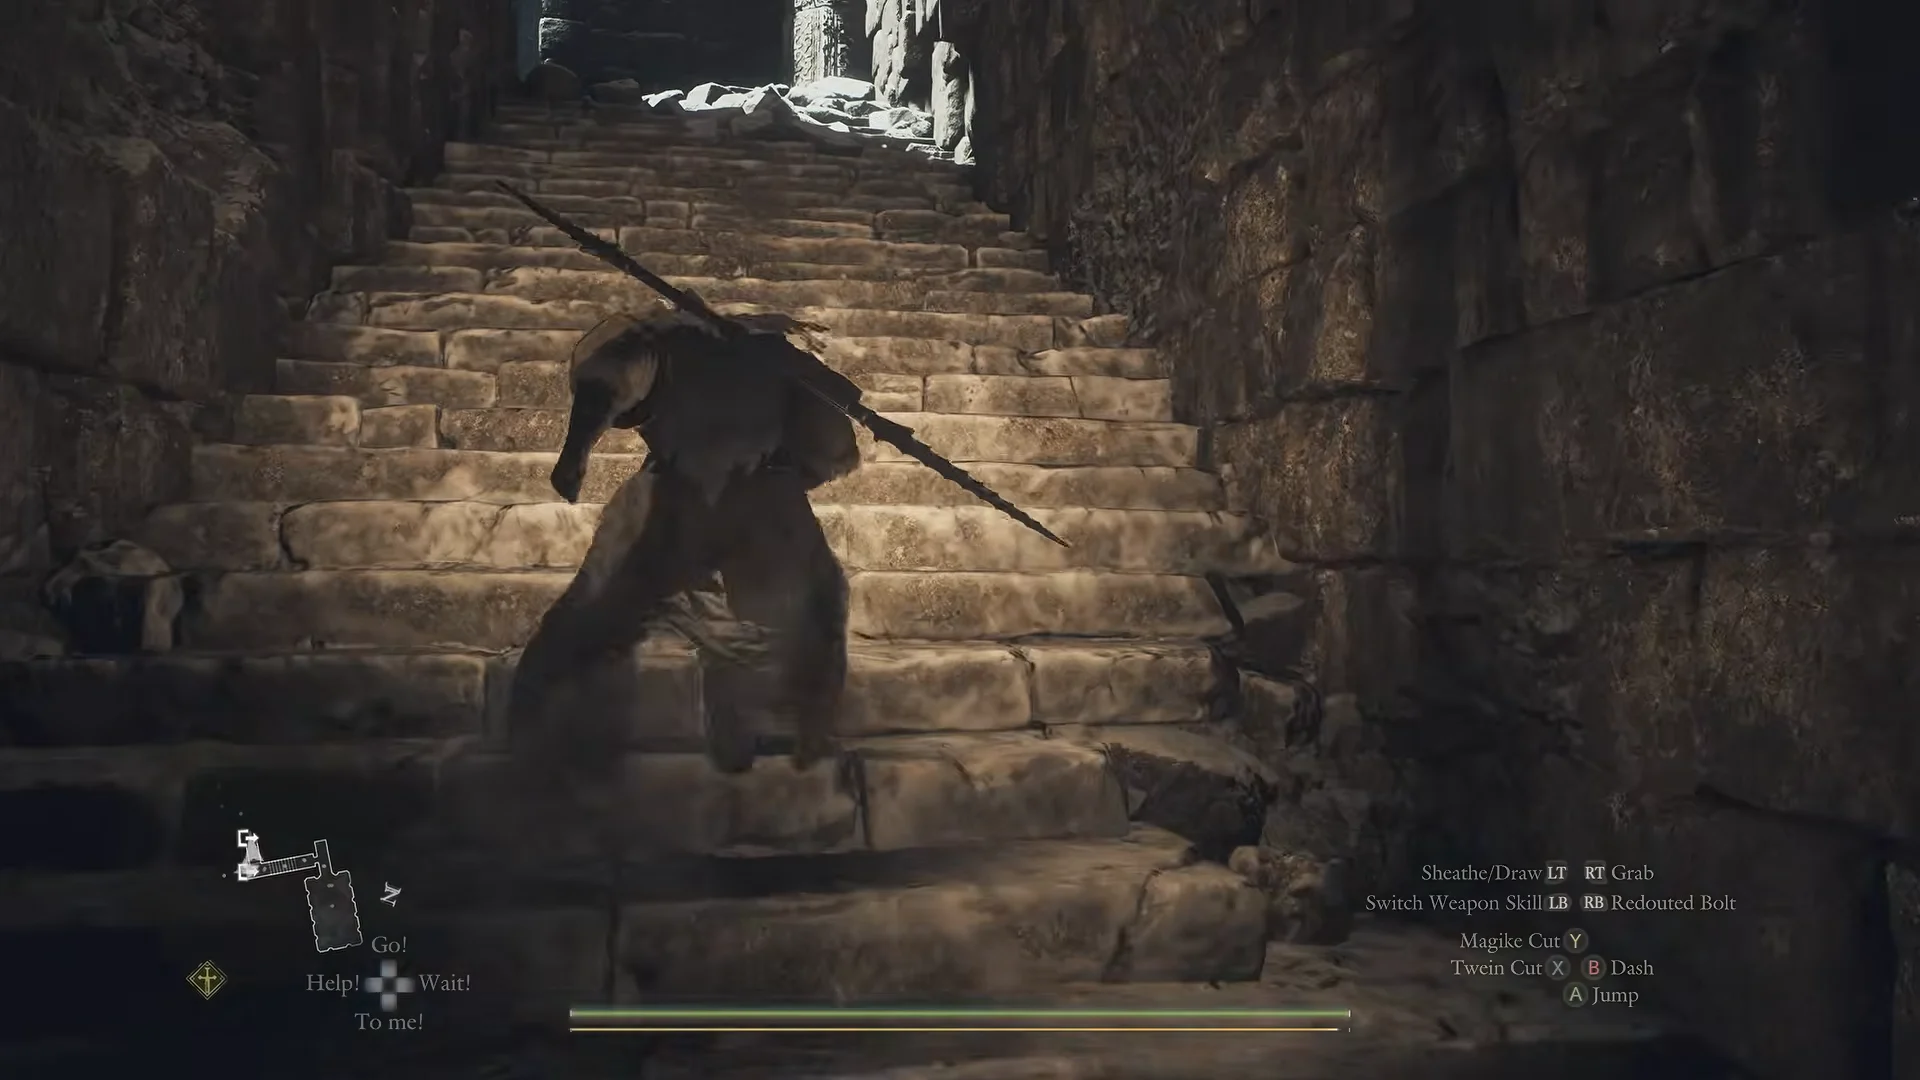
On the way out, Amos stops you on the stairs and hands over an Ancient Map of Derelict Passage. The route runs through Brinerot Grotto and up snowy steps into the Mountain Stronghold, where ghouls hold the stairs, before a wooden ladder drops into the dark corridors of the Snowfall Valley Derelict Passage.
The passage is where the session’s hardest fights happen. A Snowfoot drops in on the party not long after the first slab, and a winged, fire-casting Lesser Demon waits in the lower cavern. The party breaks the demon by focusing on its horns, and it drops a Baleful Hoof when it dies. Skeletons, undead and lurking Nokkem fill the corridors between the later slabs.
The three slab transcriptions
Each slab is copied with a hold prompt, and each produces a named transcription item.
| Transcription | Where it sits | What it depicts |
|---|---|---|
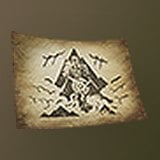 Evil’s Emergence Transcription Evil’s Emergence Transcription | Broken slab, early in the passage | Threatening forces assemble by a fortress |
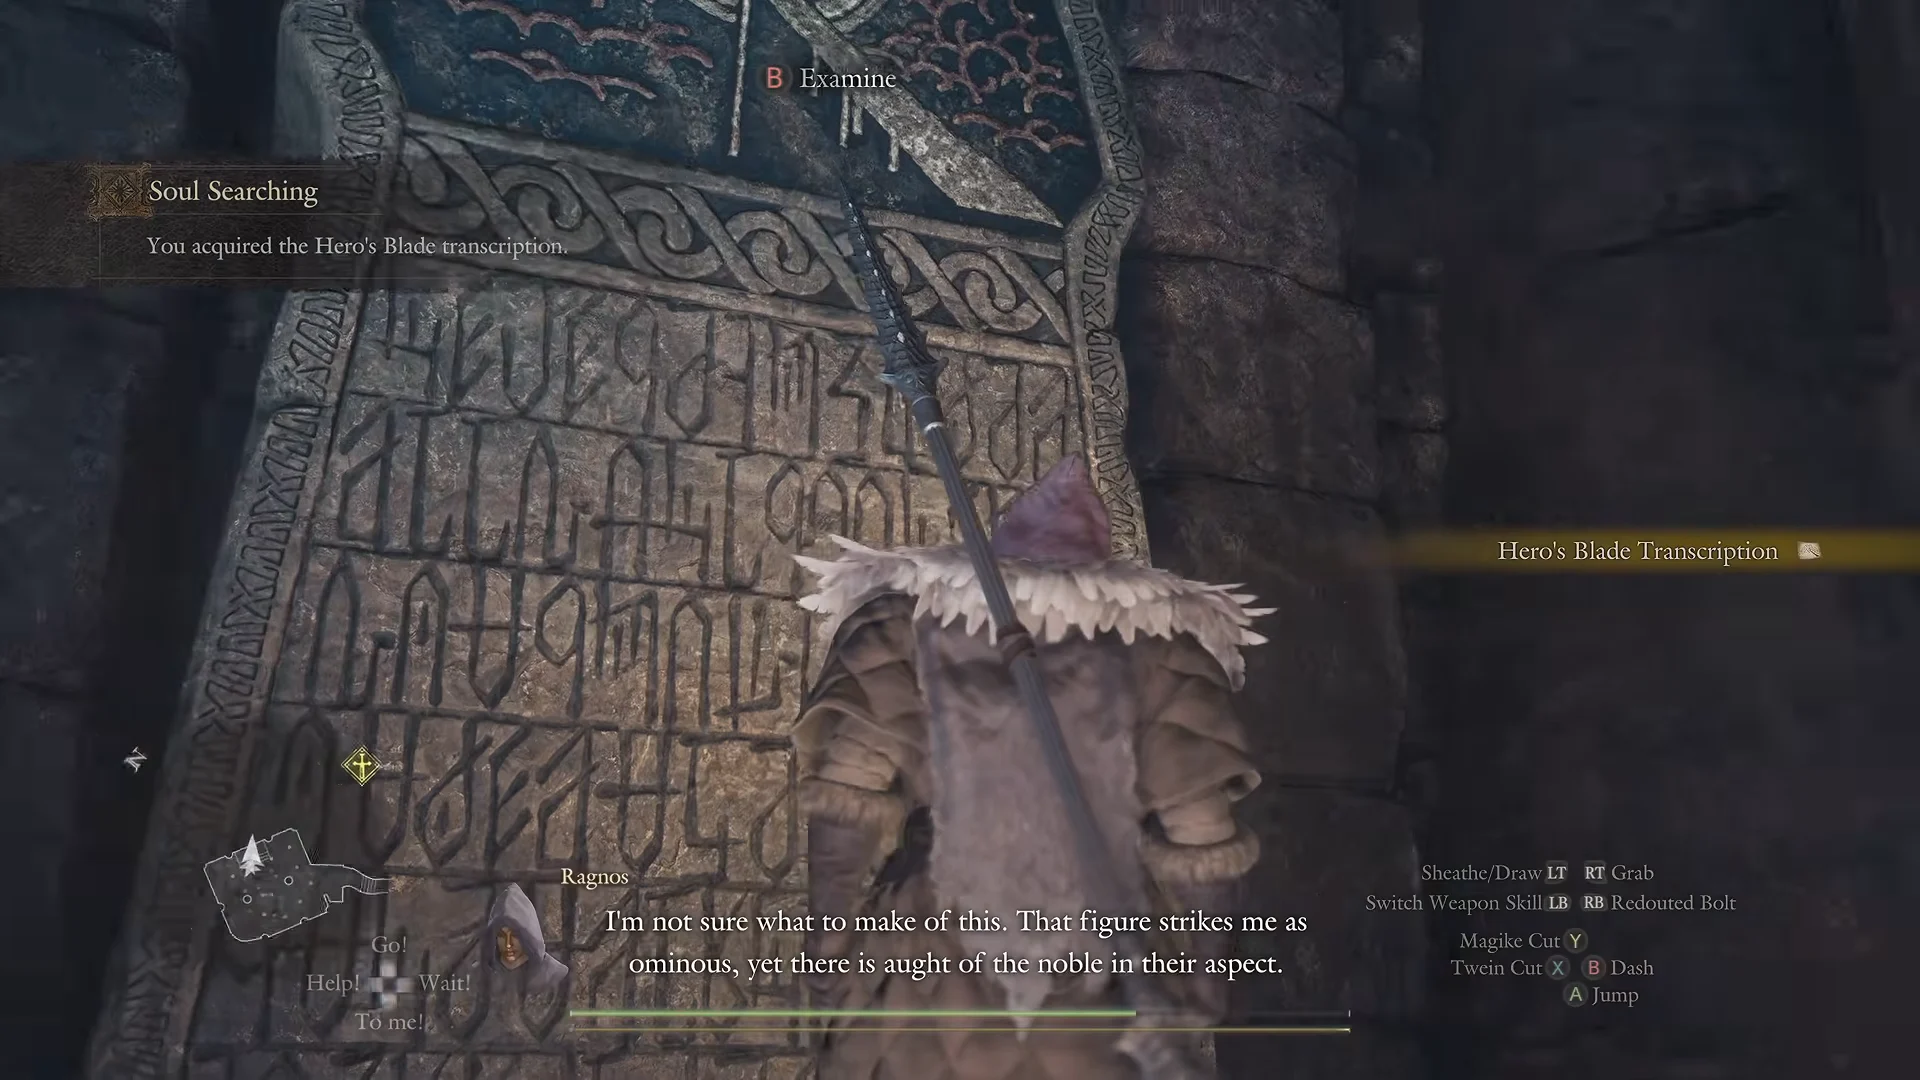
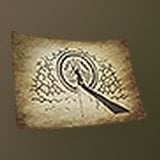 Hero’s Blade Transcription Hero’s Blade Transcription | Slab set into an archway | A hero’s sword |
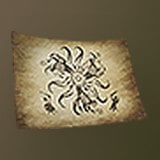 Grotesquerie Transcription Grotesquerie Transcription | Deeper corridors, past the undead | Monsters pouring forth |
Evil’s Emergence is the first slab you’re likely to reach, and its “Hold to Copy” prompt is the cue that the Transcription Kit is doing its job.
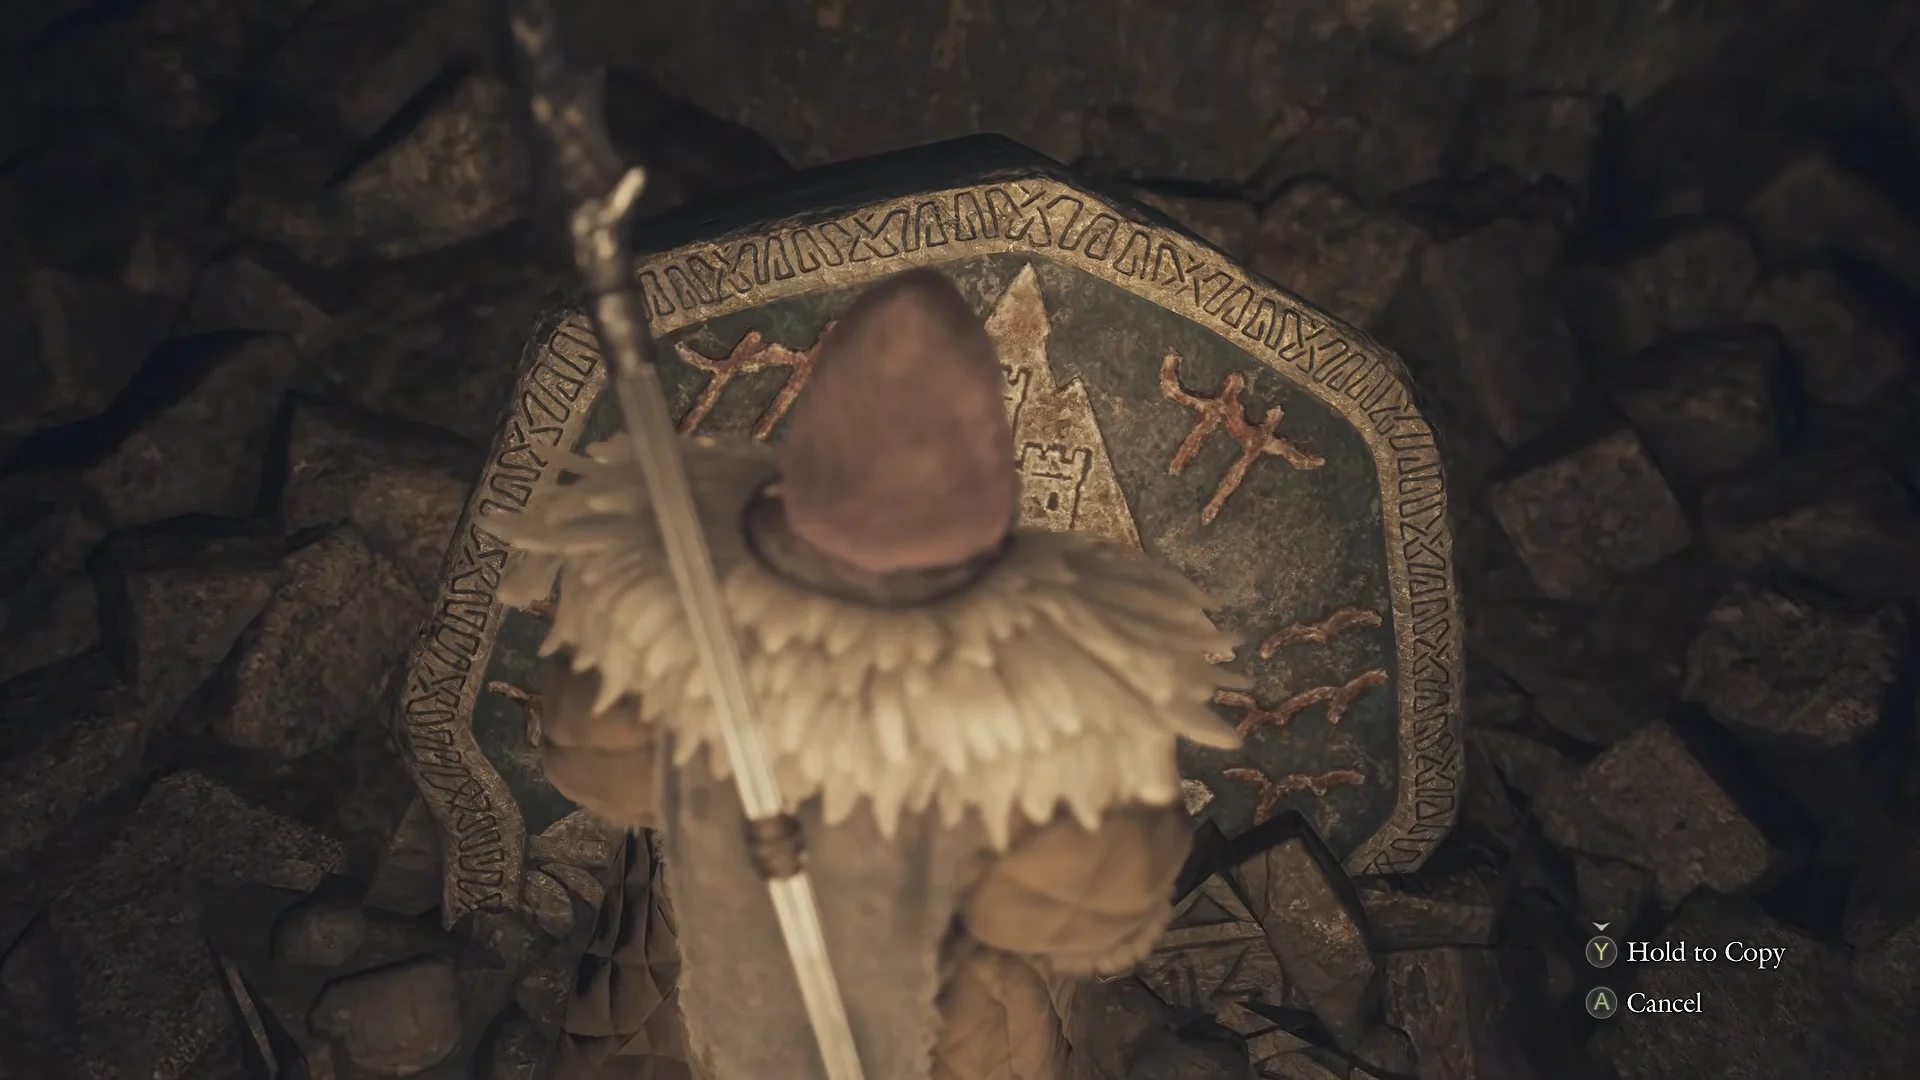
The Hero’s Blade slab sits in an archway further in. Delivering all three transcriptions to Polyeidus moves Soul Searching to “Wait for Polyeidus to decipher the slabs,” since he needs until the next day to study them.
Soul Searching pays out 35,000 G and 3,000 RC on completion, with either 180,000 or 240,000 XP depending on the reward variant.
Fallen Dragon, Lesser Demon and Magma Scale stats
Three enemies matter around this part of the story. The Fallen Dragon is the reason Lorade Castle exists as a destination, while the Magma Scale and Lesser Demon are what you actually fight on the way. Base figures are below. The Lesser Demon has stronger variants with 300,000 health and 145,000 experience.
| Enemy | Health | Strength / Magick | Experience |
|---|---|---|---|
| Fallen Dragon | 500,000 | 12,000 / 9,500 | 200,000 |
| Lesser Demon | 260,000 | 7,500 / 7,000 | 120,000 |
| Magma Scale | 18,000 | 1,000 / 600 | 770 |
Damage multipliers are what change how you fight each one.
| Enemy | Takes extra from | Resists or ignores | Immune to |
|---|---|---|---|
| Fallen Dragon | Slash, strike (1.15x) | Neutral to all elements | Every debilitation |
| Lesser Demon | Ice to the head (1.2x) | Fire (0.2x) | Sleep, Caught Fire, Tarred |
| Magma Scale | Slash (1.8x), strike (1.7x), ice (1.5x) | Fire (0x) | None listed |
The Lesser Demon is a fire caster that barely feels fire, so fire spells from your pawns are close to wasted on it. Its body takes 0.75x from physical attacks, but its head takes full slash and strike damage, which is why hitting the horns works so well. Silence builds up fastest, at 1,000, followed by Blighted at 1,500. Magma Scales take no fire damage at all, while blunt and bladed weapons both hit them hard. The Fallen Dragon is a damage sponge with 10 health bar segments and no debilitations to lean on.
Allheal Elixir from the Lorade Castle ramparts
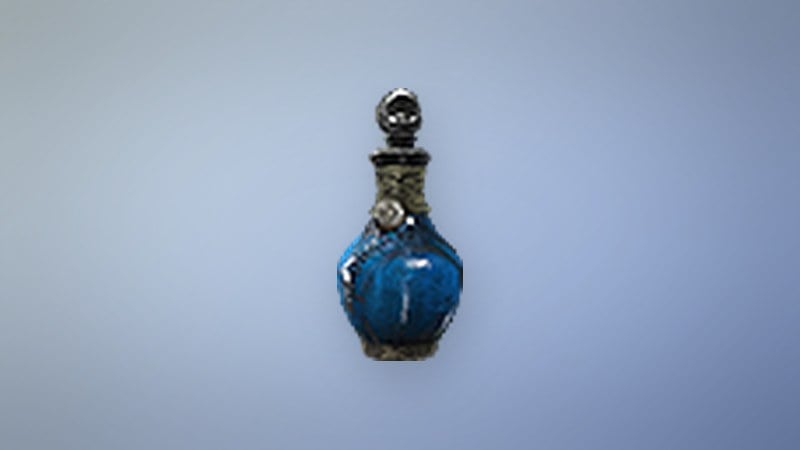
The Allheal Elixir in the rampart chest is worth holding onto for the Lesser Demon fight. It restores all Health and Stamina and clears every current debilitation, including Caught Fire, Frostbite, Petrification and Silence. Eldart’s Apothecary sells it for 10,000 G, it can be traded for 5 Norgan Ducat, and it sells for 1,750 G. It weighs 0.2 kg and stacks to 99. Combine one with a Wyrmslife Crystal and you get a Dragonsbaulk Draught.
Back at Norgandian Settlement, Jiera appraises the relics gathered along the way, turning out weapons like the Singular Daimleif and Superior Spinechiller. She also hands over Reaching the Far Shore, a side quest to fetch a tome from a cavern across Lake Norgan. That lake is full of brine, and Ryatt in the Sealed Study has the only workable plan. Lure a fimbl, the ice wyrm, toward the shore and weaken it so it freezes the water solid enough to walk across. Meanwhile Rovall’s body sits untouched on its throne, waiting for its will and soul.