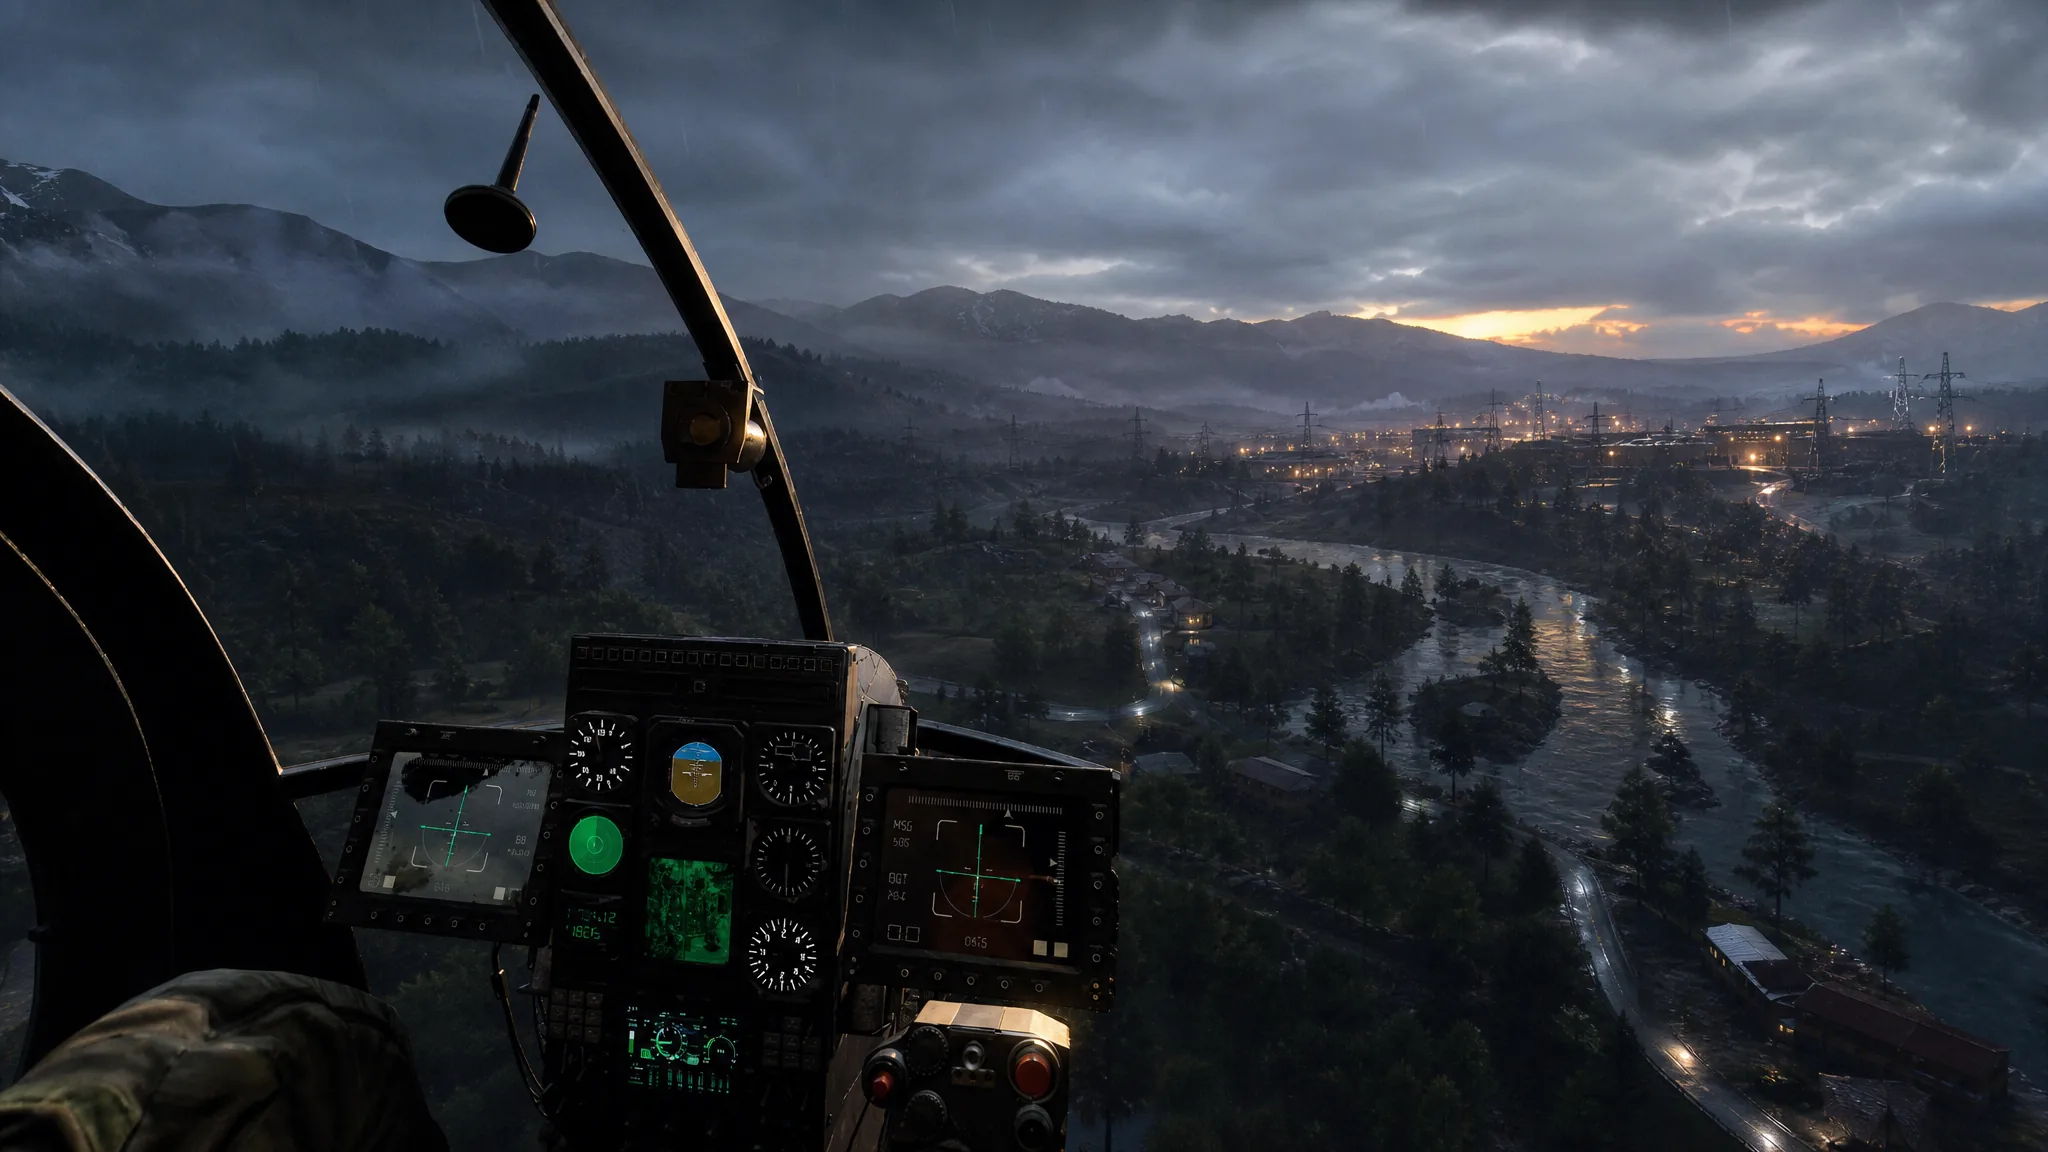
Cash is the whole progression system in the Wardogs beta. Every weapon, magazine, attachment, vest, backpack, medical item, and vehicle comes out of one persistent balance, and that balance follows you between matches. Kills pay, but they are not the fastest route to a full wallet. The biggest payouts in Bulkhead’s three-team shooter come from moving people and materials into the Control Zone and keeping them alive once they get there.
Quick answer: Buy a transport vehicle and ferry teammates into the Hot Zone for $500–$1,000 per passenger, then add $400 pallets that pay $2,500 each on delivery. Survival bonuses, passenger kills, and FOB builds stack on top of every run.
How the Wardogs cash economy works
You start with $10,000. That is an opening balance, not a per-life allowance, and it does not refill when you die. Each spawn means buying a loadout piece by piece, so a death is a direct financial loss on top of the walk back from HQ.
Three factions — Valkyra, Lonestar, and Manticore — fight over a randomized 2x2km Control Zone. Every 30 seconds, the team with the most players inside earns a point, and the first to 100 wins. Inside that zone sits the smaller Hot Zone, which moves constantly and counts each of your players as two toward the tick. It also pays double cash, which is why nearly every high-value activity below is anchored to it.
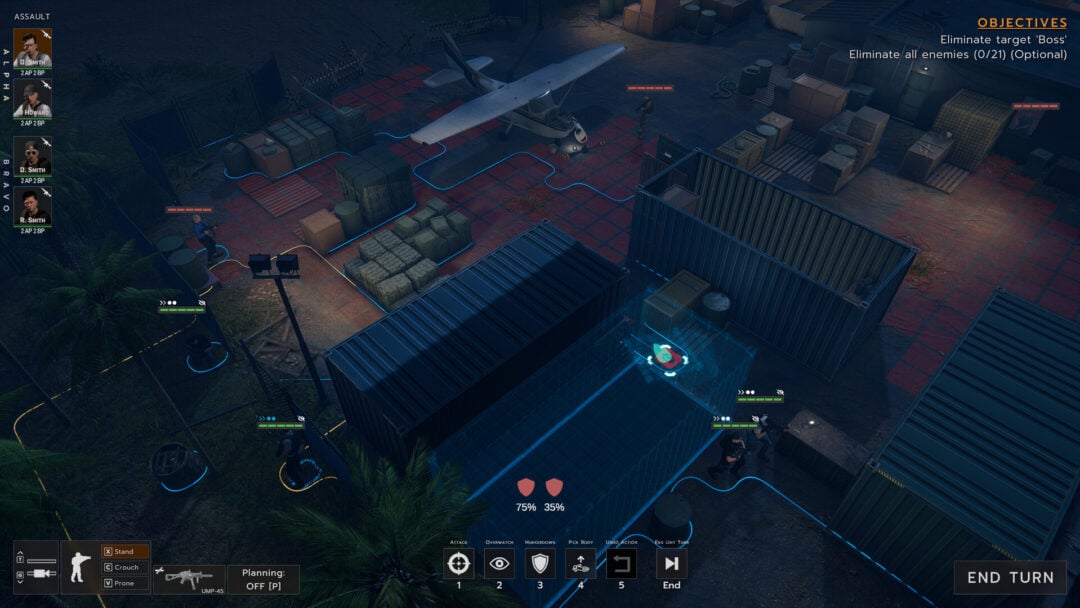
Your running profit and loss for the match sits in the top-right corner of the screen. Watch it after each run — if the number is going down, you are spending more on kit than your role is bringing in.
Confirmed cash payouts in the Wardogs beta
| Action | Payout |
|---|---|
| Drop a passenger in the Hot Zone | $500–$1,000 per person |
| That passenger survives | +$500 per person |
| That passenger gets a kill | +$750 per kill |
| Deliver a pallet to the Hot Zone | $2,500 (pallet costs $400) |
| Another player builds a FOB from your pallet | +$1,800 |
| Deliver a filled small crate | Scales with the supplies inside |
| Complete a sandbag or Hesco build | Paid on completion |
| Scan an enemy with binoculars | Paid per scan, plus a bonus if a teammate kills the target |
| Sitting inside the zone each tick | Paid per tick, doubled in the Hot Zone |
Method 1: Run transport into the Hot Zone
Piloting is the single most profitable job in the beta because one trip pays several times over. A vehicle carries up to six people, and every one of them is a separate revenue stream.
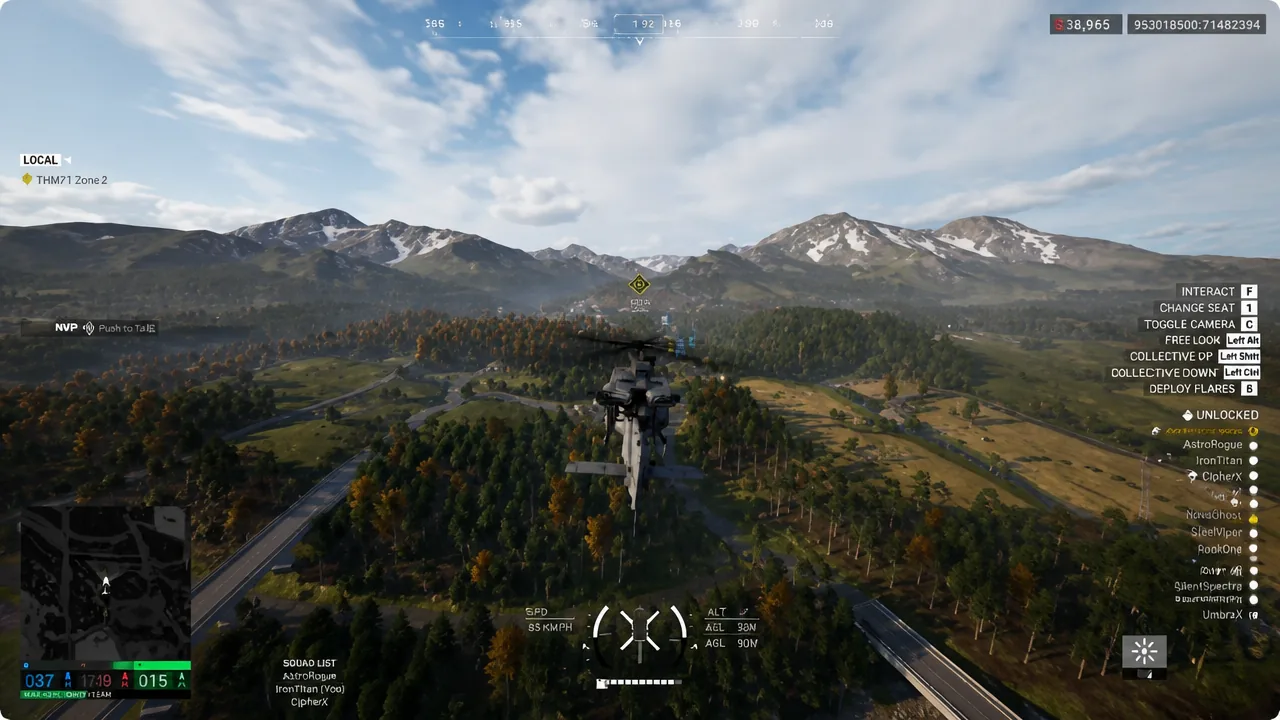
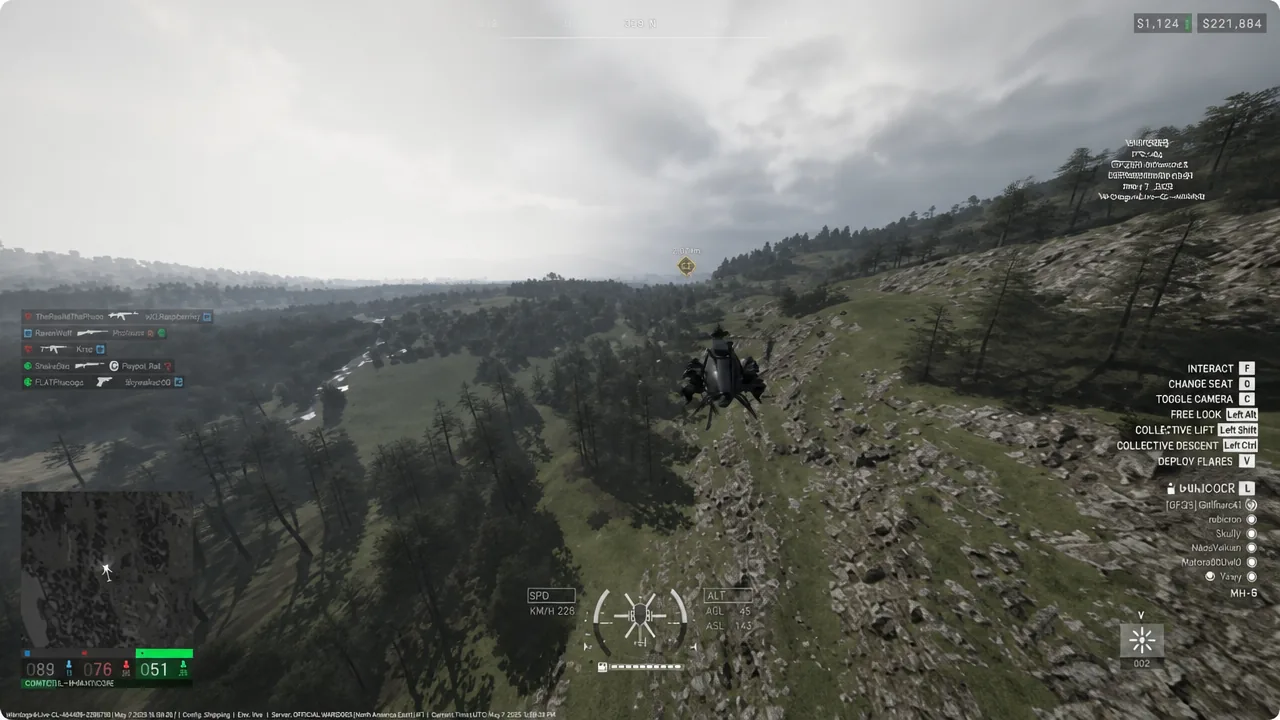
Once your team reaches 20 points, driving a spawn vehicle up to the objective adds deployment bonuses on top of the usual assist cash, so it is worth switching to that route when it unlocks.
Pallets and supply crates
Cargo is even better margin than passengers. A pallet costs $400 and pays $2,500 when it reaches the Hot Zone, and if a teammate breaks it down to build a FOB you collect another $1,800. Small crates work the same way — fill them with what the front line always runs out of, meaning healing items and ammunition, then deliver them for a solid return.
Press G to release cargo. You do not have to land first, but height and speed matter. Drop from too high or while moving fast and the load detonates on impact, which cuts your payout. Slow down and get low before you release.
Method 2: Build fortifications on a friendly tower
Construction pays out on completion and stacks with the cash you passively earn just for standing inside the zone. It is the safest earner on this list because you can work behind cover while your team holds the line.
Method 3: Spot enemies with binoculars
Recon is the cheapest way back into profit after an expensive death. Buy binoculars, move to the edge of the fighting inside the Hot Zone, and scan enemies. Each successful scan pays immediately, and you get a second payment whenever a teammate kills someone you marked.
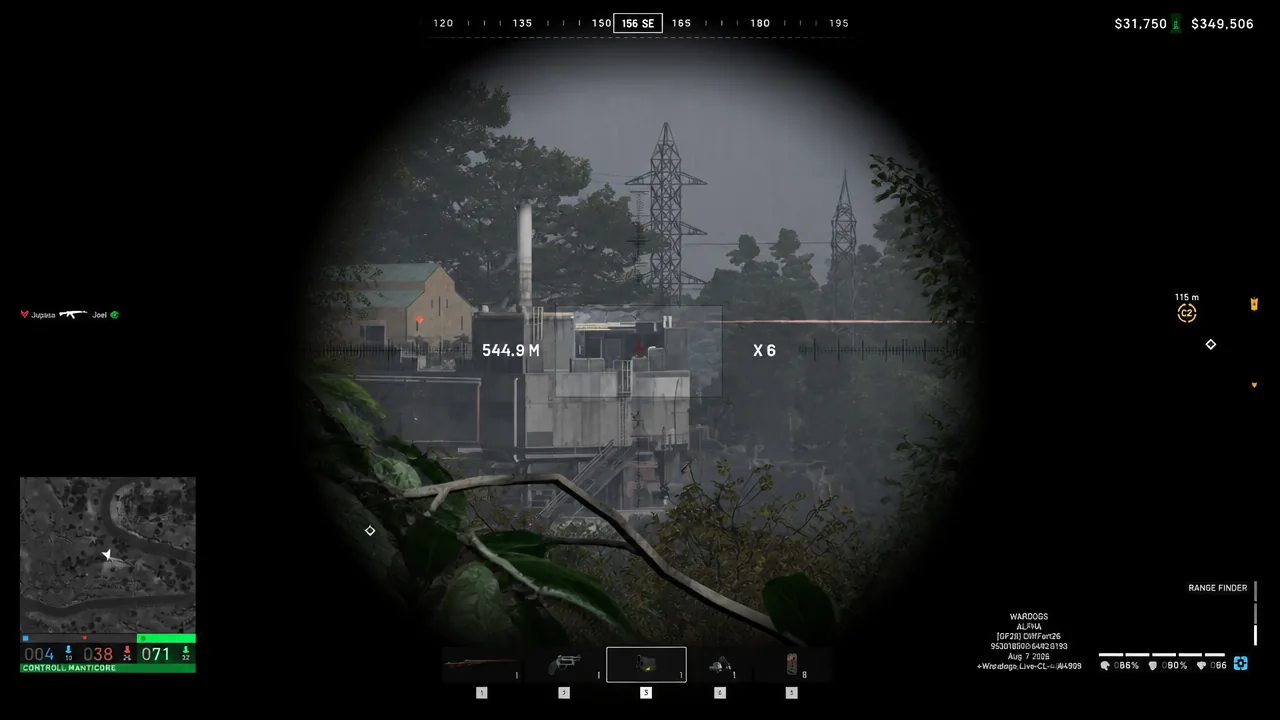
Spotting also pairs well with long-range shooting, which carries its own cash multipliers for engagements outside the zone. The Mosin unlocks at Recon level 10, but the meaningful jump is the 6–10x scope at Recon level 18, which lets you zero out to 1,000 meters.
Armor is the other high-ceiling option. A tank crew can clear vehicles and infantry for large payouts, though it turns into a liability the moment the enemy team fields RPGs.
What drains your balance
Most players lose money to spending, not to a lack of income. Unlocking an item for the first time costs cash on top of its price, and attachments, magazines, ammo, and armor are all billed separately. Buying a full specialist kit before you know the routes usually means handing that kit to the enemy on the first contact.
Keep enough in reserve to field a second, cheaper loadout after a death. A rifle you can control, matching ammunition, and a medical item are enough to get back to the zone and start earning again. Loose ammo is also more space-efficient than stacking pre-loaded magazines, since backpacks are limited by grid slots and magazines can be refilled by hand.
Note: A deployed FOB is a logistics position, not a guaranteed personal spawn point. Protect mobile spawn assets instead of abandoning them next to enemy lines.
One caveat worth factoring into how hard you grind. The closed beta runs until August 24 at 02:00 UTC, and there is no confirmed carryover of cash or XP into the Early Access build arriving on September 10, 2026. Treat this weekend’s balance as practice for the economy rather than a head start, and use the Wardogs Steam page to request access or pre-purchase if you still need a key.