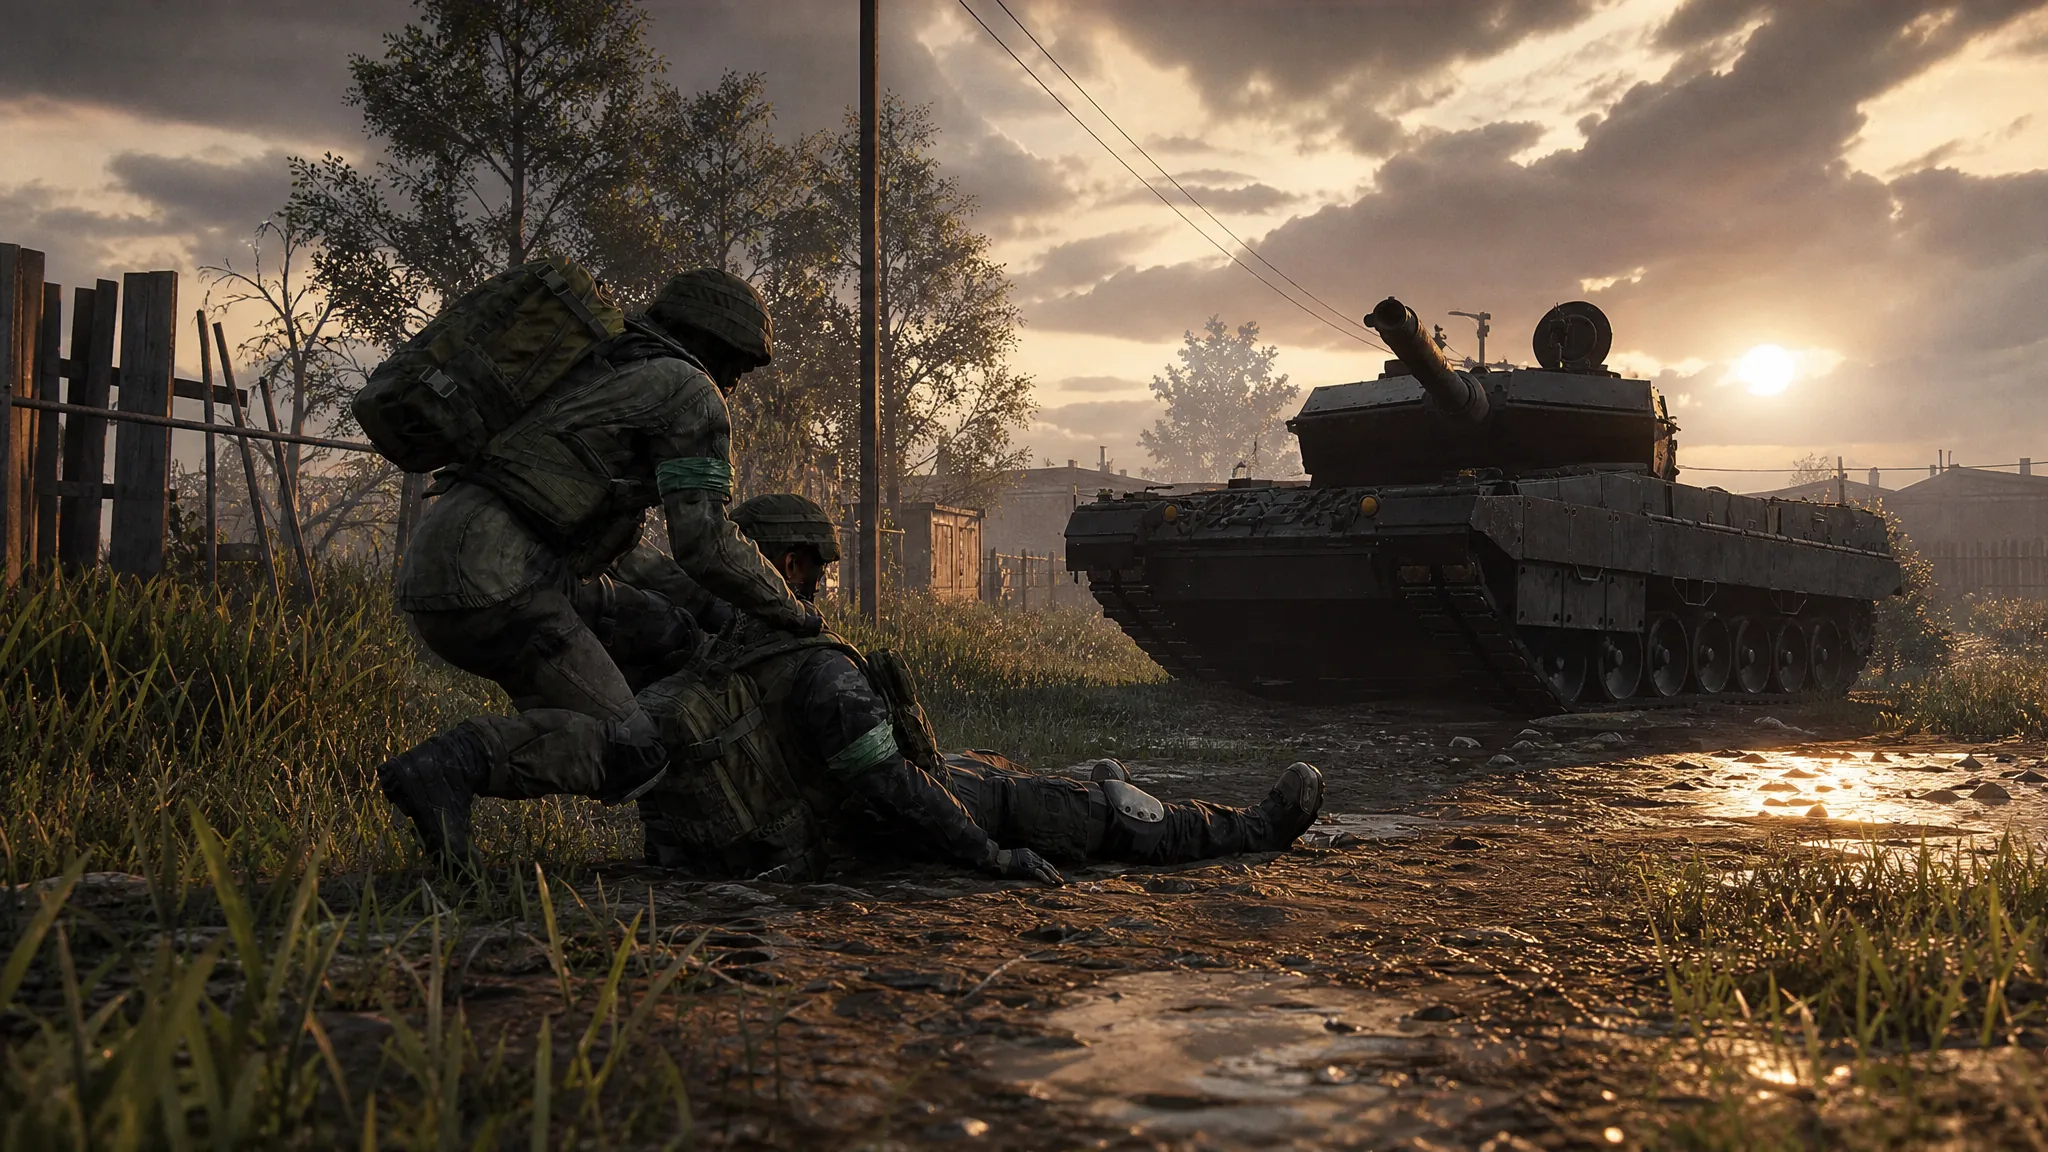
A Forward Operating Base in WARDOGS is a crate you buy, drop, and keep feeding. It holds supplies, hosts the pieces you place around it, and cuts the walk back to the Control Zone. It is not a spawn flag you tap after you die.
Quick answer: Buy the FOB, the small, medium, and large hammers, and all four supply types. Deploy the FOB, haul the leftover stock in on pallets, unload into the base, then hit each yellow X with the matching hammer.
Buy, deploy, and stock a FOB
The build starts at a vendor, not on a ridgeline with an empty inventory. You need the FOB itself, three hammers, and a full set of supplies before the first wall can go down. Vehicles and pallets are part of the same trip if you want the stockpile to arrive in one run.
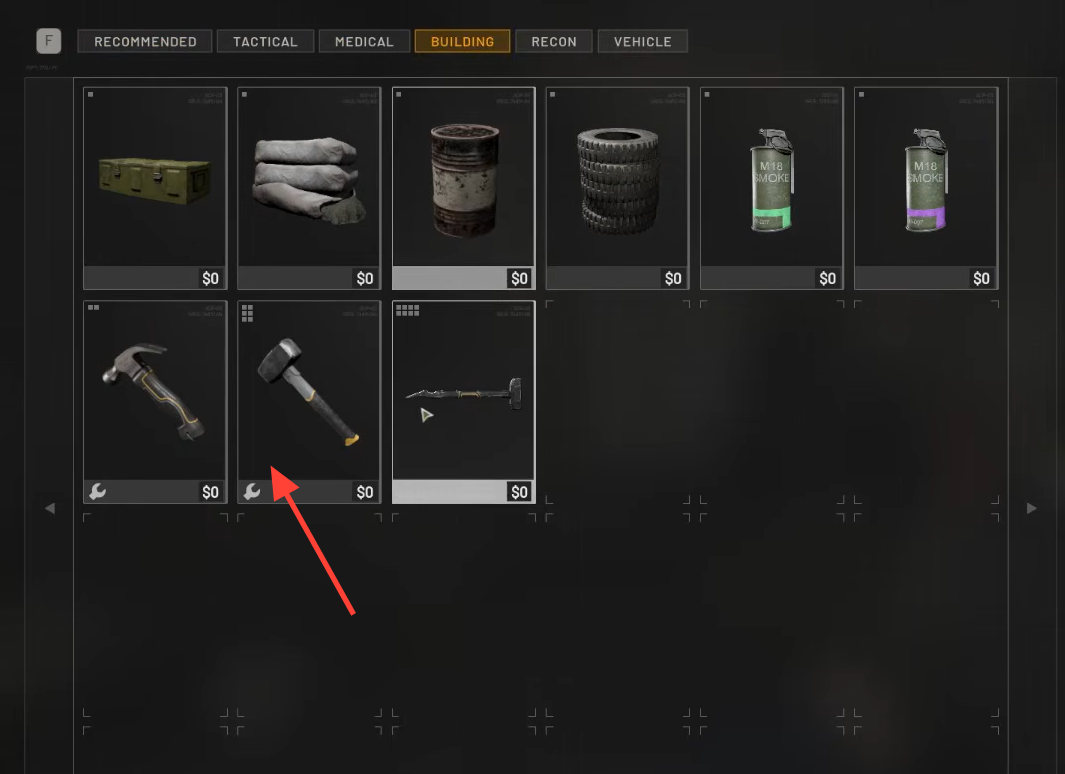
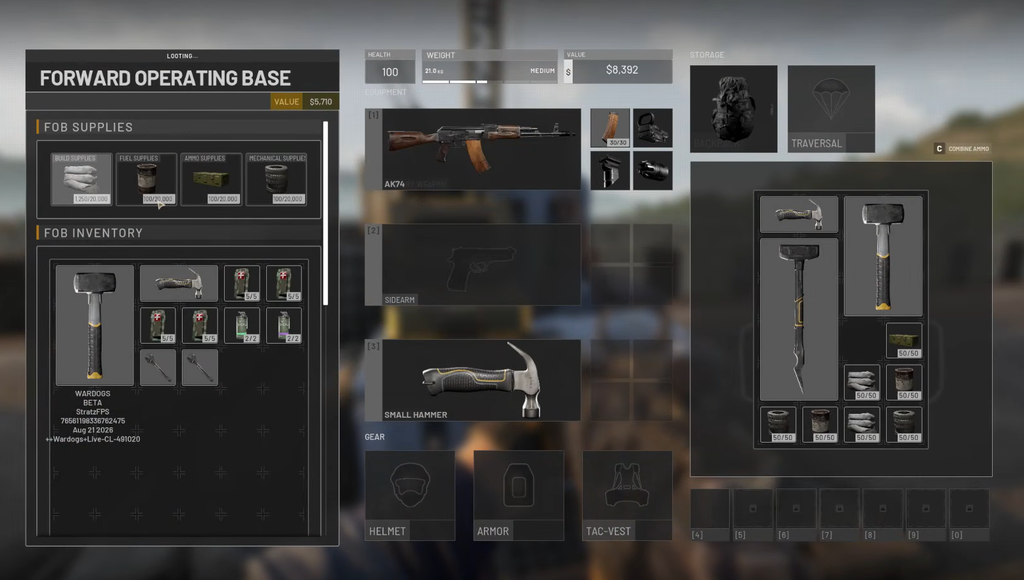
Ammo, Build, Fuel, and Mechanical supplies
A FOB does not restock itself. Every wall, gun, repair, and refuel pulls from what your team delivered. Send the next pallet for the resource you are about to spend, not a random crate.
| Supply | What it pays for |
|---|---|
| Ammo supplies | Build and upgrade defensive weapons |
| Build supplies | Construct buildings and fortifications |
| Fuel supplies | Refuel vehicles at the position |
| Mechanical supplies | Repair vehicles |
Assign a driver or pilot to the route and keep the unload pad clear. If the only road in is blocked by your own walls, the next delivery never arrives. Change the approach once enemies start camping the old one.
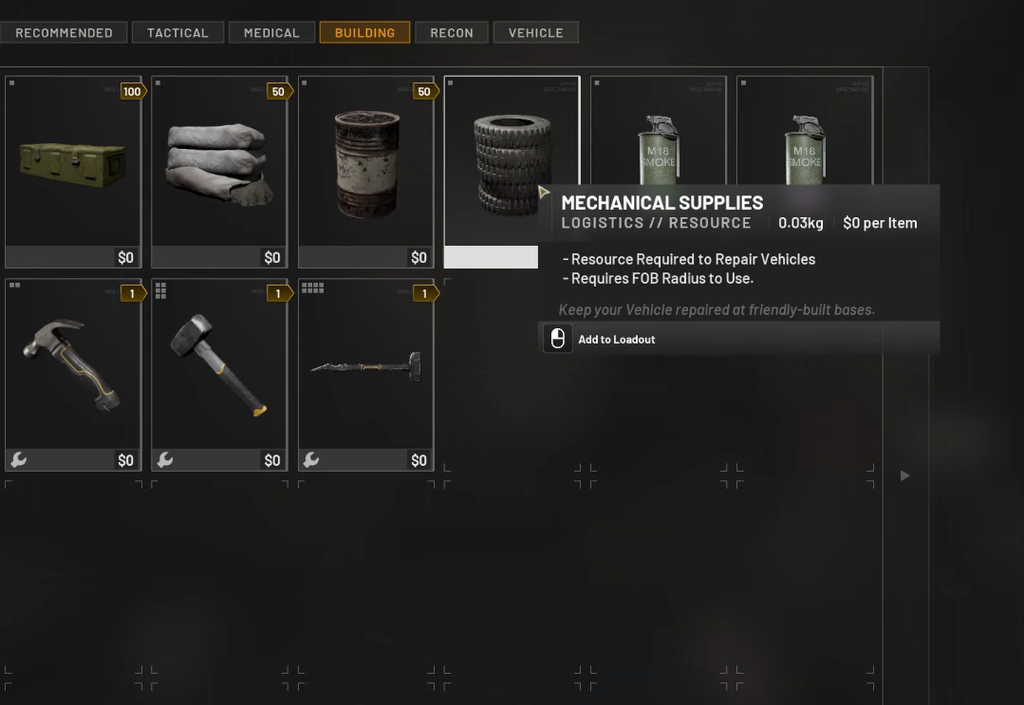
Small, medium, and large hammers
Each hammer is a gate, not a cosmetic. The small tool only places simple cover. The medium tool keeps those pieces and unlocks the first real perimeter. The large tool keeps both menus and adds the heavy systems.
| Hammer | What you can place |
|---|---|
| Small hammer | Sandbags, barriers, barbed wire, and other simple defenses |
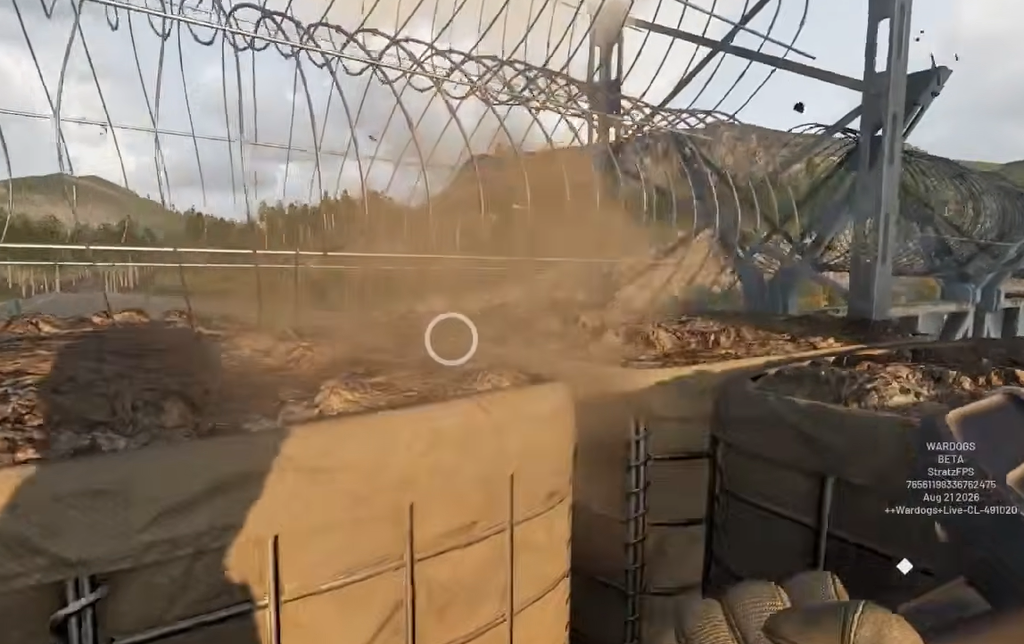
| Medium hammer | Everything the small hammer builds, plus base defences, gates, HESCO walls, and doors |
| Large hammer | Everything from the smaller tools, plus anti-air guns, mortars, drill rigs, and other heavy systems |
Put up only what the fight needs. Anti-air matters when helicopters are already working the site. Mortars matter when you have a target and someone spotting it. A drill rig is a resource play, not a default first piece. Building every option at once drains the FOB and paints a target on a pad that still has no cover.
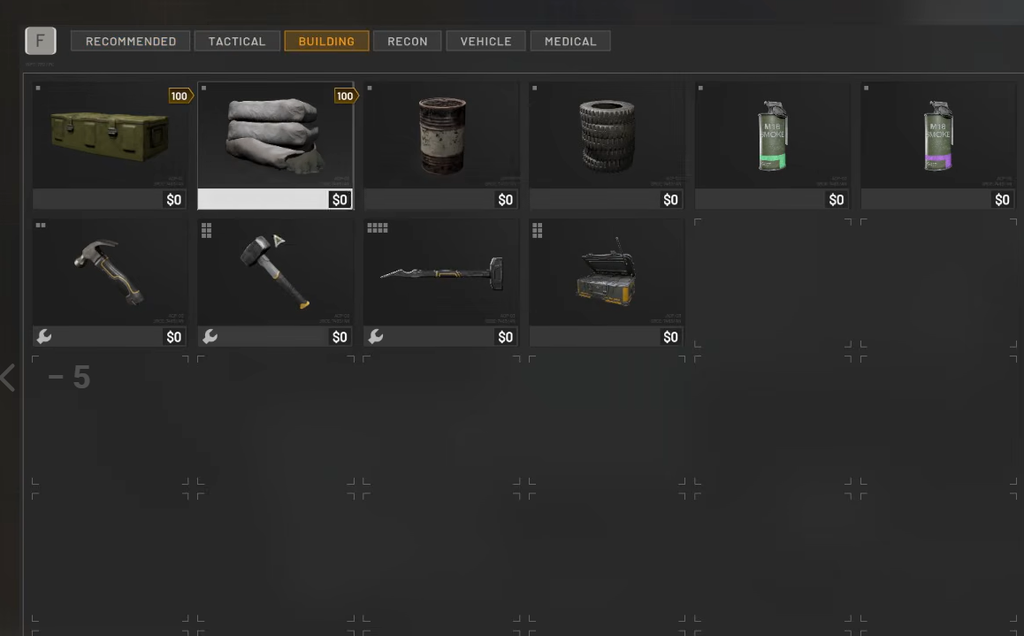
Finish buildings on the yellow X
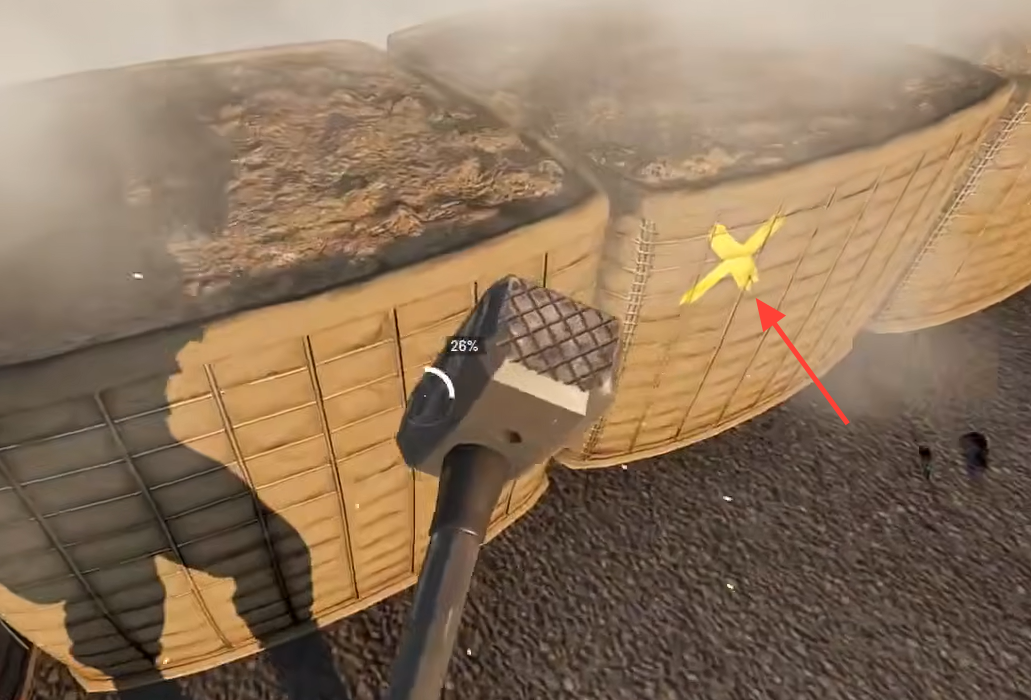
Open the build menu and pick the piece you want, such as a wall, a gate, or a gun. Yellow X marks show where that piece will sit. One hit with the correct hammer completes it. Extra swings are wasted motion.
The structure is up when the ghost is gone and the solid piece is standing on that mark. If nothing appears, you are on the wrong hammer or the FOB is out of the matching supply. Fix the tool or the stockpile before you click another piece.
Shape the approaches instead of boxing the whole pad. Walls should leave a truck or helicopter enough room to unload. A pretty ring with no gate for logistics is an empty shell the first time you need ammo.
FOB placement near the Control Zone
You can drop a FOB anywhere on the 16×16 km map. The useful test is travel time. If the run from your new pad to the 2×2 km Control Zone is longer than the run from the default spawn, the crate did not help.
Keep the core off the skyline and out of line of sight from the zone. A base the objective can see is a base that draws mortars in the first minute. Use a reverse slope, a treeline, or the far side of hard cover. Place it on the approach your team already holds, not on a flank that feeds two enemy teams at once.
The site still needs a road or a landing, flat ground for pallets, and room for vehicles to turn. Do not seal the only entrance. Do not pack the build so tight that a helicopter cannot put a crate down. Terrain that hides the pad but blocks every truck is a failed location.
Call the position dead when the Control Zone moves and the pad no longer changes the score. Holding a finished base that no longer feeds the objective just burns cash and bodies. Pull the mobile assets and leave the walls behind.
When the FOB is working
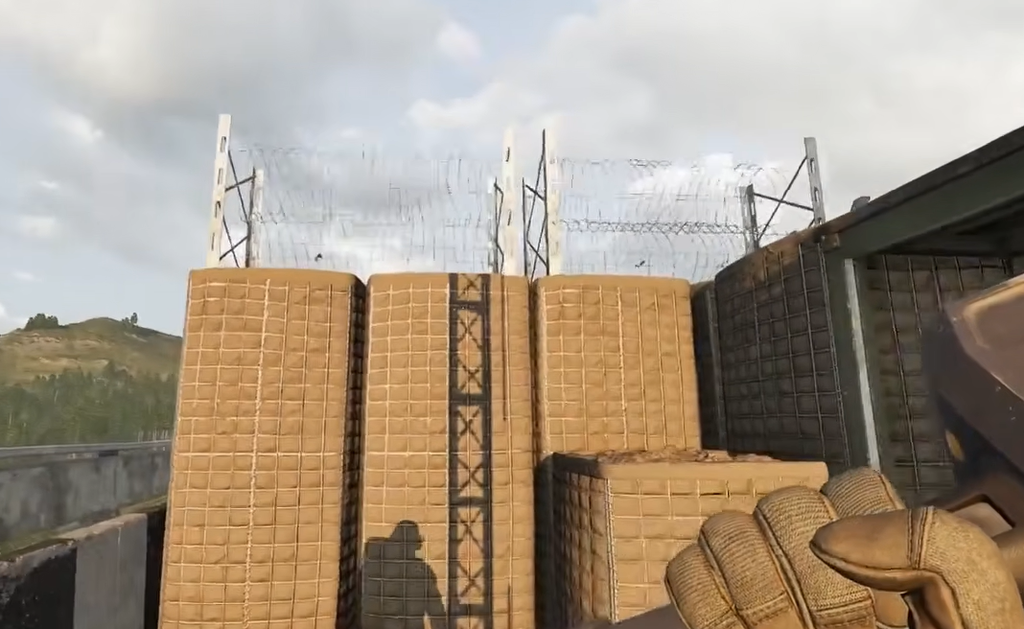
The drop worked if the blue square is on the minimap and you can unload into the FOB. The stockpile worked if supplies sit in the base instead of on a pallet. A piece worked if one hammer hit on a yellow X leaves a solid structure. Those three checks are the whole loop.
Do not treat the FOB icon as a respawn. Current builds use a separate spawn vehicle that has to be deployed and protected on its own. Park that vehicle where it is useful and not visible from the first enemy approach, then move it when the front shifts.
Shop prices, pad limits, and unlock rules can change between tests and later builds. The loop stays the same. Buy the kit, drop the crate, feed the square, then spend the right hammer on each yellow X.