Strike three marked gravestones in Stones of Remembrance, then clear the dungeon for the Myriad Stone.
Strike three marked gravestones in Stones of Remembrance, then clear the dungeon for the Myriad Stone.
by AllThingsHow Staff
Feeding Grounds stays sealed until you smash three matching graves in Stones of Remembrance. The door does not take a key. It answers the same glowing mark that sits on three tombstones in the cemetery around it.
Quick answer: Hit every gravestone marked with a glowing orange or yellow symbol that matches the chapel door. The door opens. Drop through the center floor inside, use the switch in the pit, then open the sarcophagus for the Myriad Stone.
Unlock Feeding Grounds with three gravestones
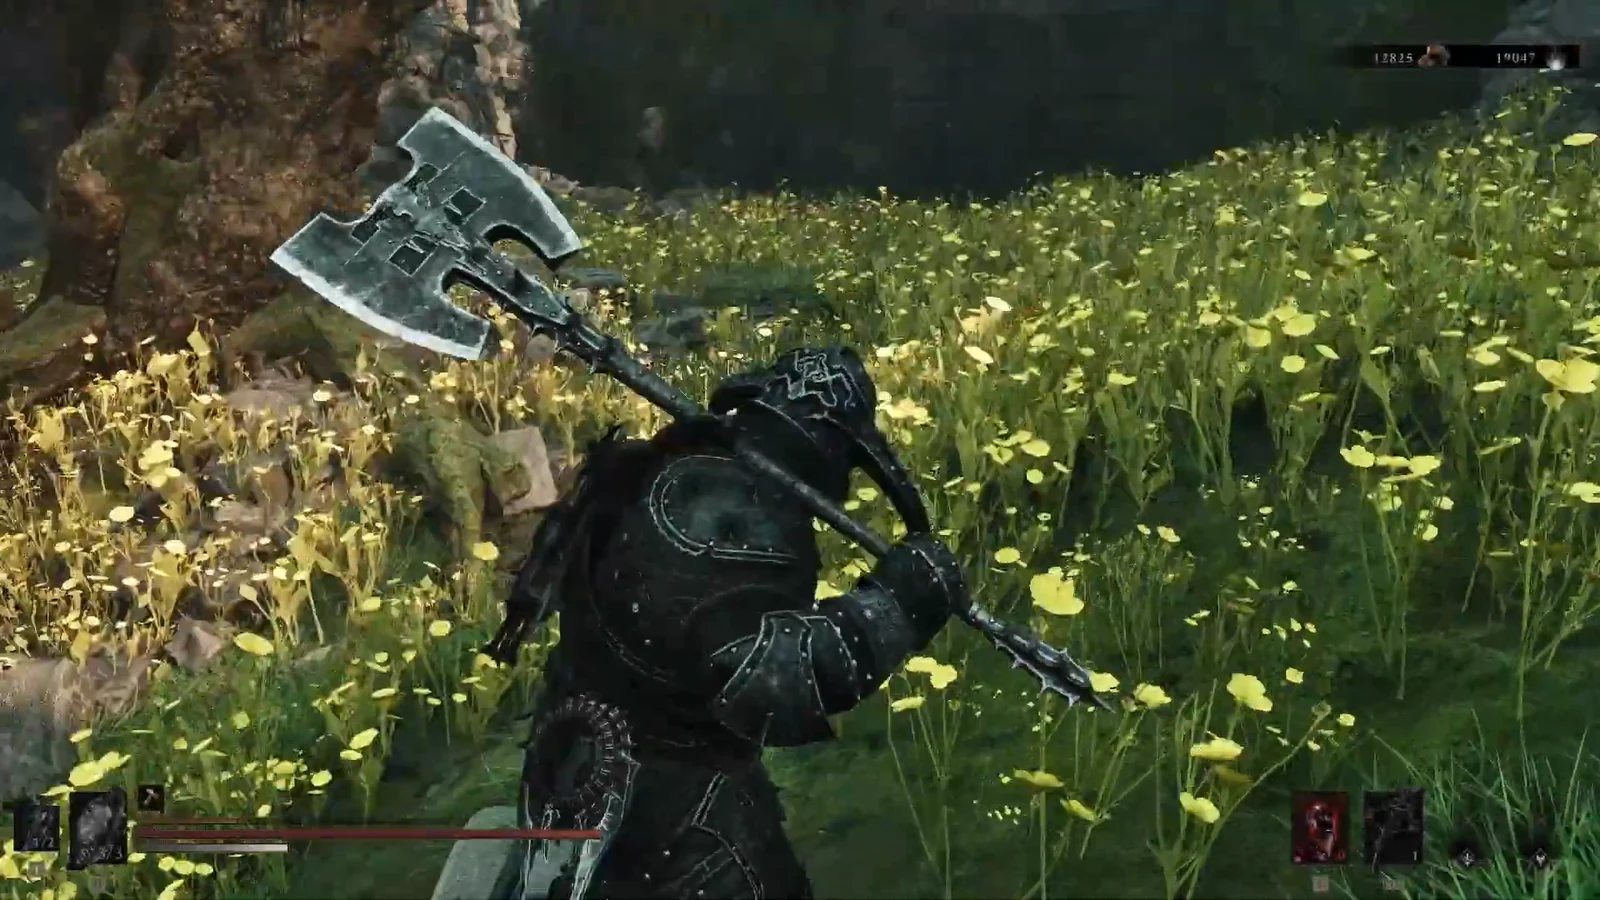
The locked entrance sits in the northeast of Stones of Remembrance, in the Northern Graveyard around a ruined chapel. Yellow flowers cover the tombs and the path in. Walk the cemetery until you can see the sealed door. The symbol on that door is the only mark that matters.
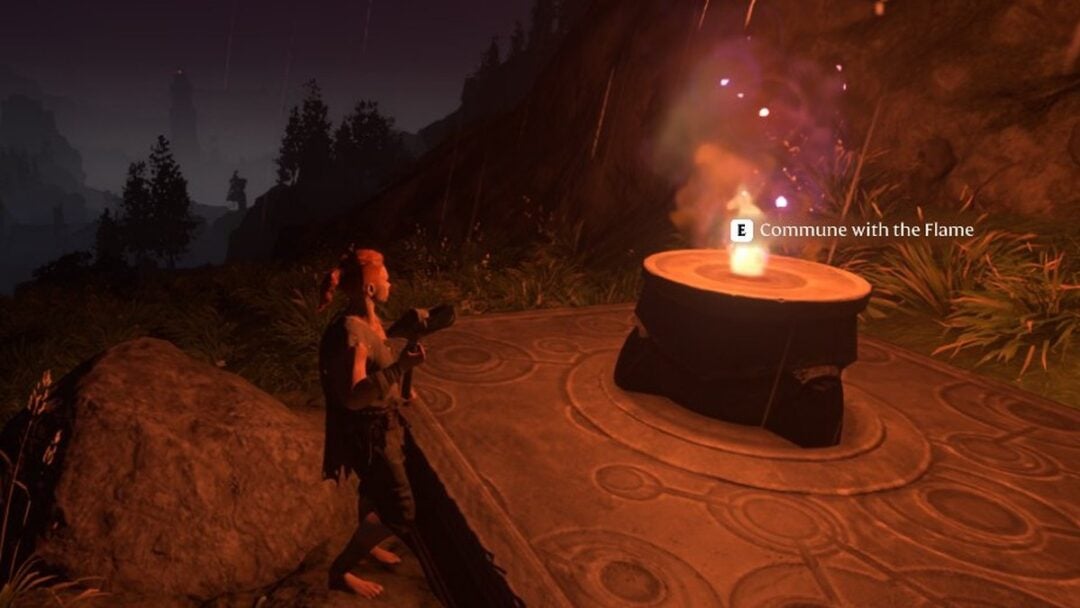
00:11The flowered grounds around Stones of Remembrance, where the Feeding Grounds chapel sits. Image credit: Cold Symmetry / via @PazarGamingGuides. Shown at 00:11 in PazarGamingGuides’s video.
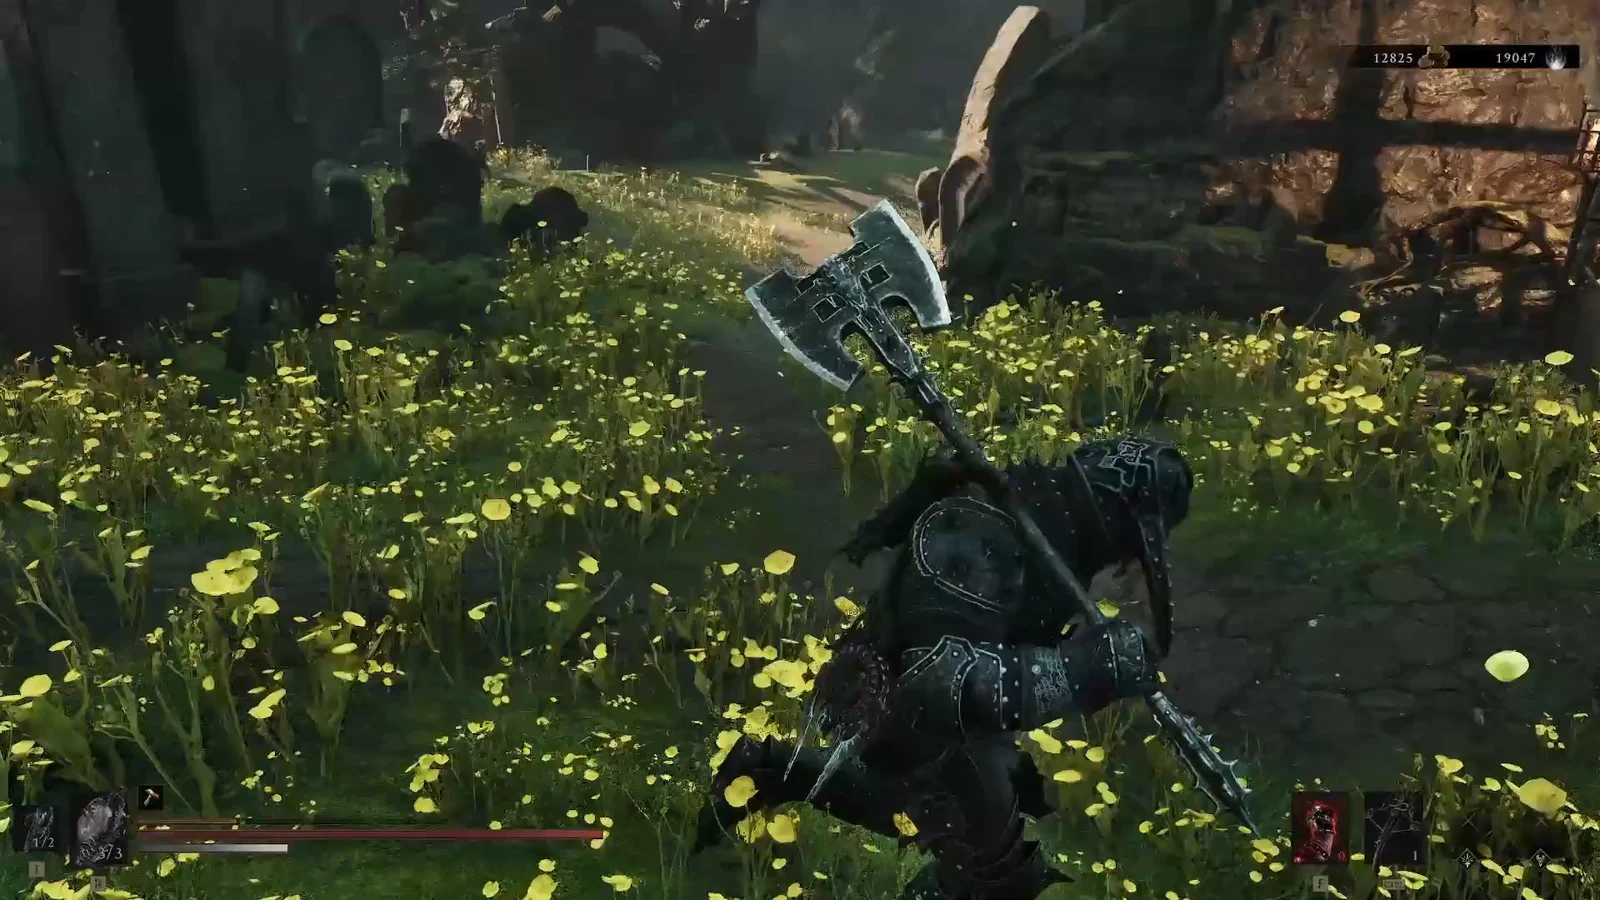
Roam the ruins and headstones near that door. Three graves carry a bright orange or yellow glyph, and they are the ones you want. Ordinary stones do nothing. Strike each marked grave until it breaks. After the third one falls, the chapel door opens and the dungeon is named Feeding Grounds.
00:33Searching the flower-covered ruins for the three marked gravestones. Image credit: Cold Symmetry / via @PazarGamingGuides. Shown at 00:33 in PazarGamingGuides’s video.
If the door is still shut, one of the three marked stones is still standing. Keep circling the same cemetery. The glow is easy to miss in the flowers, but it matches the door exactly, so you are not guessing which graves count.
Complete the Feeding Grounds dungeon
Take the stairs down once the door is open. The first room is a short fight and a trap. Clear it on your terms, then drop on purpose. The rest of the route is a pit, a switch, one heavier enemy, and a breakable wall.
Deal with the two enemies just inside. Stay off the soft plate in the center of the floor while you fight. That plate is meant to collapse, and falling mid-combat dumps you into the pit before you are ready.
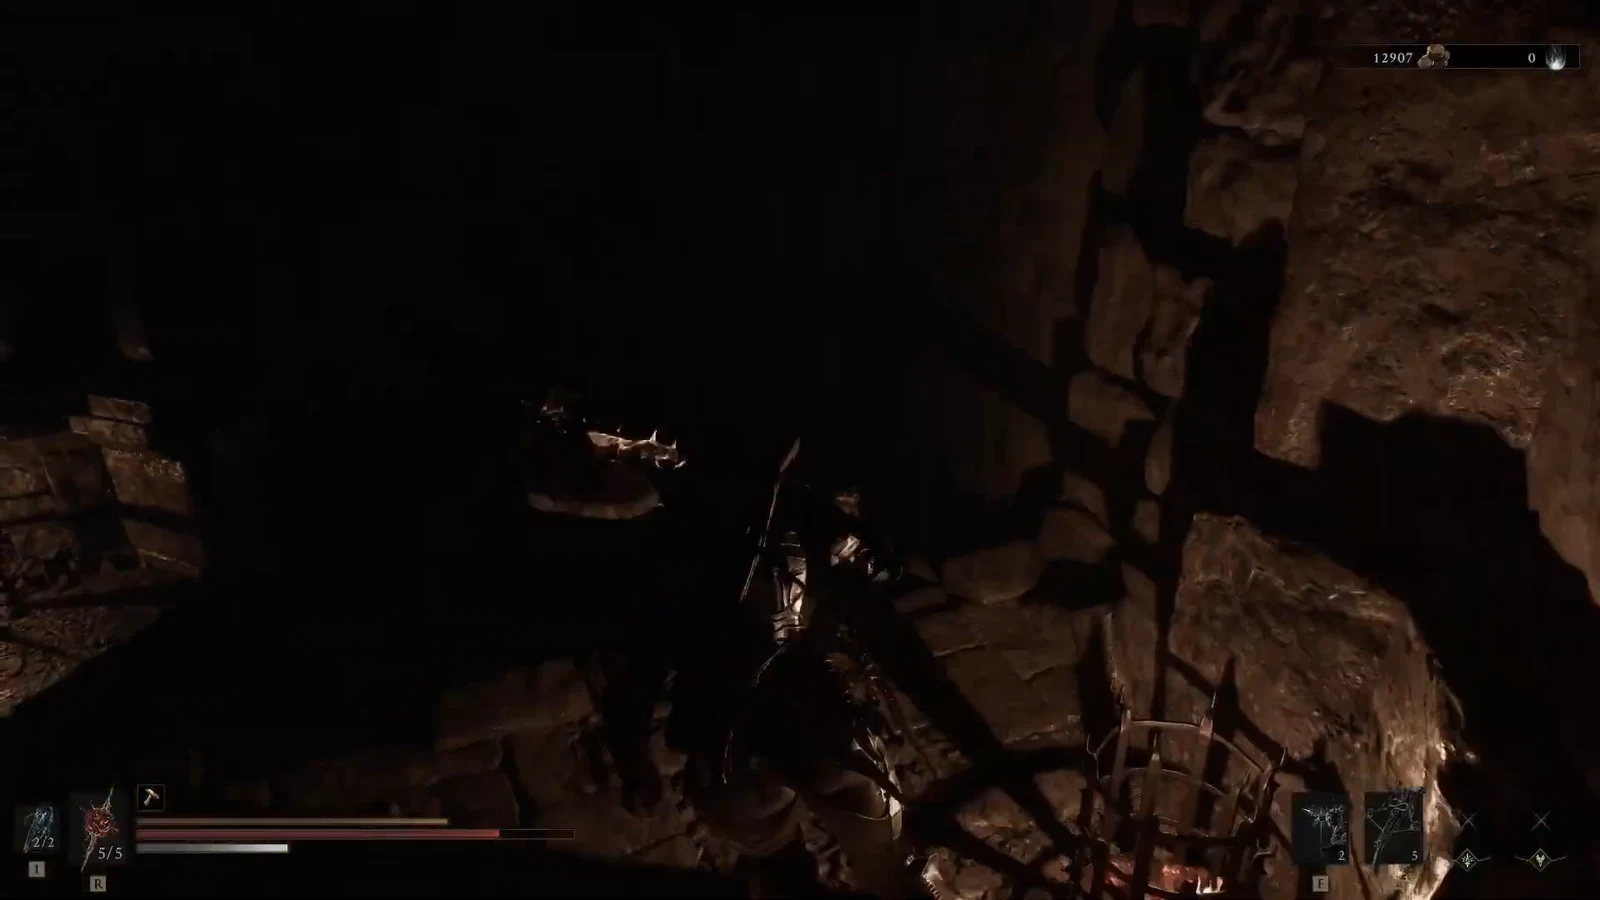
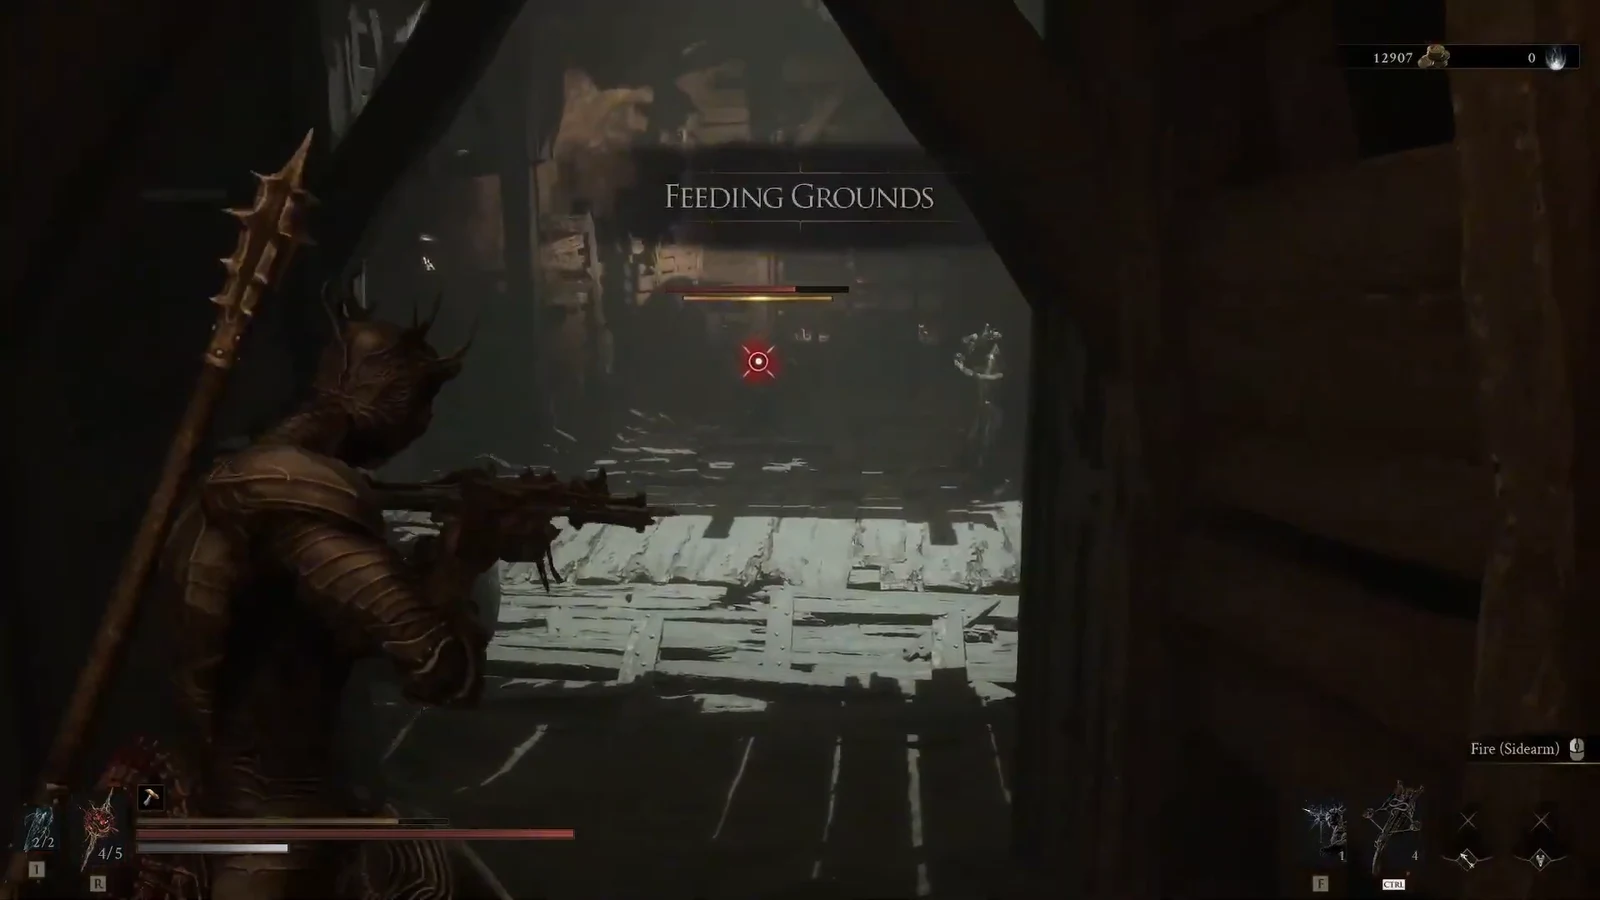
01:11Cave combat just after entering Feeding Grounds, with the HUD showing health, stamina, and the equipped weapon. Image credit: Cold Symmetry / via @PazarGamingGuides. Shown at 01:11 in PazarGamingGuides’s video.
When the room is clear, step onto the center floor plate and drop. The fall is the intended path, not a death pit. A sidearm helps if something is still standing when you commit to the plate.
01:22The Fire (Sidearm) prompt during the first Feeding Grounds fight, before the center floor gives way. Image credit: Cold Symmetry / via @PazarGamingGuides. Shown at 01:22 in PazarGamingGuides’s video.
Expect a hard rush after the drop. Two Tarred Vestiges can close in with wide slams or a grapple. Back into a cave corner if you need space, then finish them before you hunt for the switch.
Find the control on the wooden structure in the pit. It can sit behind crates along the tunnel that climbs back toward the start. Use it once. The line “A gate has lifted” is the check that the blocked path is open.
Move through the opened gate and fight the large sword-wielding enemy that guards the next stretch. Do not rush the wooden wall behind it until this fight is over.
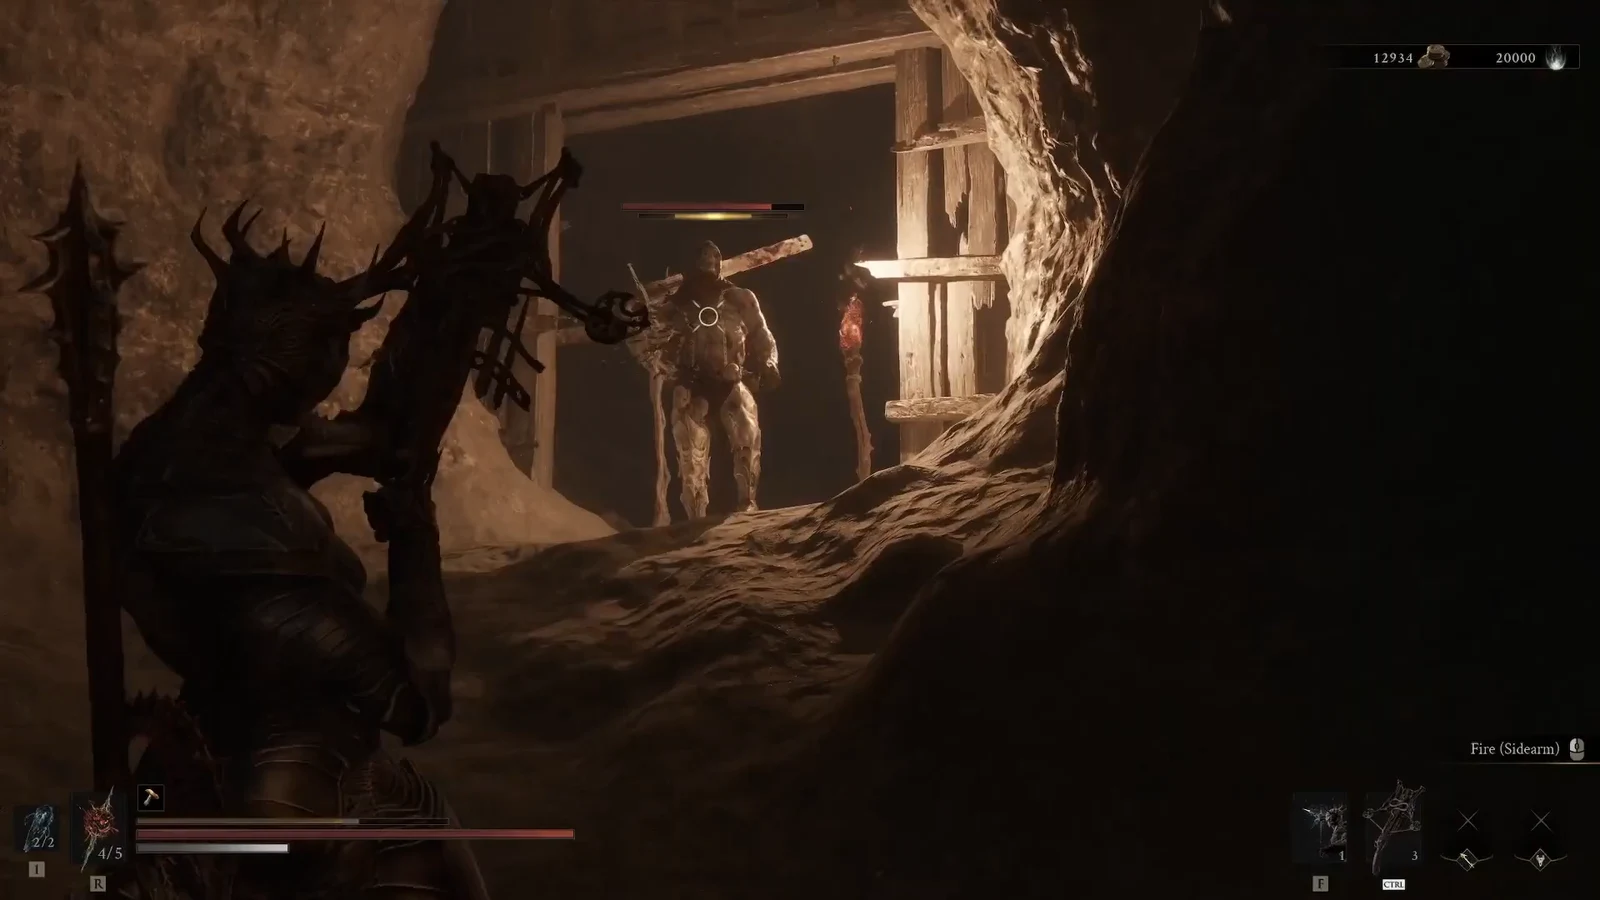
01:51Aiming the Fire sidearm at the armored enemy that guards the path after the gate lifts. Image credit: Cold Symmetry / via @PazarGamingGuides. Shown at 01:51 in PazarGamingGuides’s video.
Break the wooden barrier at the end of the passage. The wall is part of the route, not scenery. Once it is gone, the last chamber is open.
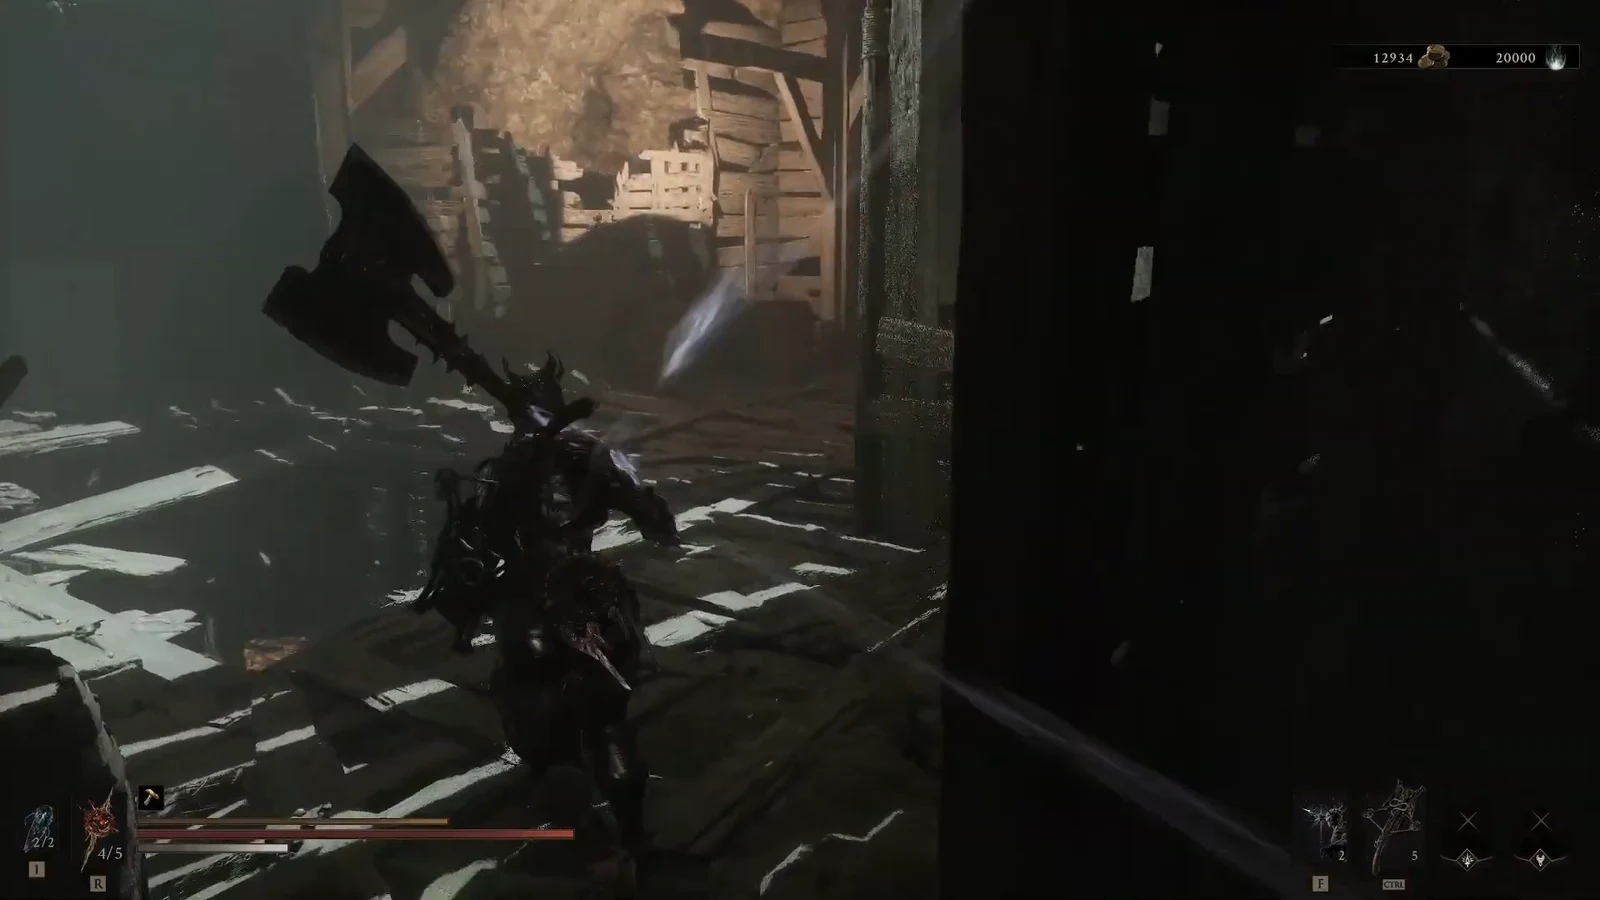
02:02The dim wooden passage that leads to the breakable wall and the sarcophagus room. Image credit: Cold Symmetry / via @PazarGamingGuides. Shown at 02:02 in PazarGamingGuides’s video.
Open the sarcophagus in that room. The Myriad Stone is inside. Leave only after it is in your Tarstones list.
Myriad Stone reward
The dungeon pays out one Tarstone, the Myriad Stone. Open your Tarstones menu and look for that name. The stone is the upgrade for the Forgotten Crossbow, so the run is done only after the item is sitting in that list.
Action
Confirmation
Third marked gravestone breaks
The Feeding Grounds door stands open
Switch in the pit is used
“A gate has lifted” appears
Sarcophagus is opened
Myriad Stone is listed under Tarstones
A still-locked door means a marked grave is left. A gate that never moves means the pit switch was not used. Anything short of Myriad Stone in the Tarstones menu means the sarcophagus is still closed.