

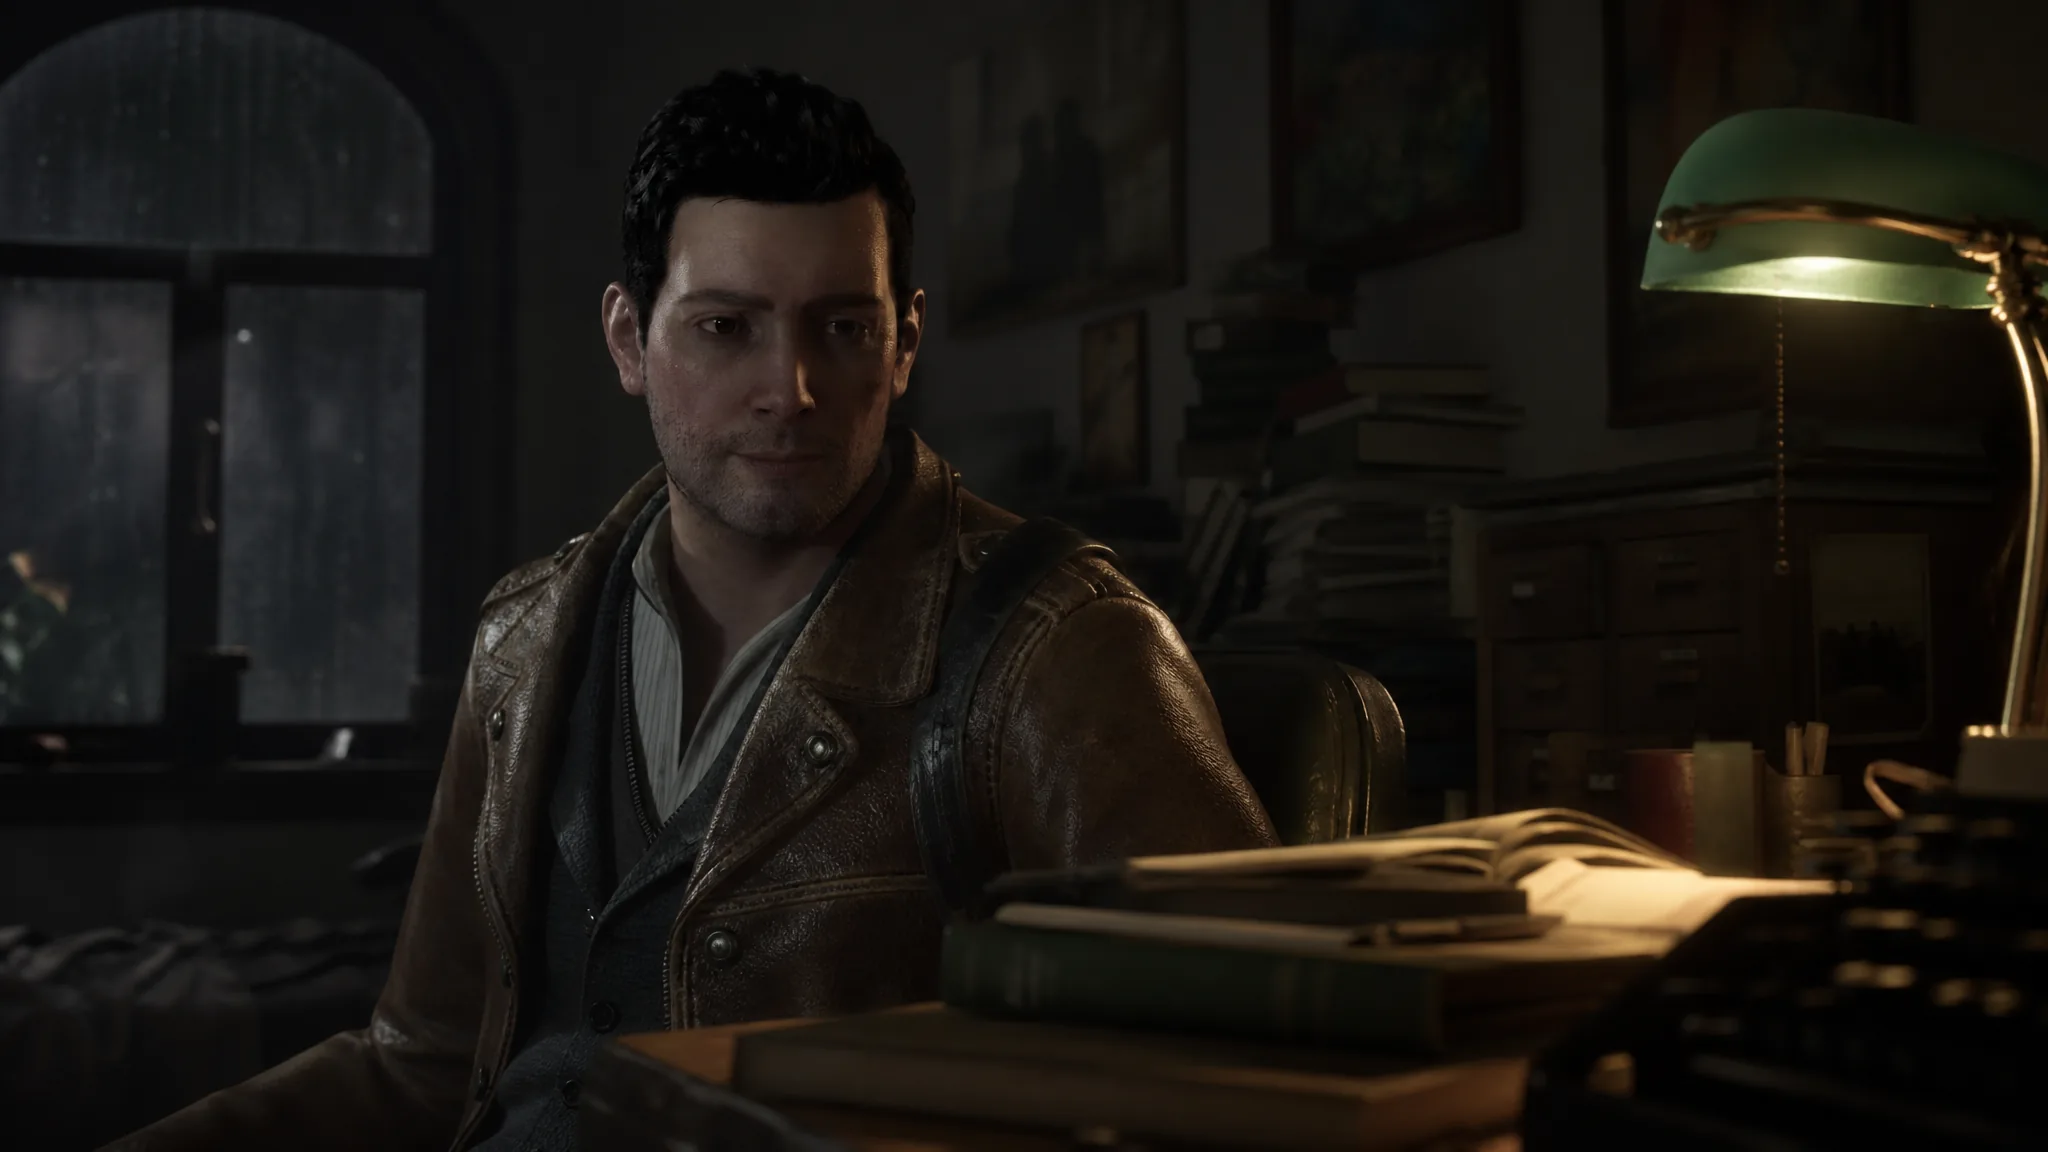
The base campaign is five chapters long and takes about 10 to 11 hours on medium difficulty. The path is linear, but safes, ERC chests, and a couple of weapons sit off the critical route.
Quick answer: Clear all five chapters and open four safes plus twelve ERC chests. A room is done when the map stops flagging leftover loot.
Campaign length and chapter count
This list covers the base game’s main campaign only. Chapter 2 is longer than its title suggests. Chapter 3 is the densest indoor map. Chapter 4 is the combat spike.
| Chapter | Main objective | Safes / ERC chests |
|---|---|---|
| 1 Annex | Reach the library and recover the ritual book | 1 / 1 |
| 2 Devil Reef Hotel | Travel through four stops and bring back the woman from the hotel | 1 / 3 |
| 3 Akeley Hospital | Collect a prism, recharge it, and open the locked wards | 0 / 3 |
| 4 Fish Market | Find three Leyden Jars and open the ship | 2 / 2 |
| 5 Antarctica | Activate the portal and finish the last fight | 0 / 3 |
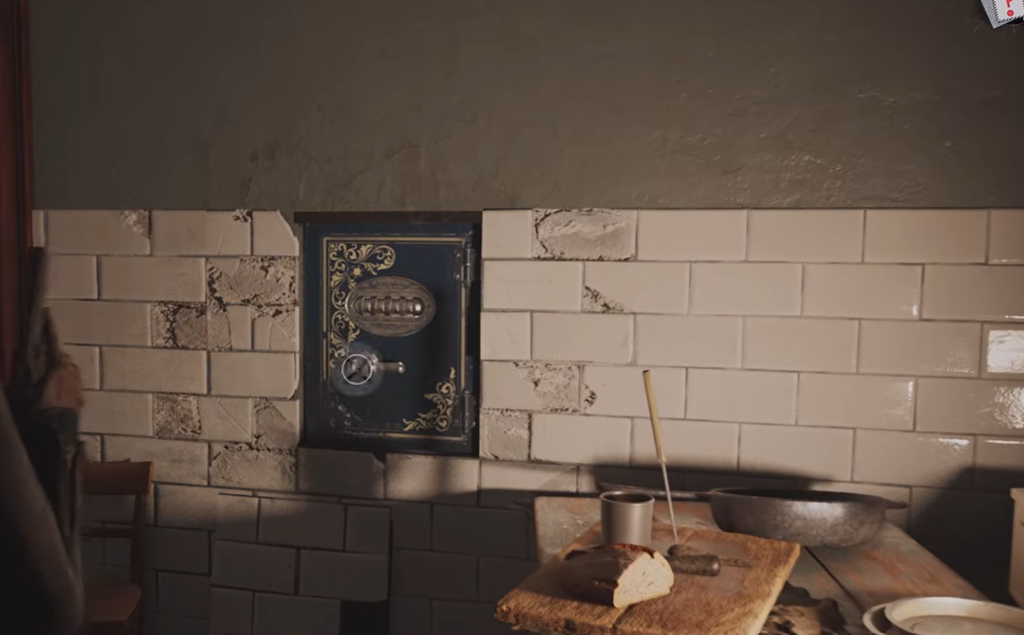
Safe locations
There are four safes. Akeley Hospital and Antarctica have none. The hospital still has a coded Storage Room in the basement, which is a separate lock.
| Chapter | Where | What you need |
|---|---|---|
| 1 Annex | Radio Store Apartment | Reach the apartment on the opening route |
| 2 Devil Reef Hotel | Third floor of Devil’s Reef Hotel | Arrive at the hotel at the end of the chapter |
| 4 Fish Market | Ezekiel’s safe, small room in the Fishing Shop, second floor | Bolt Cutter |
| 4 Fish Market | Locker Room, first floor | Handwheel |
ERC chest locations
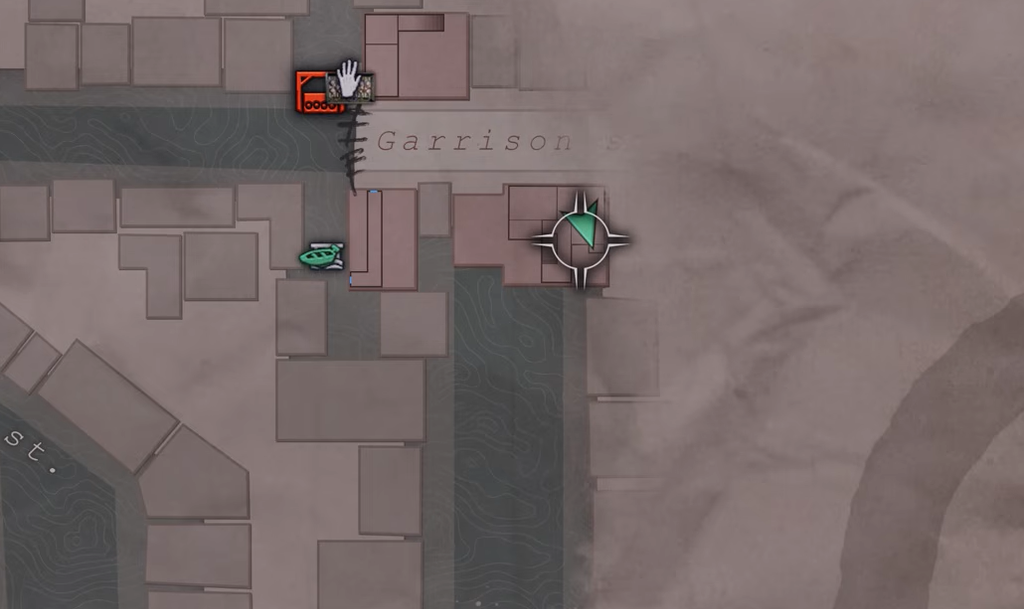
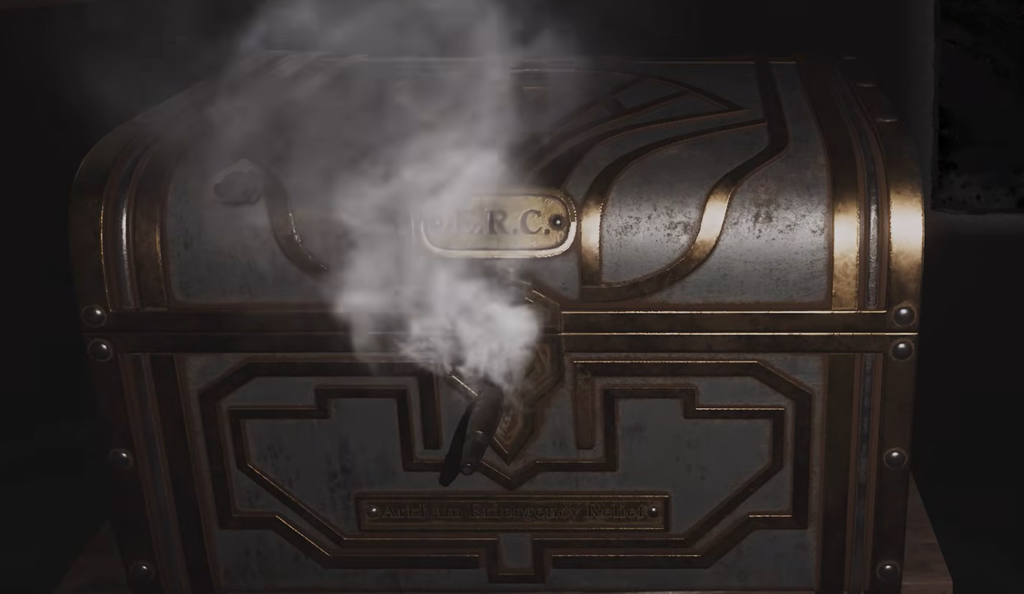
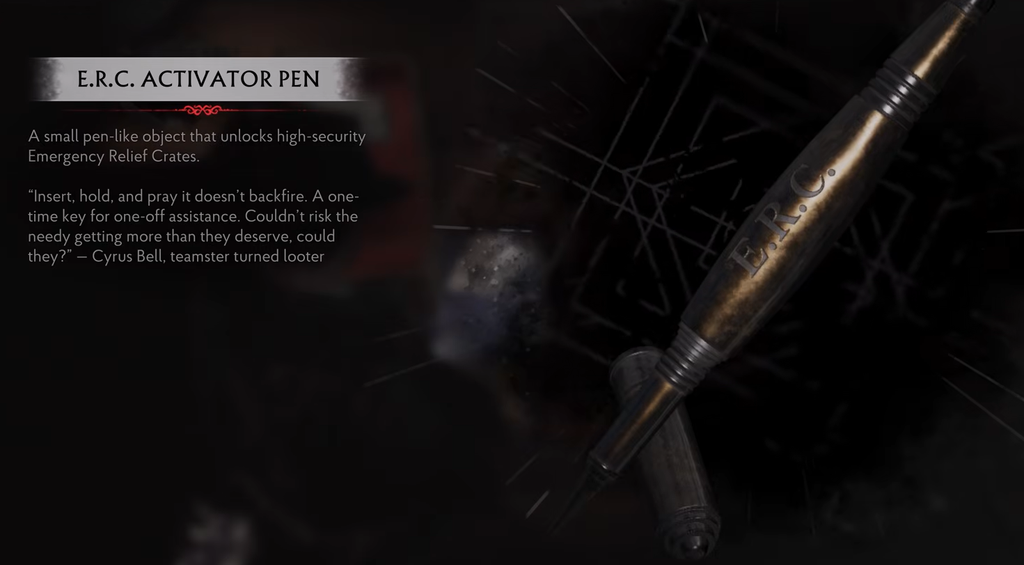
Emergency Relief Crates, labeled ERC in-game, are sealed until you use an activator pen. The only pen location called out in the campaign is Corentin’s room, which opens the library chest. After that, sweep each map. The in-game map marks rooms that still hold loot.
| Chapter | Where | How you reach it |
|---|---|---|
| 1 Annex | Library building | Activator pen is in Corentin’s room |
| 2 Devil Reef Hotel | Church area | First stop after leaving the Annex |
| 2 Devil Reef Hotel | Second floor of the Fire Station | After you lift the gate beyond the church |
| 2 Devil Reef Hotel | Stretch after the graveyard, before the hotel | Open the Graveyard door, then push forward |
| 3 Akeley Hospital | Reception, first floor | Just inside the front of the building |
| 3 Akeley Hospital | Morgue, basement | First basement pass |
| 3 Akeley Hospital | General Ward, first floor | Drop through a broken floor from upstairs |
| 4 Fish Market | Southwestern corner of the Packing Area, first floor | Open floor of the market |
| 4 Fish Market | Cold Storage, basement | Snowflake Key |
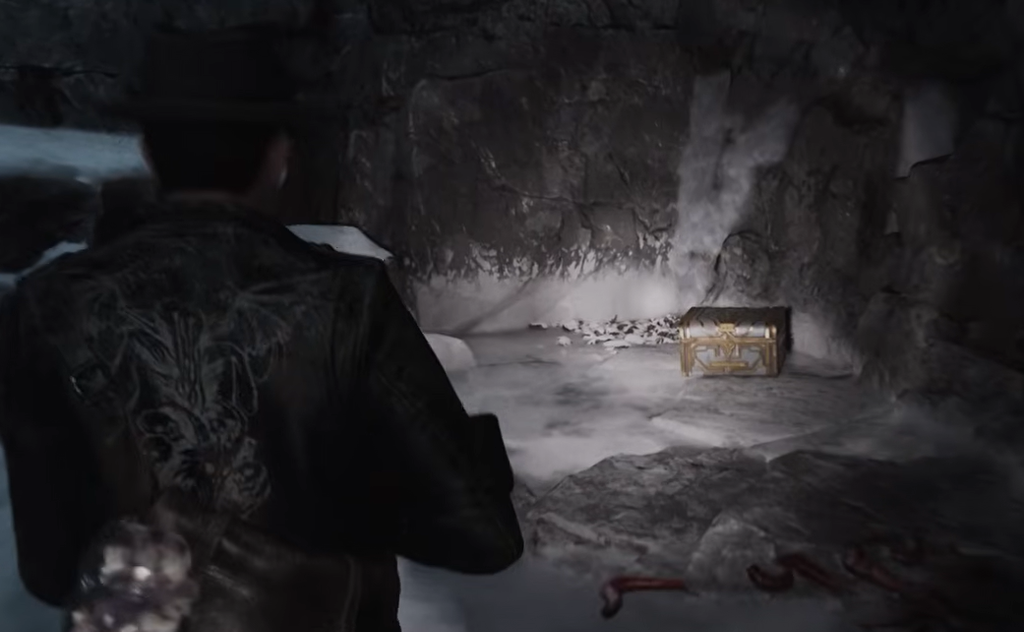
| 5 Antarctica | Path to the camp | On the approach through the snow |
| 5 Antarctica | Big tent at the camp | After you reach the camp |
| 5 Antarctica | Floor above the portal | Open the black doors, then take the staircase behind them |
Weapon pickups
Two named guns sit on the Chapter 2 route. Both are easy to miss if you only follow the next objective marker.
| Weapon | Where |
|---|---|
| Shotgun | Store ahead of the Fire Station |
| Submachine gun | Basement of Devil’s Reef Hotel |
The last fight stocks a large amount of ammunition. The Rifle is the recommended weapon there if both of its mods are equipped.
Keys, tools, and locked doors
Most backtracking exists because a tool sits one area behind the door it opens. If a gate, crane, or side room will not move, you are missing one of the items below.
| Item | Where it comes from | What it unlocks |
|---|---|---|
| Broken lever repair | Annex route | Gate toward the Annex |
| Activator pen | Corentin’s room | Library ERC chest |
| Key in the store ahead of the Fire Station | That same store | Graveyard door back at the church |
| Fuel | Fire Station | Crane, together with the cog |
| Cog | Church graveyard path | Crane that moves the dead whale |
| Three faces | Akeley Hospital, including Nurse Kitty’s face in a morgue box | Mirror doors and other locked wards |
| Two keys | Akeley Hospital | Additional locked doors |
| Acid | Akeley Hospital | Rusted door mechanism |
| Prism | Akeley Hospital | Must be recharged at three stations |
| Three Leyden Jars | Fish Market | Ship entrance |
| Snowflake Key | Fish Market | Cold Storage ERC chest |
| Bolt Cutter | Fish Market | Fishing Shop room with Ezekiel’s safe |
| Handwheel | Fish Market | Locker Room safe |
Main objective in each chapter
Collectibles sit on top of a short story route. You can finish a chapter without every chest, but the objectives below are what close each one.
Annex and the ritual book
Get into the library and take the book used to wake Faye. A broken lever blocks a gate on the way. Inside the Annex you fight through enemies and meet Corentin, who can still translate the book. He asks you to bring a woman back from Devil Reef Hotel. That request is the handoff into Chapter 2.
Four stops before Devil’s Reef Hotel
Go to the church first, clear its loot, and lift the next gate. The Fire Station is the second stop. The crane there will not move the dead whale until you have both fuel from the station and a cog from the graveyard behind the church. The graveyard key is in the store ahead of the Fire Station, so you have to double back. The last indoor space before the hotel holds another ERC chest plus ammo and healing items. At the hotel, the only safe is on the third floor.
Akeley Hospital locks
Pick up the prism and recharge it at three stations. You also need three faces and two keys to open the locked doors. The layout folds back on itself, and several rooms only open after you have already been through the basement or dropped in from above. There is no safe on this map.
Fish Market ship entrance
The chapter is a lot of floor-to-floor running. Three Leyden Jars open the ship. The two ERC chests and two safes are tied to the Snowflake Key, Bolt Cutter, and handwheel, so they unlock in that mid-chapter tool order rather than all at once.
Antarctica portal
Calvin and Faye try to start a portal in the mountains. The three ERC chests are all before or just above that portal. After you go through, there is little left to search. The last fight is the end of the campaign.
Fish Market combat spike
The Fish Market introduces a faster enemy that also soaks a lot of damage. Ammunition and healing matter more here than anywhere else, including the final boss. If you are going to run dry, it will be on this map.
The last battle does not have that problem. The game puts out a large supply of bullets for every weapon. Use the Rifle if both mods are on it.
When a map icon still marks a room, something is left. Four safes and twelve ERC chests are the full collectible set for the base campaign.





