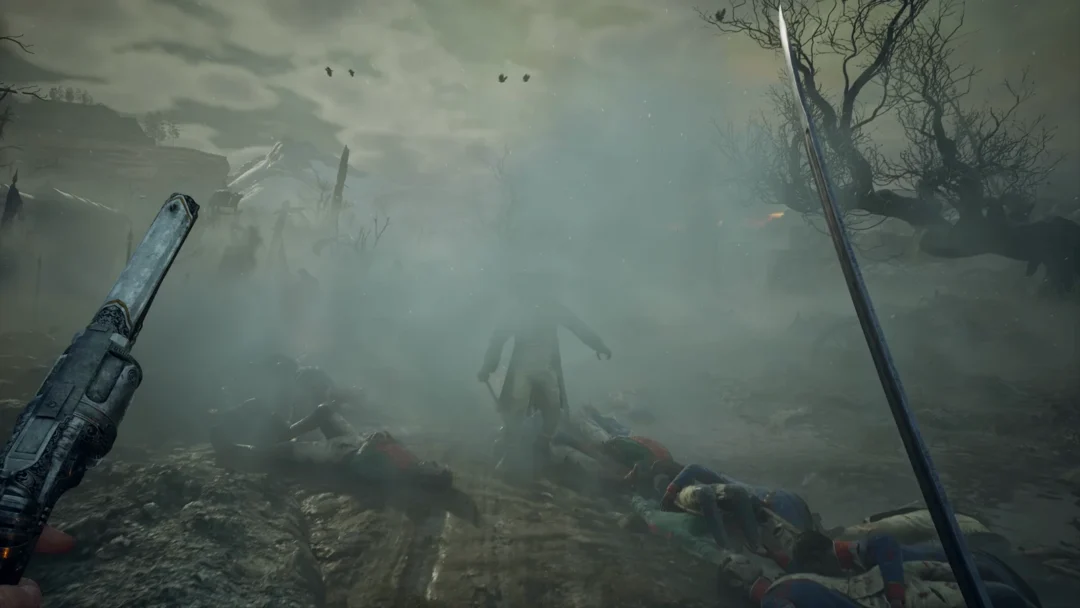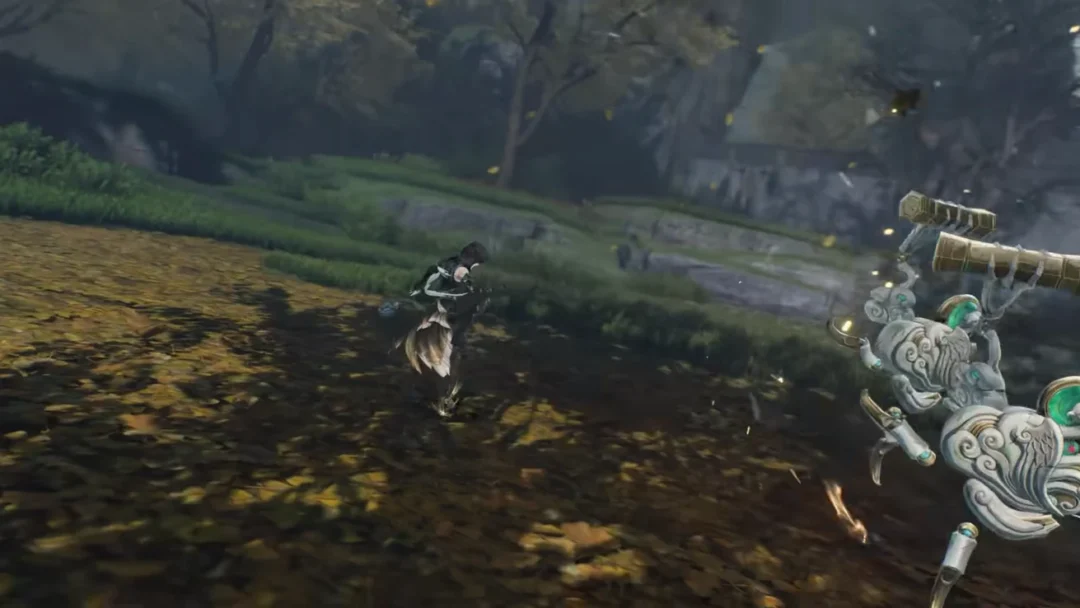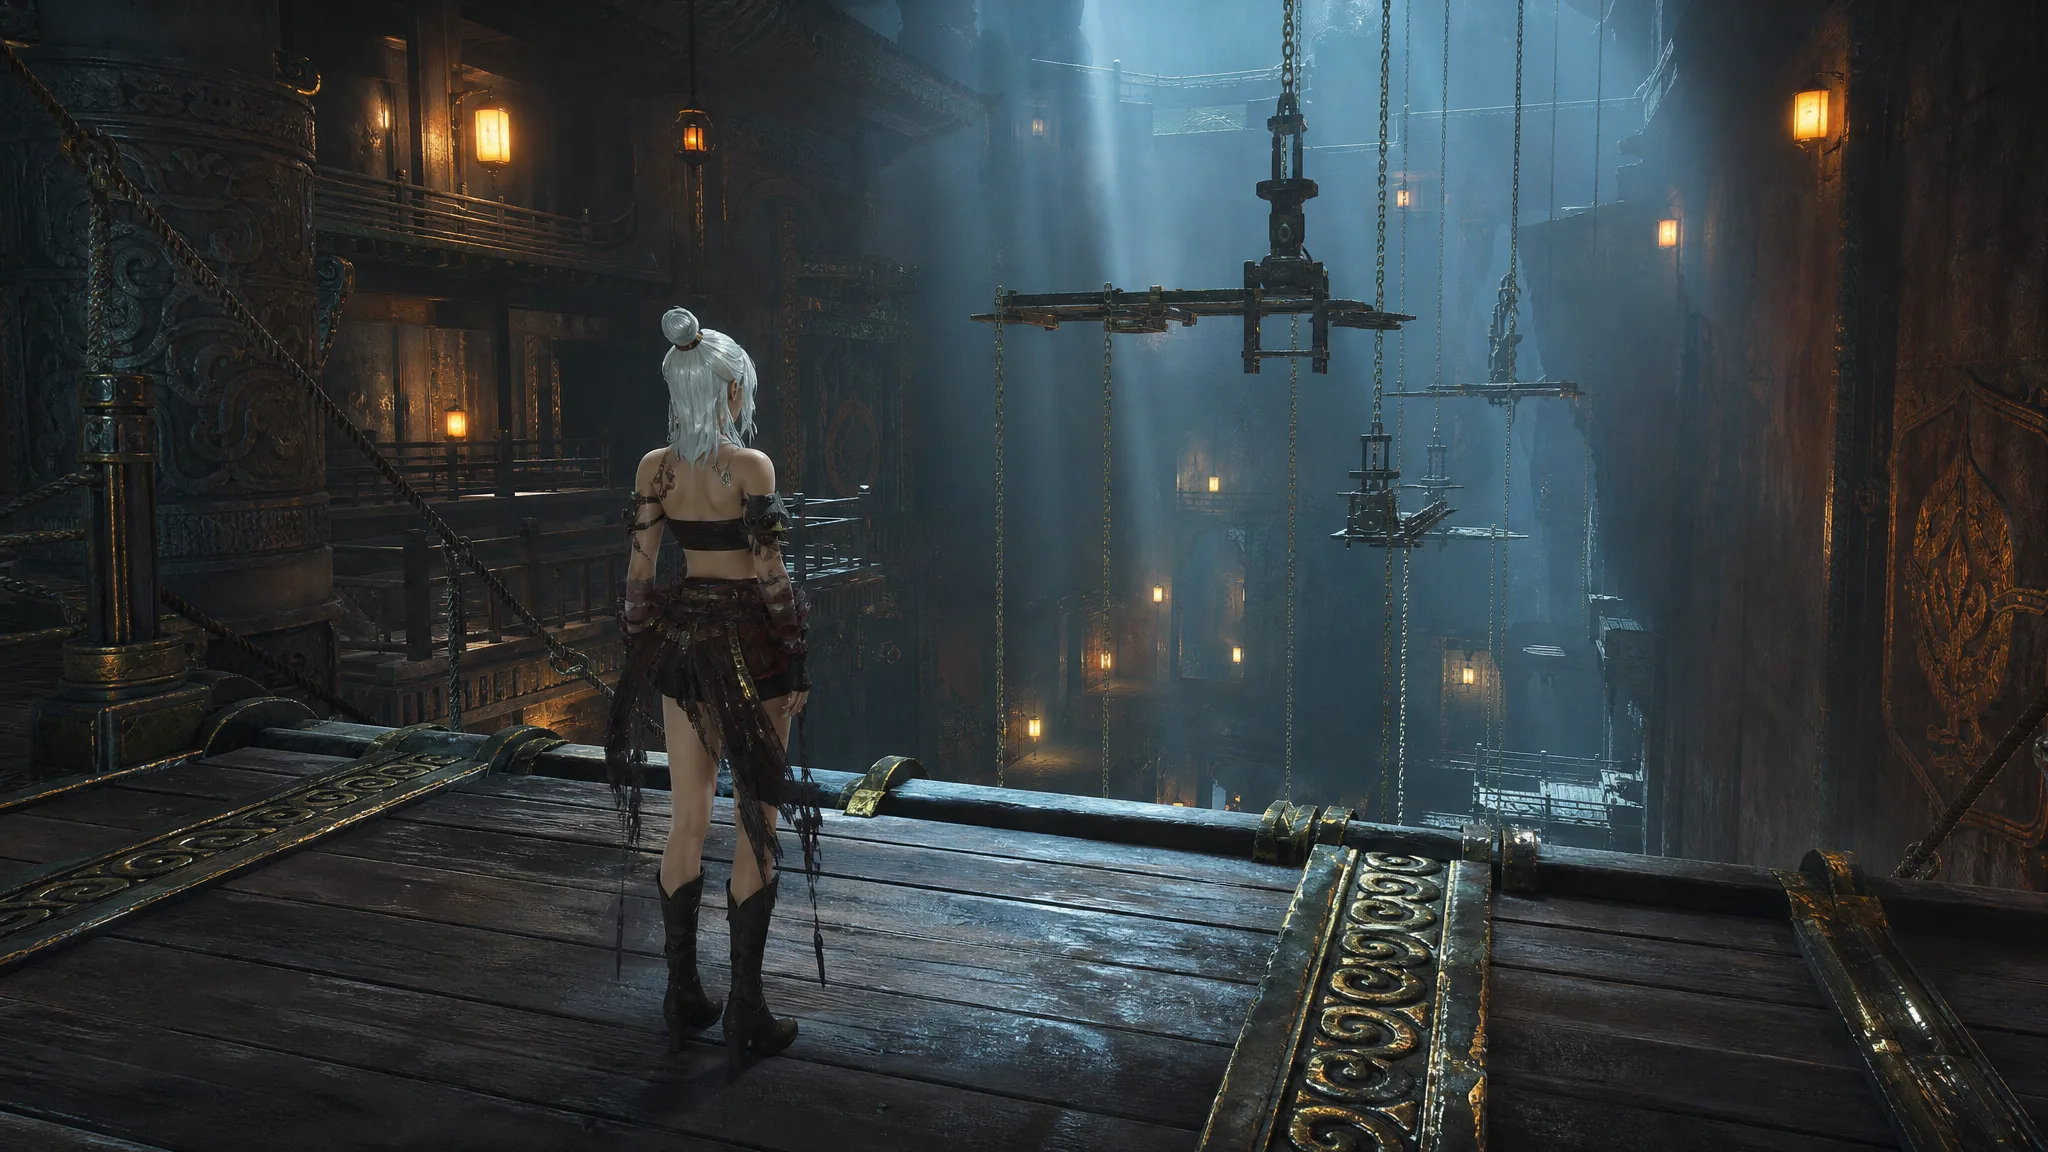
The Divinecraft Dungeon: Zenithmaze sits in the Hidden Mountain region of Where Winds Meet, under the Heaven’s Threshold area. It is an exploration puzzle cave built around Zenith boxes, ten hidden chests, and a caged final treasure suspended in the center of the cavern. A short side quest for the trapped NPC Pi the Fourth runs alongside the main clear.
Quick answer: Open the outer gate with the entrance mechanism, then work through the cave collecting all 10 chests. Along the way, open the two internal gates by placing Zenith boxes on pressure plates and pulling the levers. When every chest is claimed, return to the center, link Zenith boxes into standing platforms, and jump into the hanging cage to claim the final treasure. Pick up Elder Crane’s journal inside and hand it to Pi the Fourth after you exit.
How Zenith boxes work
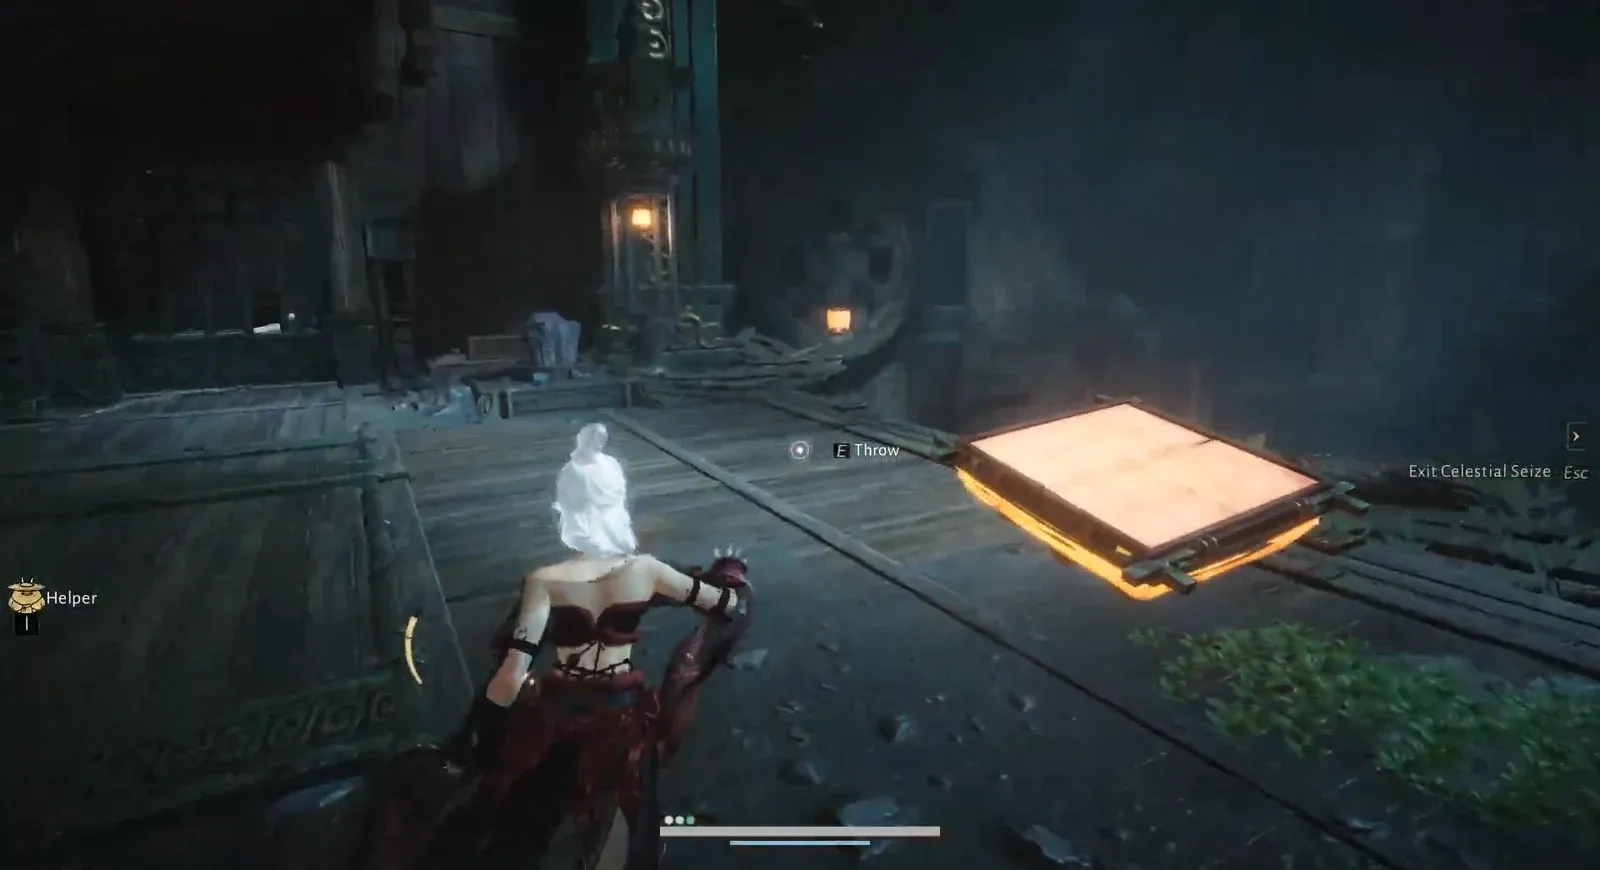
Zenith boxes are the core mechanic of this dungeon. On their own they push you off, but you can link them together so they hold steady and become platforms you can stand on. This is what lets you plan jumps across gaps and stack a path toward high ledges.
You reposition and throw these boxes using Celestial Seize, one of the four Puzzle Mystic Arts. When you aim at a glowing platform, the game prompts you to press E to throw the object into place. If you struggle to line up a chain of boxes over a wide chasm, you can open your umbrella and glide across instead, which skips the trickiest platforming.
Enter the dungeon and meet Pi the Fourth
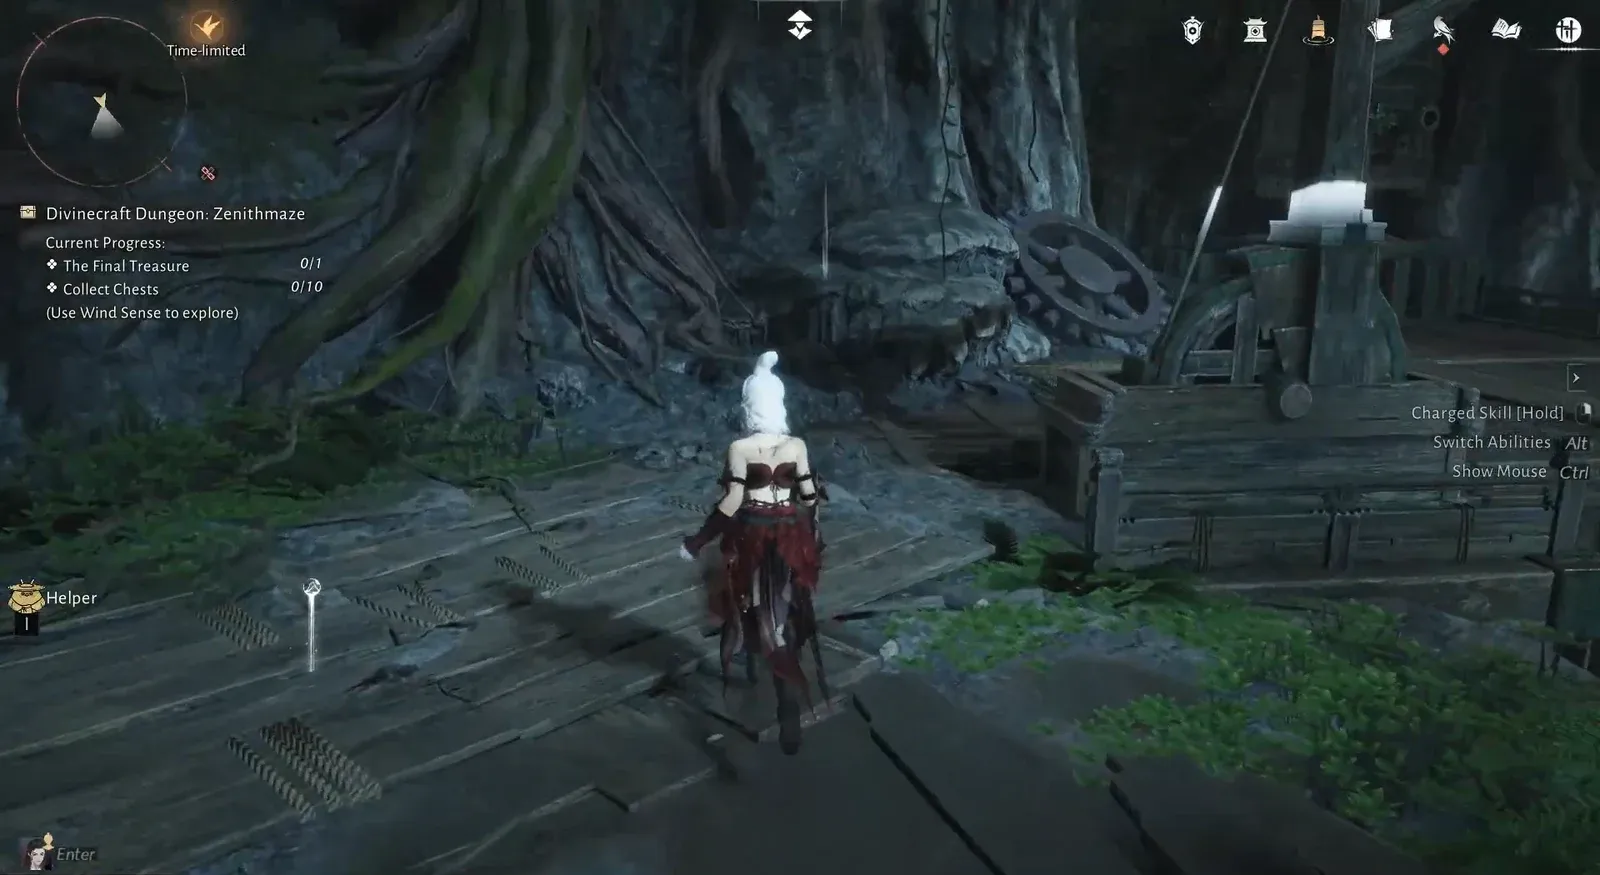
All 10 chest locations
The chests are spread across the cave in a rough loop. The first six sit around the central cavern, while chests seven through ten are behind the two internal gates. Use the table below to track each one, then follow the notes underneath for the tougher spots.
| Chest | Where to find it |
|---|---|
| 1/10 | Down the zipline by the Hero’s Tomb, right after the journal. |
| 2/10 | Drop down using Zenith boxes to the lower platform below. |
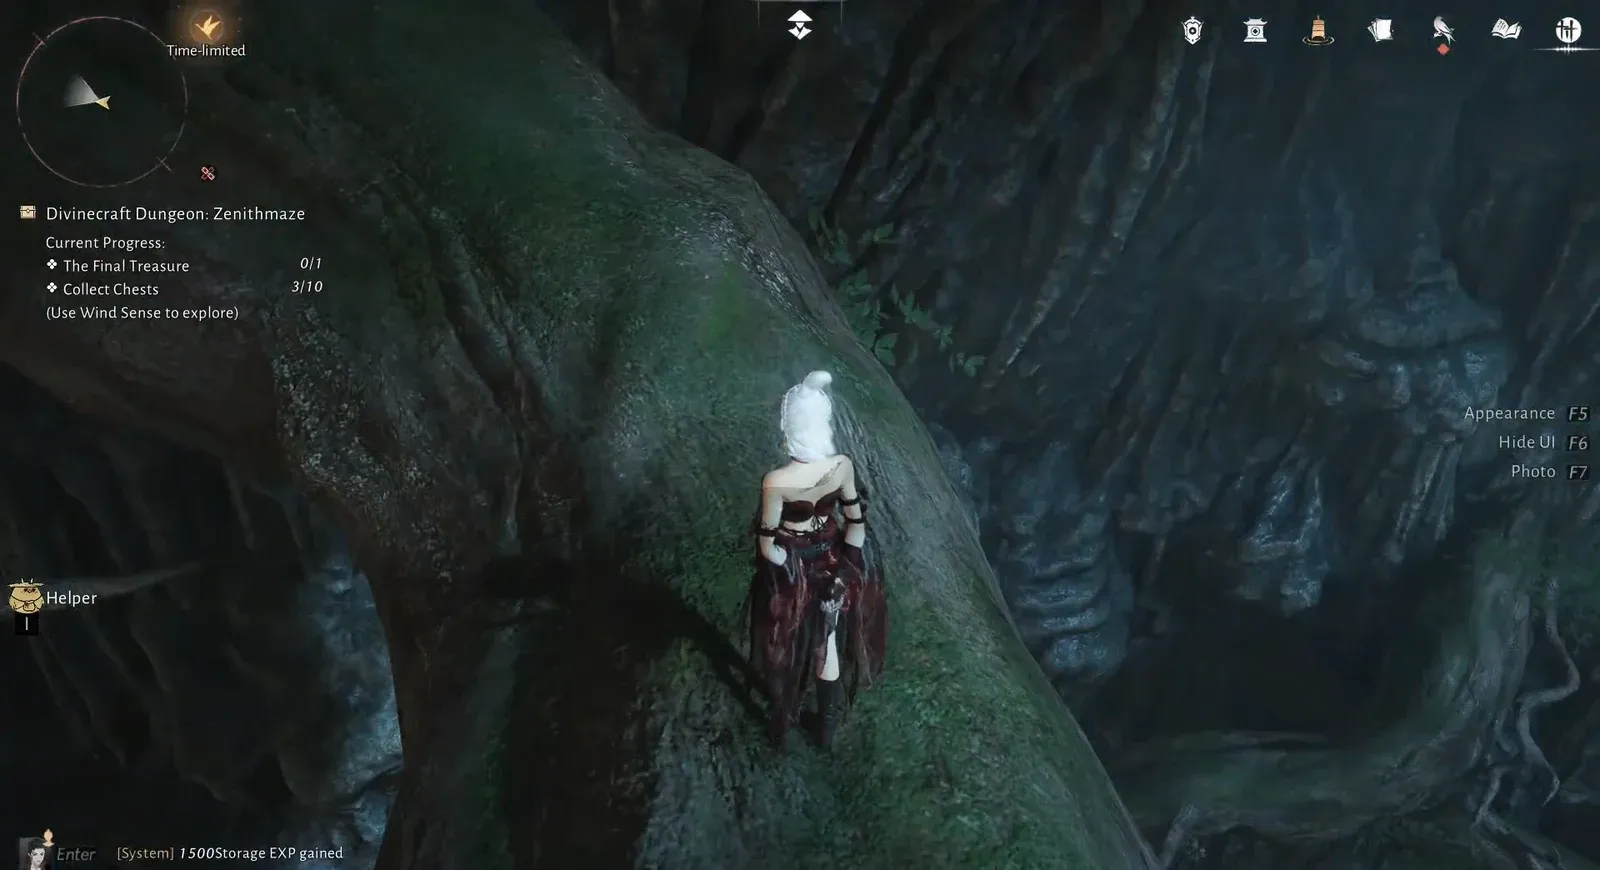
| 3/10 | On a tree branch. Spot the Zenith box, climb the tree, and open it. |
| 4/10 | Across a zipline, on a wooden platform deeper inside. |
| 5/10 | Use a Zenith box or Celestial Seize on floating platforms to reach the high alcove. |
| 6/10 | Drop to the lower level with the large gears. |
| 7/10 | Behind the first gate, on the left side. Position glowing platforms to climb up. |
| 8/10 | On top of a large gear mechanism. |
| 9/10 | On a roof or pagoda structure. |
| 10/10 | On a high circular platform. |
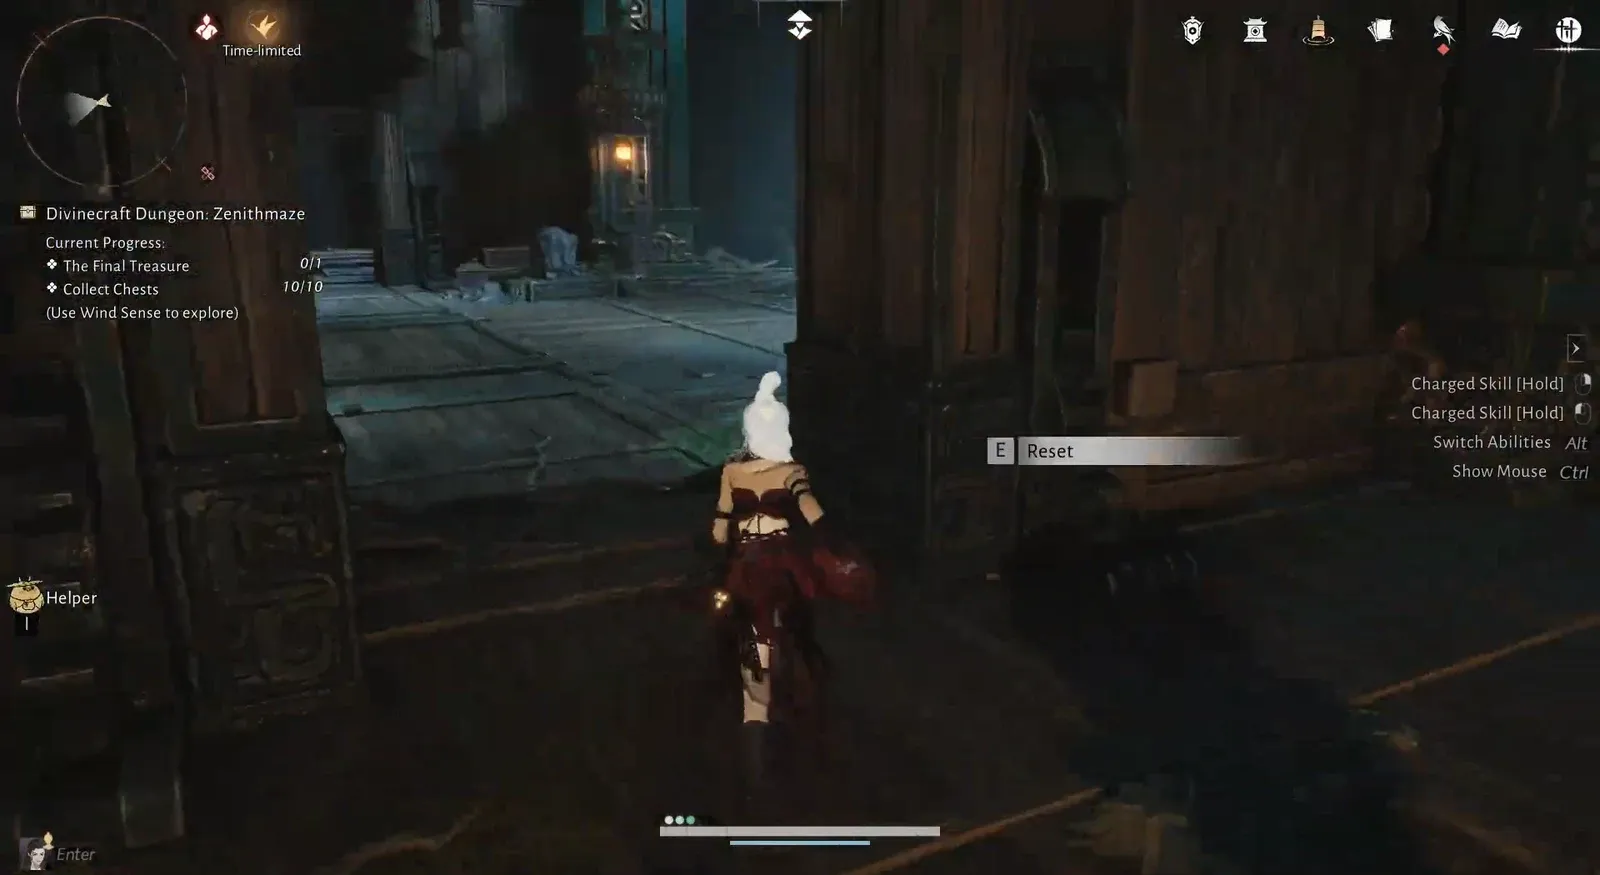
After chest six, head to the mechanism with two pressure plates. Place a Zenith box on each plate, then pull the lever to open the first gate into the left area.
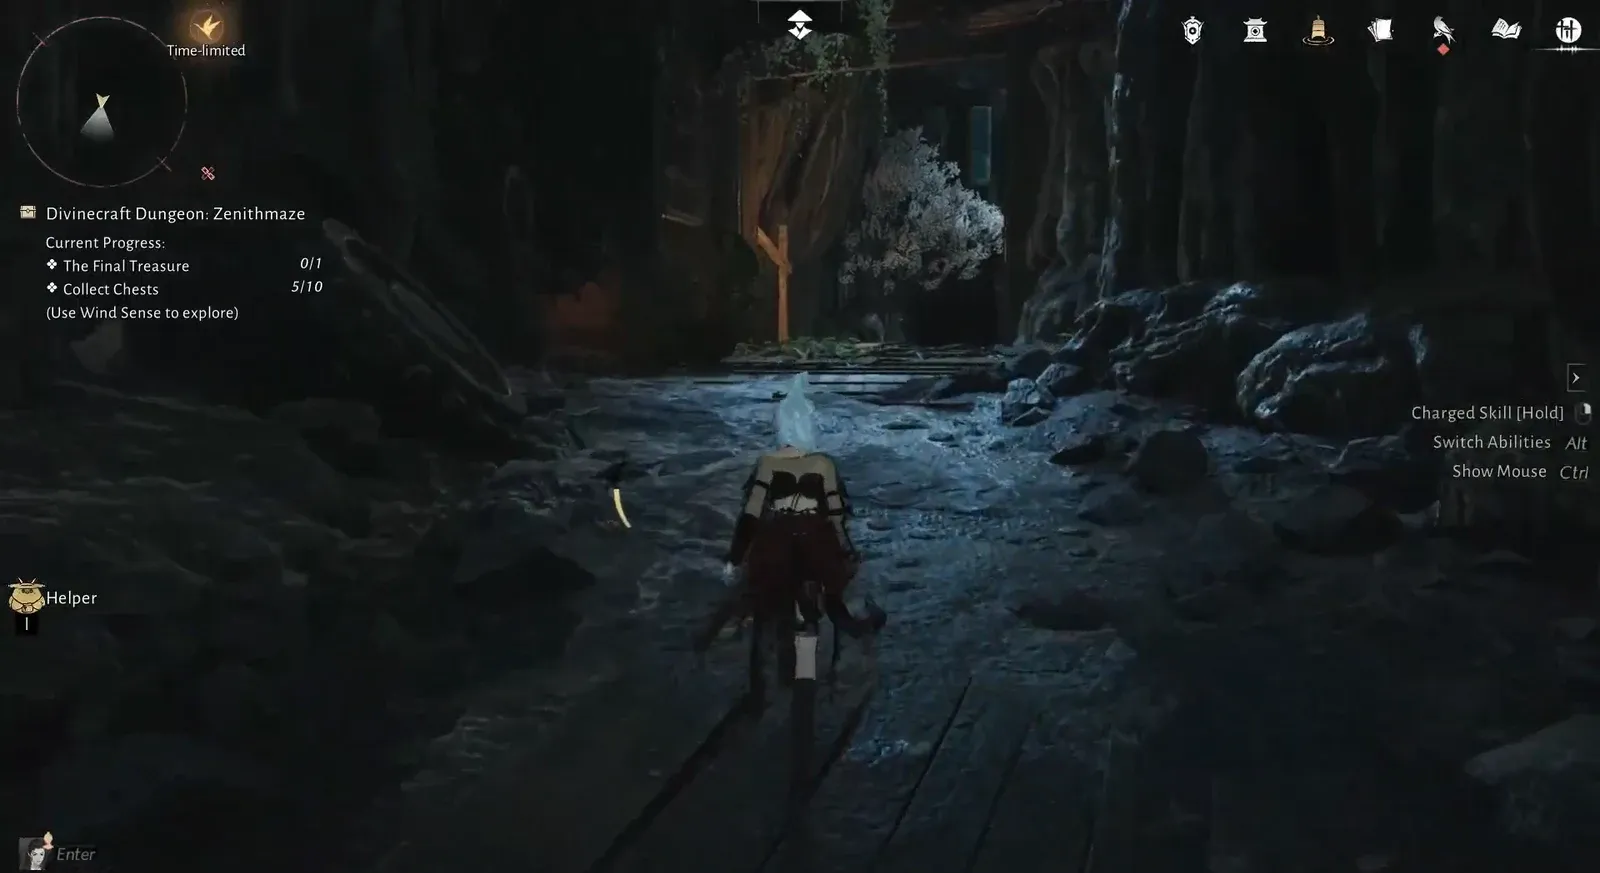
There is a wide gap on the left side after chest seven where a Zenith box jump often fails and drops you to your death. If you fall, you respawn at the last Hero’s Tomb checkpoint. The safer option is to open your umbrella and glide across the gap rather than chaining boxes.
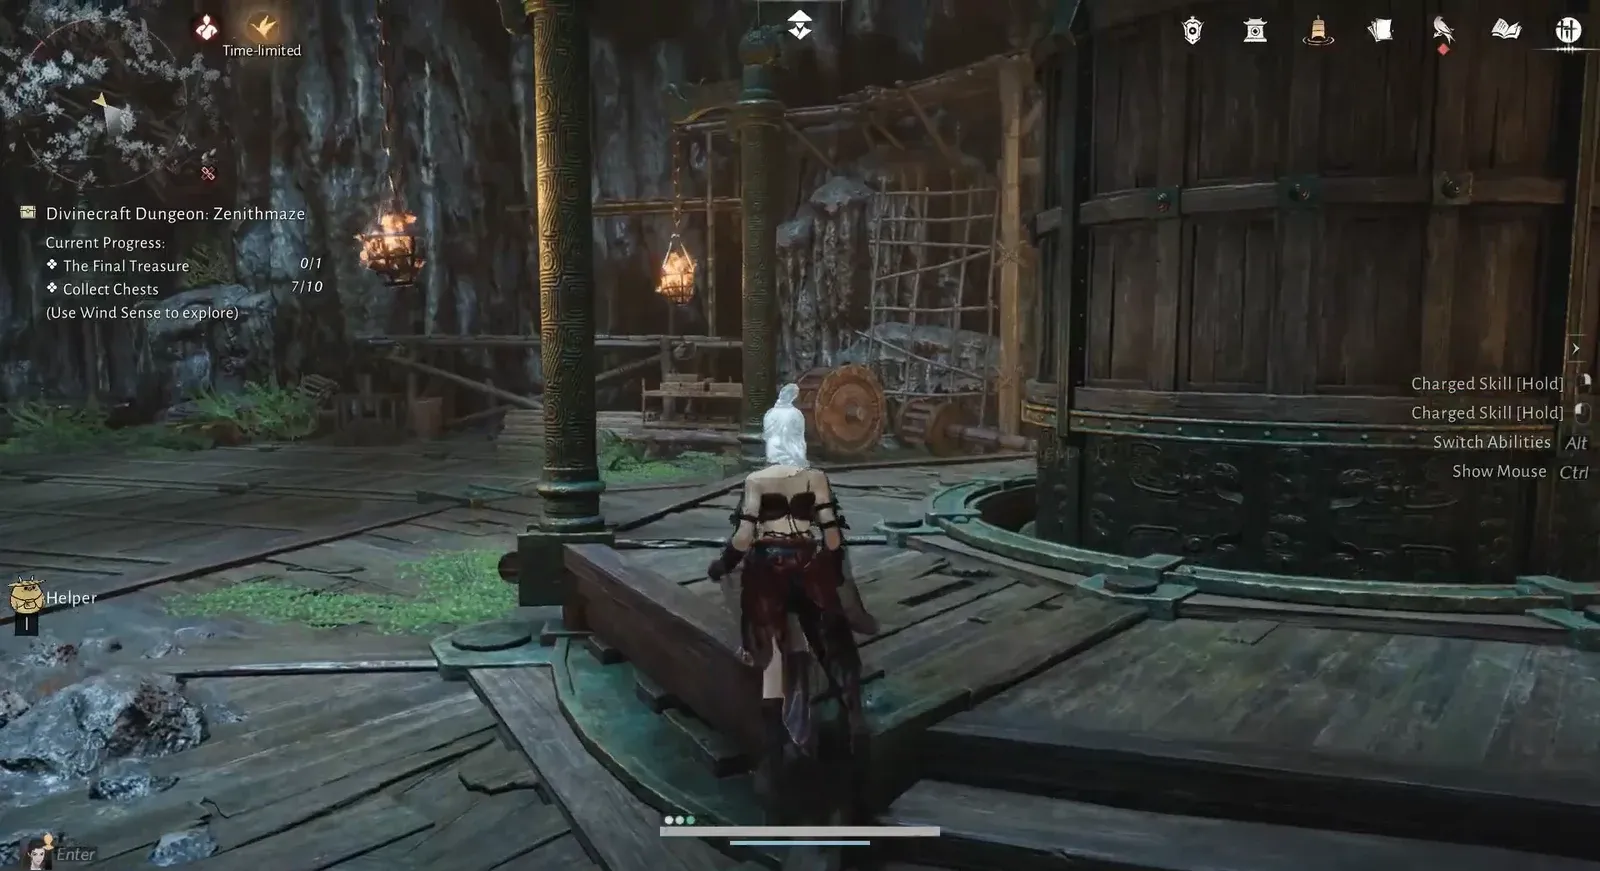
After chest ten, slide down the zipline and pull the second lever to open the second gate. This unlocks the route back to the center where the final treasure hangs.
Reach the final treasure
Note: If your boxes end up misaligned, use the reset prompt on the puzzle mechanism to return them to their starting spots and try the chain again.
Finish the Pi the Fourth quest
Once the dungeon is complete, leave the cave and talk to Pi the Fourth again. Hand over Elder Crane’s journal you picked up near the start to complete “The Elder’s Legacy II.” If you skipped the journal earlier, grab it before you exit, since the quest will not close without it.
Rewards and how to confirm completion
Claiming the final treasure triggers a completion screen. The dungeon hands out crafting and progression materials, including Echo Jade, Jade Fish, Trace Jade, Oscillating Jade, and Wooden Wheel. You know the clear registered when the completion screen appears and the exit door unlocks; the separate quest reward lands after you deliver the journal to Pi the Fourth.
With all ten chests, the caged treasure, and the journal handed off, Zenithmaze is fully cleared. The Zenith box linking trick you learn here carries over to the other Hidden Mountain dungeons, so it is worth getting comfortable stacking boxes before you move on.