You can now decide exactly which entity haunts a location in Phasmophobia, thanks to a Quality of Life update that added a ghost selection option to the game’s contract settings. The control is tucked away inside custom match presets, so it is easy to miss if you stick to the standard difficulties.
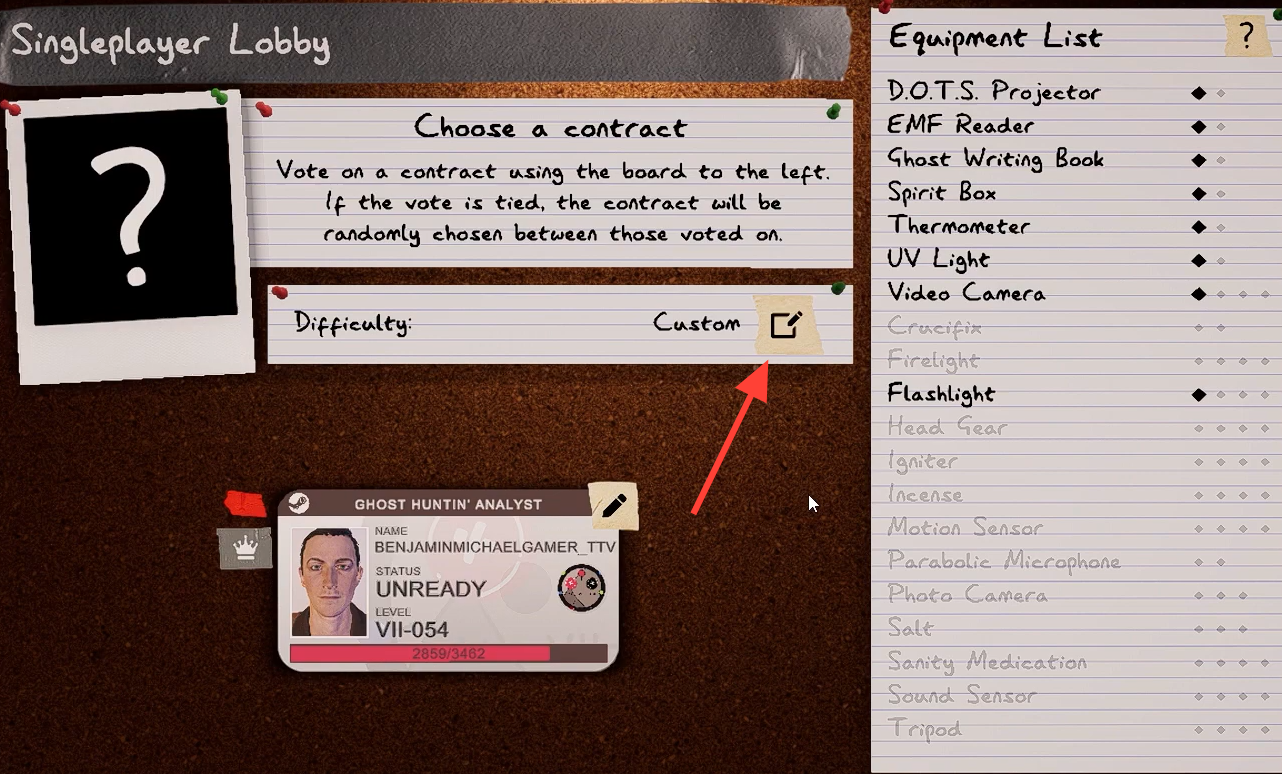
Quick answer: Load a Custom 1, Custom 2, or Custom 3 preset, open the Ghost tab, use the pen icon to edit settings, set “Force a specific ghost type to spawn” to your chosen ghost, then press Apply.
Where the ghost selection option lives
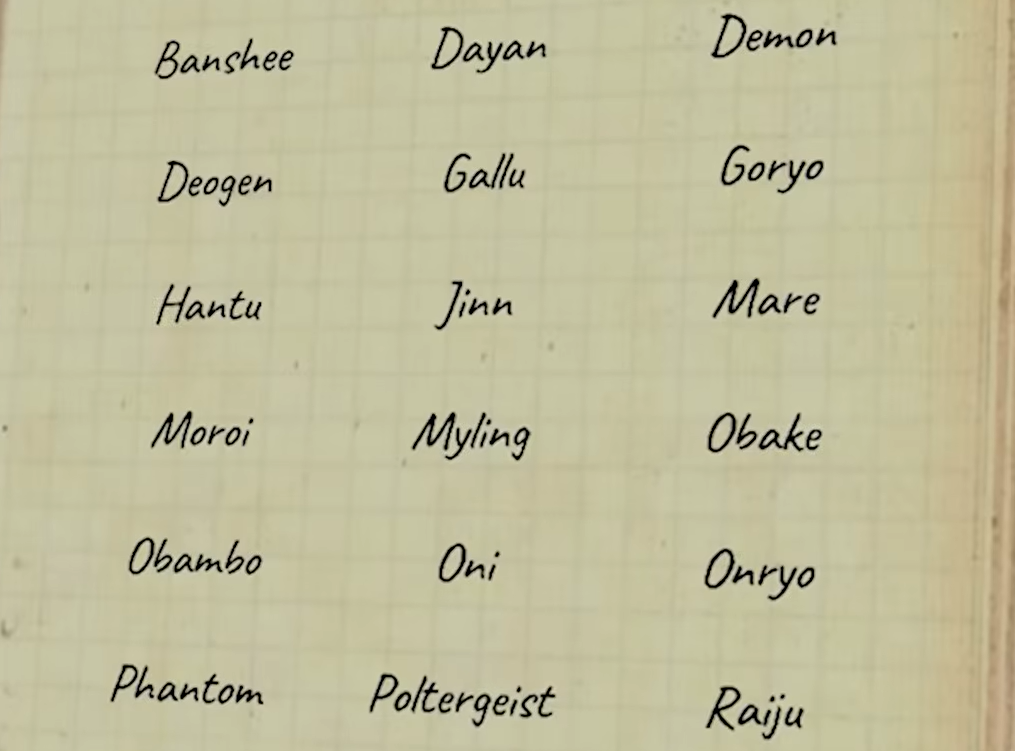
Ghost selection only exists inside custom contracts. The three custom presets, labeled Custom 1, Custom 2, and Custom 3, are the only match types that let you change the entity before you start. Every fixed difficulty keeps its settings locked, so the option will not appear anywhere else.
Because the setting is buried under an editable settings menu rather than sitting on the main lobby board, you have to switch to a custom preset and open the ghost editor to reach it. Once you do, you can force any of the game’s entities to spawn.
Set a specific ghost in a custom match
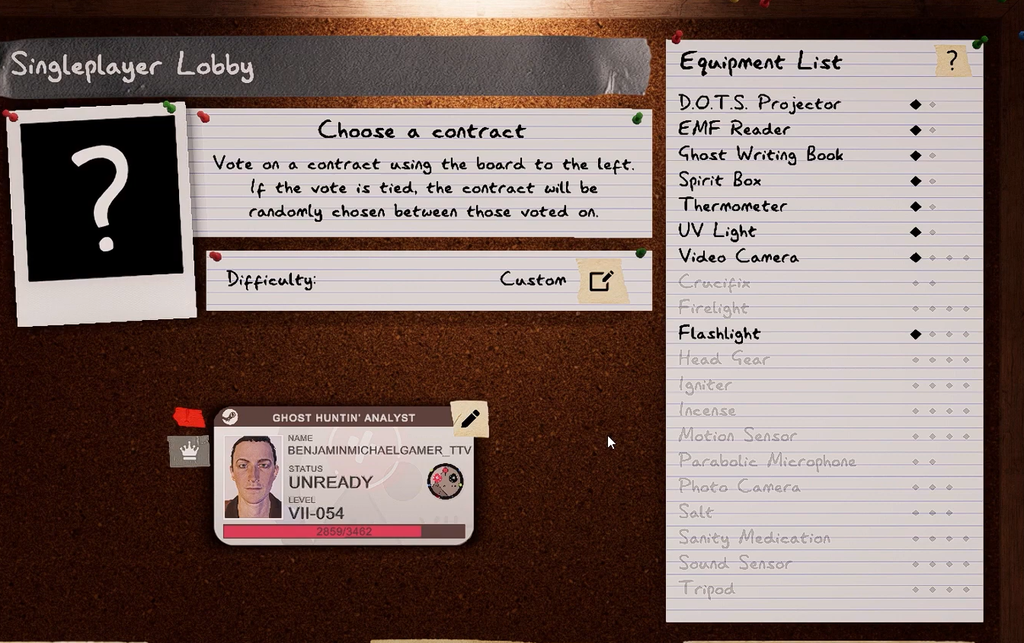
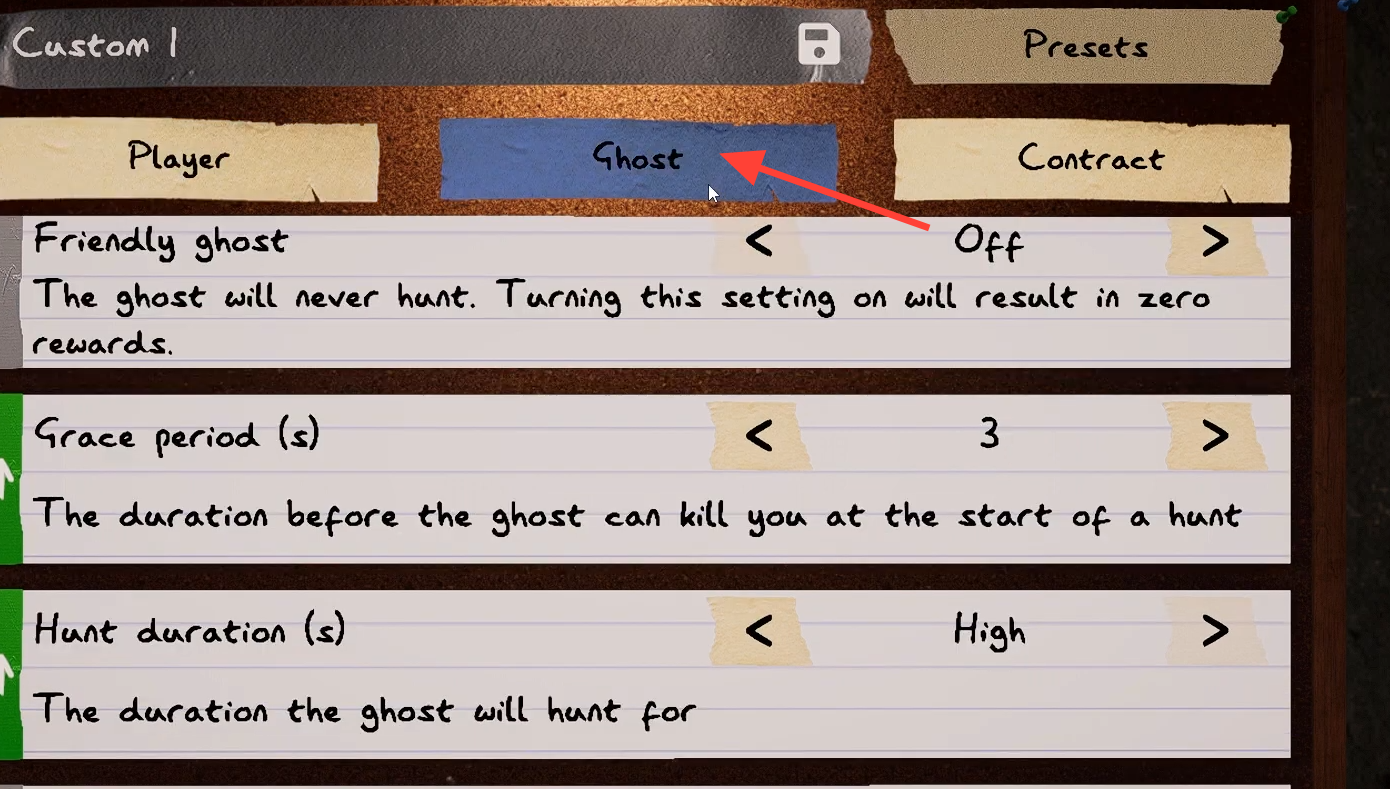
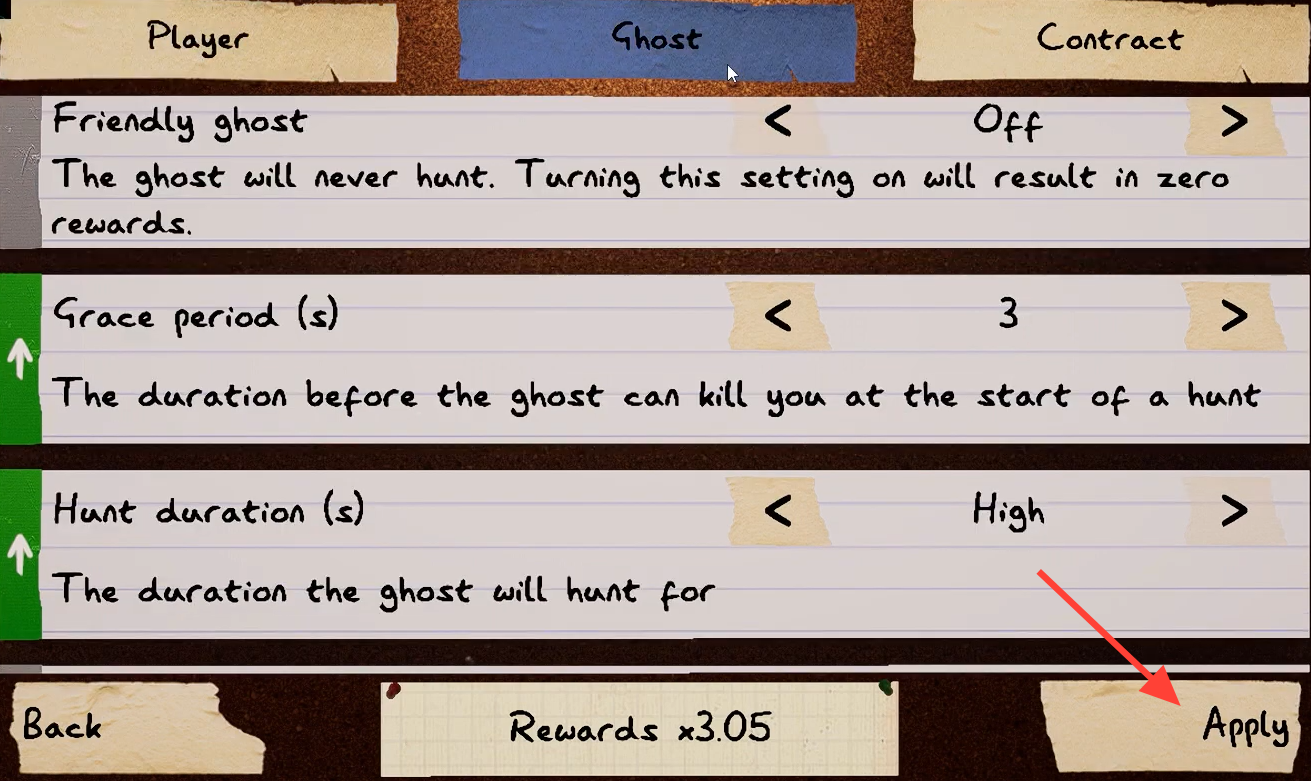
To swap to a different entity later, exit the round and repeat the same steps. You can change the forced ghost as many times as you like between contracts.
How to confirm the setting took effect
The choice is locked in the moment you press Apply. When you start the contract, the entity haunting the building will match the one you forced, and its evidence and behavior will line up with that specific ghost. If the haunting feels random, you likely closed the editor without pressing Apply or you were not on a custom preset. Reopen the Ghost tab, reselect the entity, and confirm the setting again.
Which difficulties allow ghost selection
You cannot pick the entity on any of the fixed difficulty levels or in the weekly challenge, because their settings are all locked. Only the three custom presets expose the option.
| Match type | Can force a ghost? |
|---|---|
| Custom 1, Custom 2, Custom 3 | Yes |
| Amateur | No |
| Intermediate | No |
| Professional | No |
| Nightmare | No |
| Insanity | No |
| Weekly challenge | No |
Custom contracts made by you, your friends, or other players all share this capability, so joining someone else’s custom lobby works too as long as the setting was configured before the round began.
Why forcing a ghost is useful for practice
Locking a single entity is a reliable way to study behaviors and non-evidence clues without waiting for the right ghost to appear at random. That is especially helpful for the newer and trickier types whose tells are easy to confuse. Entities worth repeating on a forced spawn include the Deildegast, Aswang, Kormos, Obambo, Gallu, and Dayan, since each has movement or interaction patterns that only become obvious after several controlled encounters.