Every Chapter 12 Collectible in Resonance: A Plague Tale Legacy (Fading Light)
Track down two artefacts, the Seal #5 charm, and every Resonance Point across the caves, quarry, and spiked labyrinth.
Track down two artefacts, the Seal #5 charm, and every Resonance Point across the caves, quarry, and spiked labyrinth.
by AllThingsHow Staff
Chapter 12: Fading Light pushes Sophia through collapsing caves, a storm-lashed quarry, and a ruined labyrinth while her arm infection keeps spreading. The route is linear, but it hides two artefacts, one charm, and a handful of Resonance Points that are easy to run past while you are being chased or fighting for space.
Quick answer: Fading Light contains four named pickups — the Loving Memento and Blank Mosaic artefacts, the Seal #5 charm, and several Resonance Point drops. The artefacts and charm are not missable and can be grabbed later through chapter select, but the Resonance Points only count toward your skill tree if you collect them during the same playthrough.
Chapter 12 collectibles in order
Everything appears in a fixed sequence as you move forward, so you cannot backtrack far. Use the table to know what is coming, then follow the walkthrough below for the exact triggers.
Collectible
Type
Where it is
Resonance Point x2
Skill points
Reward for defeating the soldiers in the cave settlement
Loving Memento
Artefact
On a corpse on a ledge just past the settlement
Resonance Point
Skill point
After the plant-monster fight across the bridge
Seal #5
Charm
In a chest reached by crawling through vines
Resonance Point
Skill point
On a dark ledge after the quarry gate
Resonance Point
Skill point
At the labyrinth entrance before the stone door
Blank Mosaic
Artefact
On a ruined wall inside the spiked labyrinth
Cave settlement: Resonance Point x2 and the Loving Memento
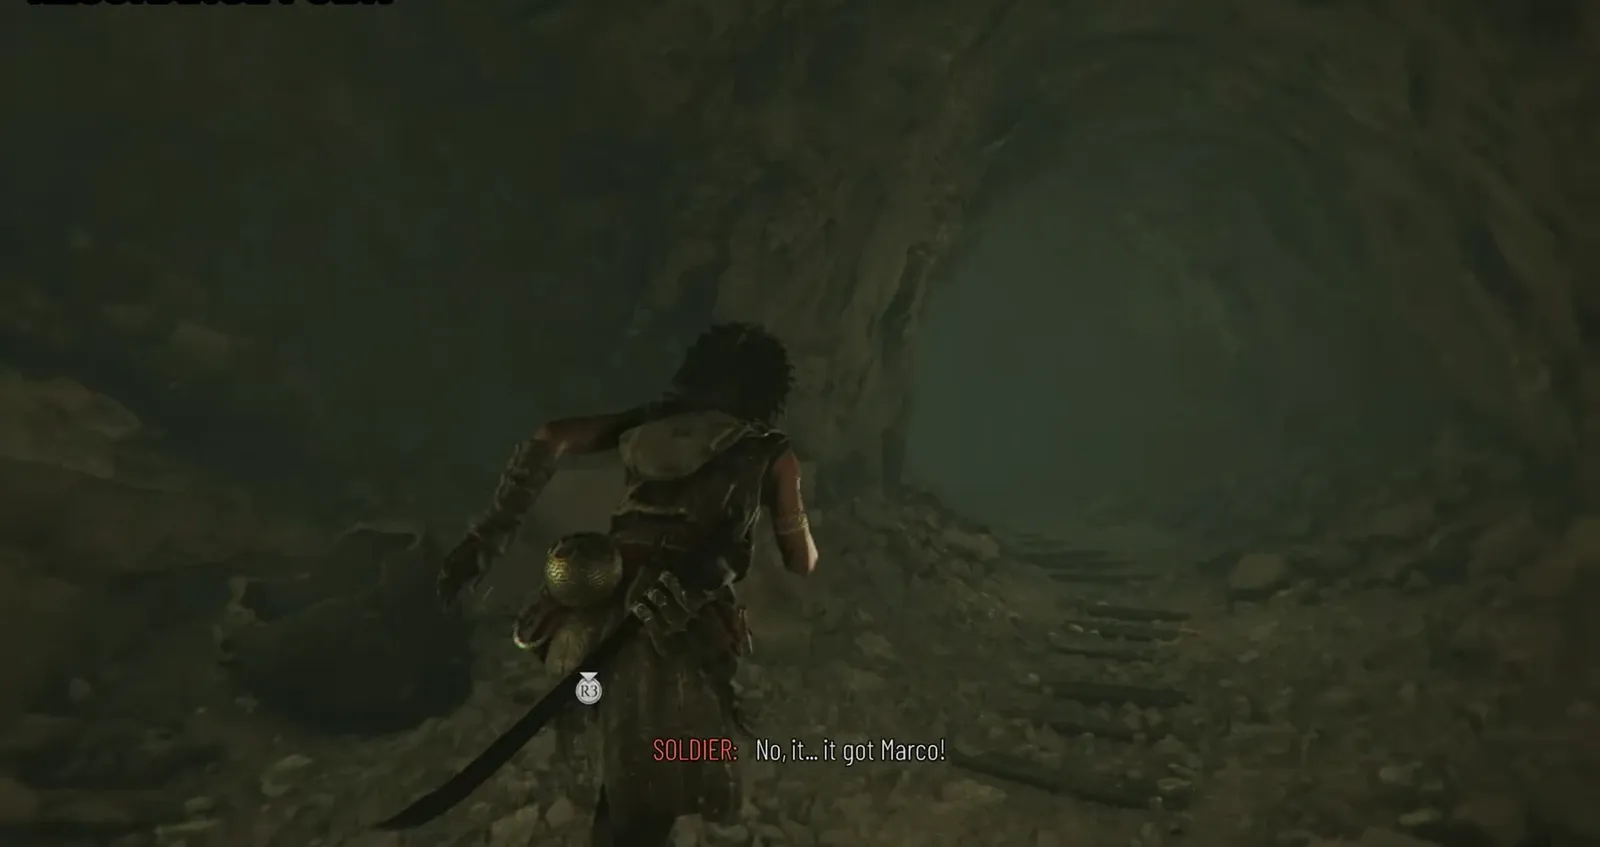
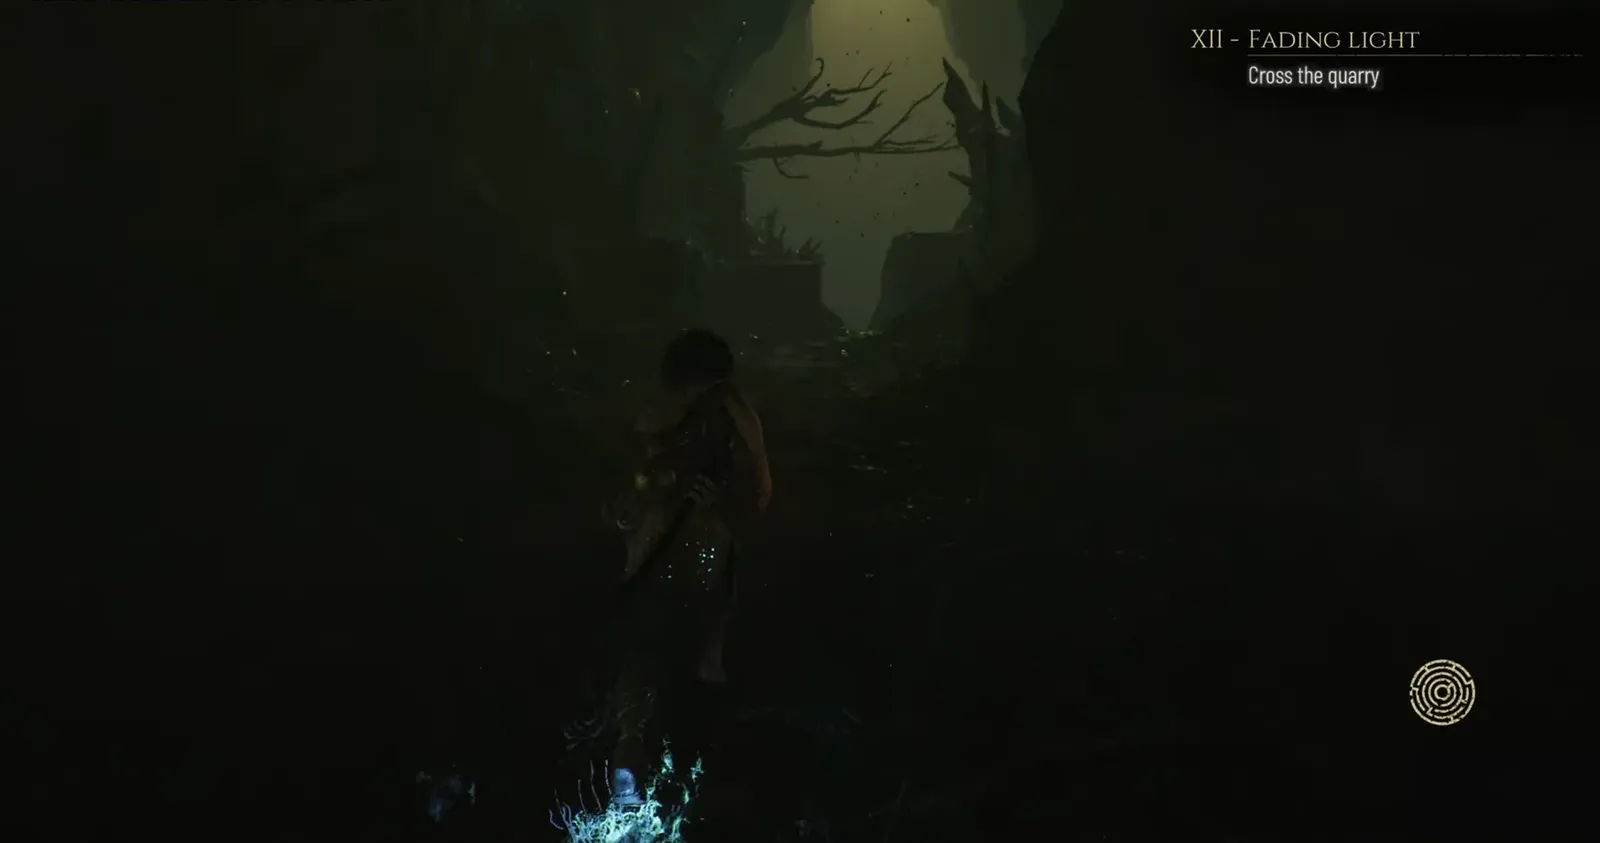
From the start of the chapter, run through the green-tinted cave and grapple across the first gap. Squeeze through the narrow opening to drop into the cave settlement, where a group of hostile soldiers refuses to let you pass.
00:23Approaching the cave settlement where the soldiers block the path. Image credit: Asobo Studio. Shown at 00:23 in 100% Guides’s video.
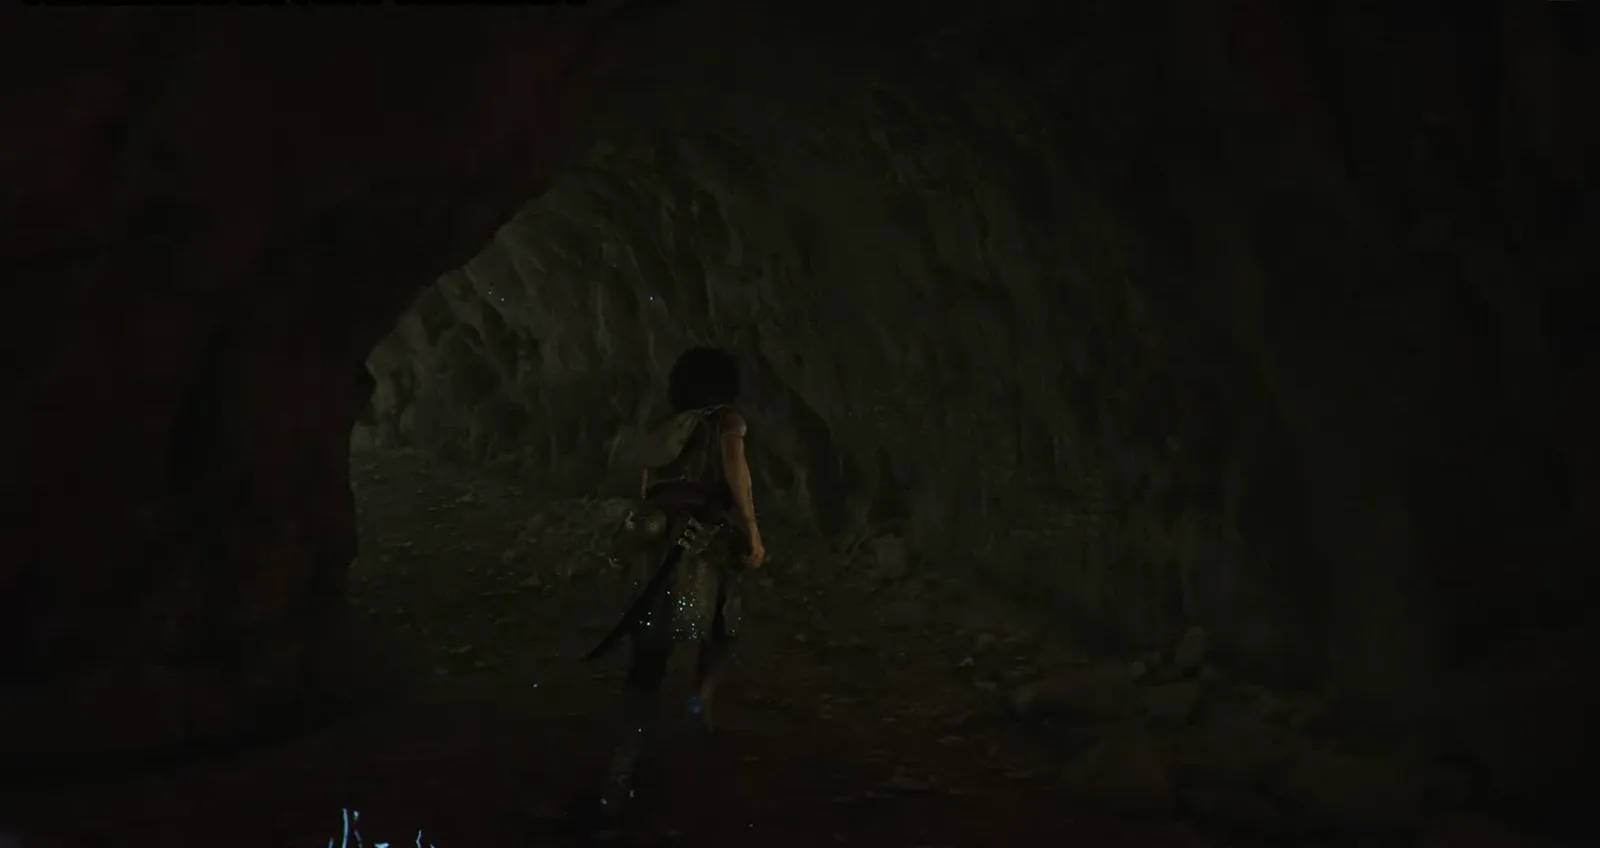
Push through the next gap and follow the cave tunnel. Watch for a corpse resting on a ledge and interact with it to pick up the Loving Memento artefact, a pendant carrying a woman’s name.
01:30The Loving Memento artefact taken from the corpse on the ledge. Image credit: Asobo Studio. Shown at 01:30 in 100% Guides’s video.
Bridge crossing: Resonance Point and the Seal #5 charm
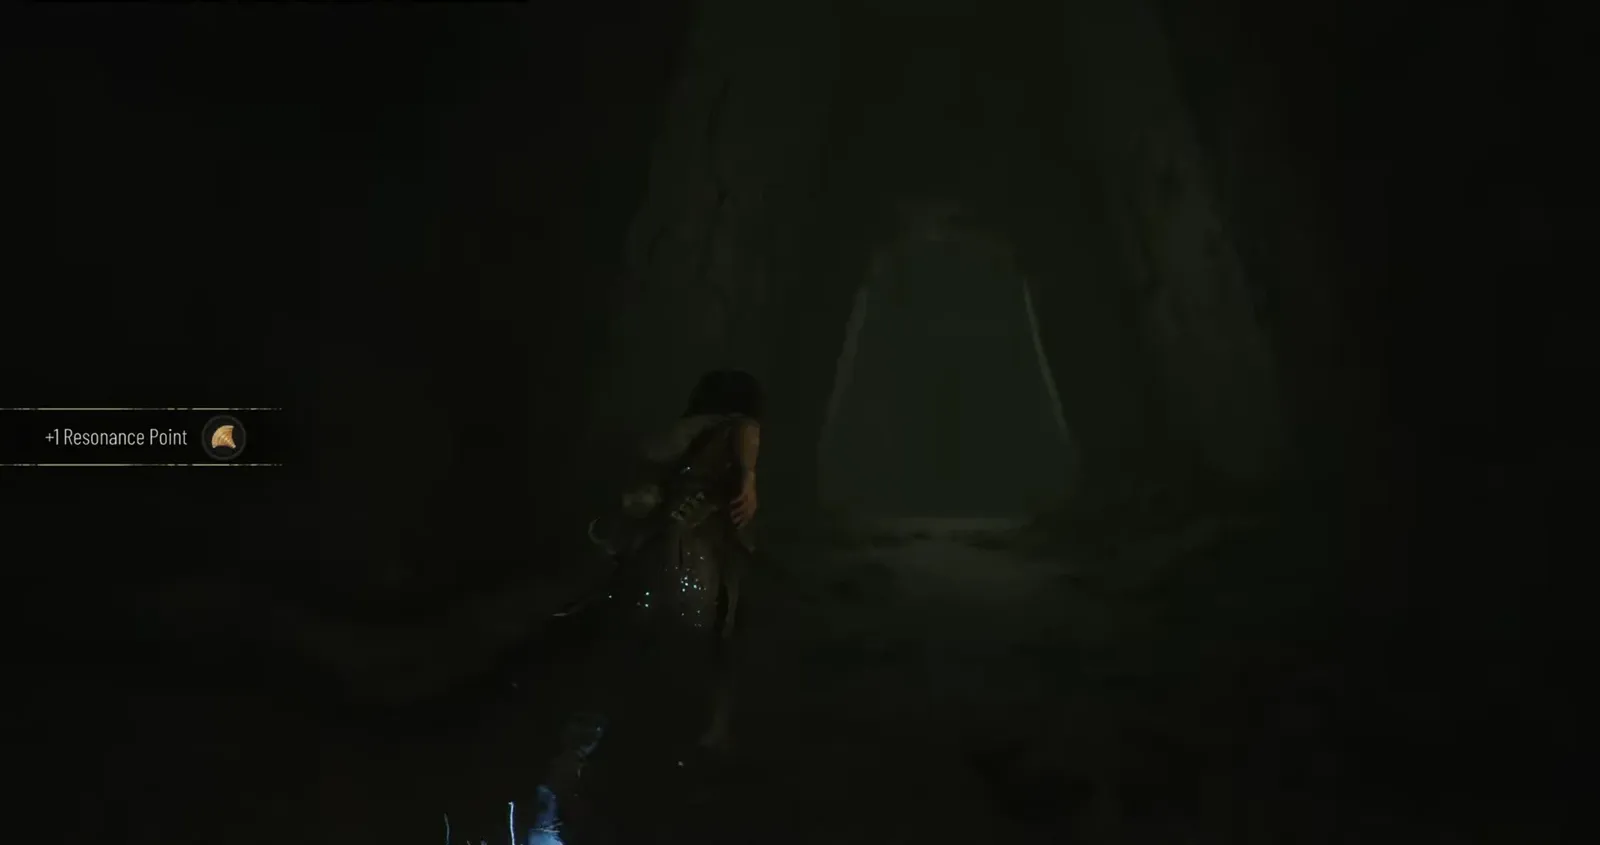
Climb up and activate the light-beam pedestal to continue. Cross the bridge, grapple to the far side, and fight off the plant monsters waiting there. Winning this encounter drops a Resonance Point.
Crawl through the vines and slide down the slope on the other side. At the bottom you will find a chest — open it to claim Charm: Seal #5, then continue toward the quarry.
The quarry: platform puzzle and the dark-ledge Resonance Point
Grapple across the large gap to reach the quarry overlook. The objective here is to cross the quarry, which means solving a short platform puzzle before the storm reaches you.
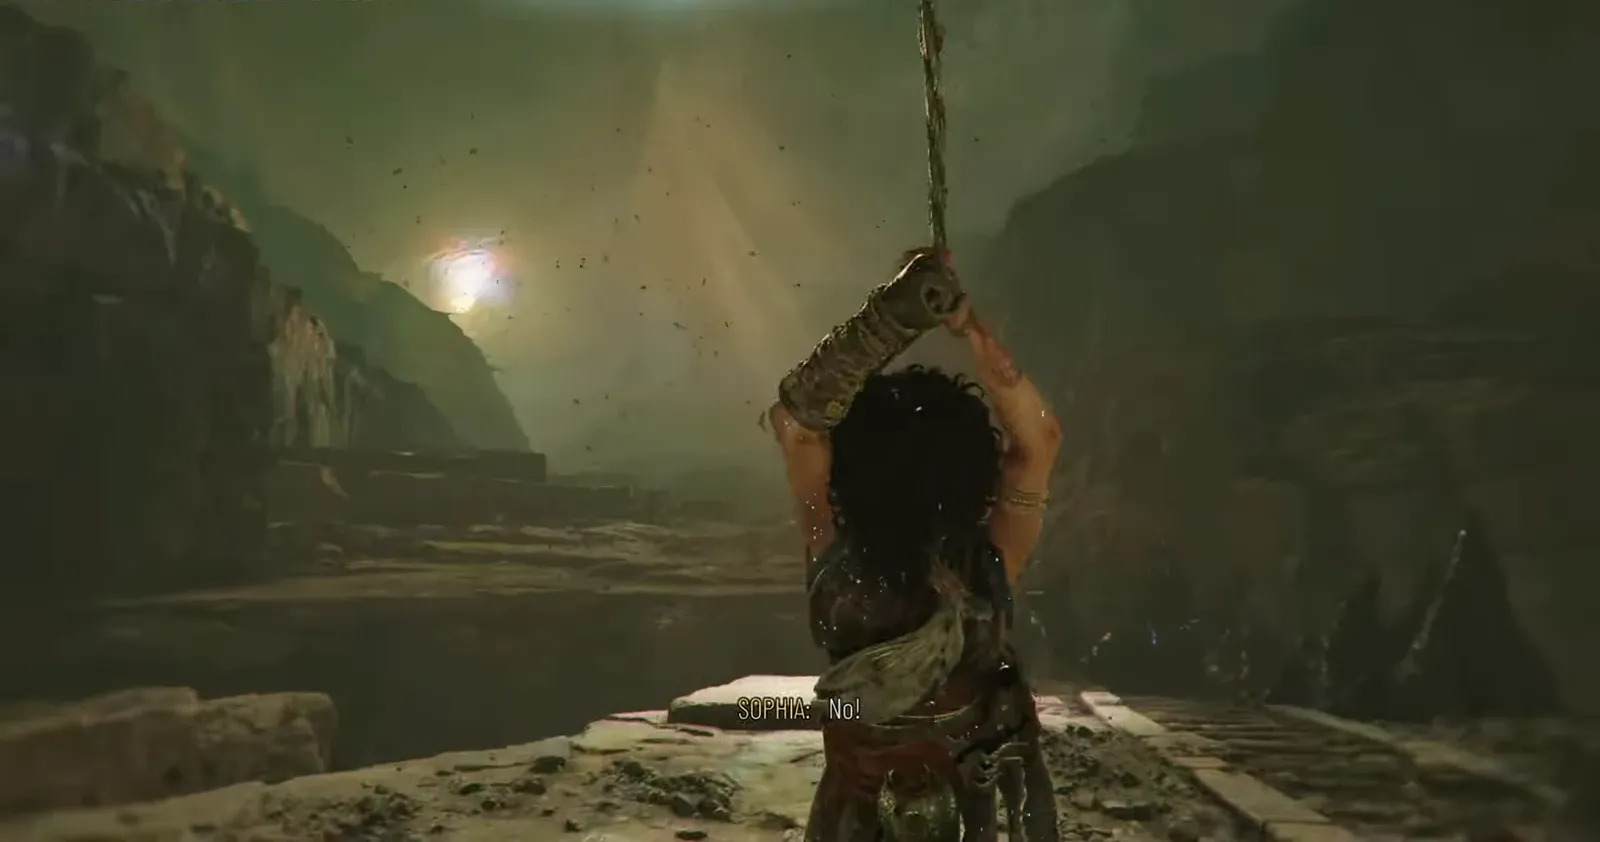
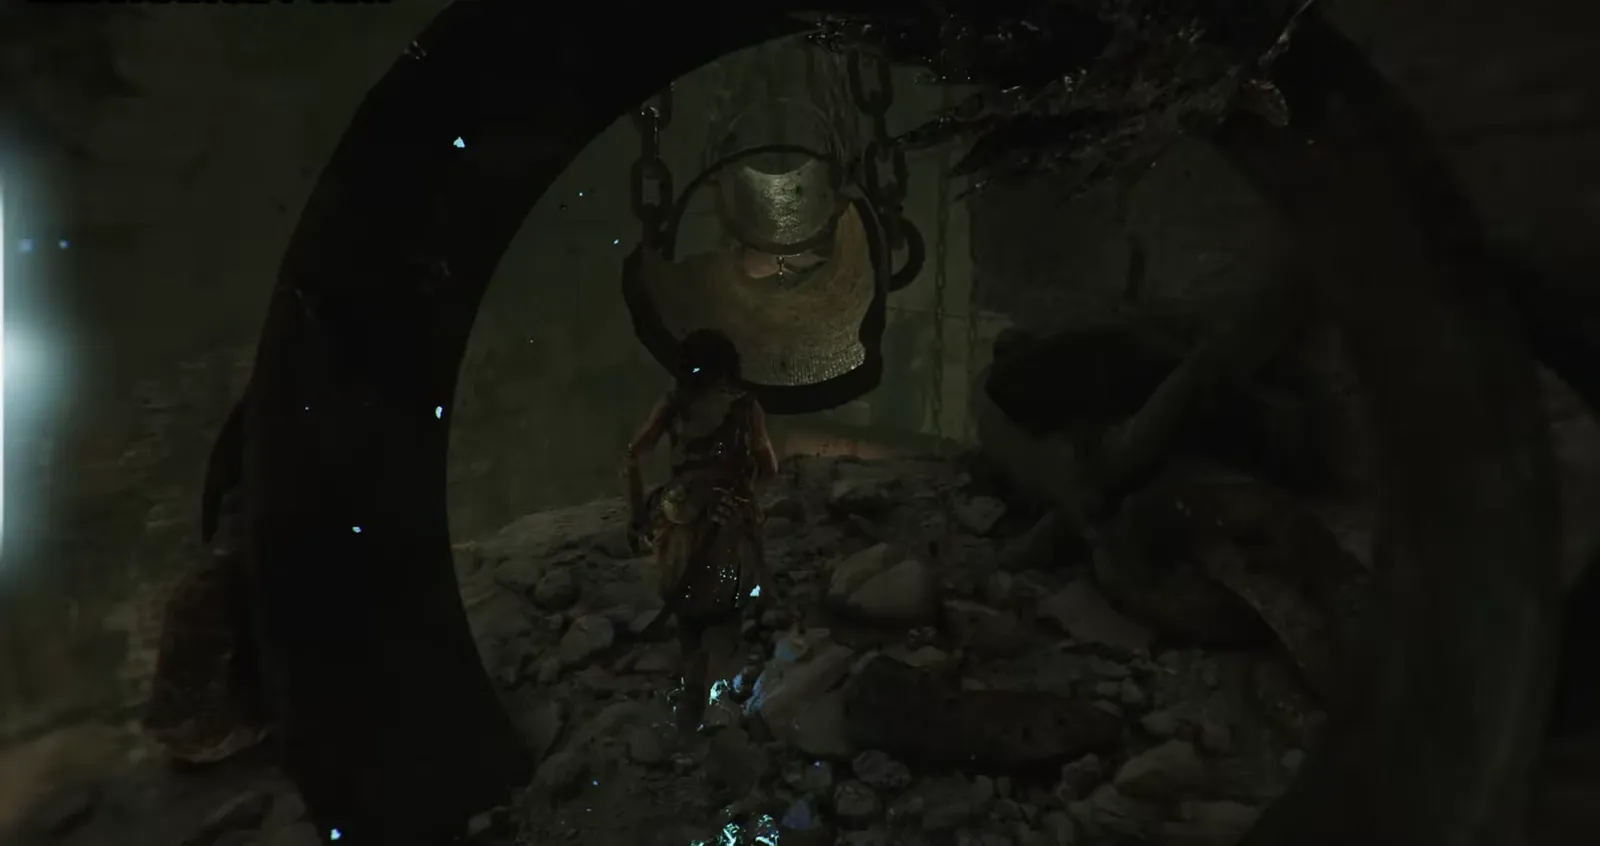
Slide down the slope and crawl through the low, muddy passage. Sophia’s infection flares during this stretch, but keep following the beam through the slides, swings, and tunnel that follow.
05:06The cavern with the suspended metal structure after the swing section. Image credit: Asobo Studio. Shown at 05:06 in 100% Guides’s video.
Work your way through the spiked, ruined labyrinth, grappling across the gaps. Look for a ruined wall and interact with it to obtain the Blank Mosaic artefact, the last named collectible of the chapter.
How to confirm you got everything
Each pickup pops an on-screen confirmation as you collect it: Resonance Point notices add to your skill total, artefacts show an “Artefact” banner, and the charm shows a “New Charm” line. If you missed the Loving Memento, Blank Mosaic, or Seal #5, load the chapter through chapter select, grab it, and back out to the main menu — that credit sticks.
Note: Resonance Points work differently. If you return through chapter select and then continue, later chapters start you with the Resonance Point total you originally had, so the extra ones do not carry over. To reach the 165 points needed to unlock all six Mastery Branches, collect them during a single continuous run rather than mopping them up afterward.