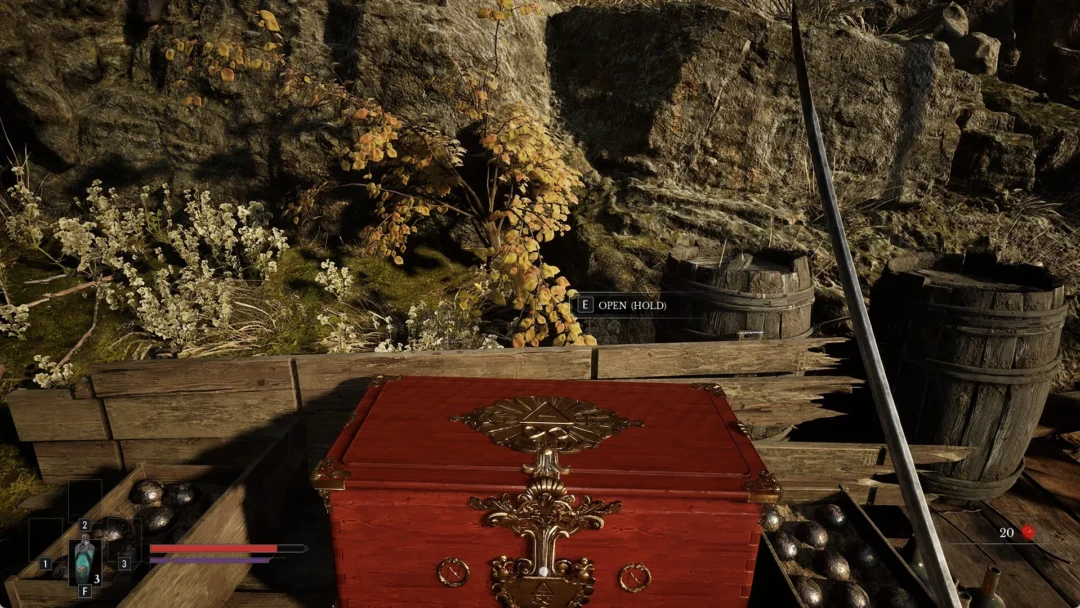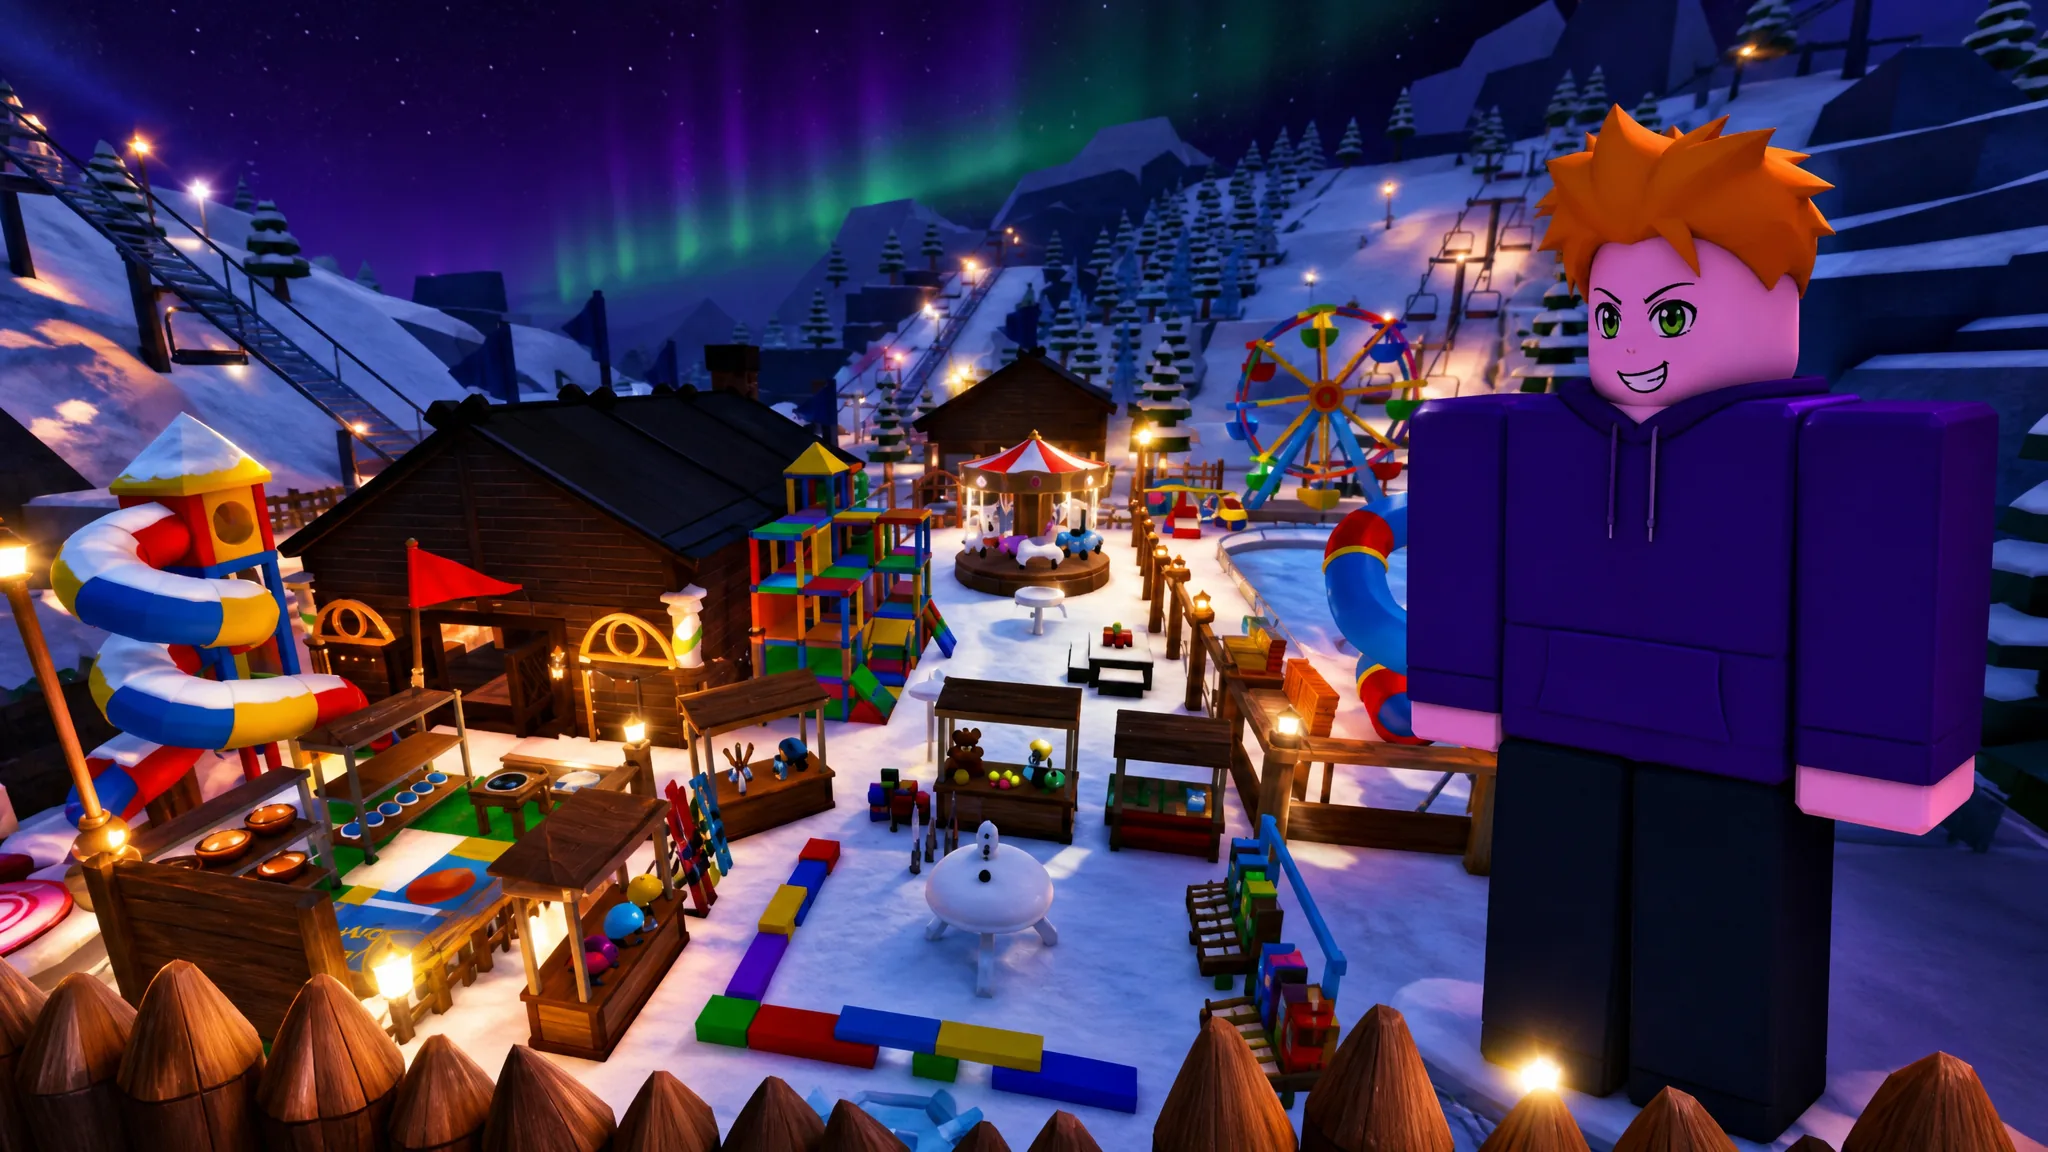
Turning a survival run in 99 Nights in the Forest into a full ski resort is a construction project layered on top of the game’s normal day-night loop. You survive nights, keep the campfire lit, rescue the missing kids to skip days, and eventually relocate to the snow biome, where the exclusive materials and cold-weather furniture that make a resort possible actually exist.
Quick answer: Rescue the four missing kids to fast-forward the day count, upgrade the campfire and crafting benches, then move to the snow biome to farm Frost Gems, Arctic Fox Pelts, and feathers. Enclose a flat area with Log Walls and Log Gates, build a main cabin for Warm Clothing and lodging, and finish with teleporters, Winged Boost Pads, and decorative furniture.
Skip days by rescuing the missing kids
The fastest way to reach the day count a resort needs is to rescue the trapped children scattered across the map. Freeing dino kid, kraken kid, squid kid, and koala kid from their stone tombs and locked chests jumps the in-game day forward by several days at once, so each rescue is worth far more time than simply surviving another night.
Some tombs are guarded. Clearing the wolves around dino kid’s stone tomb, for example, is the price of that first big day skip. Rescues also tend to reward useful gear along the way, including a Rifle and a Gem of the Forest Fragment picked up while freeing the later kids.
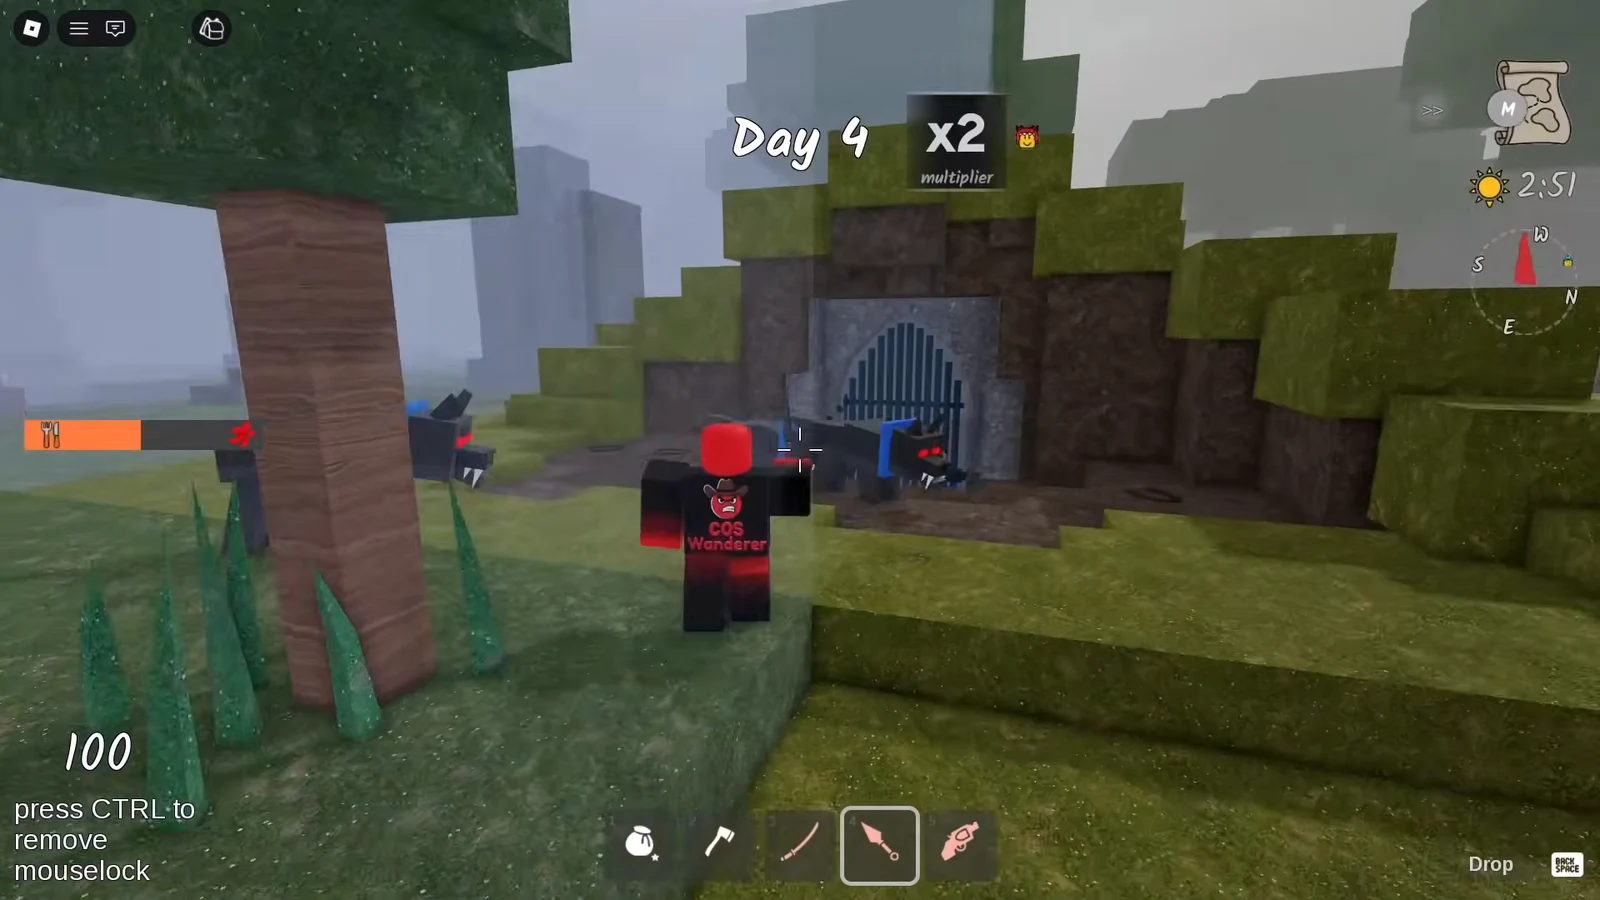
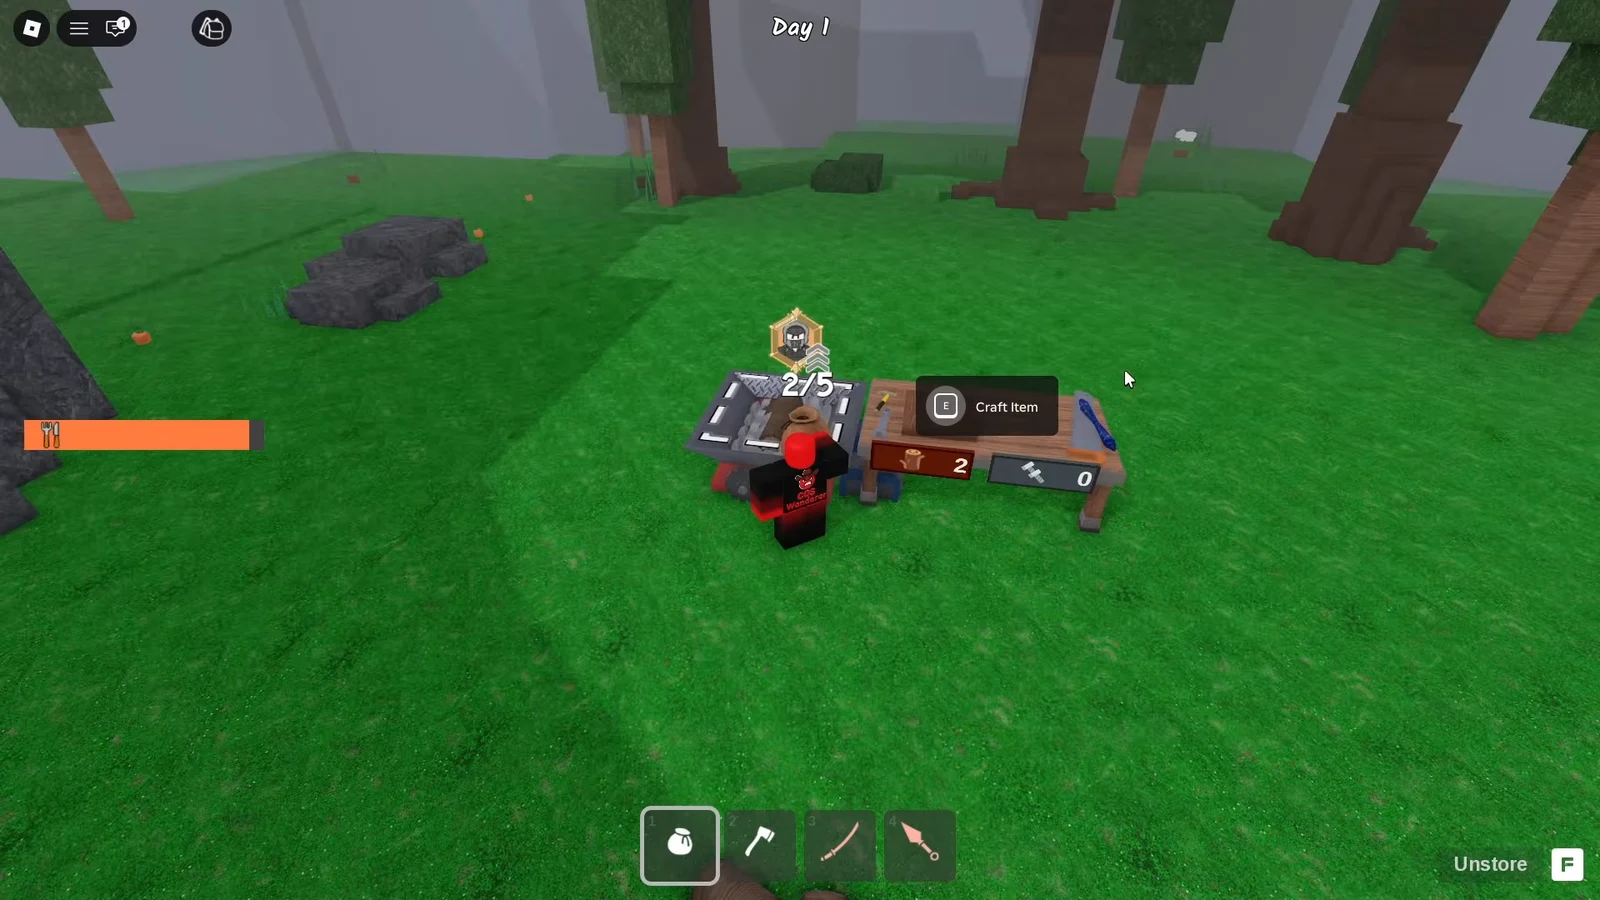
Set up the campfire and base before you build anything
A resort needs a stable base first. Get the campfire running, feed it until it hits 100 percent, and push it to Level 2. That fire growth expands the playable map, which opens access to the areas and materials you will rely on later.
Tip: A treehouse is a reliable safe spot during night attacks, since the hostile mobs and the Deer cannot climb structures to reach you.
Optional raids for stronger gear
Around Day 14 you can use a scanning pad to teleport to the alien Command Ship. There, the Alien Trader sells furniture, and clearing the alien enemies aboard lets you claim the Alien Shotgun. A later castle raid around Day 19 and 20 yields a Tactical Shotgun and diamonds.
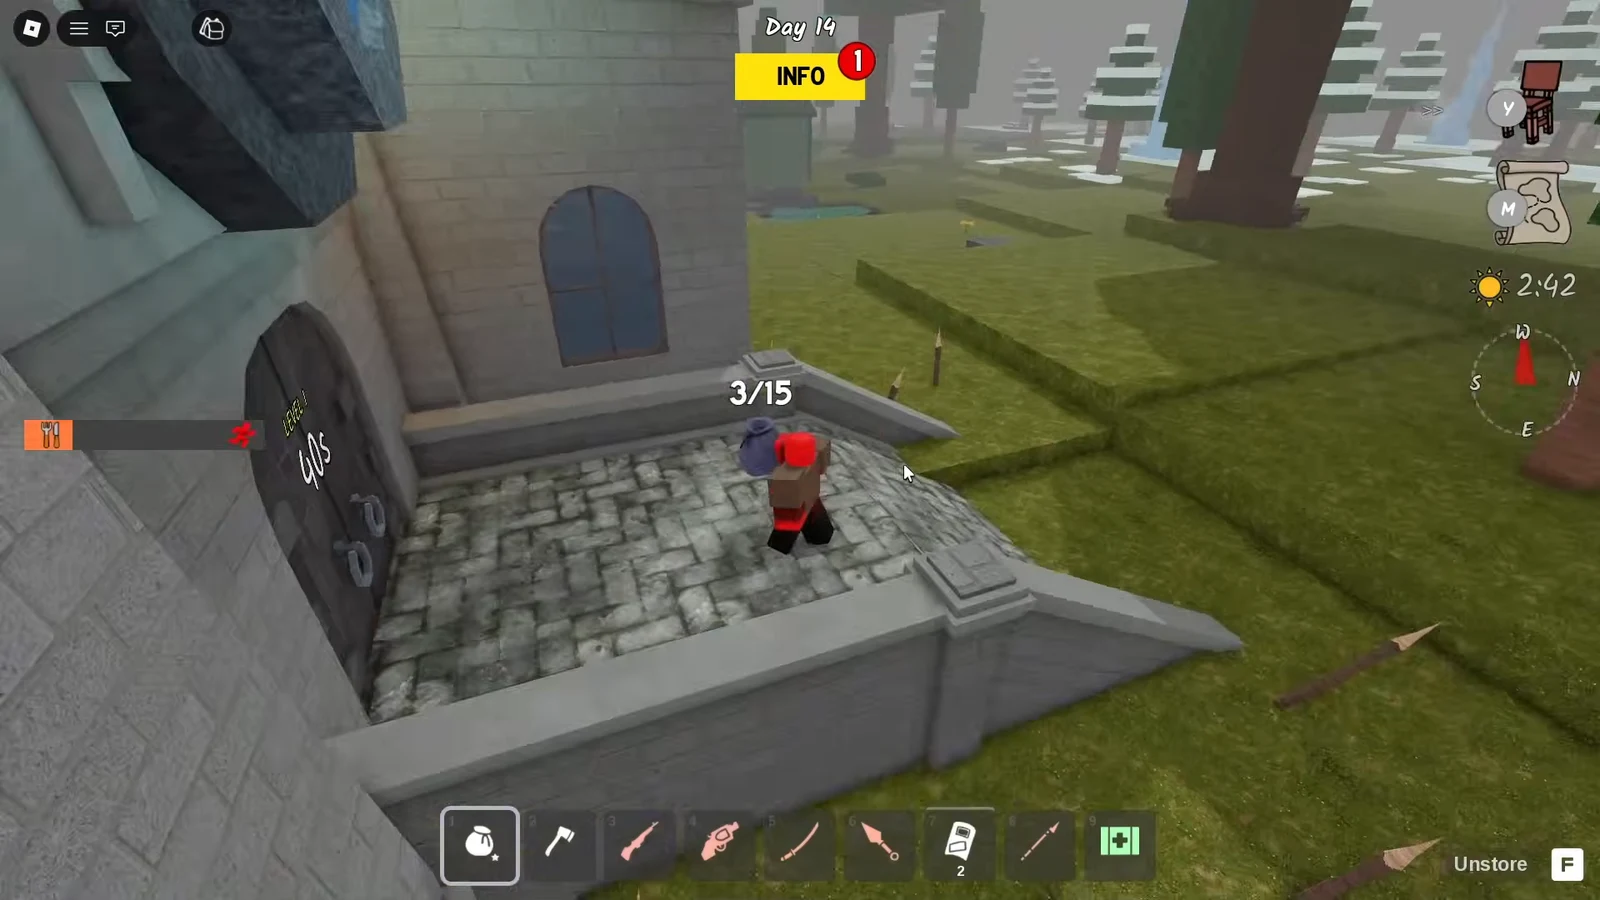
These raids are not required to build the resort, but the weapons make the snow biome’s tougher enemies, including polar bears, much easier to handle.
Move to the snow biome and farm its exclusive materials
The resort has to be built in the snow biome, because the winter gear and crafting materials that stock it only appear there. Before you make the move, craft several beds and a Boost Pad so you have somewhere to sleep and a faster way across the new terrain.
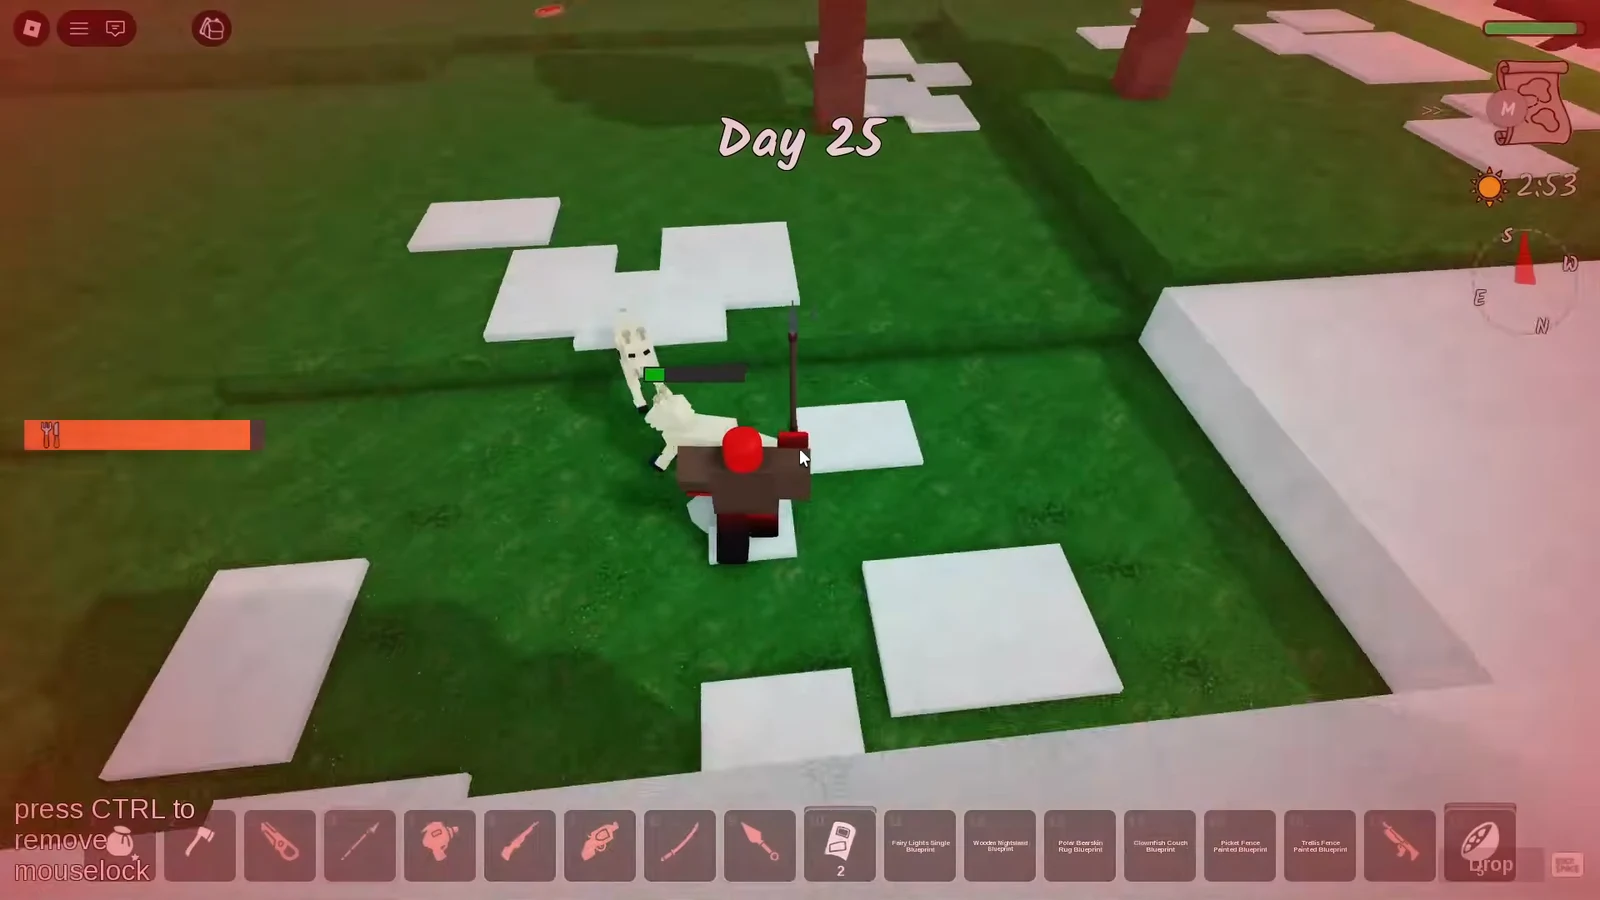
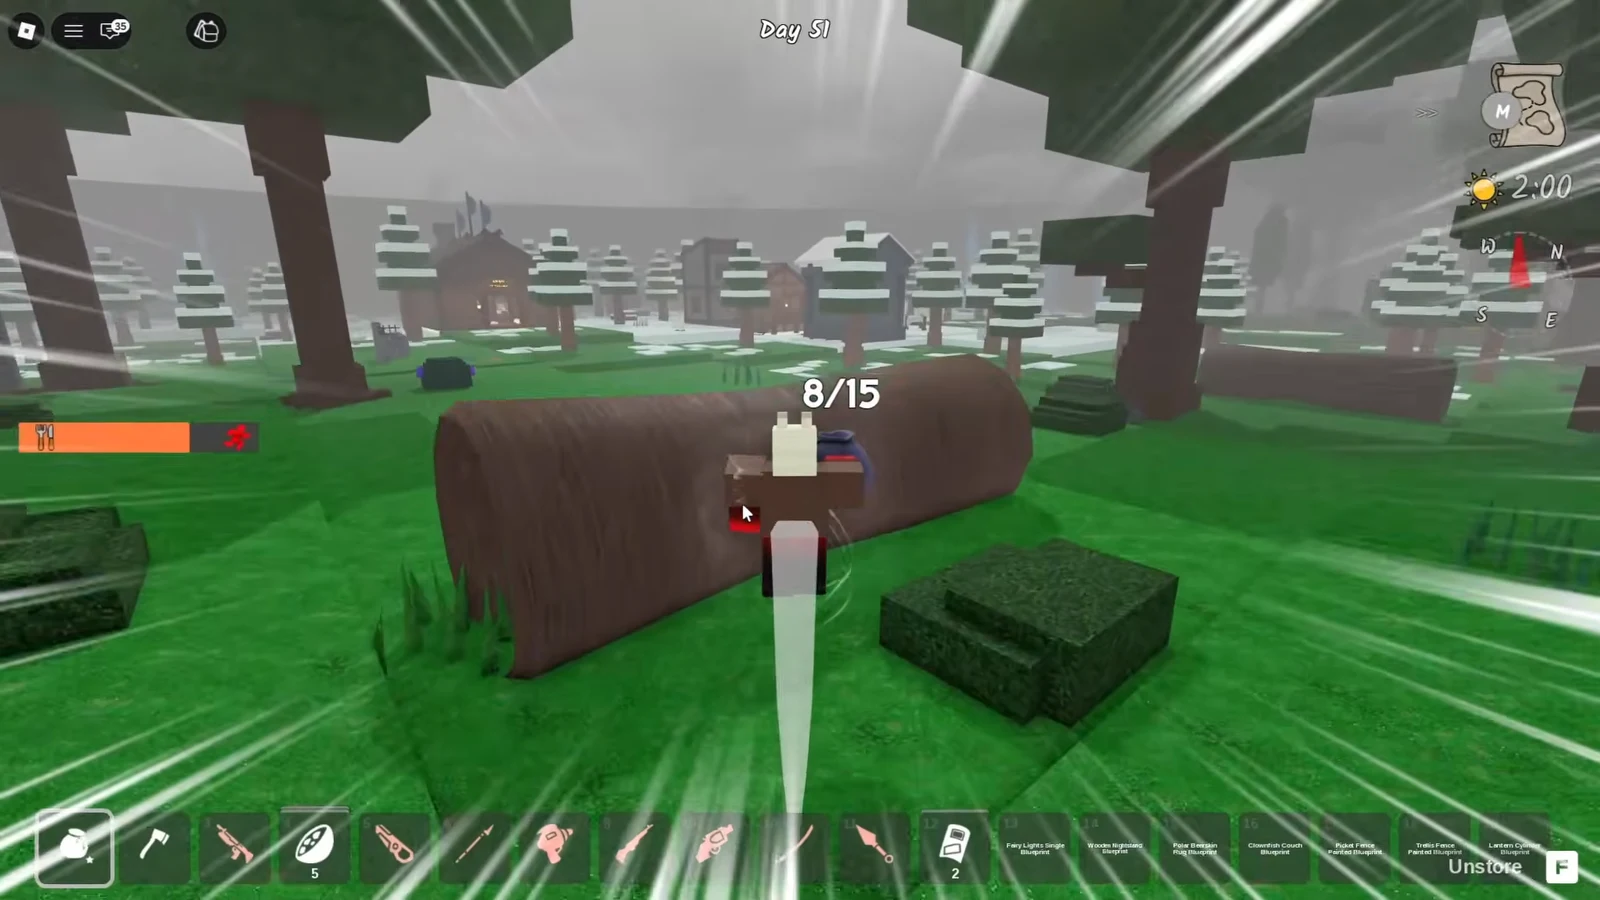
Once inside, loot cabins and hunt the local wildlife. Cabins hold usable furniture like a Washing Machine and an Old Radio, while creatures and nests drop the materials your resort needs. Activating the ice portal around Day 42 and upgrading the Boost Pad to a Winged Boost Pad speeds up the long trips this stage requires.
| Material or item | What it is for |
|---|---|
| Frost Gem | Snow-biome crafting resource |
| Arctic Fox Pelt | Winter clothing crafting and display |
| Arctic Fox Hat | Warm gear stocked in the shop |
| Beanie | Warm Clothing item for the shop |
| Feathers | Harvested from a giant nest for gear |
| Lightning Rod | Base protection in the snow biome |
| Washing Machine, Old Radio | Furniture looted from cabins |
Build the resort perimeter and main cabin
Actual construction starts once you have the space and the materials. The build follows a clear order, from a cleared plot to an enclosed, decorated resort.
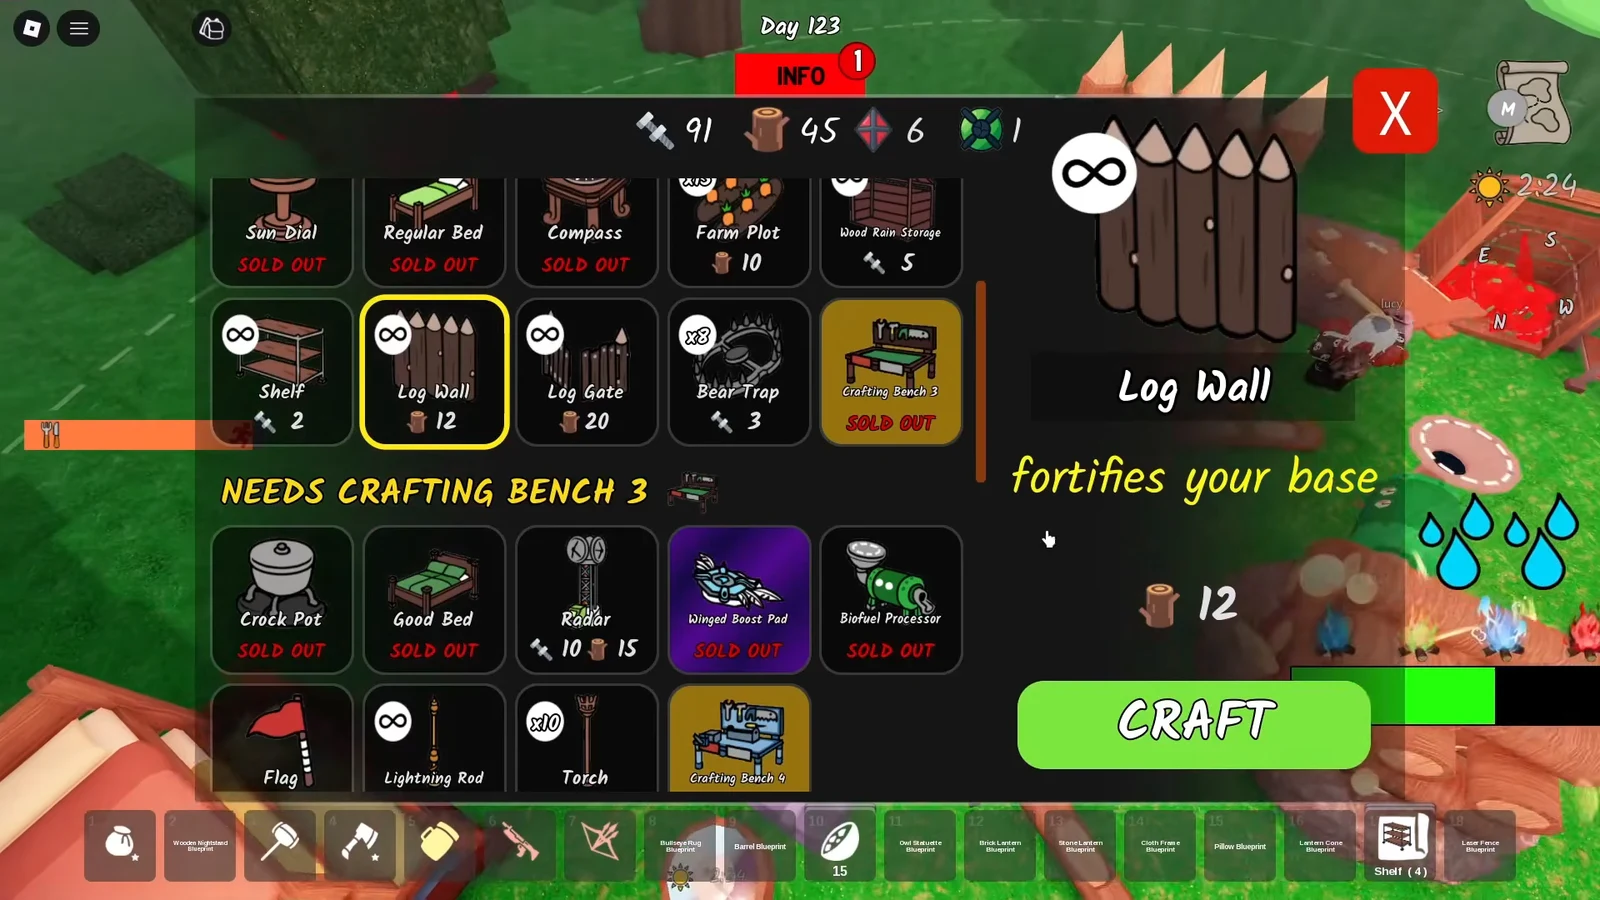
Lay out and decorate the resort
With the shell standing, the remaining work is layout and decoration. Add fences, shelves, and organized zones so the resort reads as a proper venue rather than a walled camp. Fairy Lights, lanterns, painted trellis fences, and signs handle the look inside and out.
Stock the space with what a ski resort actually sells. Craft and display winter clothing such as Beanies and Arctic Fox Pelts, then fill shelves with food items. Set up training areas and a tourist motel so the finished venue, “Wanderer’s Ski Resort,” has warm-clothing retail, lodging, and amenities in one place.
How you know the run is on track
The clearest checkpoint comes at Day 99, which awards 3 diamonds when you reach it. From there the build keeps going well past the survival goal, adding walls, furniture, and stock across later days until the resort is complete around Day 195, ending with a full tour of the finished site.
99 Nights in the Forest is a co-op survival game on Roblox by Grandma’s Favorite Games and continues to receive updates, so item availability and biome content can shift between versions. You can jump into a run from its official Roblox page and start building toward the same day milestones yourself.