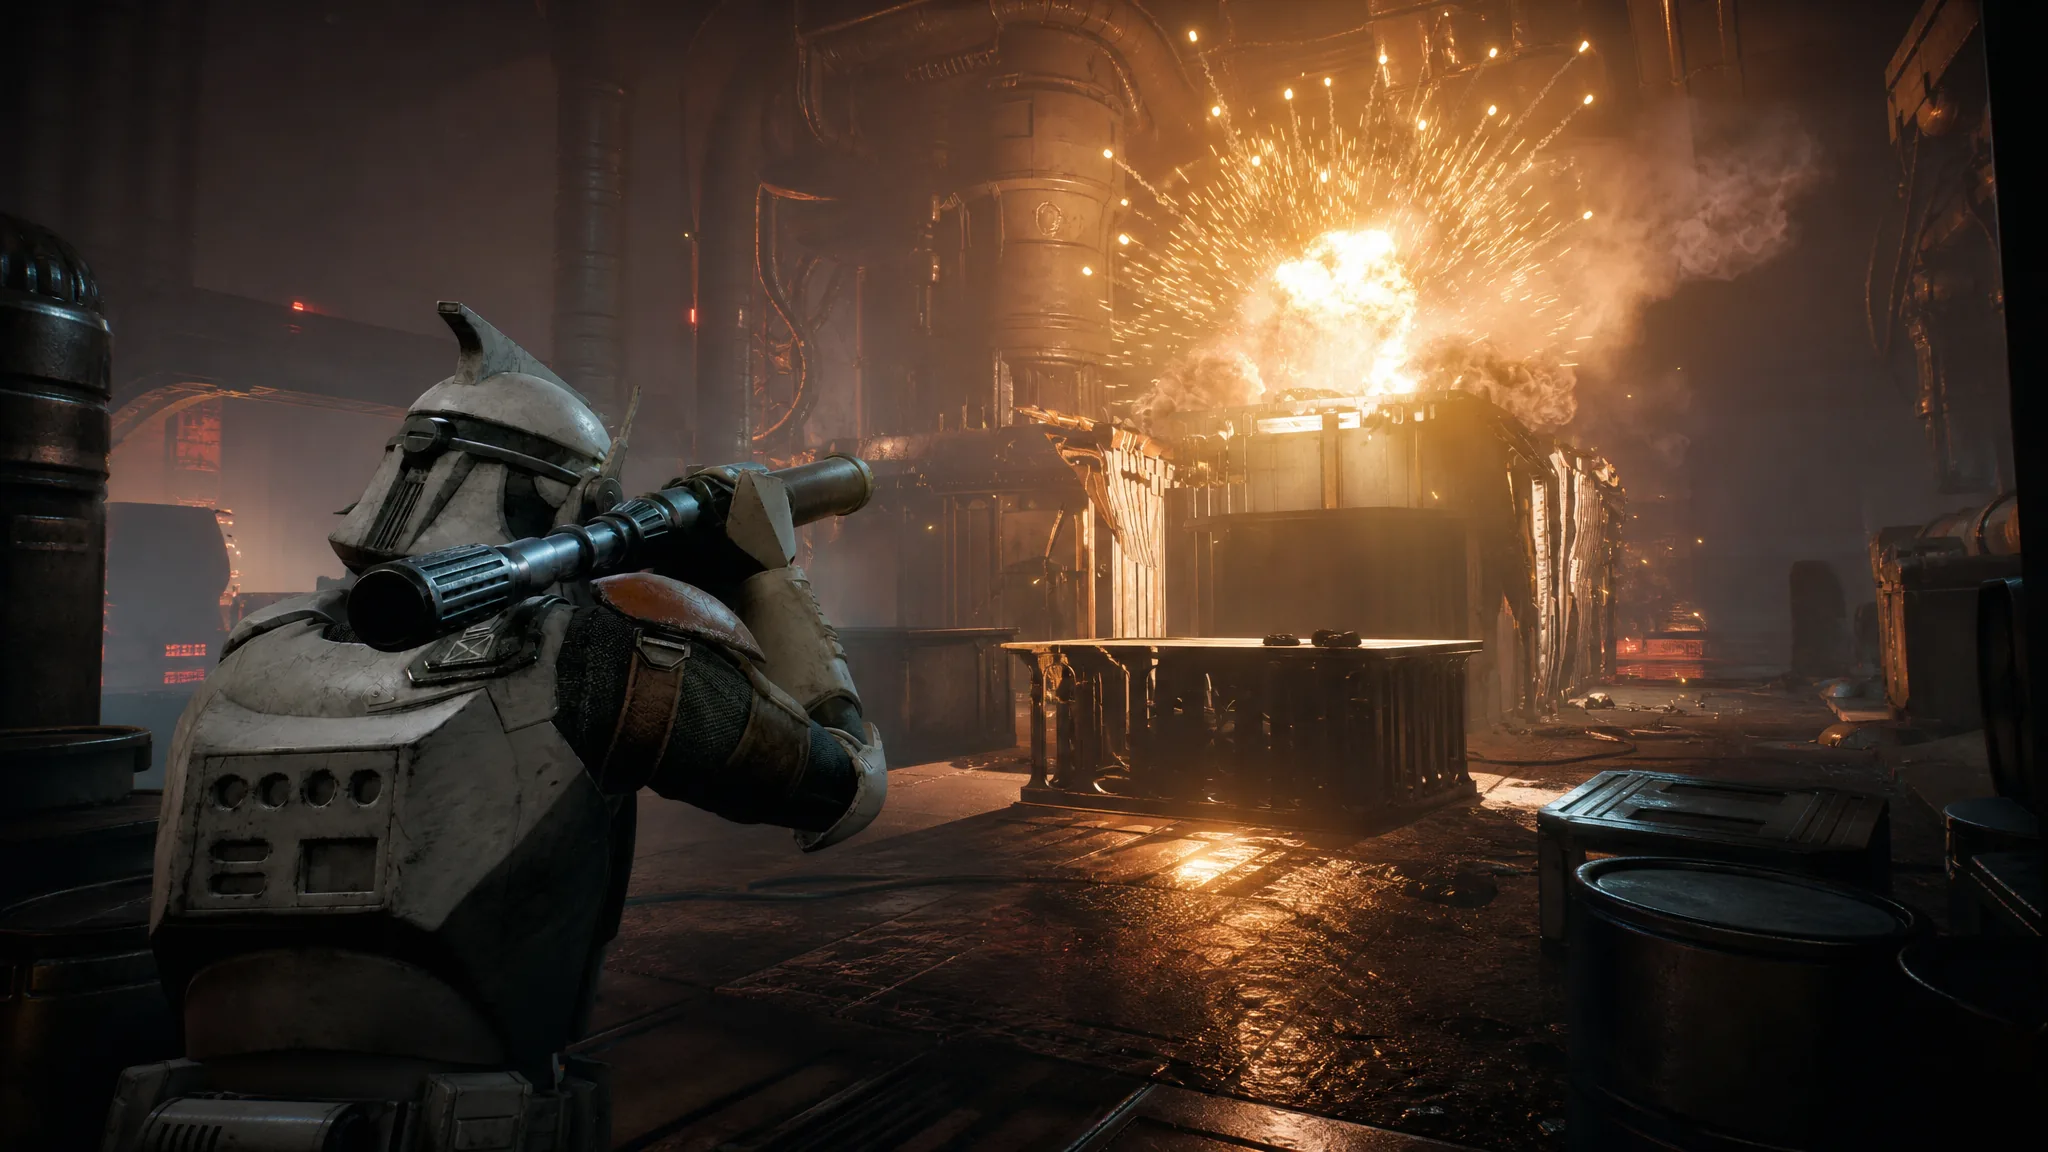
Every operator in Star Wars Zero Company carries one primary weapon, and that choice decides how they spend their three Action Points each turn. There are four blaster types, each with its own firing rule, damage profile, and range band. Weapons are swapped and modified at the Armory in the Den, and any weapon can go on any specialization.
Quick answer: The four types are the Blaster Pistol, Blaster Rifle, Repeater, and Longarm Blaster. Fit each with mods across four slots (Barrel, Cell, Scope, Stabilizer) at the Den’s Armory, buying them from the Black Market or earning them from Missions and Operations. You start with one mod slot per weapon and can unlock up to four.
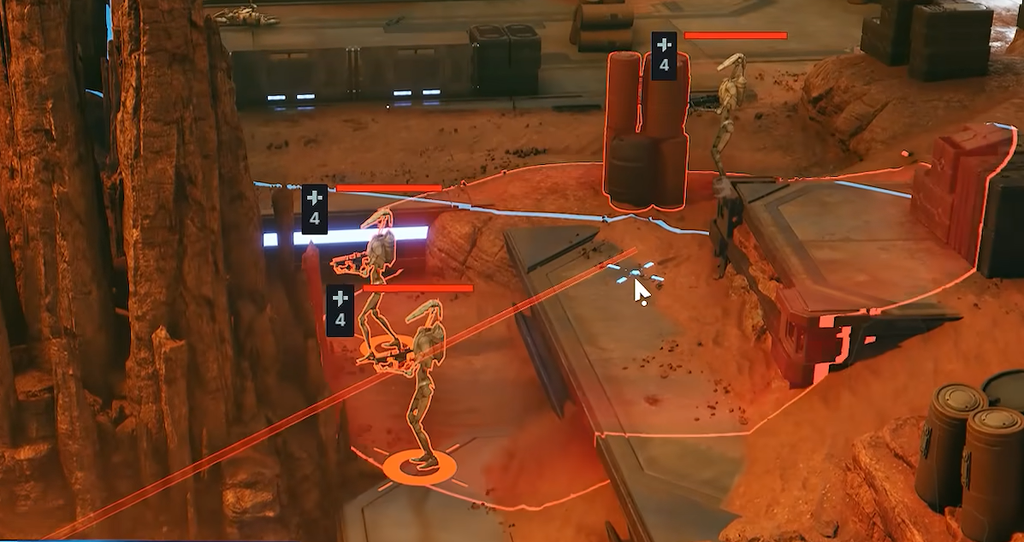
Weapon stats and AP rules
The four weapons split by how they consume AP. The Pistol and Rifle are Fast Weapons, the Longarm is a Slow Weapon, and the Repeater is a Final Action weapon that burns your entire remaining AP pool in one attack. Every type shares the same base Critical Chance of 11%.
| Weapon | Damage | Crit Damage | Range | AP rule |
|---|---|---|---|---|
| Blaster Pistol | 6 | +4 | Short | 1 AP per shot, no per-turn limit |
| Blaster Rifle | 10 | +6 | Medium | 1 AP first shot, 2 AP each extra shot |
| Repeater | 8 | +4 | Medium | Uses all remaining AP; bonus damage at 2 and 3 AP |
| Longarm Blaster | 12 | +12 | Long | 2 AP to fire, fixed cost |
Because the Rifle jumps to 2 AP after its first shot, a full three-shot turn is not possible with it. The Longarm leaves 1 AP after firing, so you keep a point for movement or a 1 AP ability. The Repeater pays its AP back as damage, so firing it with a full pool hits far harder than firing it with a single point left.
Which weapon fits each role
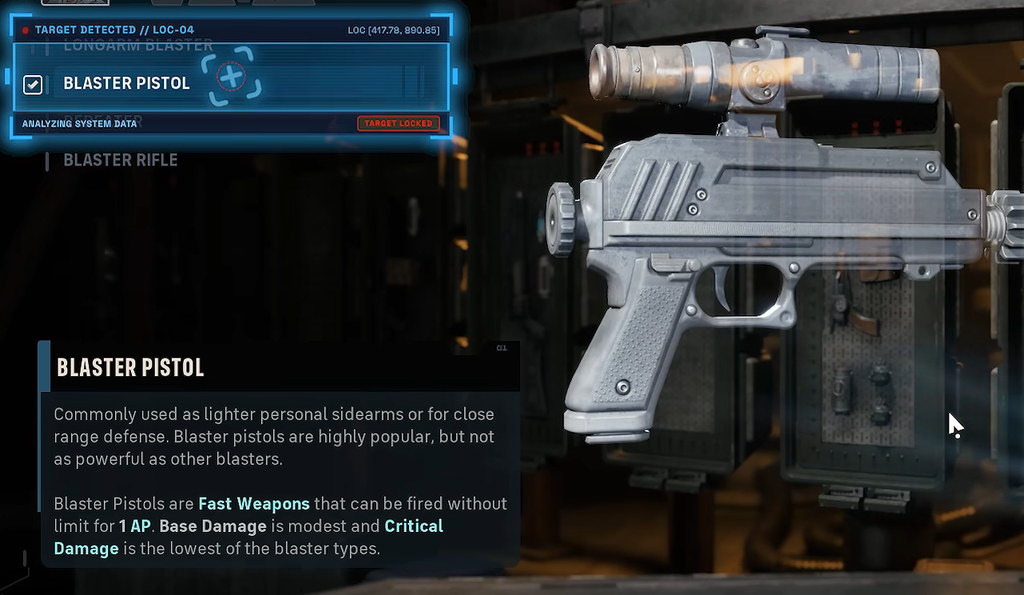
Blaster Pistol
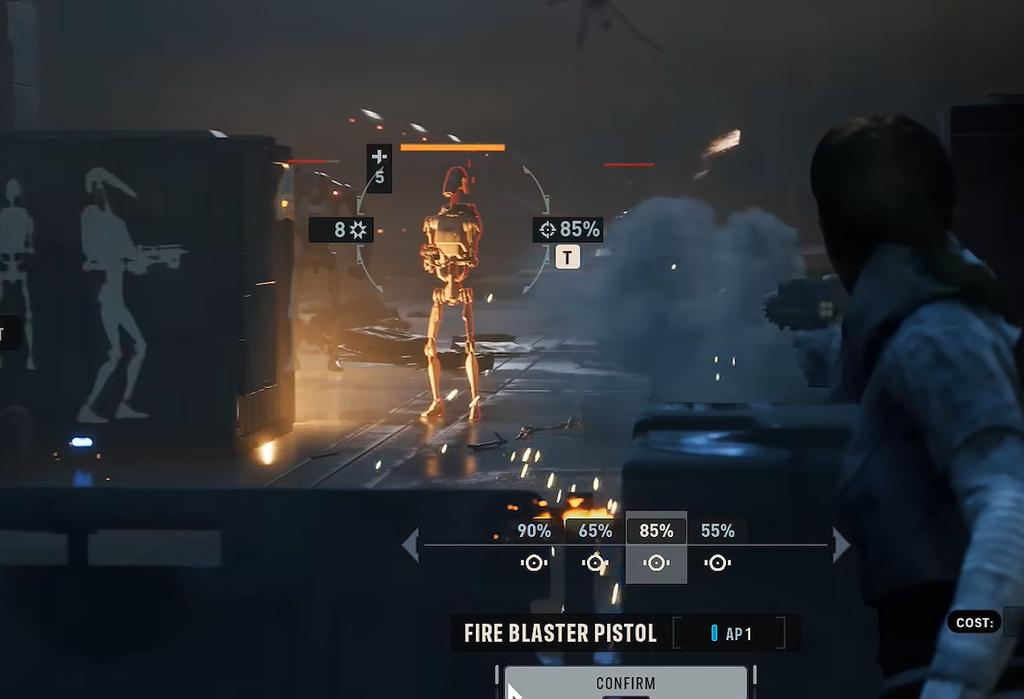
The Pistol has the lowest damage and critical damage of the four, but it is the only weapon with no cap on shots per turn. An operator with 3 AP can fire three times. It kills most B1 battle droids in a single shot, so one character can drop three Separatist units in a turn, and it is the fastest Advantage generator in the game since every hit adds to the shared pool. Pair it with Hawk’s Pico-5 ability for an extra Action Point, or run it on a Scout or Gunslinger. It also spreads status effects like burn across grouped targets when slotted with the right mods.
Blaster Rifle
The Rifle sits between the Pistol and Longarm for range and damage. It is the only weapon that can fire more than once in a turn for solid damage without extra skills, which makes it the natural fit for mods built around multiple firing. It rewards splitting a turn between movement, an ability, and one or two shots rather than dumping all AP into attacks. That flexibility suits the Soldier, Scout, and Medic.
Repeater
Opening a fight with a Repeater against a covered target usually breaks that cover, exposing the enemy for the rest of the squad. Its shot scales with the AP you spend, with bonus damage at 2 and 3 AP, so action order matters more here than with any other weapon. Position before combat or move only a short distance so you keep 2 to 3 AP for the shot. It shines on sturdier units like the Heavy, Assault, and Soldier that can hold ground and unload a full pool. One demonstrated shot reached 22 damage at a 3 AP cost.
Longarm Blaster
This is the only true long-range weapon and it carries the highest base and critical damage, making it the most reliable way to punch through high-Defense and Elite targets. It costs 2 AP per shot but stays a Slow Weapon, so the remaining point is yours for movement or a 1 AP ability. Its weakness is mobility, so it favors static play. The Sharpshooter is its natural home because staying stationary builds lethal stacks, and the Cold Blooded talent, which grants a guaranteed critical hit, produces the biggest burst spike on this weapon.
Ion weapons against droids
Ion weapons are the intended counter to the Separatist droid forces you face across the campaign. Plan to swap to Ion variants when a fight is heavy on B1 and B2 droids. How Ion damage is delivered, whether by weapon type, mod, or ammunition, is not detailed.
Weapon mods: slots, categories, and rarities
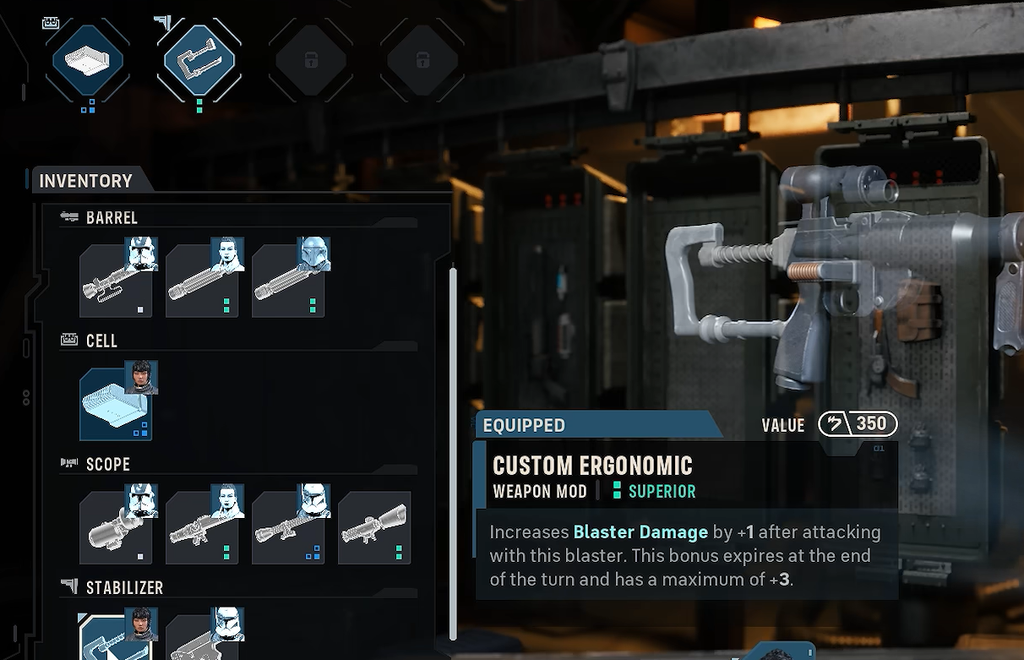
Mods are the main way to tailor a weapon since you work with the same four blaster types all game. They go beyond raising a single stat and can add effects, such as extra damage after each hit in a turn or burn on a target. There are four mod categories, and you can equip only one mod from each category on a weapon at a time.
- Barrel
- Cell
- Scope
- Stabilizer
Mods come in four rarity tiers: Basic, Superior, Exquisite, and Exotic, from most common to rarest. Superior and Exquisite gear will carry most of your build for the bulk of the campaign. One example is the Hypercharge Capacitor (Superior), which adds 5 damage to your first blaster attack of each combat.
Where to get weapon mods
| Source | Details |
|---|---|
| Black Market | Inside the Armory at the Den; stocks a rotating set of mods bought with Credits, refreshed each cycle. |
| Tactical Missions | Common rewards, usually at Superior rarity. |
| Operations | Regional operations and higher zone influence tiers unlock more specialized drops. |
| Zone rewards | Influence milestones grant mods and can improve the Black Market’s stock and rarity. |
The Black Market is your steadiest supply, so check it after every mission. Upgrading it through the Den’s facility system, or through specific Zone rewards, raises both how many items it sells and their rarity. Mods are not cheap, so favor ones that work across several operators rather than a single build.
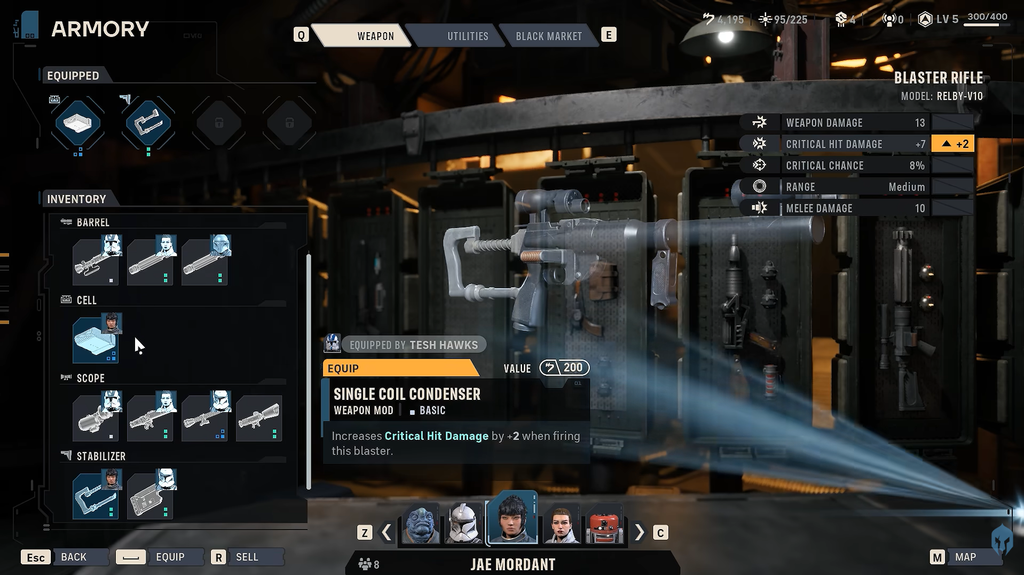
How to equip mods at the Den Armory
There is no cost to equip or unequip a mod, so swap freely before each mission based on who you are deploying. You can also open the Armory straight from the operator selection screen by clicking a character and choosing “Open Armory.” A portrait icon on the mod screen shows which operator currently has each mod installed, which confirms the mod is applied.
Expanding to four mod slots
Weapons start with a single mod slot. You can raise that to four, one for each category, which is also what the Fully Geared trophy asks for. There are three ways to unlock the extra slots.
- Build the Additional Weapon Mod Slot node in the Den’s Crew upgrade menu after reaching Den Level 4. This is the easiest route and costs a few thousand Credits.
- Reach the Zone Forn Tier 3 reward by maxing that zone’s influence, which grants a slot to your whole crew.
- Pick the Modification Attachment option during the Underworld Intel Choice Operation, which appears later in the game.
Note: the Underworld Intel Choice makes you pick between a weapon mod slot and a utility slot, and choosing one locks out the other for that playthrough. Decide what your operators need before you commit, since the choice cannot be reversed.
Cosmetic customization
Each weapon type has several cosmetic models, roughly four to six per class, and switching between them changes nothing about performance. A DC-17 and a DH-17 both fire exactly the same way; only the look differs. The model lists per type are below.
| Type | Models |
|---|---|
| Longarm Blaster | 773 Firepuncher, E-5S, IQA-11, Valken 38X |
| Blaster Pistol | DC-17, DH-17, AZ-7, RG-4D, G-405 |
| Repeater | M-32, DC-15LE, T-21, TMG-4 |
| Blaster Rifle | VT-51, DC-15A, EE-3, Relby-V10, Westar M5 |
Beyond the model, you can set skins for the base, stabilizer, cell, barrel, and scope, and change the overall weapon color to give a squad a shared look. The five Clone Wars-era painted weapon themes in the Deluxe Edition are also purely cosmetic. None of this touches combat performance, so build the appearance you want and let mods handle the stats.