Grenades in Star Wars Zero Company are utility items, and utility items are bought, not crafted. They live in a separate slot from an Operator’s blaster, they cost one Action Point to throw, and they refresh at the start of every combat encounter — which means hoarding them is the single most common mistake new squads make.
Quick answer: Head to the Armory inside the Den, open the Utilities tab, buy a grenade with Credits, then select the Operator you want to carry it and transfer the item into their utility slot.
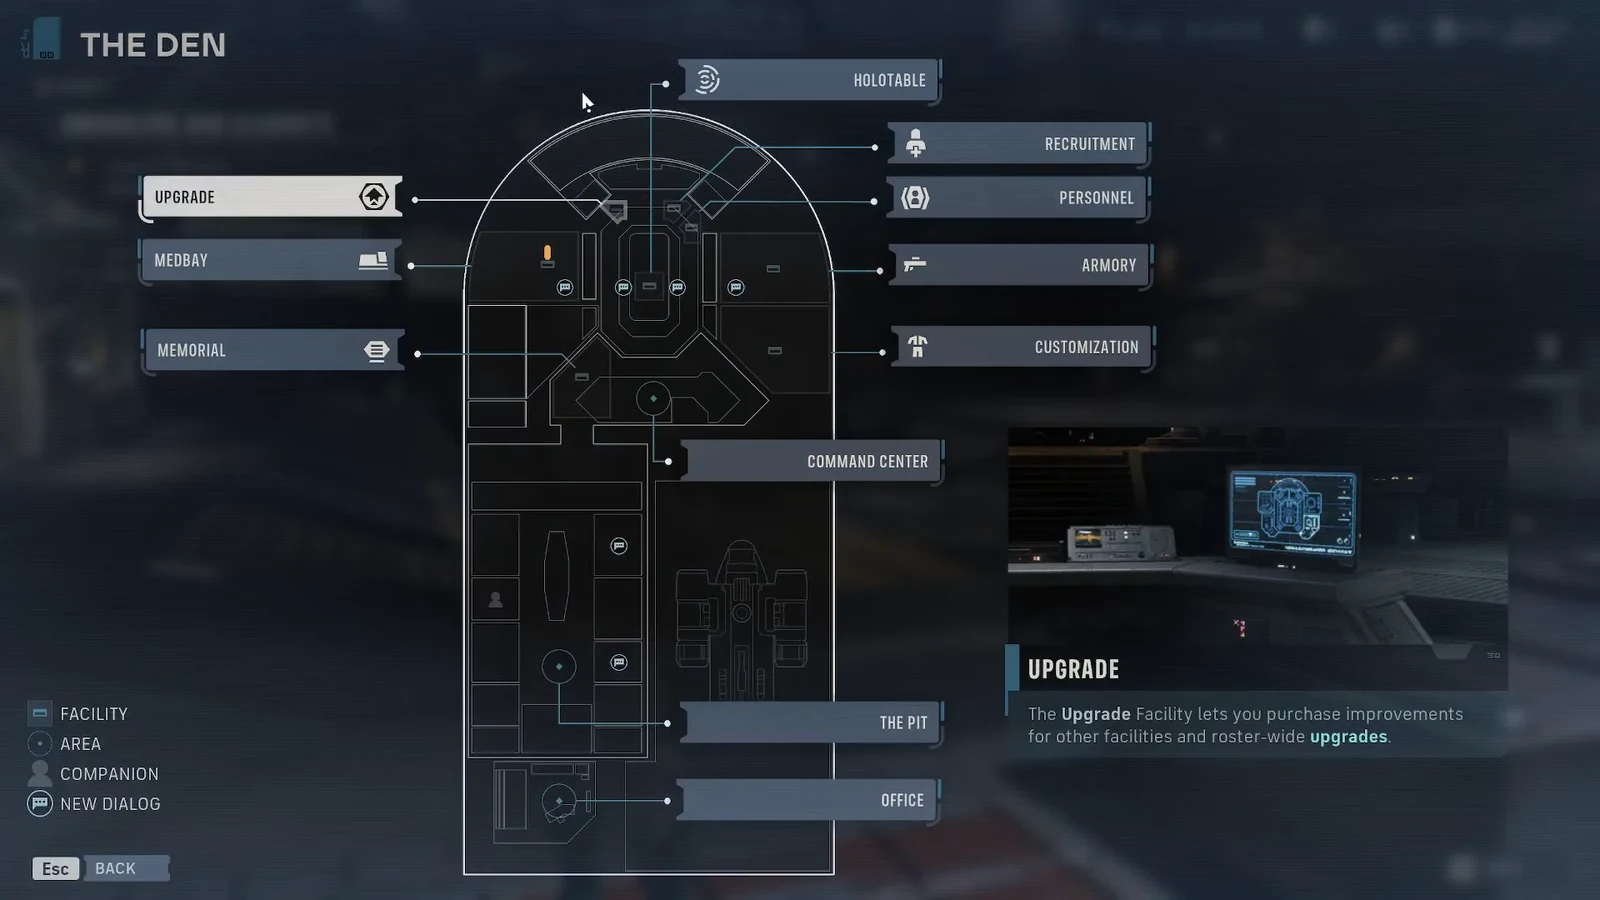
Buy grenades at the Armory in the Den
The Armory is a counter inside the Den, Zero Company’s base on the Ring of Kafrene, and it is staffed by the vendor Neesh. Everything here is paid for in Credits, the same currency you earn from missions and Operations.
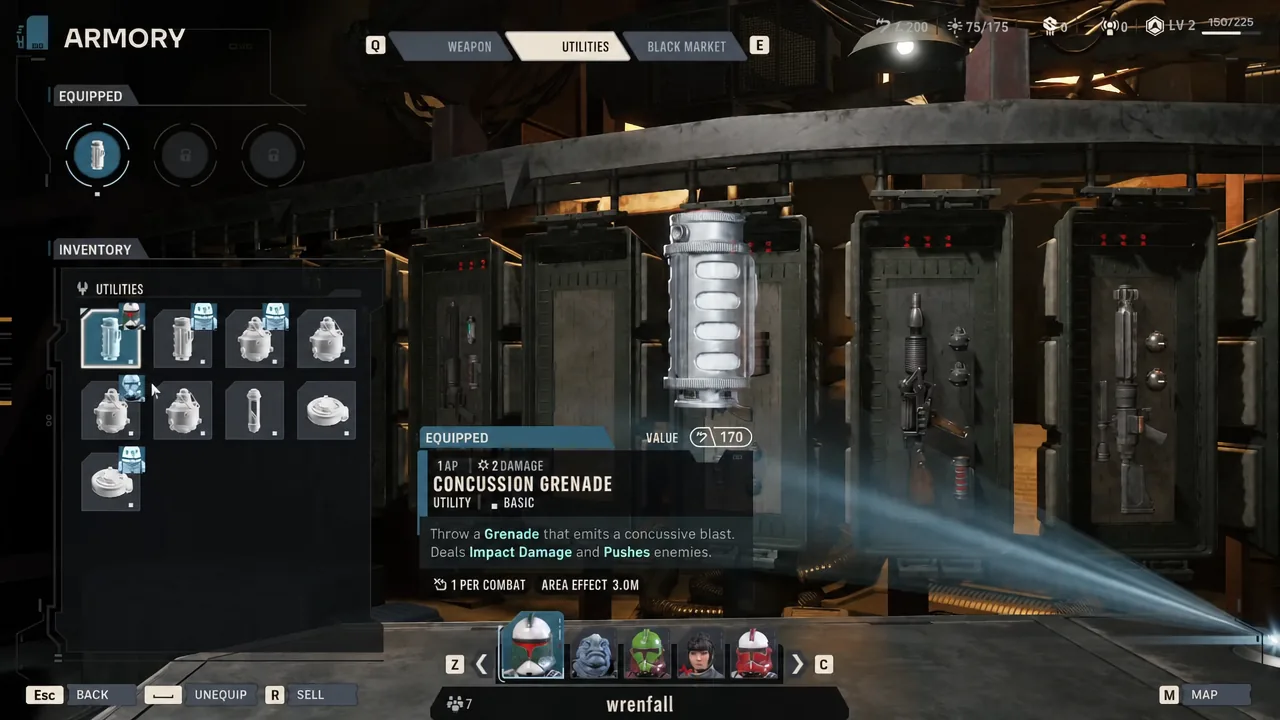
Equip a grenade to a specific Operator
Buying an item does not automatically arm anyone with it. Utilities are assigned per Operator, and any utility can go on any Operator regardless of their Specialization — a grenade on a Sharpshooter or a Medpac on a Heavy is perfectly legal.
Tip: run a final loadout check on the mission prep screen before deploying. Early on you will not own enough gear for everyone, so the same handful of grenades gets shuffled between whichever four Operators you are fielding.
Grenade prices and effects
Most utilities exist in four escalating versions. A higher version is a stronger take on the same effect rather than a new one, so a Mk. III Firebomb burns harder but behaves identically to the Mk. I.
| Item | Credits | Effect |
|---|---|---|
| Concussion Grenade | 800 | Impact damage and pushes enemies |
| Firebomb | 900 | Fire damage, 4 stacks of Burning, targets lose Defense |
| Smoke Bomb | 1,000 | Lasting smoke cloud, 2 stacks of Smoke inside it |
| Impact Bomb | 2,000 | High straight damage |
| Droid Popper | 2,000 | Dazes and strips Ray Shields, no effect on organics |
| Thermal Detonator | 2,100 | High straight damage (Mk. II tier) |
| Thermal Imploder | 2,900 | High straight damage (Mk. III tier) |
| Prototype Imploder | 5,000 | High straight damage (Unique tier) |
The Concussion Grenade’s push is worth more than its damage number suggests. Plenty of maps are built around catwalks and drops, and an enemy shoved off a ledge is gone no matter how much health it had left.
Other ways to pick up utilities
The Armory is not the only supplier. The Black Market tab in the same menu rotates its stock each cycle, so what it sells is never guaranteed, and its inventory size and quality can be raised through Den upgrades or Zone rewards.
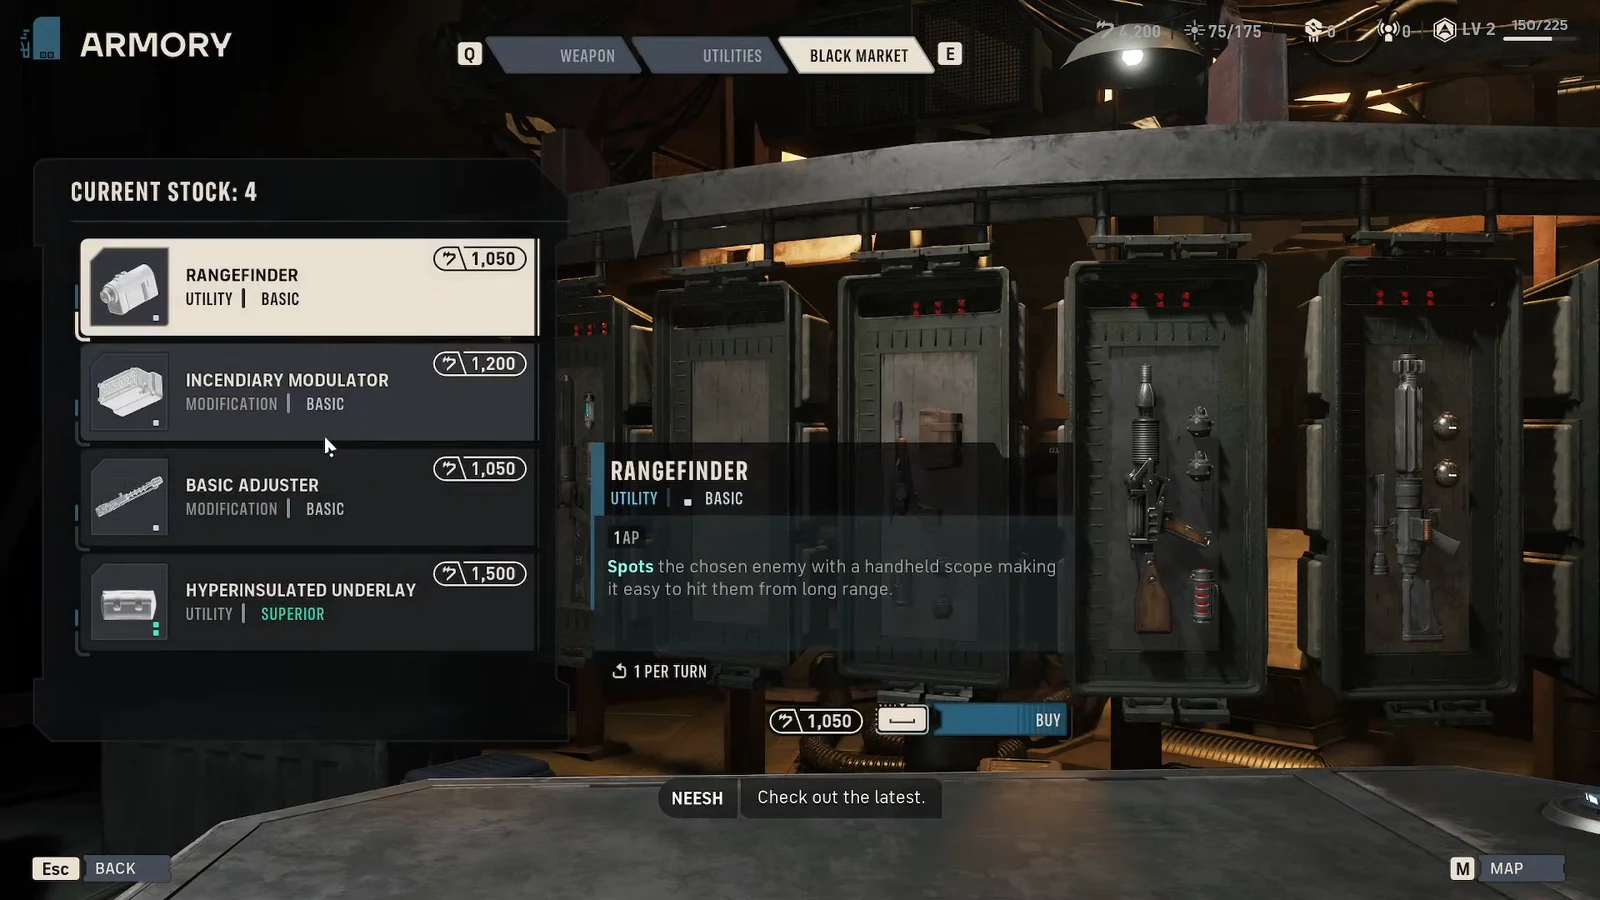
Tactical Missions and Operations also hand out utilities as rewards. Operations rarely show what you are getting in advance, so treat side work at the Holotable as a steady but unpredictable supply line. The strongest gear tends to sit behind Influence — each of the twelve zones can be raised three times, and each rank pays out a reward.
Unlocking all three utility slots
Every Operator starts with a single utility slot, which is the real bottleneck on grenade throwing. Three is the maximum, and there are only two ways to get there.
Astromechs are the exception worth planning around. They have all three utility slots open from the moment you unlock them, and their Extended Storage and Storage Optimization perks each add an extra use to limited-charge items — enough to turn one Impact Bomb into three, and a full loadout into a stack of grenades per fight.
How charges work in combat
Utilities are consumable but not disposable. An equipped grenade gives its Operator a limited number of uses inside a battle, and spending it does not delete the item — it persists between missions and comes back for the next encounter.
Story missions with several fights back to back restock everything at the start of each one, which is why there is no reason to ration. If you keep finishing missions with unused grenades, swap that item out for something you will actually throw.
Charge counts also vary by role. Medic and Astromech Specializations carry two charges of a utility item where every other Specialization carries one, so those two Operators get the most out of an expensive explosive or a Medpac.
Why a grenade is not showing up in combat
- The item was bought but never transferred — purchasing adds it to your inventory, not to a slot.
- The Operator has one slot and it is already occupied by another utility.
- The grenade is equipped on an Operator you did not bring on the mission.
- You are short on Credits, so the purchase never completed at the Armory counter.
Once the slot is filled and the squad is picked, the grenade sits in the Operator’s action list for one AP, alongside their blaster and abilities. Throw it early, throw it often, and remember it will be back next fight.