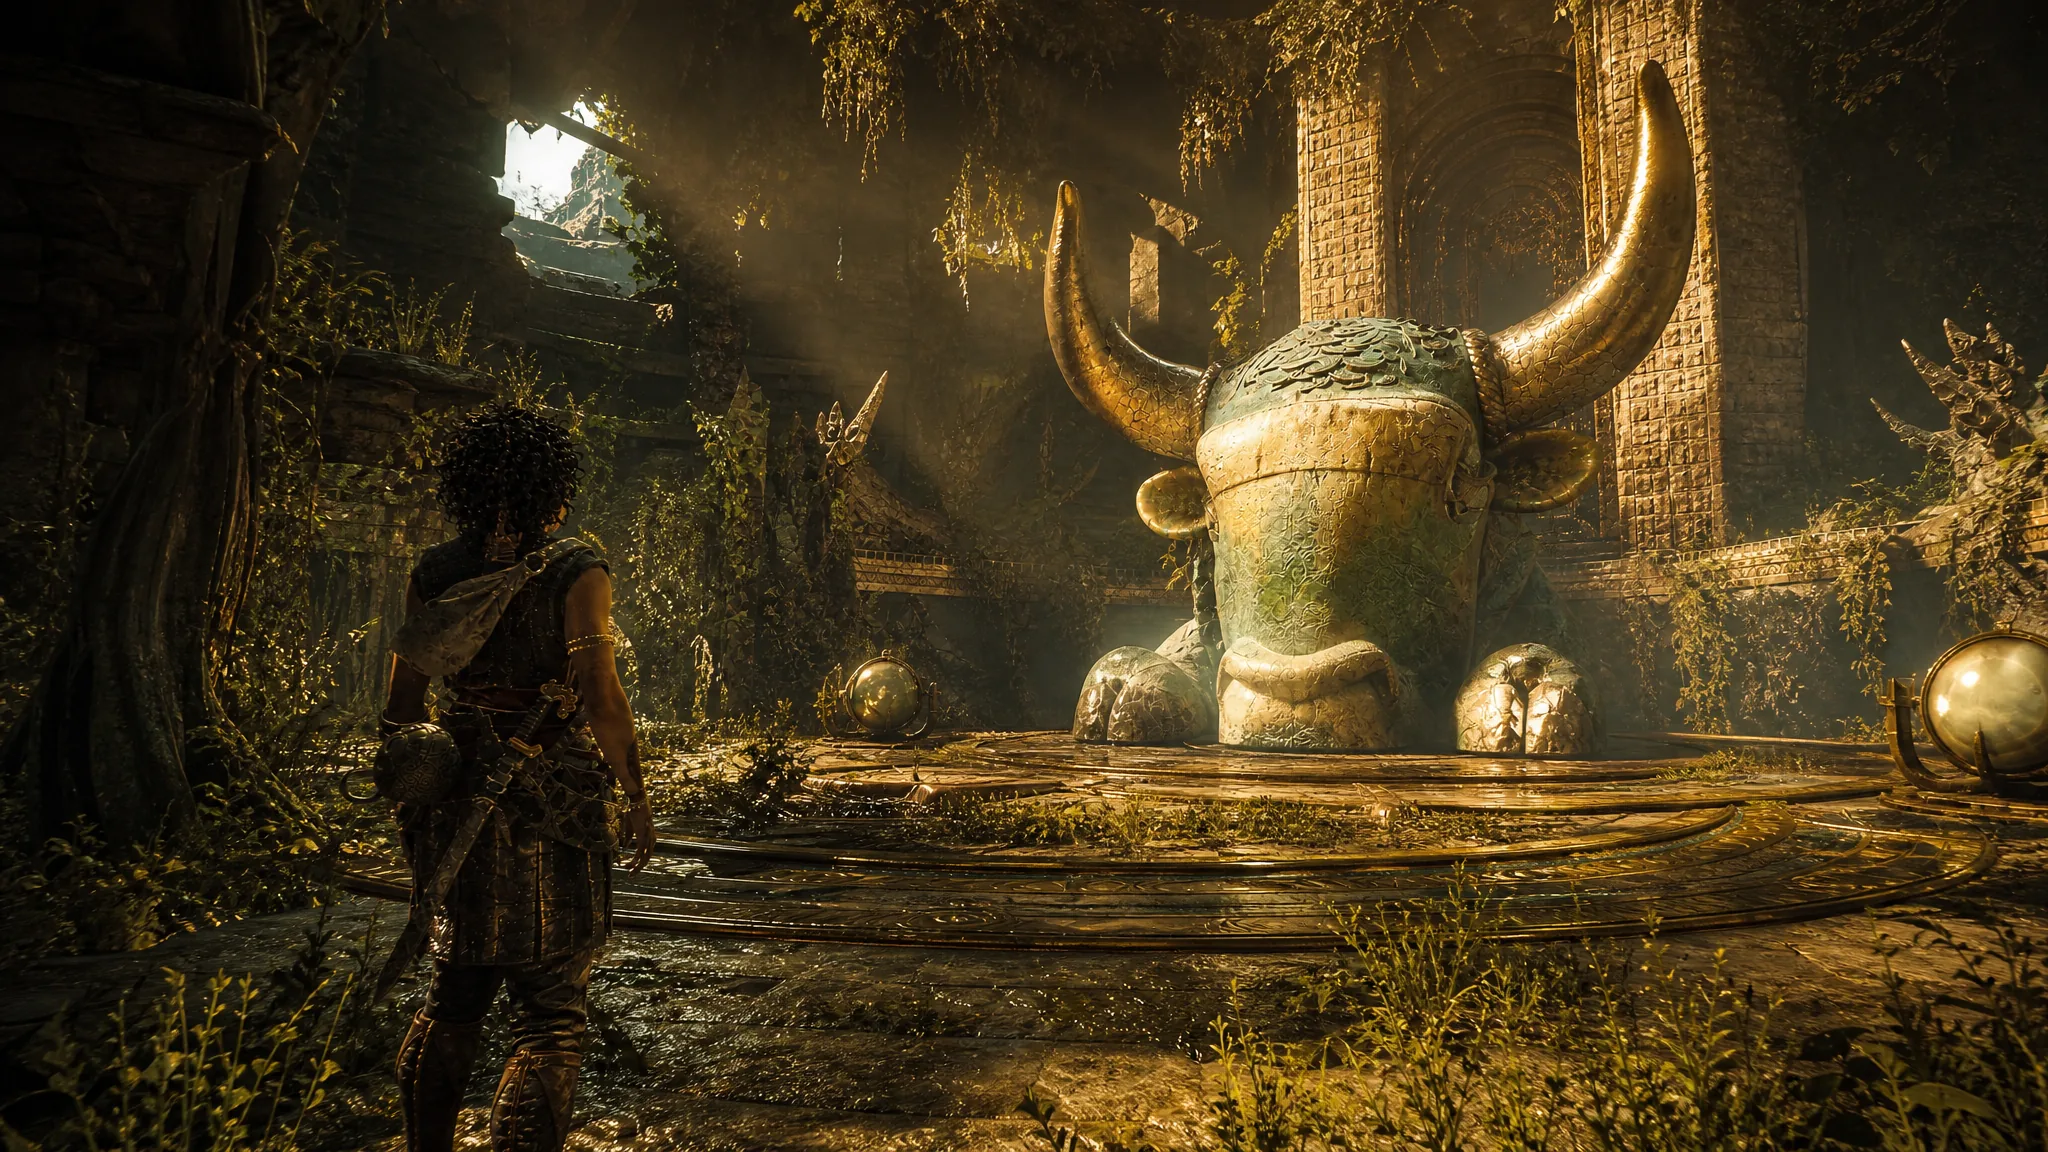
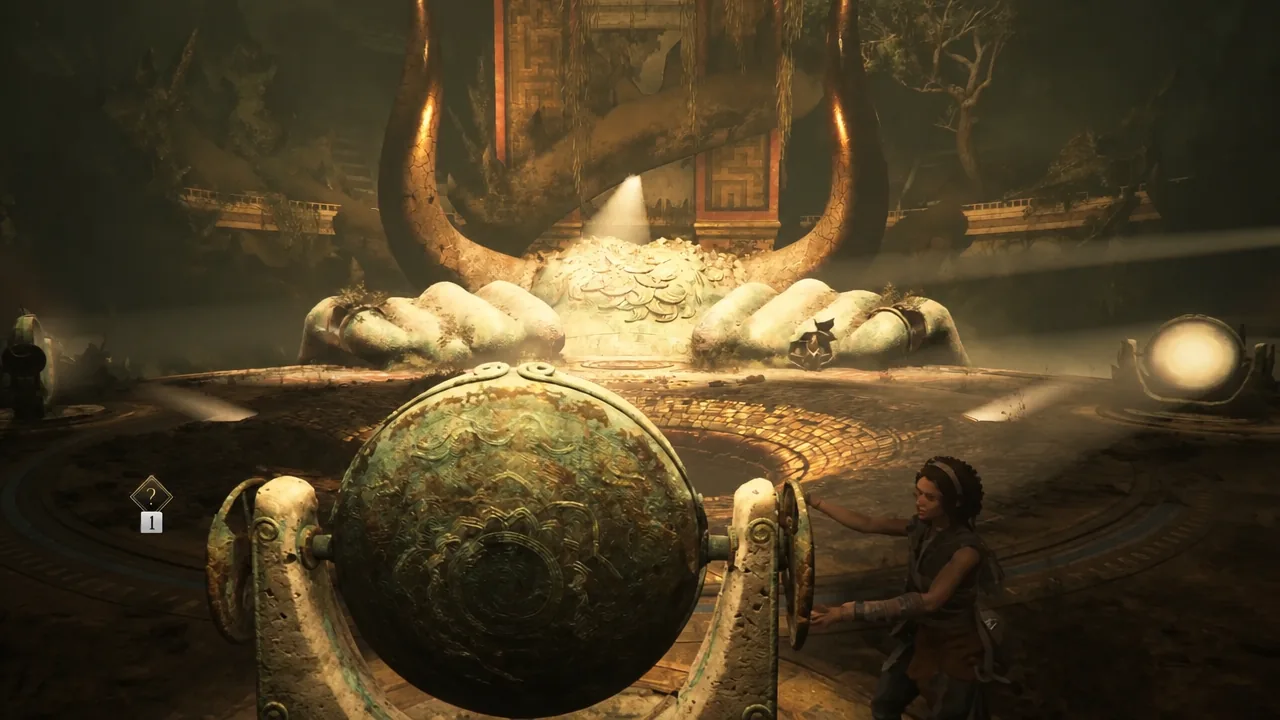
The arena at the end of Chapter 4, “From hell it rose,” hides the toughest puzzle in the First Trial. Three rotating mirrors sit around a sunken bull statue, and you have to shine them onto matching symbols painted on the surrounding walls, two at a time, in three separate stages. Get all three right and the statue rises, opening the only way out.
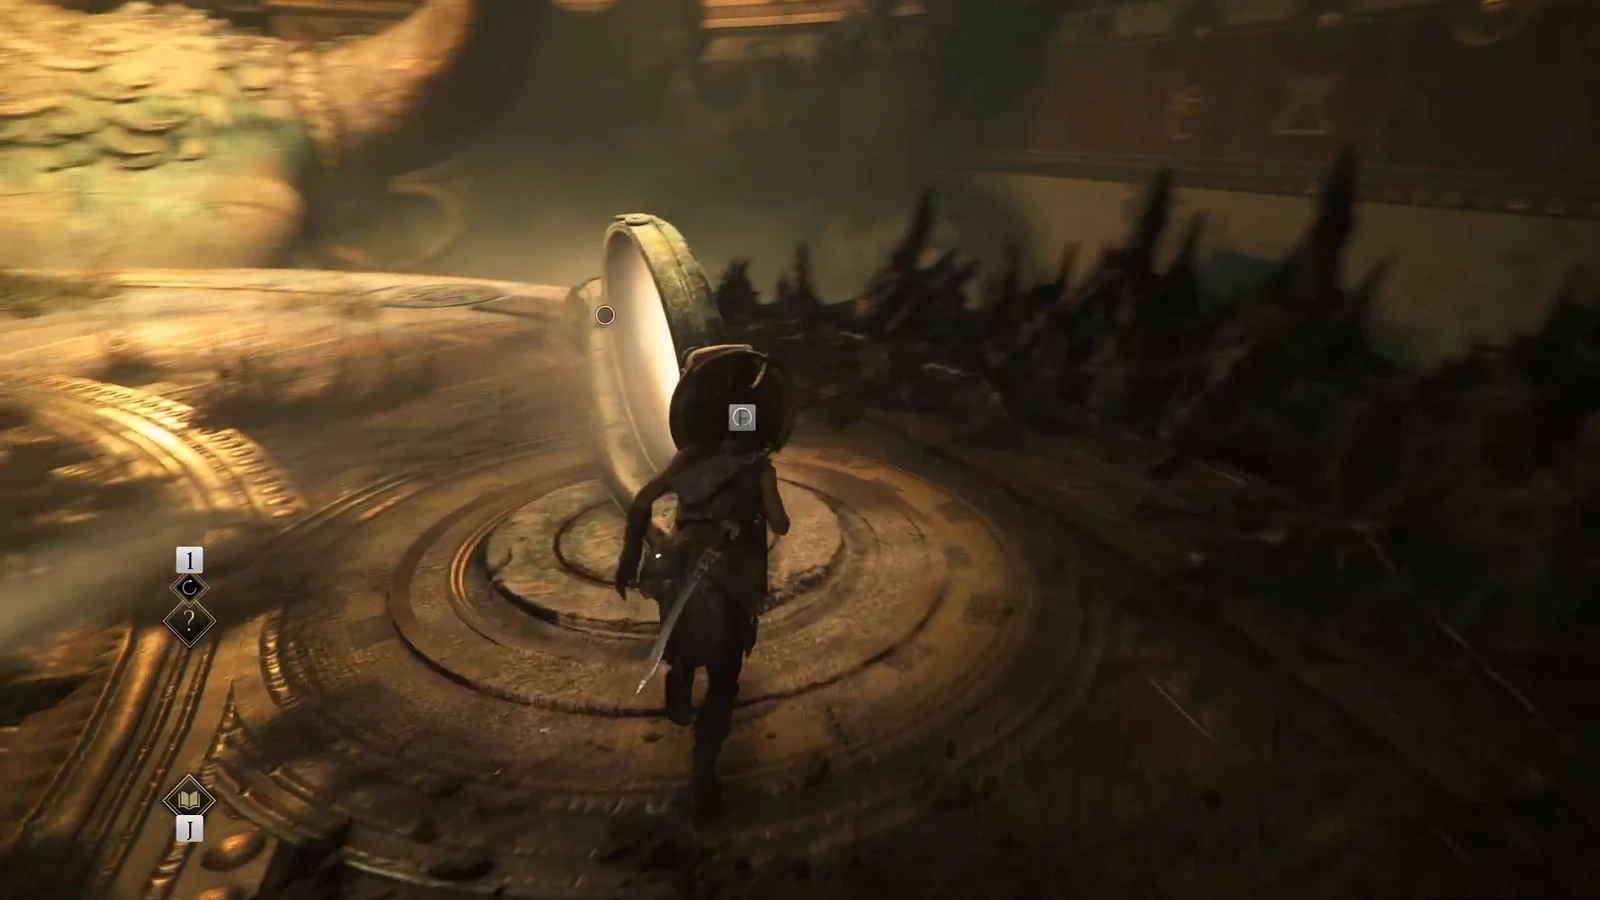
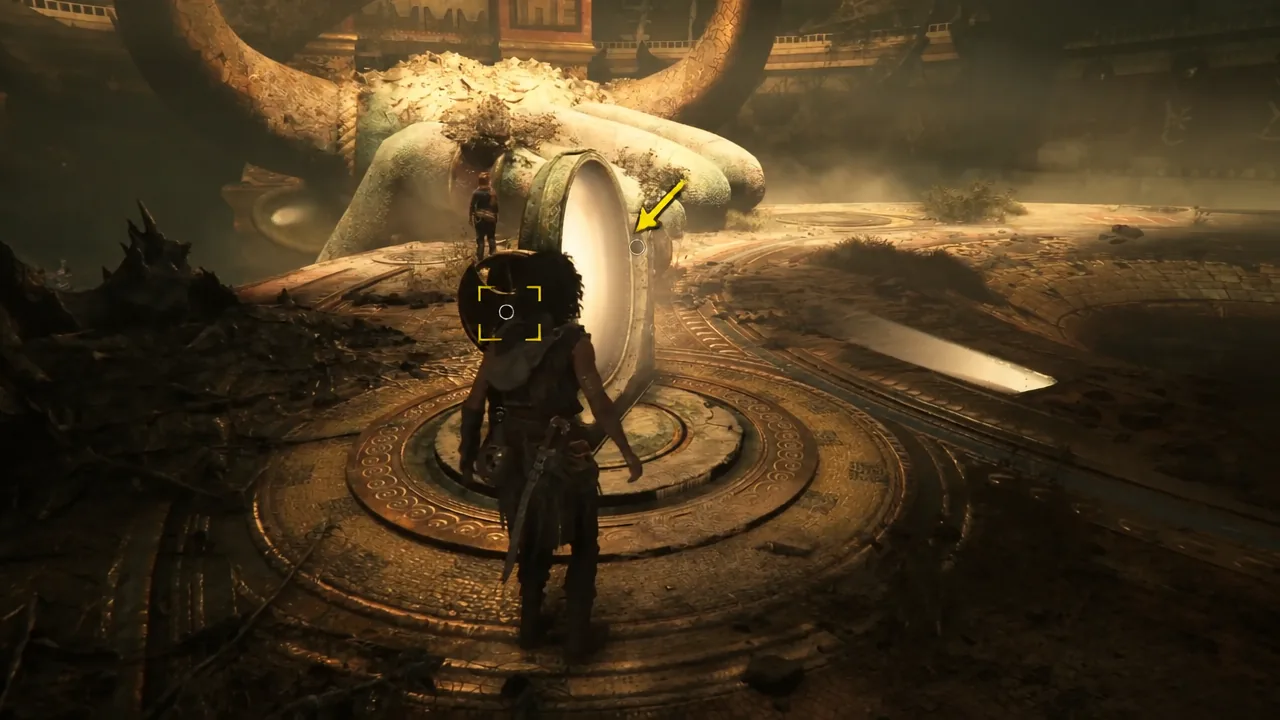
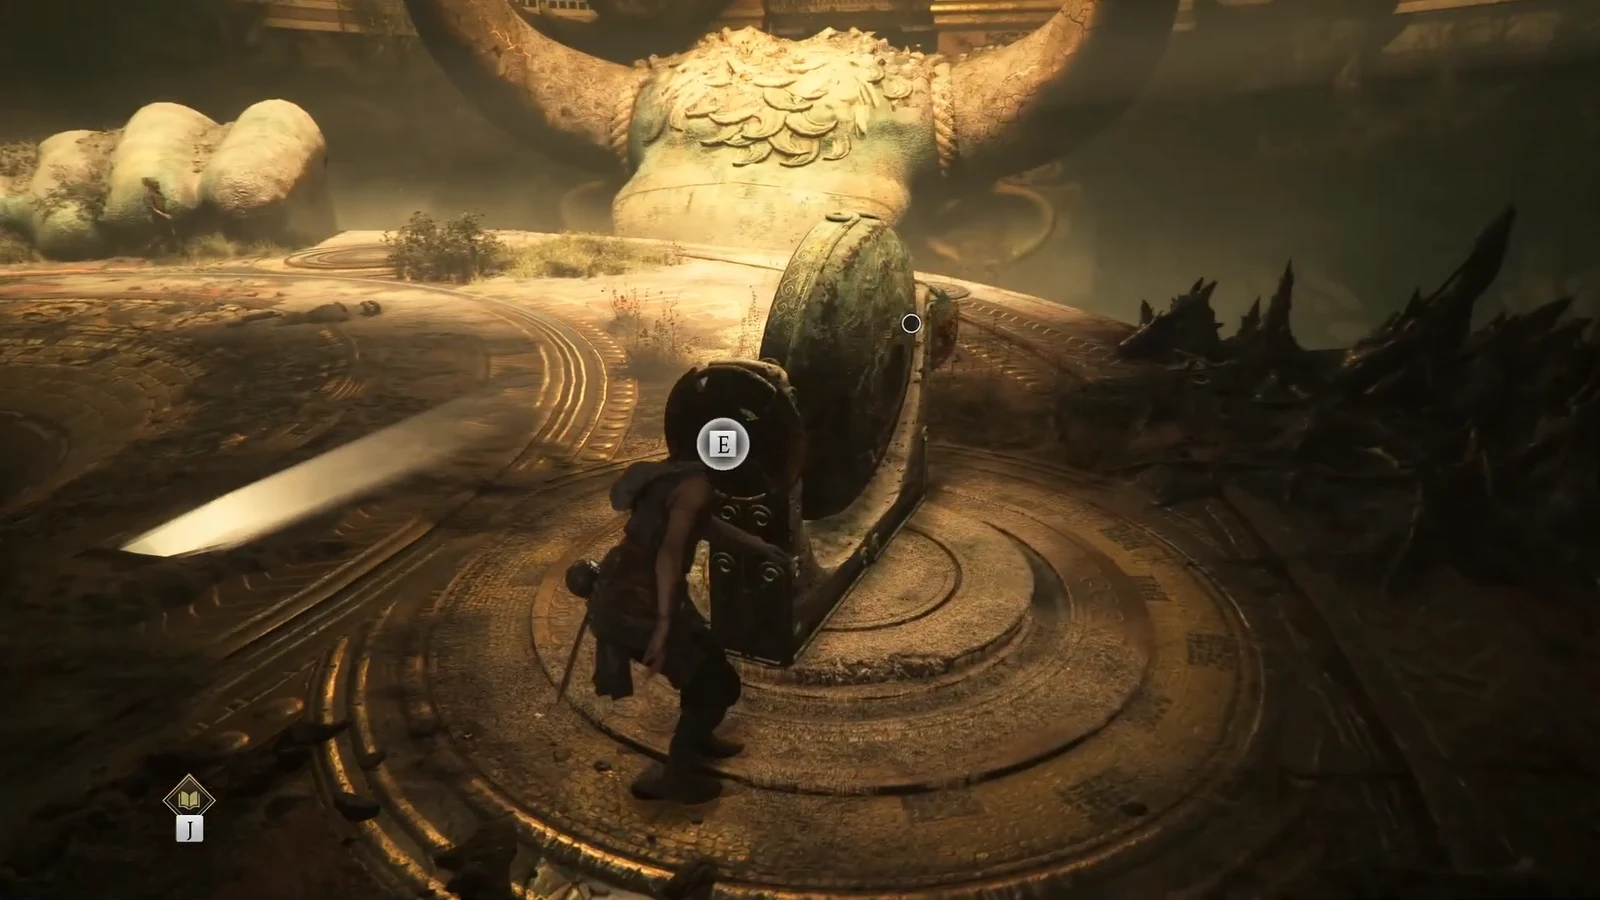
Quick answer: Set the left mirror to the 3rd icon and the right mirror to the 1st icon, then the left mirror to the 3rd icon again and the right mirror to the 4th icon. Finally, set the left mirror to the 1st icon, aim the right mirror at the center mirror, and point the center mirror at the 4th icon.
Where the bull mirror puzzle appears in Chapter 4
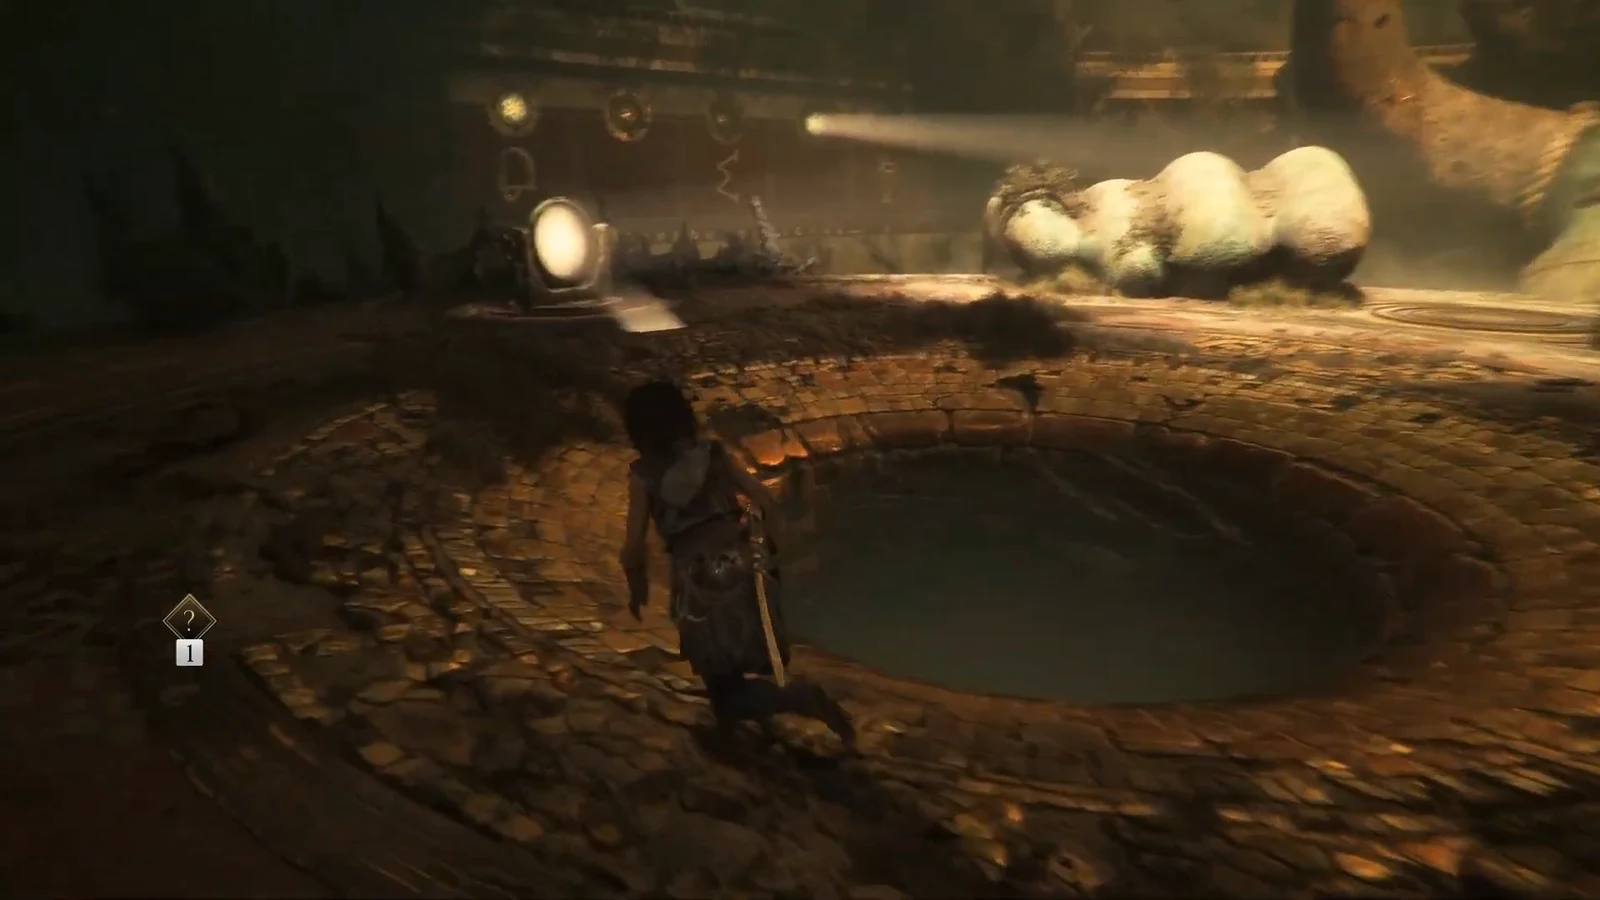
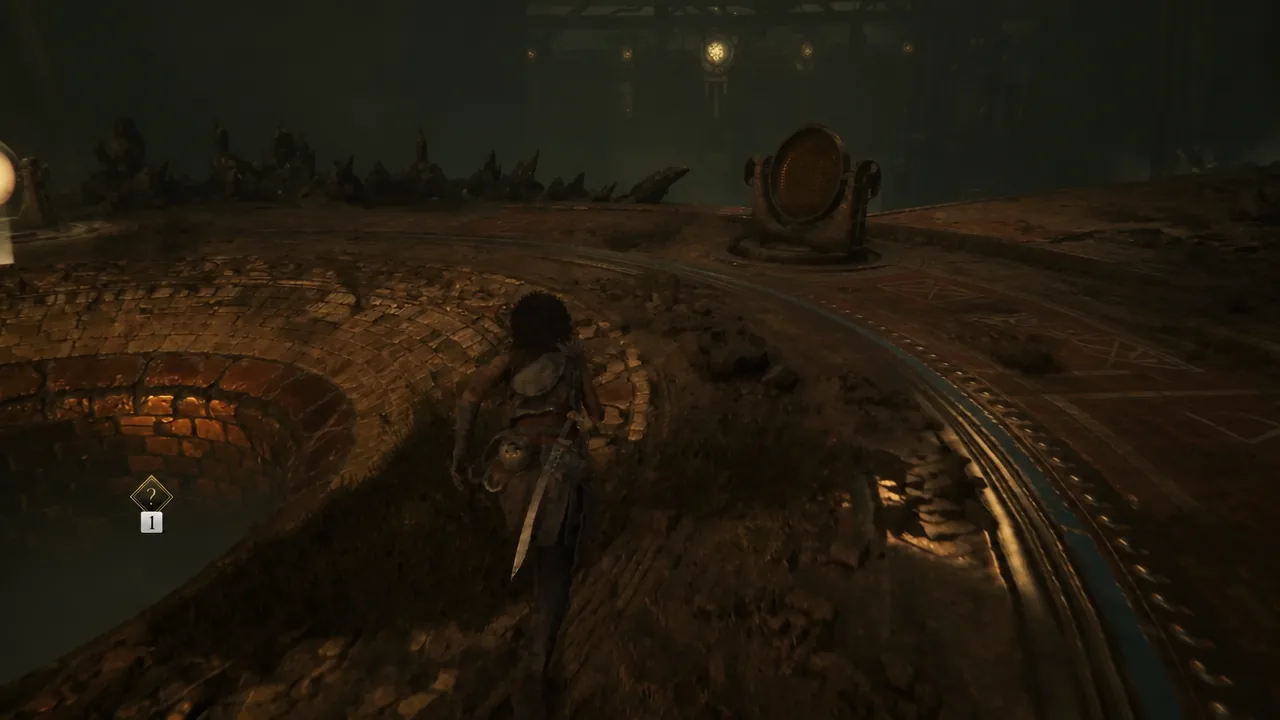
The puzzle sits in sub-chapter 5, “Theseus,” right after Sophia’s vision of the gladiator arena. You return to the same circular chamber as Sophia, except the giant bull’s head is now buried beneath the floor and three mirrors ring the platform. Everything before this — the pedestal symbols, the reflector hallway, the spike traps — is already behind you, so this is the last thing standing between you and the end of the Trial.
How the mirror pairs work
Look down at the mosaics between the mirrors and you’ll see white symbols on red backgrounds. Some of them have a blue outline, and those outlined symbols are linked in pairs. Each pair is a code. To enter it, you must have two mirrors lighting up both of those symbols on the walls at the same moment — lighting one and then the other does nothing.
The walls around the arena carry copies of the same symbols on red tablets, with a golden plate above each one. That’s where the beams need to land. A few of the wall tablets are blank, but the order matches the floor mosaics exactly, so you can count across and work out what belongs in each empty slot. Sophia sketches every symbol into her book as you spot them, which is faster than squinting at the walls.
Note: Hold R1 on PlayStation or RB on Xbox to use the Sphere’s Light Reveal. You’ll need it to trace the blue lines on the floor and, later, to uncover the last symbol pair.
| Stage | Mirrors used | Result |
|---|---|---|
| 1 | Left and right | One giant stone hand moves into place |
| 2 | Left and right | The second stone hand moves into place |
| 3 | Left, right and center | The bull’s head rises and a pedestal appears |
The full mirror sequence
How to confirm the puzzle is solved
Each stage confirms itself physically. After the first correct pair, a huge stone hand grinds into place on the arena floor; after the second, its twin appears. After the third, the bull’s head lifts and a pedestal rises between the hands.
Use the Sphere on that pedestal and a cutscene plays, immediately followed by an ambush. Clear the soldiers — the encounter pays out 3 Resonance Points — then interact with the pedestal a second time. That opens the path leading into the minotaur’s head and the door at the end of it.
Why the mechanism won’t trigger
- Only one beam is on target. Both symbols in a pair have to be lit at the same time, so you always need two mirrors set before anything moves.
- You counted from a wall with blank tablets and skipped the empty slots. Blank tablets still occupy their position in the order — count them.
- You tried to use the center mirror early. It stays dark until the right mirror is aimed at it.
- You skipped Light Reveal on the statue’s rings. The third code doesn’t exist anywhere else, including Sophia’s book.
Once the statue is fully raised and the ambush is dealt with, the First Trial is finished. The route ahead is linear from there — through the door, onto the boat, and across the water toward the next chapter.