Difficulty in Star Wars Zero Company is split into two separate choices. The four combat settings control how hard fights are, while Permadeath and Beskar Mode are toggles that change the stakes on top of whichever setting you pick. Getting this distinction right matters because each one shifts different systems, from enemy damage to how you heal wounded squad members between missions.
Quick answer: The four combat difficulties are Story, Normal, Hard, and Expert. Higher settings raise enemy health and damage, shrink your effective weapon range, lower starting Bond levels, and (on Hard and Expert) disable the Bacta Tank so injuries take longer to heal. Permadeath and Beskar Mode are separate modifiers that can only be set when you start a new game.
What each combat difficulty changes
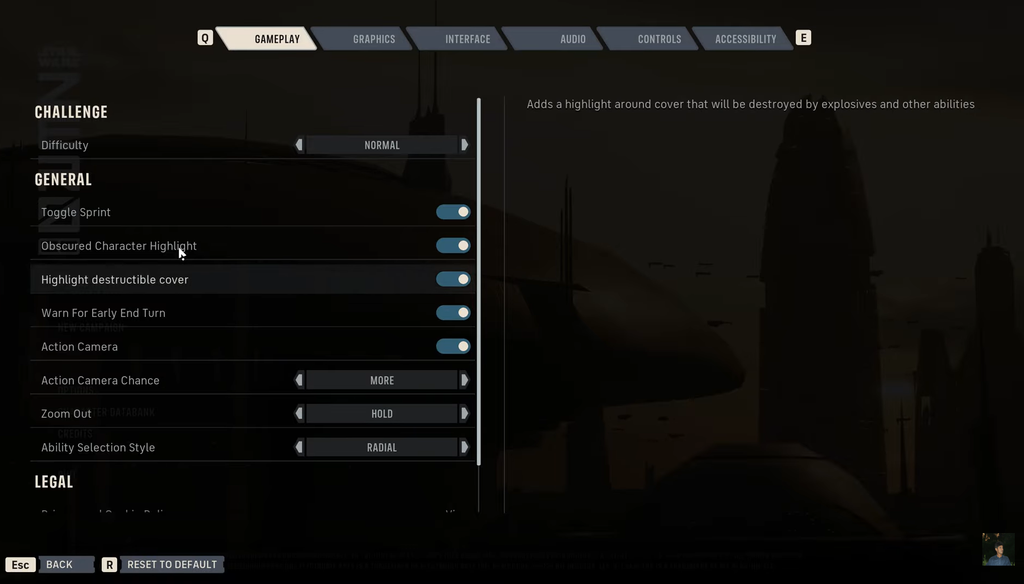
All four settings adjust the balance of combat, but they do not just add more enemies. Moving up the ladder makes enemies more durable and more dangerous, cuts down how far your weapons stay effective, and reduces how much support you start with. The table below lays out the main differences.
| Setting | What changes | Best for |
|---|---|---|
| Story | Your damage is greatly increased; enemy accuracy and damage are reduced. Weapon range and healing are unrestricted. | Players new to tactics games or focused on the story. |
| Normal | Balanced. Both sides deal moderate damage, weapons keep good range, and the Bacta Tank is available. | The default setting; most first-time players. |
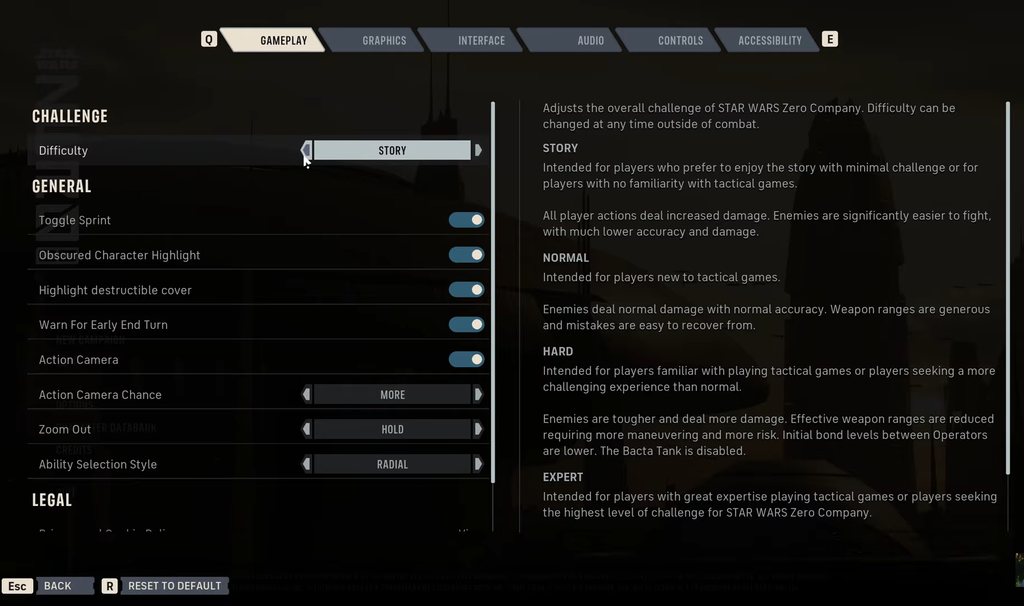
| Hard | Enemies are tougher and hit harder; weapon range is reduced; starting Bond levels are lower; the Bacta Tank is disabled. | Players experienced with tactical games such as XCOM. |
| Expert | Enemies deal greatly enhanced damage; weapon range is reduced further; starting Bonds are much lower; the Bacta Tank is disabled. | Tactics veterans wanting the toughest standard run. |
Expert is the highest of the four standard difficulties. It keeps the same list of changes as Hard but pushes each one further, so mistakes are far more likely to be fatal.
Weapon range, Bonds, and the Bacta Tank on Hard and Expert
The reduced weapon range is the change you feel most from turn to turn. Because your shots become weak at longer distances, cover at the back of the map is no longer automatically safe. You have to advance toward useful firing positions, which exposes you more and forces sharper positioning decisions.
Lower starting Bond levels slow your early progression. Bonds feed into shared bonuses and combat synergies between Operators, so on Hard and Expert you cannot rely on those benefits appearing as quickly. Deploying the same pairings on purpose helps you build them back up.
The disabled Bacta Tank changes what an injury costs. On Story and Normal, the Bacta Tank instantly removes injuries from a wounded Operator. With it turned off on Hard and Expert, recovery moves to the MedBay, which takes a cycle, costs Credits, and pulls that Operator out of your available roster for a while. That turns each injury into a longer-term planning problem and makes roster depth more important.
Permadeath: what it does and how to disable it
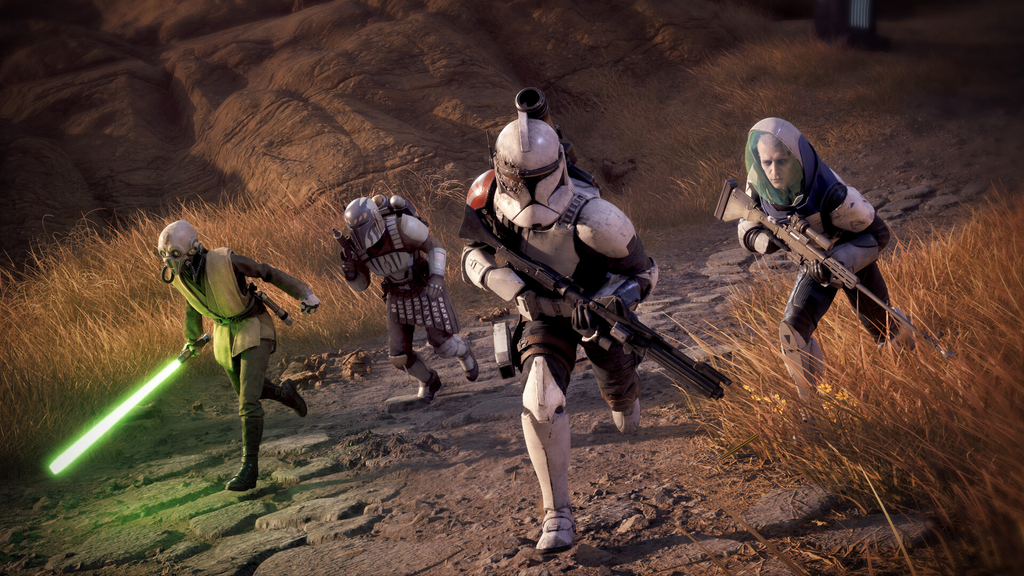
Permadeath is a separate toggle from combat difficulty, and it is enabled by default. With it active, an Operator who accumulates three injuries dies permanently. Lost Operators cannot be recovered, and their holoportrait appears in The Den’s Memorial.
You can turn Permadeath off, but only when starting a new game, and the choice cannot be changed later. One important detail holds true even with it disabled. A specific character in the tutorial missions dies regardless of the setting, purely to introduce the mechanic.
Beskar Mode: the single-save Ironman toggle
Beskar Mode is easy to mistake for a fifth difficulty, but it is a separate modifier that works like an Ironman run. It uses a single persistent save that updates as you play, and manual saving is removed. You cannot reload an earlier point to undo a bad decision or a failed fight, so consequences stick.
Beskar Mode also has critical failures that can end the whole campaign. Losing Hawks, losing another critical squad member, or failing a crucial mission ends the run and sends you back to the start. Like Permadeath, this option can only be set when you begin a new game. The hardest standard achievement requires completing the campaign on Expert with Beskar Mode enabled.
Note: Beskar Mode does not add its own damage or health multipliers. Its difficulty comes entirely from removing your ability to undo results, so you can pair it with any of the four combat settings.
Mission labels are not campaign difficulty
Once the campaign starts, individual Tactical Missions carry their own labels: Cautious, Risky, Dangerous, and later Extreme. These describe the danger of that one operation, not the difficulty of your whole run. If your campaign is on Hard and the Holo Table shows a Dangerous mission, you have not switched to a higher difficulty. The mission is simply warning you about that fight.
Treat these labels as risk information tied to rewards, timers, and whether an ignored objective can strengthen the enemy. A harder mission can be worth taking when its reward solves an immediate need, while an easier one with an expiring reward can matter more.
Changing difficulty and picking the right one
You are not locked into your first combat choice. The four difficulty settings can be changed between missions through the in-game menu, so you can move up or down as you learn the systems. Permadeath and Beskar Mode are the exceptions, since both are fixed when you create the campaign.
| Your experience | Recommended start |
|---|---|
| New to tactics games or here for the story | Story |
| Some strategy experience; want to learn the game | Normal |
| Comfortable with XCOM-style tactics | Hard |
| Tactical veteran wanting the toughest standard run | Expert |
| Want maximum consequences on any setting | Add Beskar Mode |
For a first campaign, Normal is the safest recommendation because it makes tactical decisions matter without punishing every error. If you already play these games, Hard is a strong opening choice, and you can leave Permadeath on while keeping Beskar Mode off to feel the weight of losing Operators without giving up the ability to recover from a genuinely bad run. Saving Beskar Mode for a second playthrough is a reasonable way to embrace its no-reload rules once you know the roster and mission pressure.