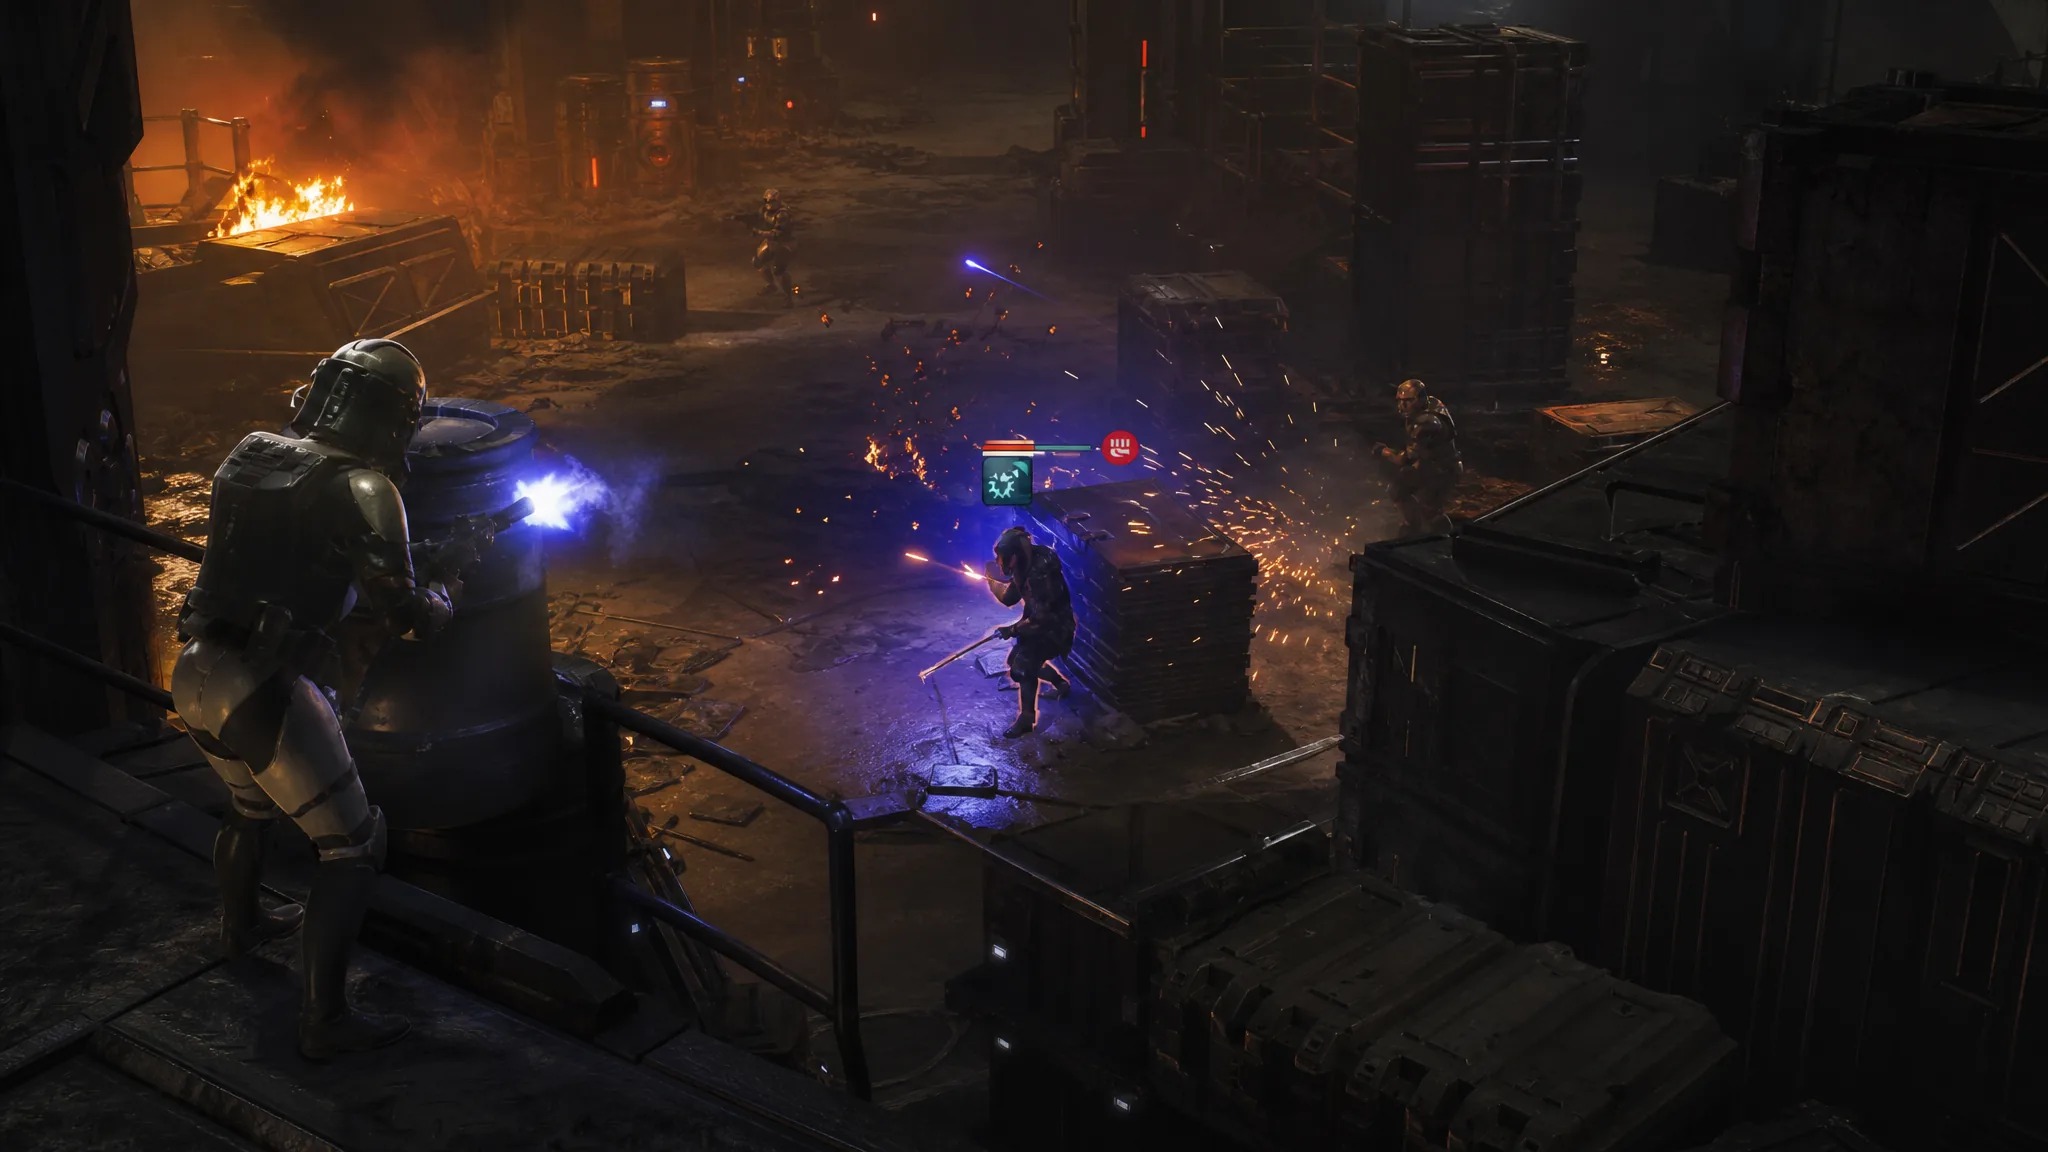
“Raid the Slugrat HQ” is a Coil-heavy fight with two conditions running at once. You have to wipe out every hostile on the map, and Tel-Rea Vokoss has to walk away from it. She starts the encounter separated from the rest of the squad, which is exactly the setup that gets her killed if you push her forward looking for early lightsaber kills.
Quick answer: Pull Tel-Rea back toward Hawks, Trick, Fred, and Jae on turn one, hold high ground with overwatch, use grenades on clustered Coil units, then focus every attack on the Droideka’s ray shield the turn it deploys so it never gets a second regeneration.
Raid the Slugrat HQ objectives and fail conditions
Two objectives sit in the top-left corner for the entire encounter. There is no timer and no console to interact with, so the only thing that ends the fight is an empty enemy list.
| Objective | What it means in practice |
|---|---|
| DEFEAT THE COIL FORCES | Every Coil unit on the map must be destroyed, including reinforcements that arrive mid-fight. |
| TEL-REA MUST SURVIVE | If Tel-Rea Vokoss goes down and stays down, the mission fails regardless of how the rest of the squad is doing. |
Note: because Tel-Rea is a survival objective rather than a normal operator, treat her health bar as the mission timer. Every turn she spends in the open without cover or an active deflection stance is a turn you can lose the run.
Squad roles for the encounter
The fight is built around one durable front-liner, two ranged damage dealers, and a medic who never leaves the back line. Tel-Rea sits slightly ahead of the ranged pair once she has rejoined the group.
| Operator | Job in this fight |
|---|---|
| Tesh Hawks | Longarm blaster from range, plus Combat Stim III and Medpac Mk. II to keep the squad topped up. Also the unit that finished the Droideka’s ray shield. |
| Fred | Front-line body. Bull Rush II for close enemies, invulnerability stacks to soak the final attacks, and revives when someone goes down. |
| Jae Mordant | Blaster rifle damage and grenades. Sweeping Salvo III clears a cone of grouped enemies. |
| Trick | Repeating blaster and Rocket Strike IV for clustered reinforcements. |
| Tel-Rea Vokoss | Lightsaber Strike up close, Push II to drag enemies out of cover, Noble Stance to deflect incoming blaster fire. |
| PICO-5 | Astromech support in the back line. |
Opening turns: regroup, then take the high ground
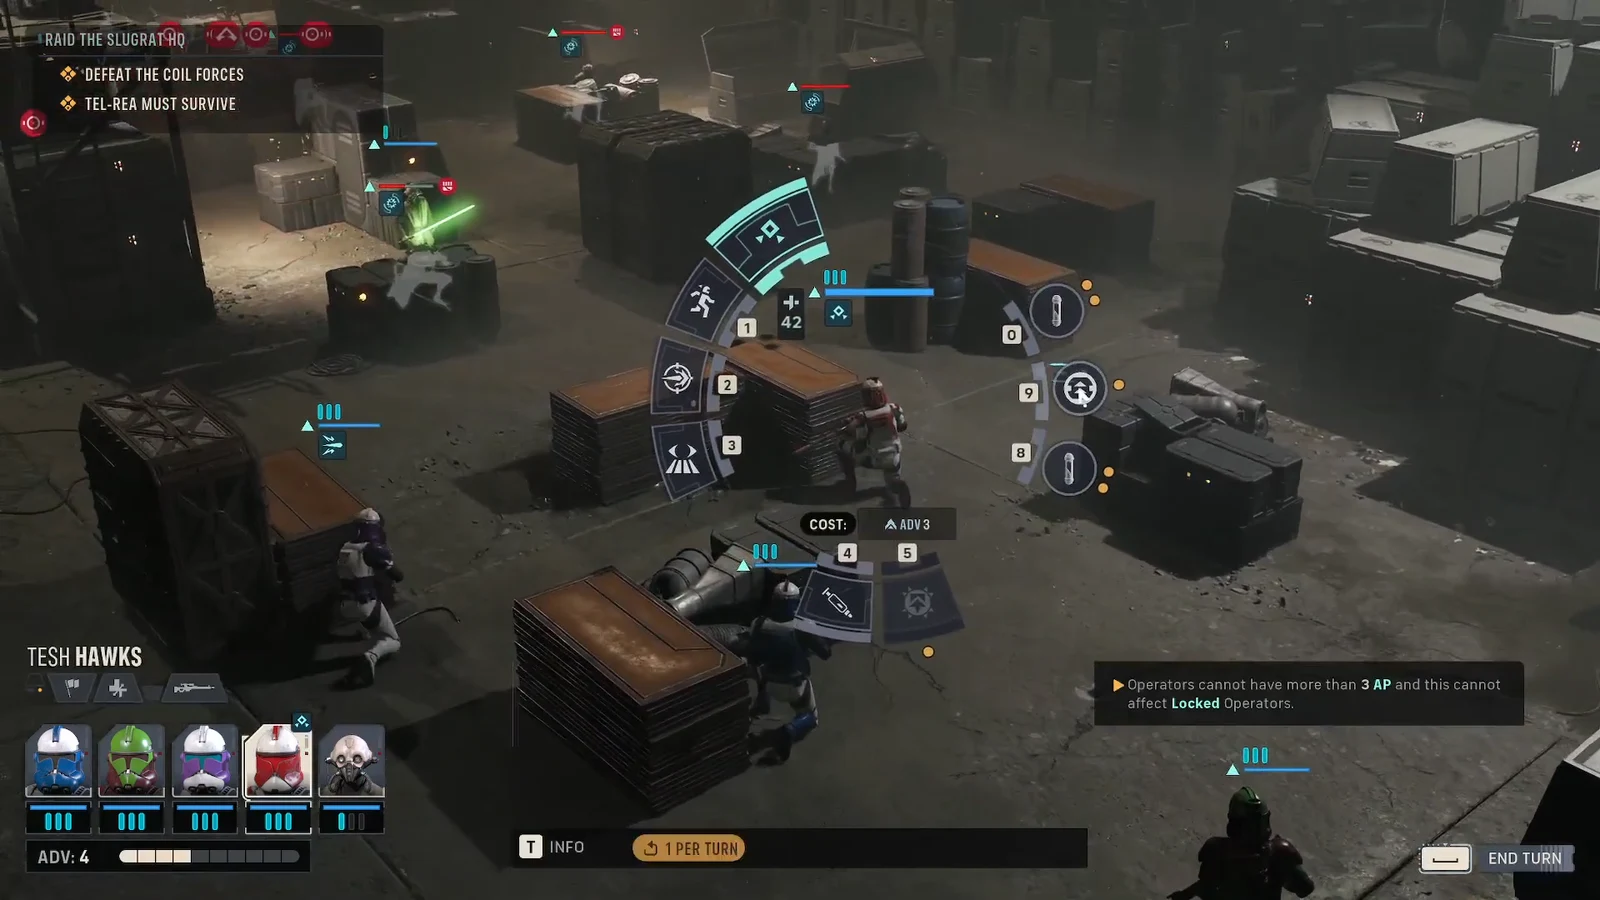
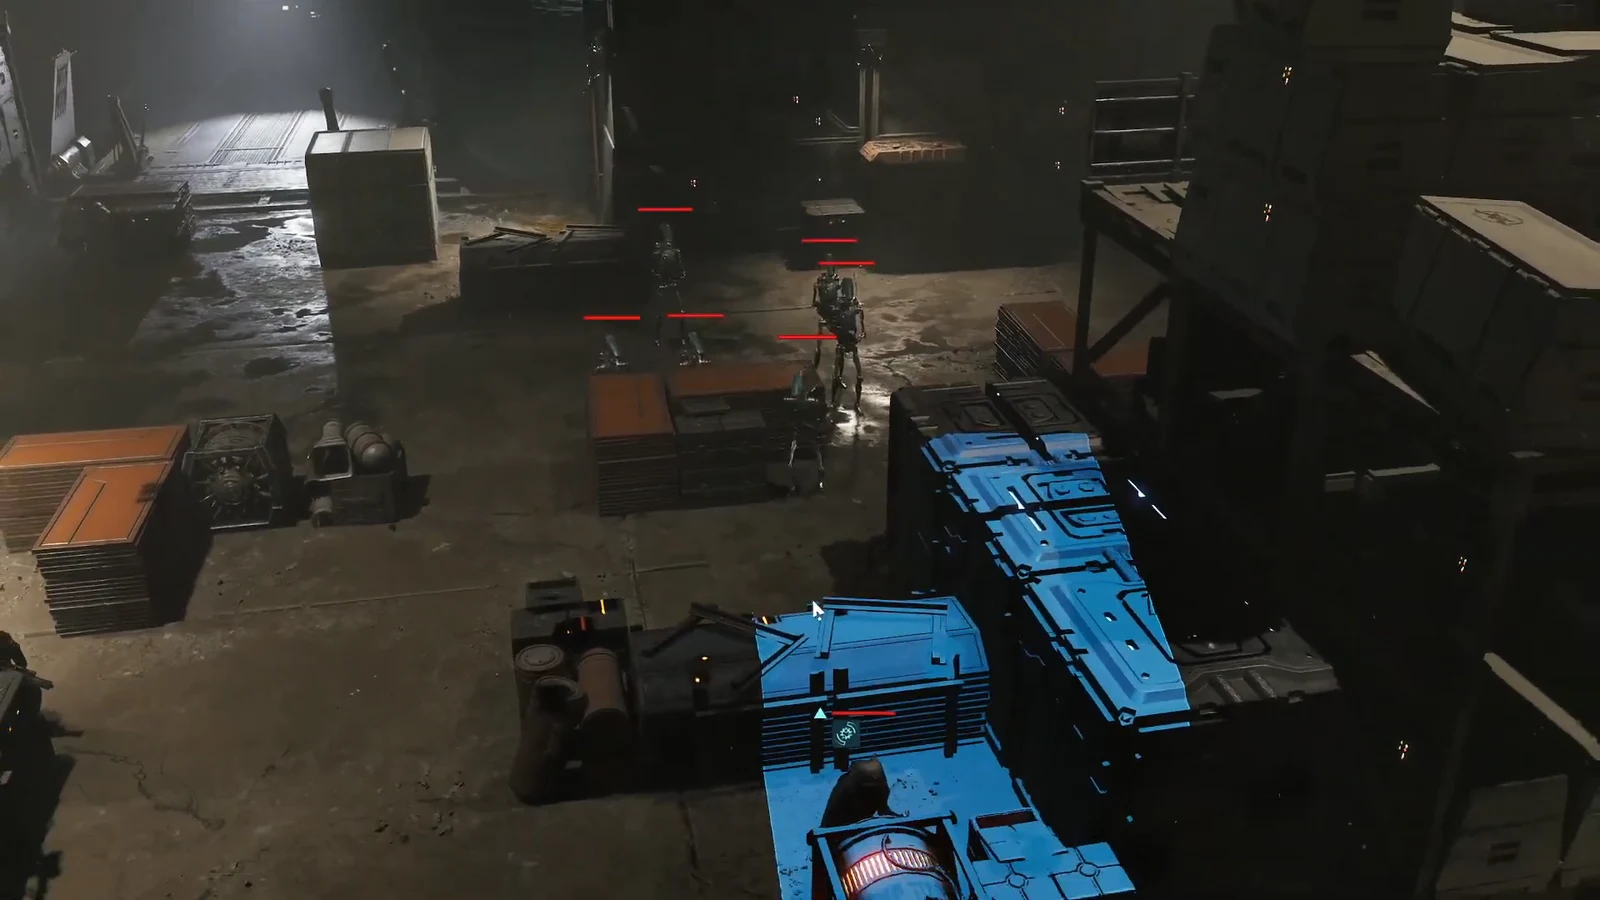
On the first enemy turn the Coil forces advance and open fire. This is where Noble Stance earns its slot, since Tel-Rea deflects incoming blaster bolts instead of eating them at full value.
Resonance: why every Coil kill makes the survivors stronger
Coil units share a mechanic called Resonance. When one of them dies, a surviving Coil enemy gains a stack. Stacks build up to three, and at three stacks that unit surges, which heals it, raises its damage, and unlocks abilities it did not have before. Surged enemies can retaliate, turn invisible, or reach you in melee from farther away than their normal range suggests.
The practical rule is simple. Once a unit reaches three stacks, it becomes your next target no matter what else is on the field. Kill order matters more than raw damage output here, and Push II is useful for dragging a stacked enemy out of cover so two or three operators can finish it in one round.
Handling reinforcements and the Coil Captain
Partway through, Coil reinforcements arrive and the fight gets crowded fast. Coil Enforcers press in close, Coil Strikers work at range, and a Coil Captain adds Ambush II to the mix. Keep the medic in the back and burn a grenade on the incoming group while they are still bunched together.
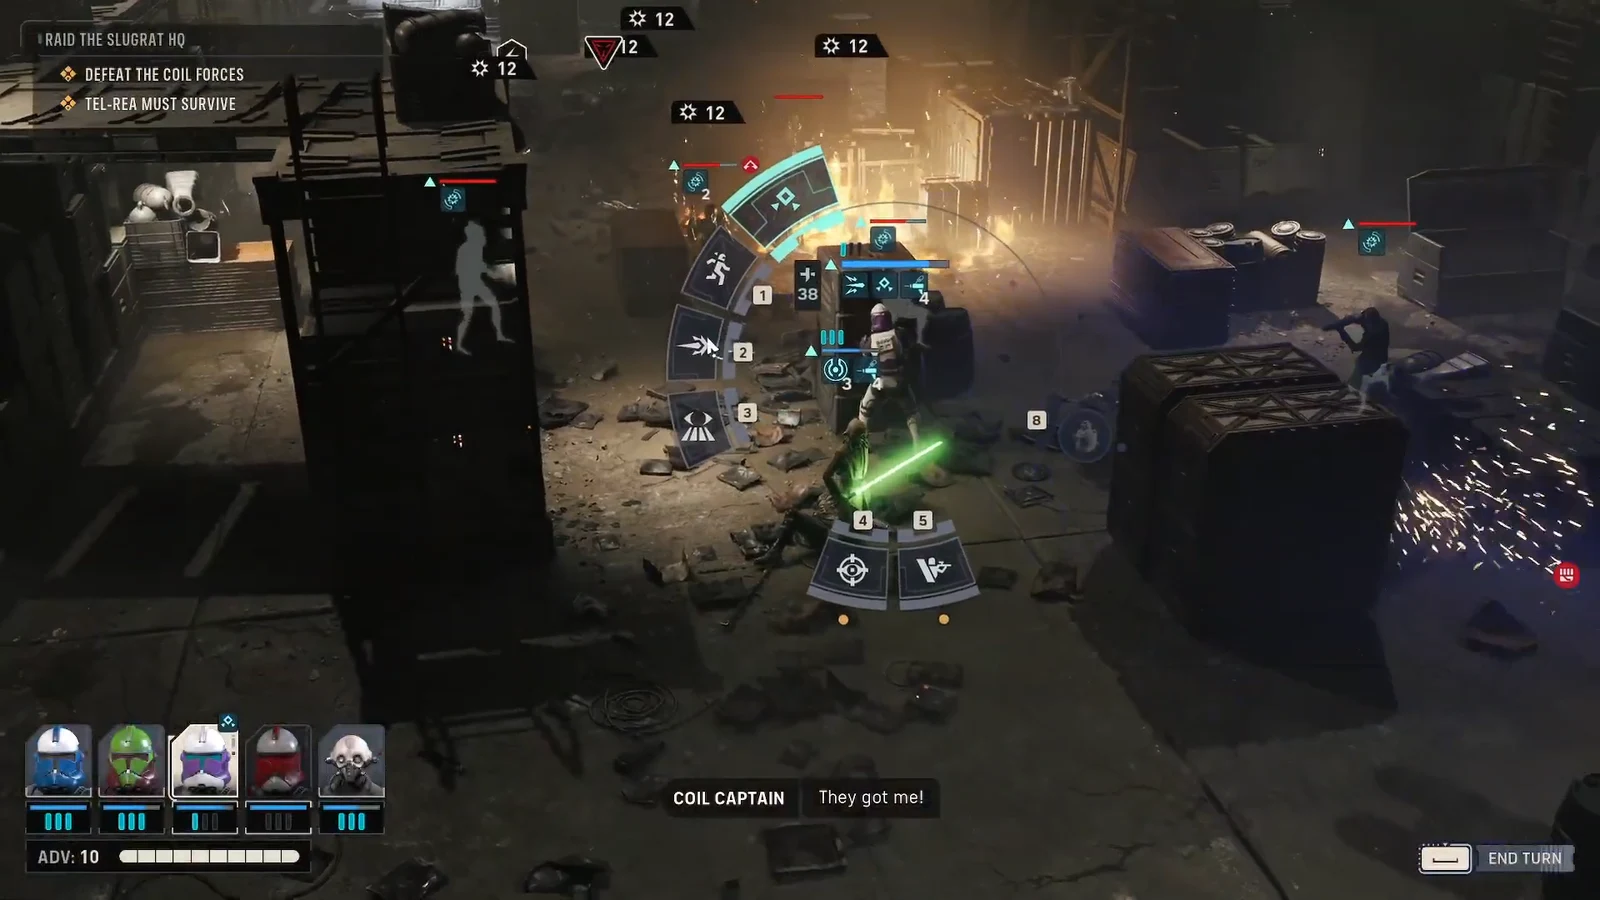
This is also the point to start spending Tesh Hawks’ turns on sustain rather than damage. Combat Stim III and Medpac Mk. II keep Fred and Tel-Rea above the threshold where a single surged attack can drop them. Fred’s Bull Rush II works well on Enforcers that make it into melee range, and Tel-Rea’s Lightsaber Strike cleans up anything already softened by blaster fire.
Breaking the Droideka’s ray shield
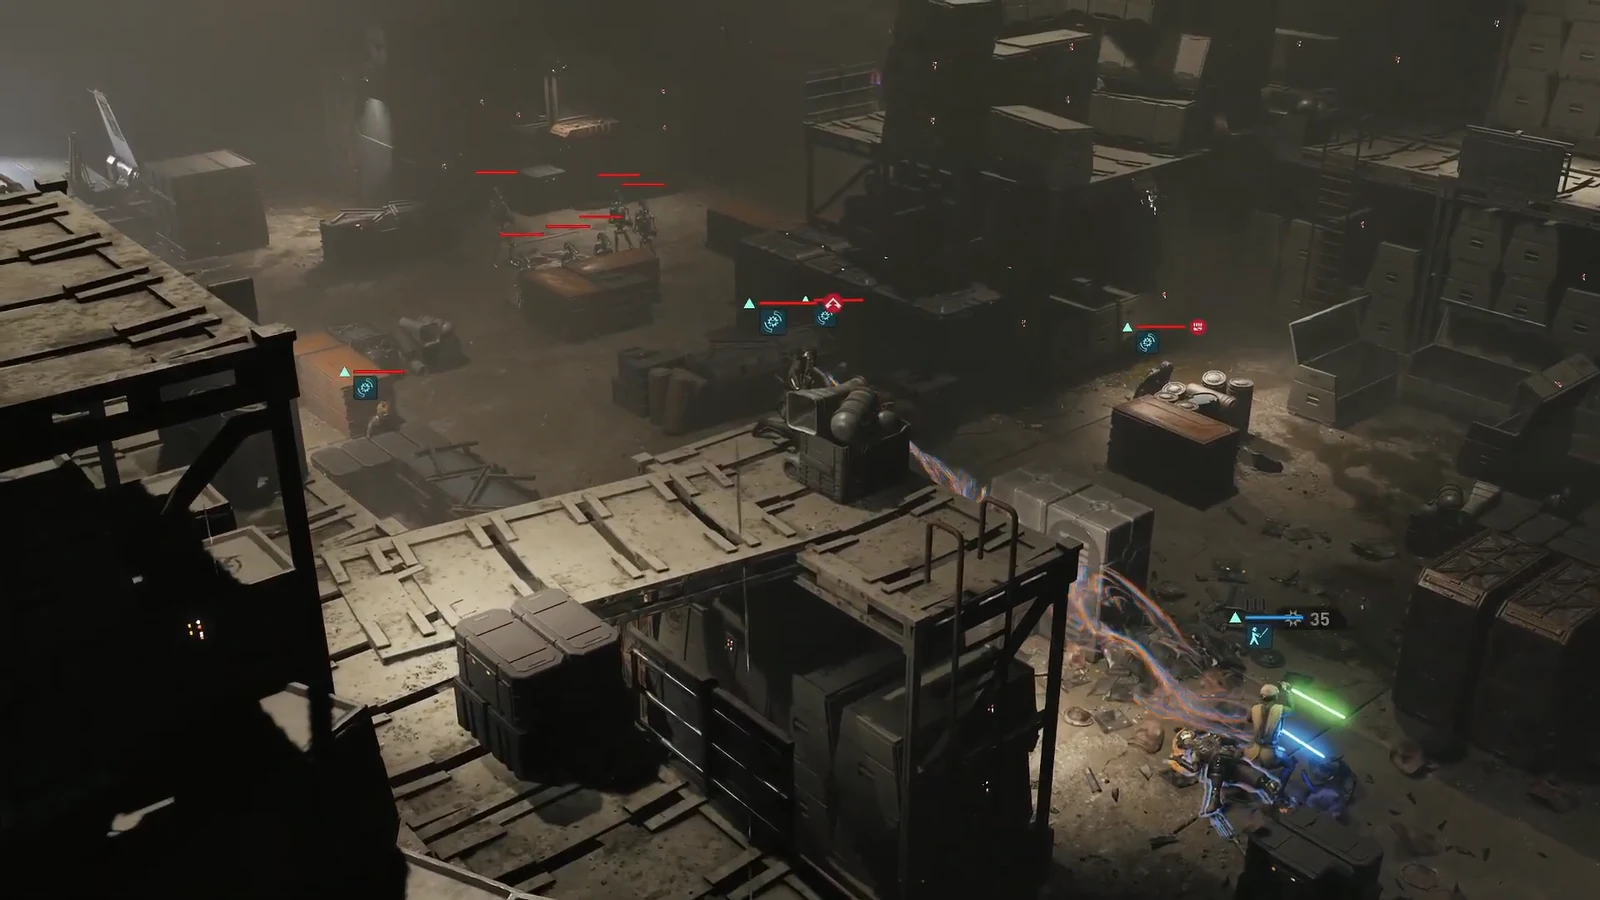
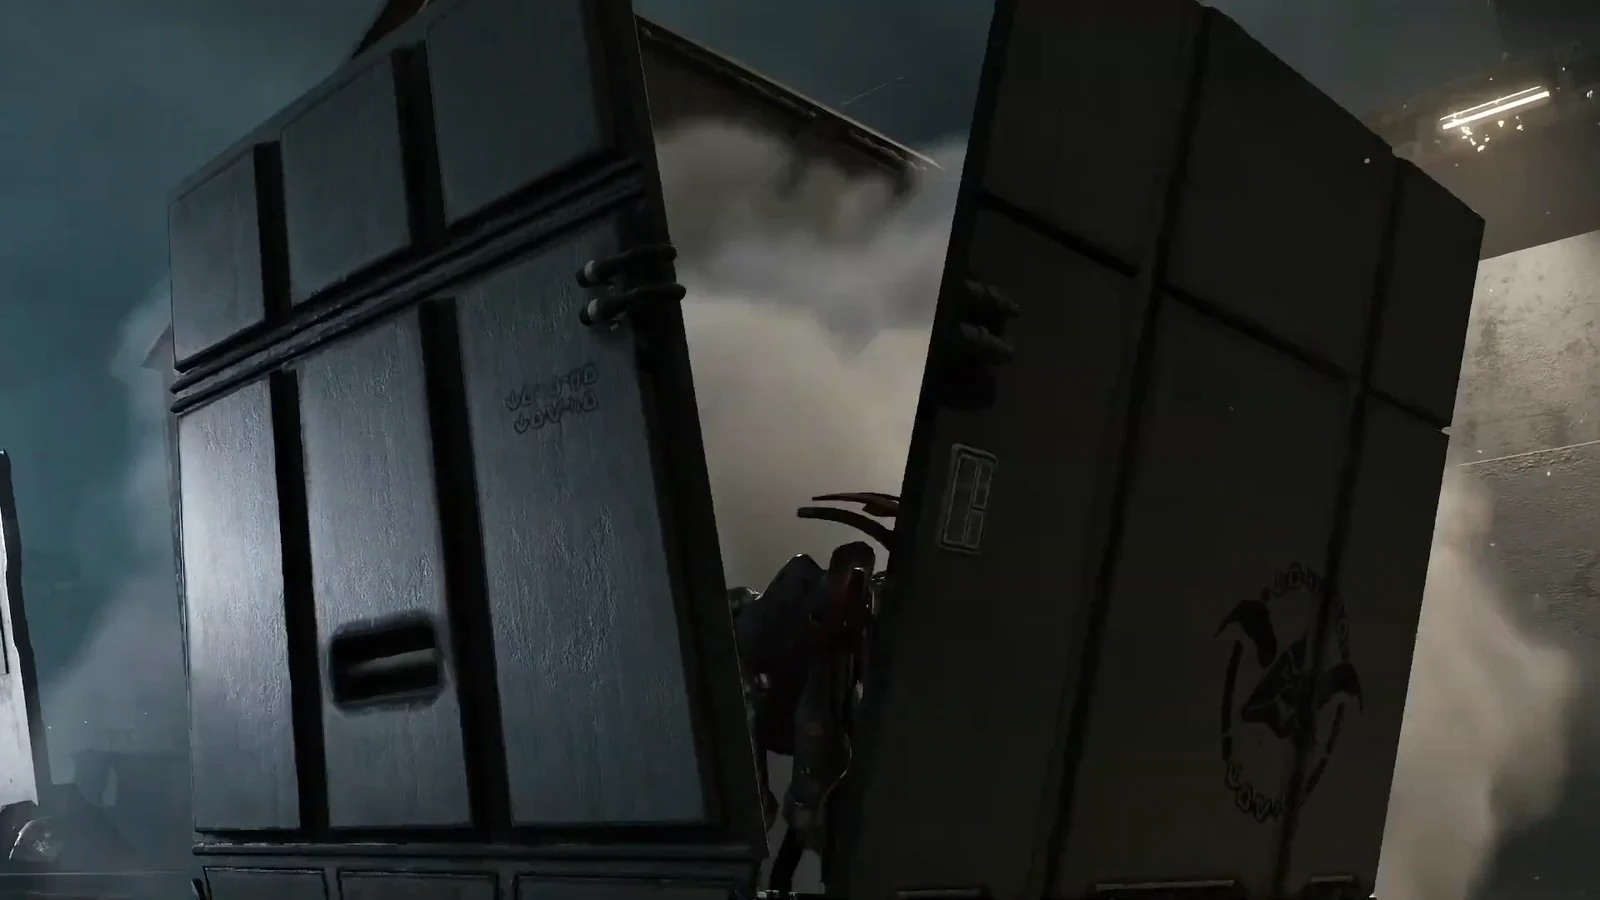
The Droideka arrives with the reinforcement wave and rolls into position before deploying its ray shield. That shield is omni-directional, so there is no flanking angle that bypasses it, and it regenerates at the start of each turn until the droid is destroyed. Chip damage from one operator accomplishes nothing.
Tip: hold at least one heavy ability in reserve for this moment. Firing Rocket Strike IV or Sweeping Salvo III into a group earlier feels good, but the Droideka is the one target where a single wasted turn costs you the whole shield again.
Clearing the last Coil units and confirming the win
With the Droideka gone, only a handful of Coil Enforcers and a final Coil Striker remain. Their Resonance stacks are at their highest here, so put invulnerability on your front-liner and let the surged enemies waste their attacks on a target that cannot be hurt. Fred tanking the last Enforcer while the ranged operators finish the Striker is the cleanest close.
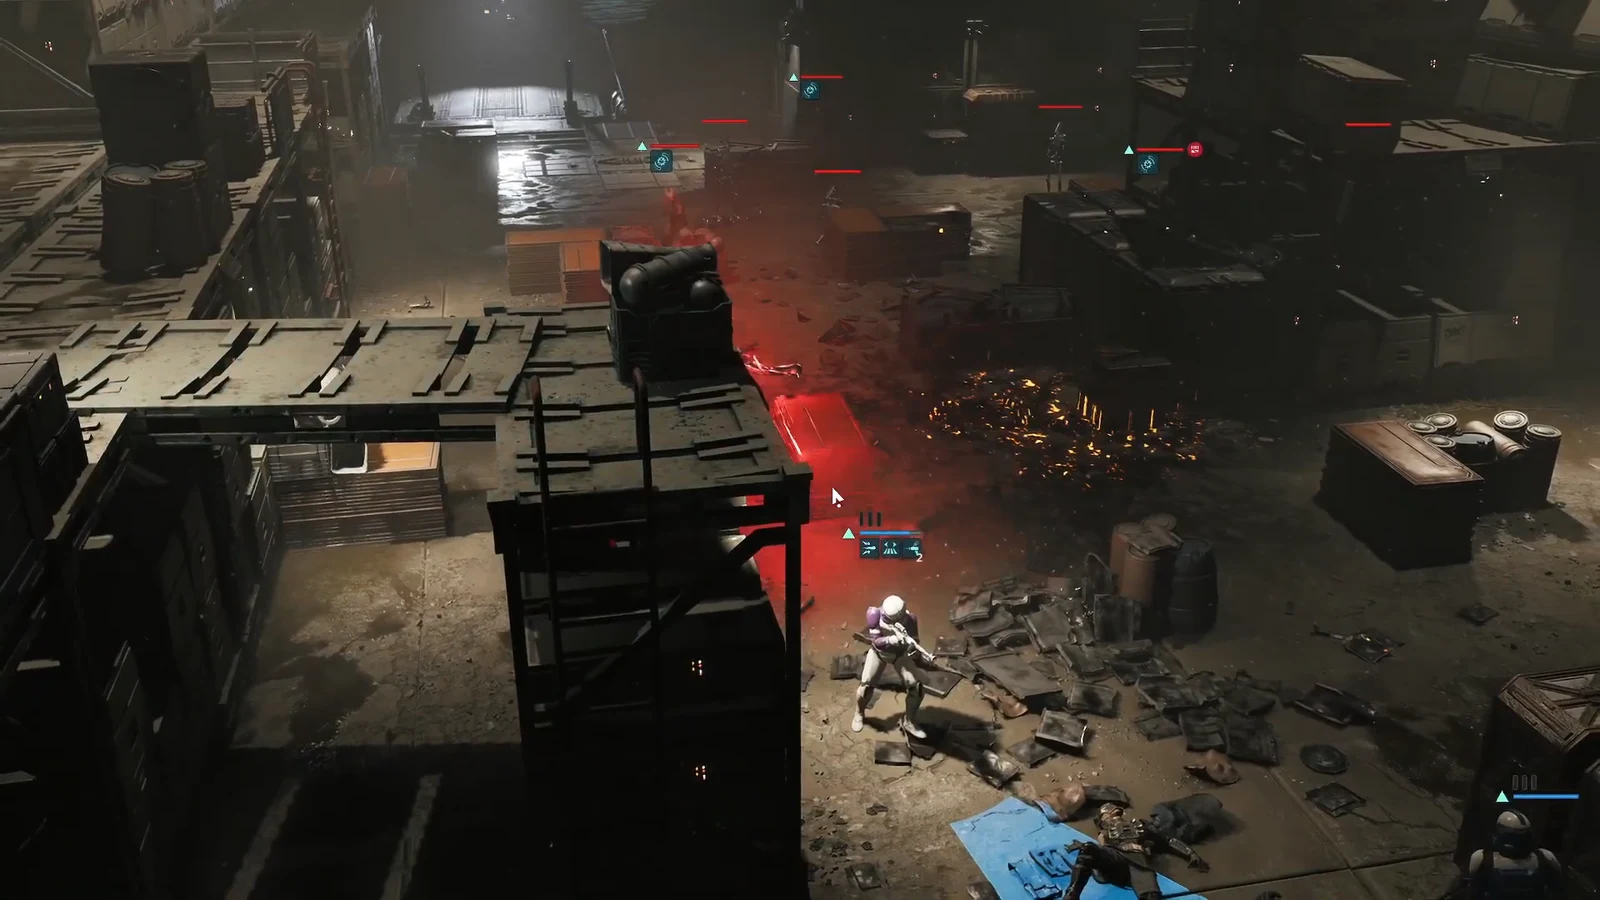
The mission resolves the moment the last Coil unit is destroyed. The objective list clears and the encounter ends on the spot, so there is nothing left to interact with once the field is empty. If the fight has not ended, one enemy is still alive somewhere on the map.
Common reasons the fight goes wrong
- Tel-Rea advances alone on the first turn and takes concentrated fire before the squad can support her.
- A Coil unit reaches three Resonance stacks and is left alive, then surges and closes the distance in a single turn.
- The Droideka’s ray shield is only partially damaged, so it fully regenerates on the next turn.
- A downed operator is left on the ground instead of being revived, which cuts your damage exactly when the reinforcement wave lands.
Played patiently, the encounter is a defensive one. Hold elevation, force the Coil to come to you through overwatch cones and grenades, spend the medic’s turns on sustain rather than damage, and save your biggest abilities for the Droideka. Tel-Rea’s Force abilities are best used to reposition enemies for the rest of the squad, not to open new fights on her own.