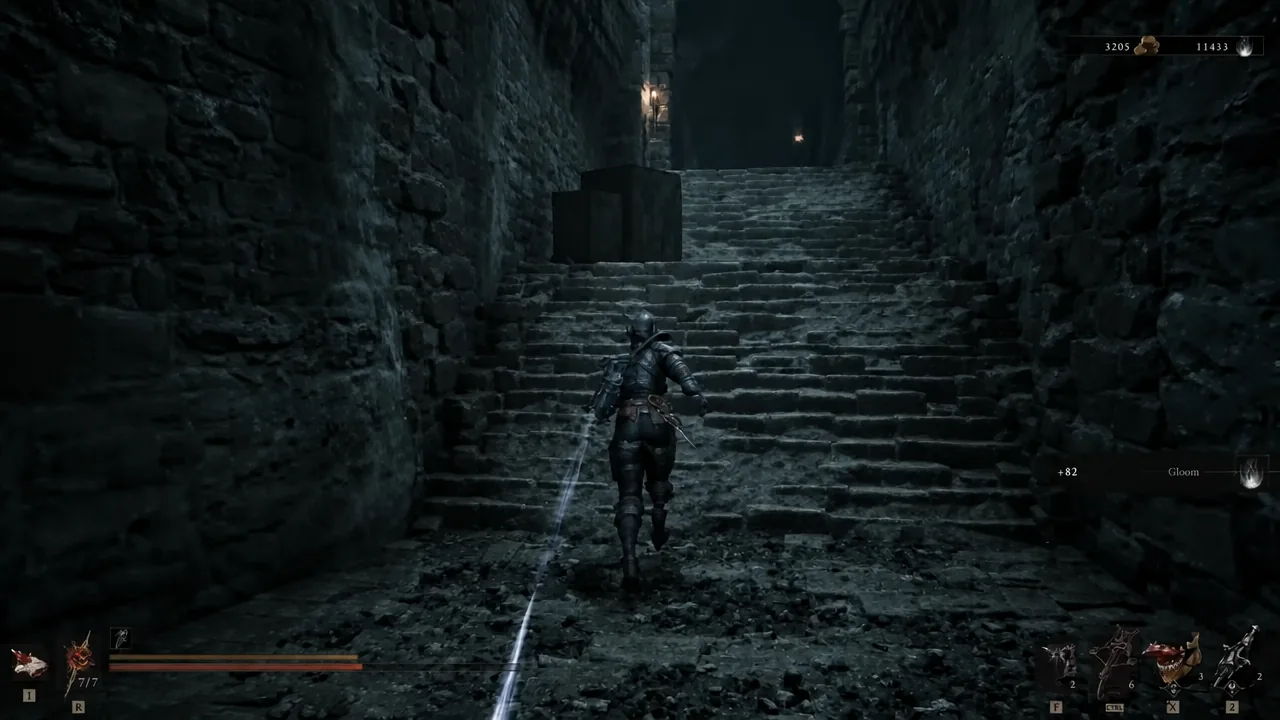
The stretch of Mortal Shell 2 behind the Corrupted Gate is one of the easiest places in the game to leave half-finished. It hides two invisible walls, several items locked behind ropes and barrels you have to shoot, and a mini-boss tucked at the top of an elevator most players ride straight past. Four beacons anchor the whole area, and each one gates an Ovum.
Quick answer: Cleanse Slumwater Drain, Hangman’s Scaffold, Executioner’s Pulpit, and Captive’s End. The first three each open a portal to a separate area where you must clear the enemies and cleanse a corruption node to claim an Ovum; the region is finished when Captive’s End is cleansed and the Undermother cutscene plays.
All four beacons and what each one gives you
Beacons here work the same way they do everywhere else in Fainweald. Interacting with one lets you rest, level your Harbinger, and fast travel, but a beacon is only truly cleansed once you have gone through its portal and dealt with the corruption on the other side.
| Beacon | Where its portal leads | Payoff |
|---|---|---|
| Slumwater Drain | Central Sewers | First Ovum, Sheephead Totem, Synaptic Vessel, Ironpiercer’s Stone |
| Hangman’s Scaffold | Gloomstricken Garrison | Second Ovum, Revered Gland (found just before the beacon) |
| Executioner’s Pulpit | A second Central Sewers section | Third Ovum, Squall Stone |
| Captive’s End | No portal — end of the area | Remaining Ova and the Undermother cutscene |
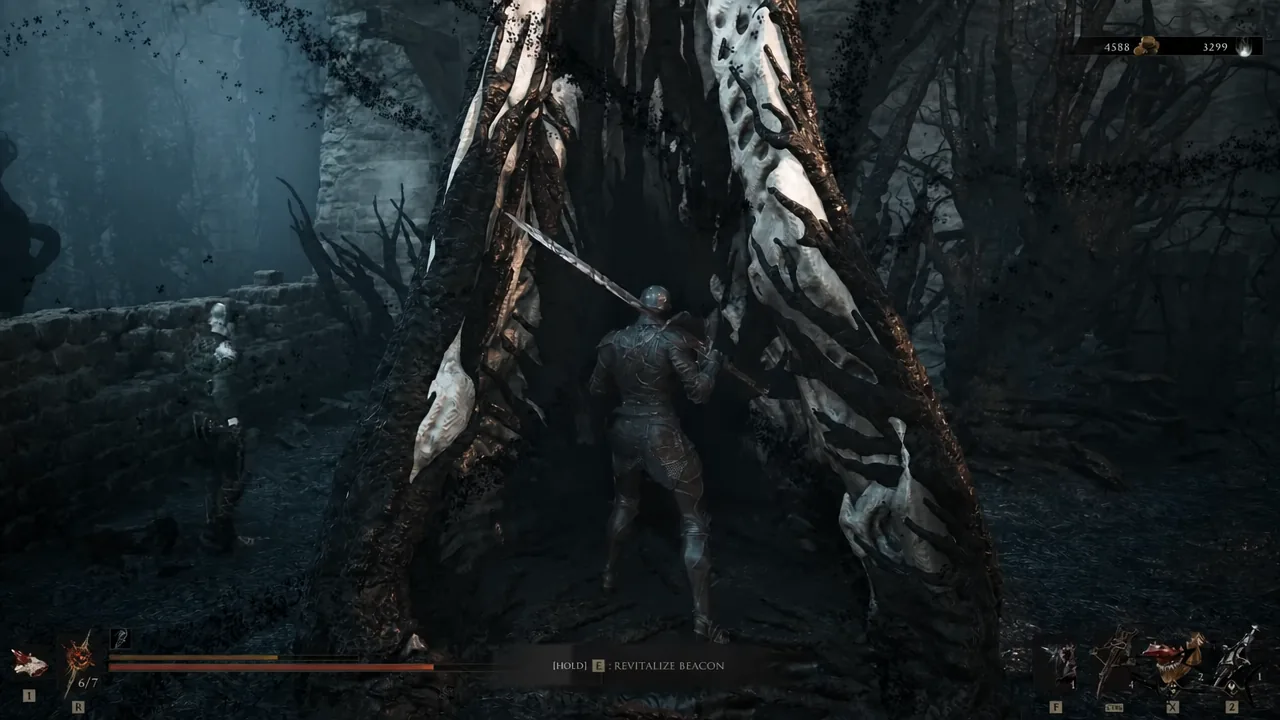
At each beacon you hold the interact prompt to revitalize it. That is also where the Revered Gland gets spent, and where your Harbinger level goes up once an Ovum is in hand.
Every secret and item location in the area
Nothing here is missable in a permanent sense, but a lot of it is easy to walk past. Use this as the checklist and the routing below as the how.
| Item | Location |
|---|---|
| Hidden dagger note | Prisoner’s Way — down the alley, past the cart |
| Chest (invisible wall #1) | Central Sewers, right side of the first sewer room |
| Sheephead Totem (invisible wall #2) | Central Sewers, in a corner of the same room |
| Synaptic Vessel | High wooden platform reached by shooting down a hanging platform |
| Ironpiercer’s Stone | Chest behind a gate across a gap in the Central Sewers |
| Revered Gland | Inside an iron maiden in the room before Hangman’s Scaffold |
| Ventrium | Breakable wall behind the armored guard near Executioner’s Pulpit |
| Squall Stone | Stone sarcophagus in the Executioner’s Pulpit sewer section |
| Confessor’s Keepsake | Reward for beating Tishina’s Confessor |
| Rupturing Stone | Chest beside Ruk, just before the boss arena |
| Captive’s Scabstone | Reward for beating The Nameless Captive |
Slumwater Drain: Prisoner’s Way to the first beacon
Central Sewers: both invisible walls, then the Ovum
Do the secrets before you fight anything. In the first sewer room, attack the right-hand wall to break through to a chest, then hit the corner wall for the Sheephead Totem. Both look like solid geometry until you swing at them.
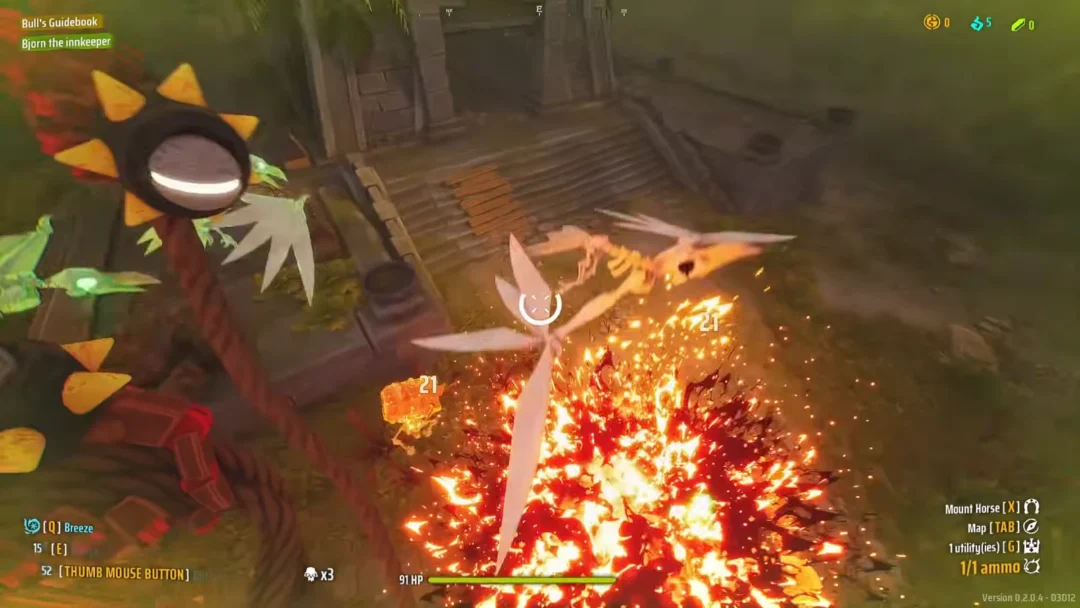
Drop down the large circular pipe from there. The tunnels below hold toxic green enemies and a giant worm, and dropping again puts you in a fiery pit with crab-like creatures. Clear it and climb the wooden scaffolding on the far side.
From the top of the scaffolding, shoot the hanging platform above you. It falls and forms a bridge to the Synaptic Vessel. A wooden barrier nearby breaks open for a glowing blue item, and a jump across the gap toward the gate gets you the chest holding the Ironpiercer’s Stone.
Push on to the glowing blue structure near the exit, kill the guard, and cleanse the corruption node for your first Ovum. Slumwater Drain is now marked as cleansed and you can level up at the beacon.
Hangman’s Scaffold: the statue ramp and the iron maiden
Executioner’s Pulpit: ropes, buttons, levers, and the Squall Stone
Leaving the Hangman’s Scaffold beacon, climb the stairs and cross the high wooden bridge into a multi-level wooden building. Most of the traversal in here is done with your sidearm rather than your feet.
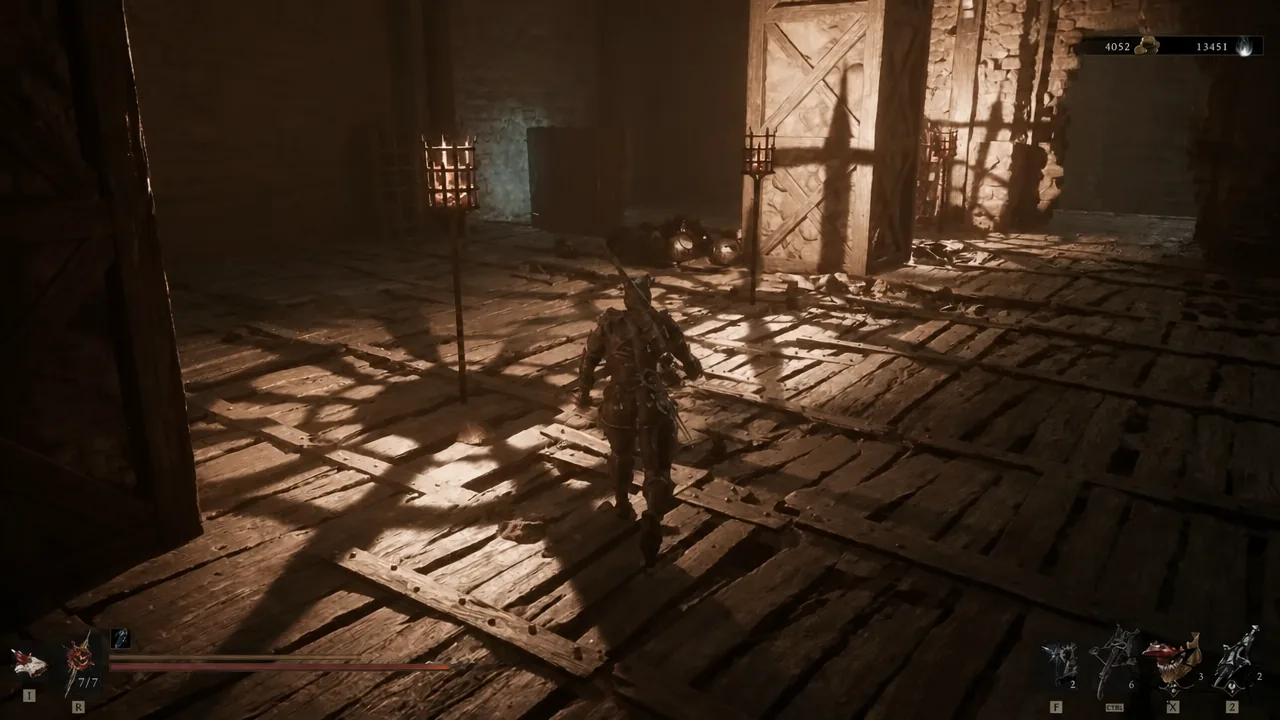
Shoot the ropes and hanging cages to drop platforms and open new paths through the structure. One rope in particular drops a bridge below you — jump down, cross it, and grab the hidden item on the other side.
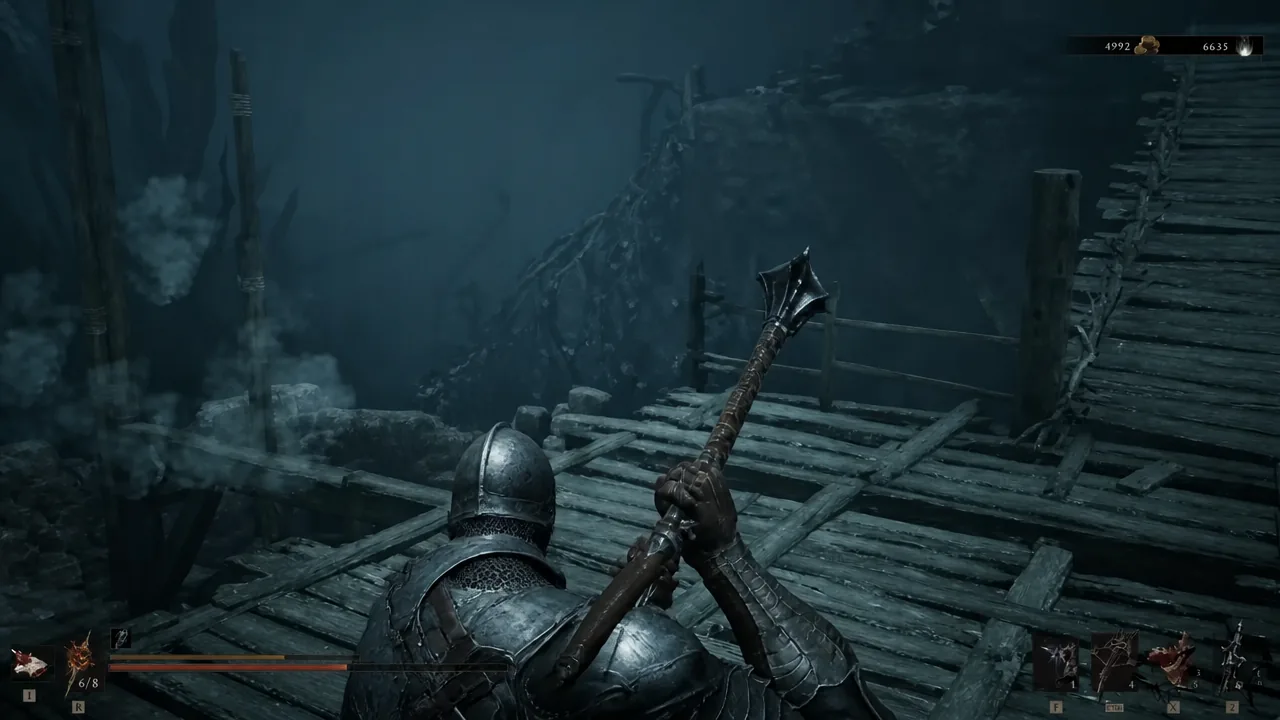
Take the wooden elevator up. A large armored enemy guards the top; kill it and break the wall directly behind it for Ventrium. The Executioner’s Pulpit beacon is just past that.
Its portal leads to a different stretch of the Central Sewers built around gates. Break the wooden barriers and press the wall buttons to open the first set, drop through the trapdoor and press another button, then handle the large armored enemy waiting there. Two more wall levers open the big iron gates into the pillar hall.
Open the stone sarcophagus in that hall for the Squall Stone, then cleanse the corruption node for the third Ovum.
Tishina’s Confessor: the mini-boss above the circular elevator
This is the part most players skip. Fast travel back to the Slumwater Drain beacon and take the alternative stairs path instead of the route you used the first time.
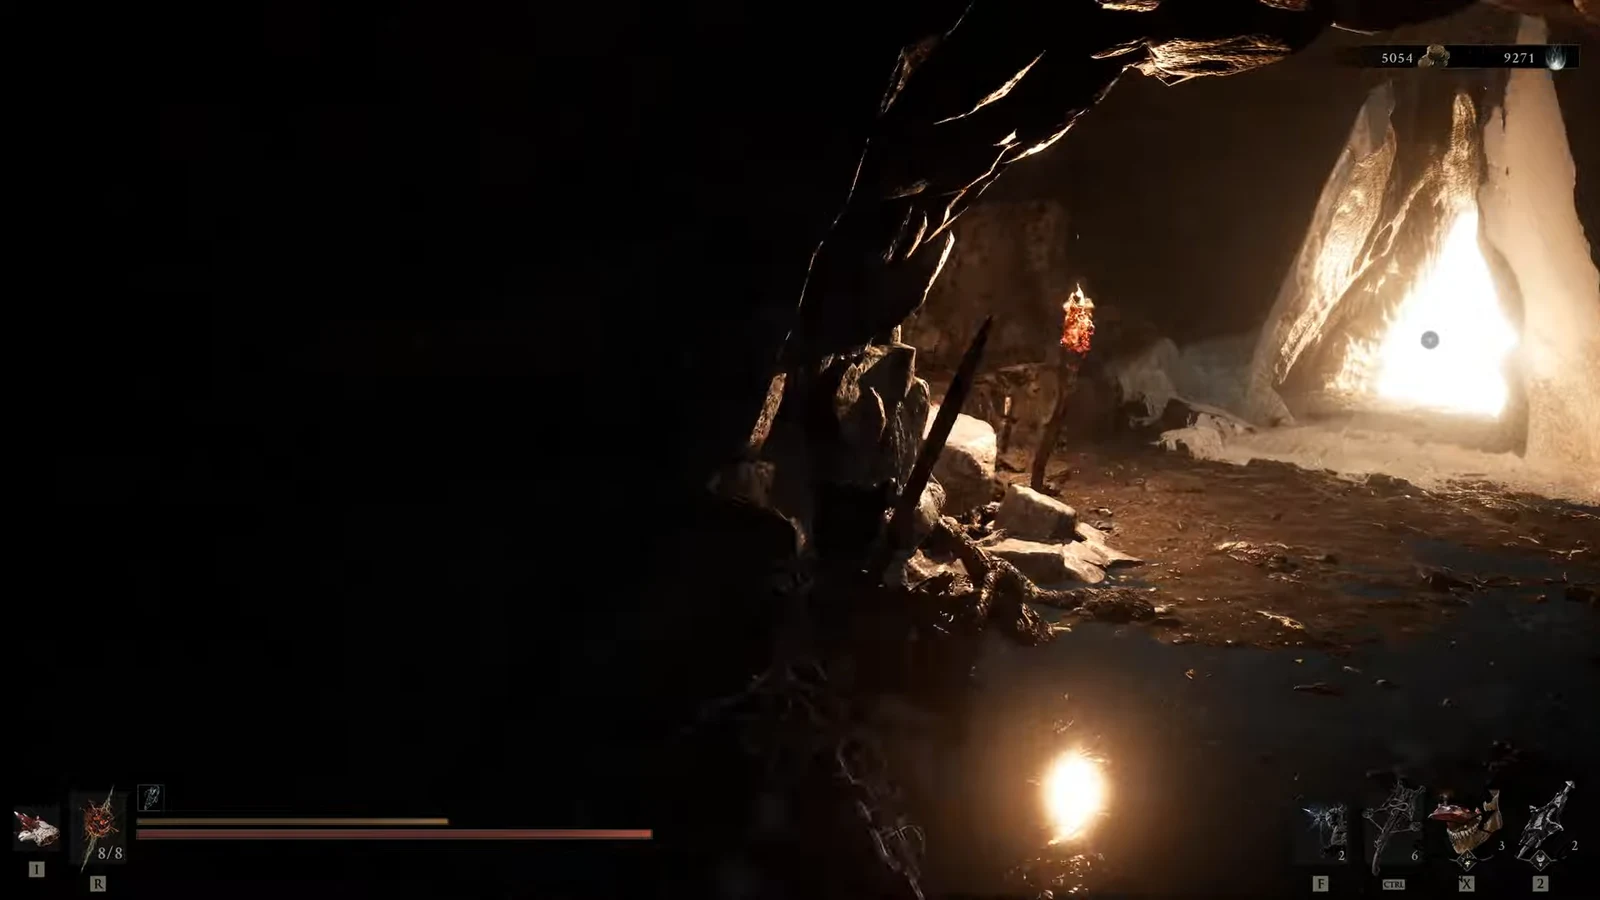
Fight through the giant worms in the dark cave, then look for the circular target on the wall. Shooting it triggers the mechanism that eventually gets you to the circular elevator platform. Ride it up and you land in the mini-boss arena.
Beating Tishina’s Confessor awards the Confessor’s Keepsake Tarstone. Afterward, drop down the hole in the arena to meet Ruk, the spectral figure who tells you to put an end to the misery here. The chest beside him holds the Rupturing Stone.
Note: pick up the Rupturing Stone before you move on. The beam past Ruk leads straight into the boss arena with no way back up.
The Nameless Captive boss fight and Captive’s End
Walk across the wooden beam and drop into the pit below. A cutscene introduces The Nameless Captive, and the fight starts immediately.
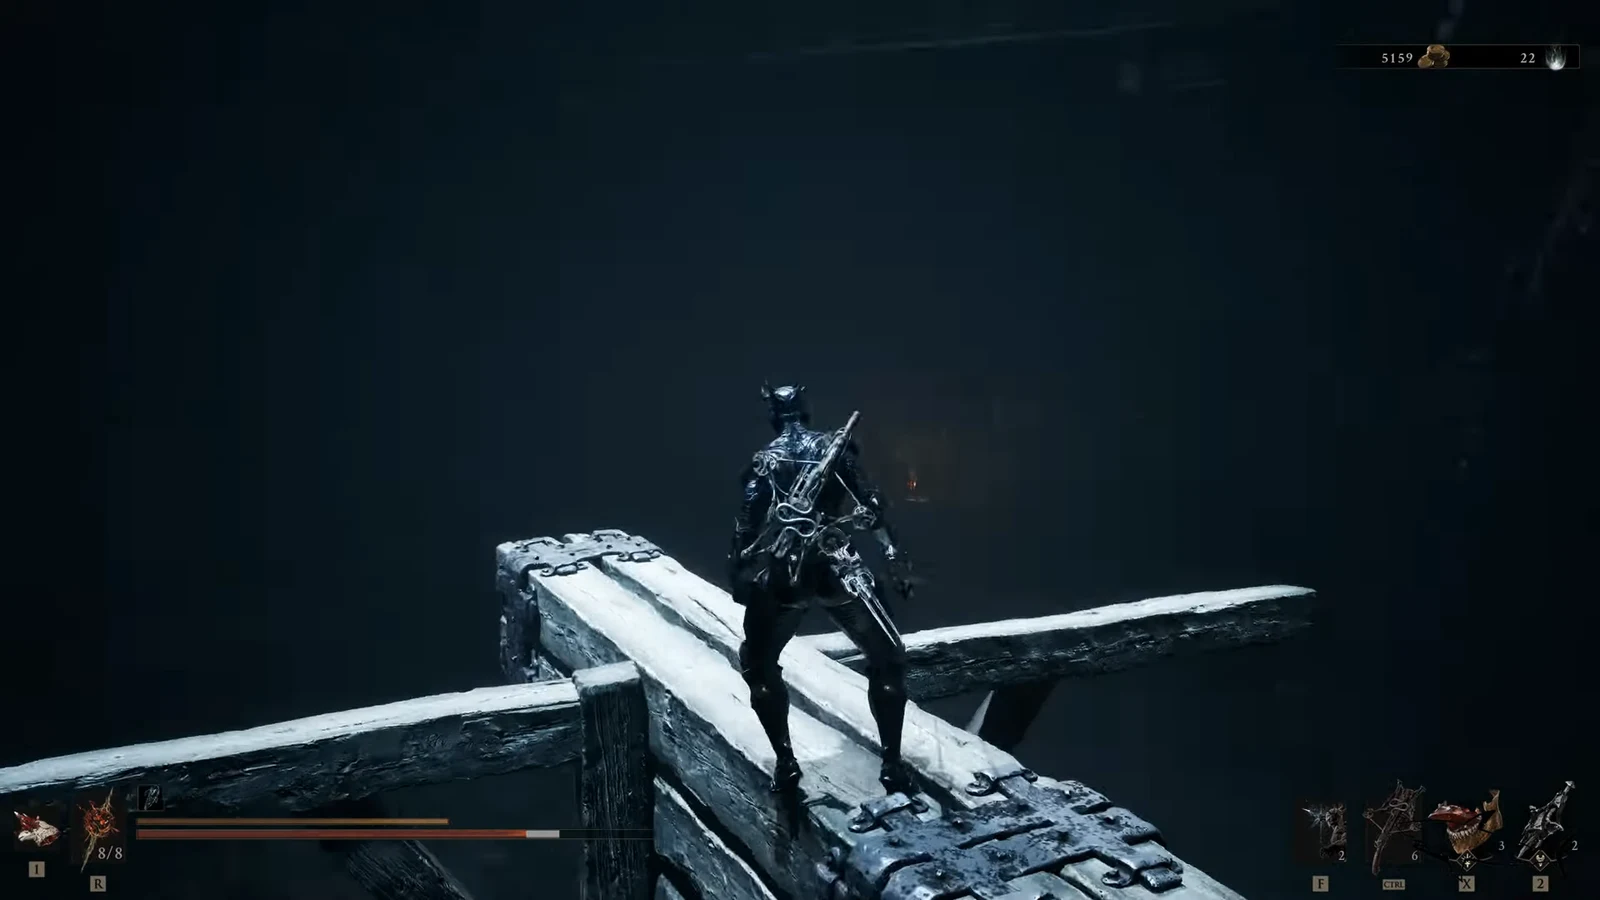
Winning drops the Captive’s Scabstone Tarstone. From the arena, the Captive’s End beacon is a short walk away. Cleansing it plays the Undermother cutscene and lets you collect the remaining Ova.
How to confirm the area is 100% complete
All four beacons should read as cleansed on the map, with Captive’s End as the last of them. Three Ova come from the corruption nodes inside the Slumwater Drain, Hangman’s Scaffold, and Executioner’s Pulpit portals, and the rest are collected after the Undermother speaks at Captive’s End.
On the item side, you should be carrying three Tarstones out of this region — Confessor’s Keepsake, Captive’s Scabstone, and Rupturing Stone — plus the Sheephead Totem, Synaptic Vessel, Ironpiercer’s Stone, and Squall Stone. The Revered Gland does not stay in your inventory; if your Mether’s Pulse capacity went up at the Hangman’s Scaffold beacon, it was used correctly.
The two most common gaps are the invisible walls in the first Central Sewers room and the circular elevator route, since neither is on the critical path. If a beacon still shows as uncleansed after you have beaten everything nearby, the corruption node inside its portal area is the thing you missed, not the beacon itself.