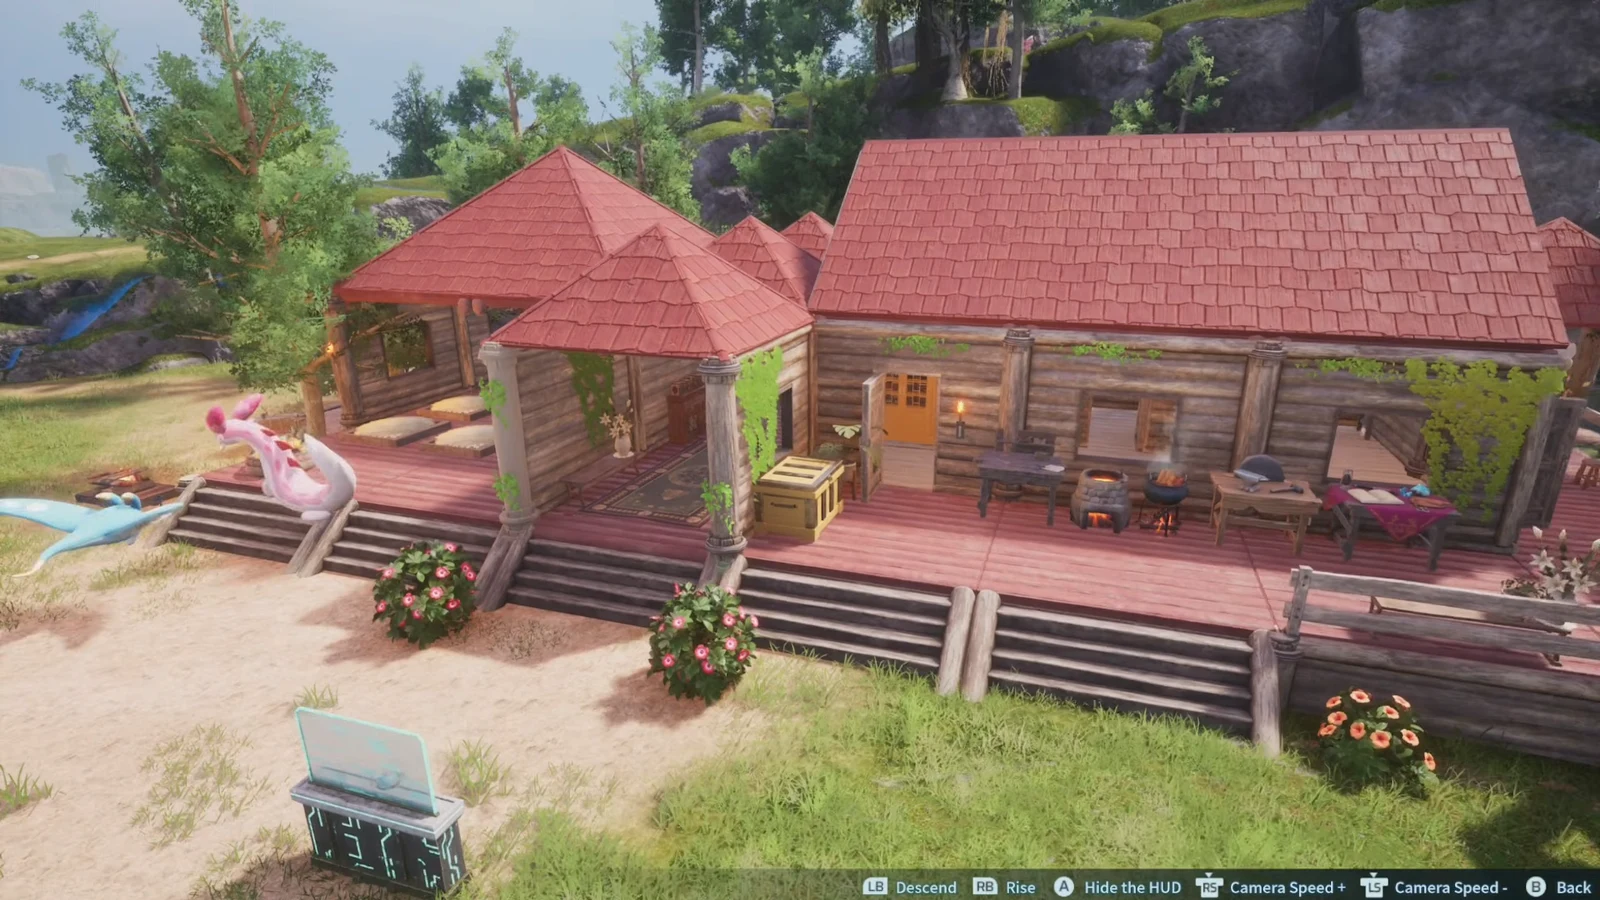
Most early Palworld camps end up as a flat slab of wood with workstations scattered across it. A log cabin starter base fixes that without costing much more material, because the whole build sits on a single 7×3 wooden footprint and uses nothing but standard building pieces from the tech tree. No mods, no console commands, no stacking tricks that break Pal pathing.
Quick answer: Place a 7×3 wooden foundation, divide it into a Pal sleeping porch, a mudroom, a crafting area, a bedroom, and a rear balcony, cap the roof ends with triangular walls, then paint the walls and foundation 847663 and the roof 5E2020.
What you need before laying the foundation
Everything here comes from the wooden building set, so the only real gate is wood. Wooden Foundation, Wooden Wall, Wooden Triangular Wall, Wooden Roof and Wooden Stairs are the five pieces that do almost all of the work, and each one lists its wood cost in the build menu when you highlight it.
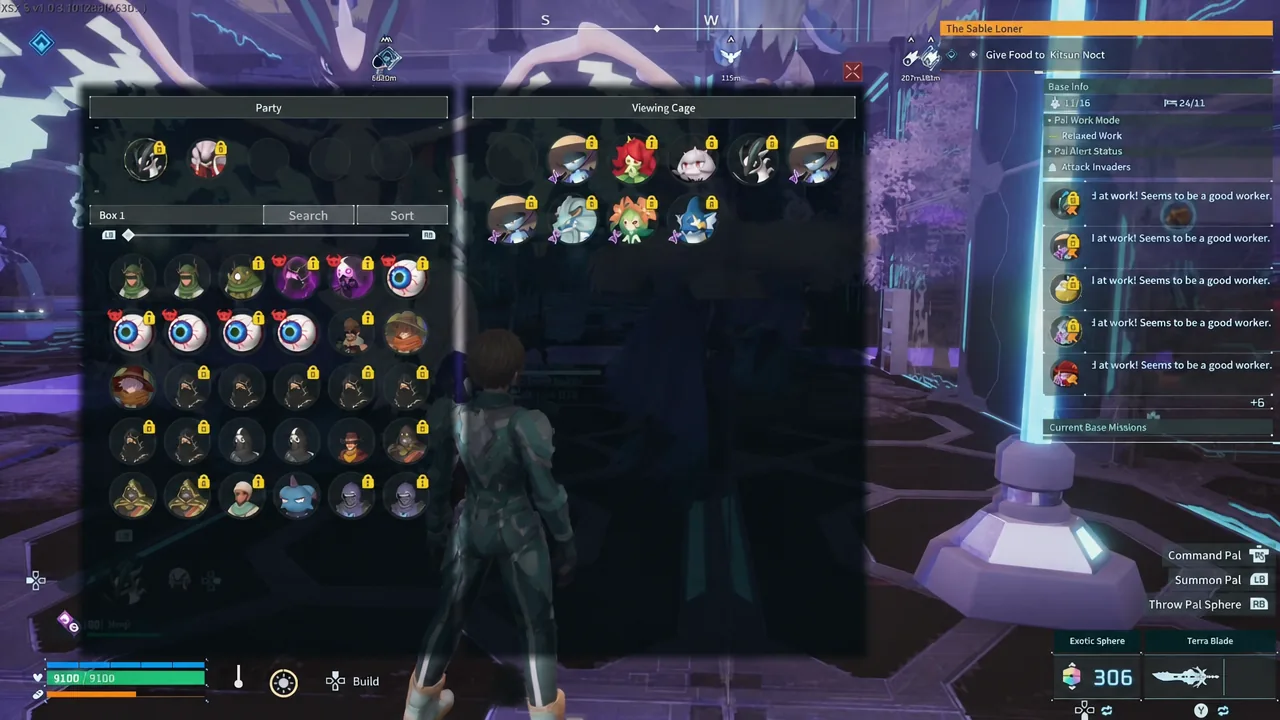
Drop the Pal Box first and build inside its radius. The box marks the centre of the buildable area, and anything you place outside that cylinder will not count as part of the base, so your Pals will ignore it.
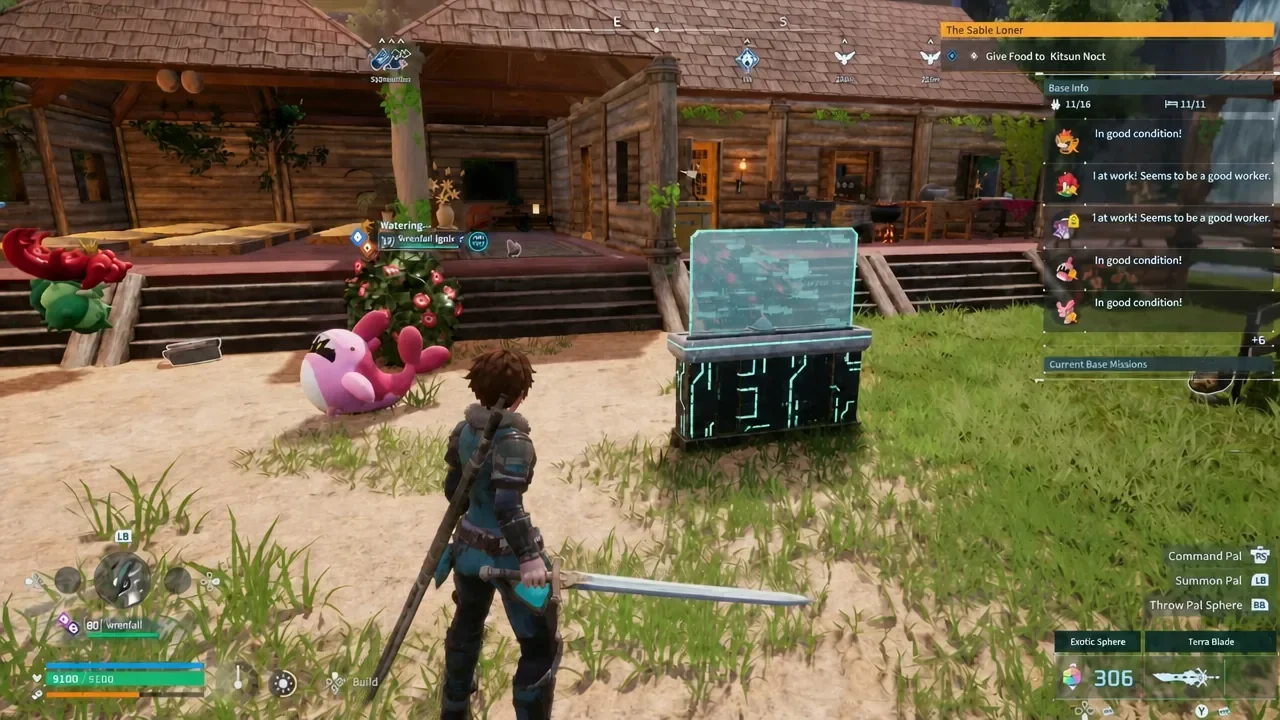
The 7×3 footprint and what goes in each zone
Seven foundations long by three deep is small enough to finish in one session and still fits every early-game function without cramming. The long axis runs front to back, with the entrance at one short end and the balcony at the other.
| Zone | What it holds |
|---|---|
| Front stairs | Wide entry steps leading up to the cabin |
| Pal sleeping porch | Pal beds, kept out of the walkways |
| Mudroom | Entry space and chests just inside the door |
| Crafting area | Workbench and early workstations |
| Bedroom | Player bed and furniture |
| Back balcony | Open deck at the rear of the cabin |
Building the log cabin
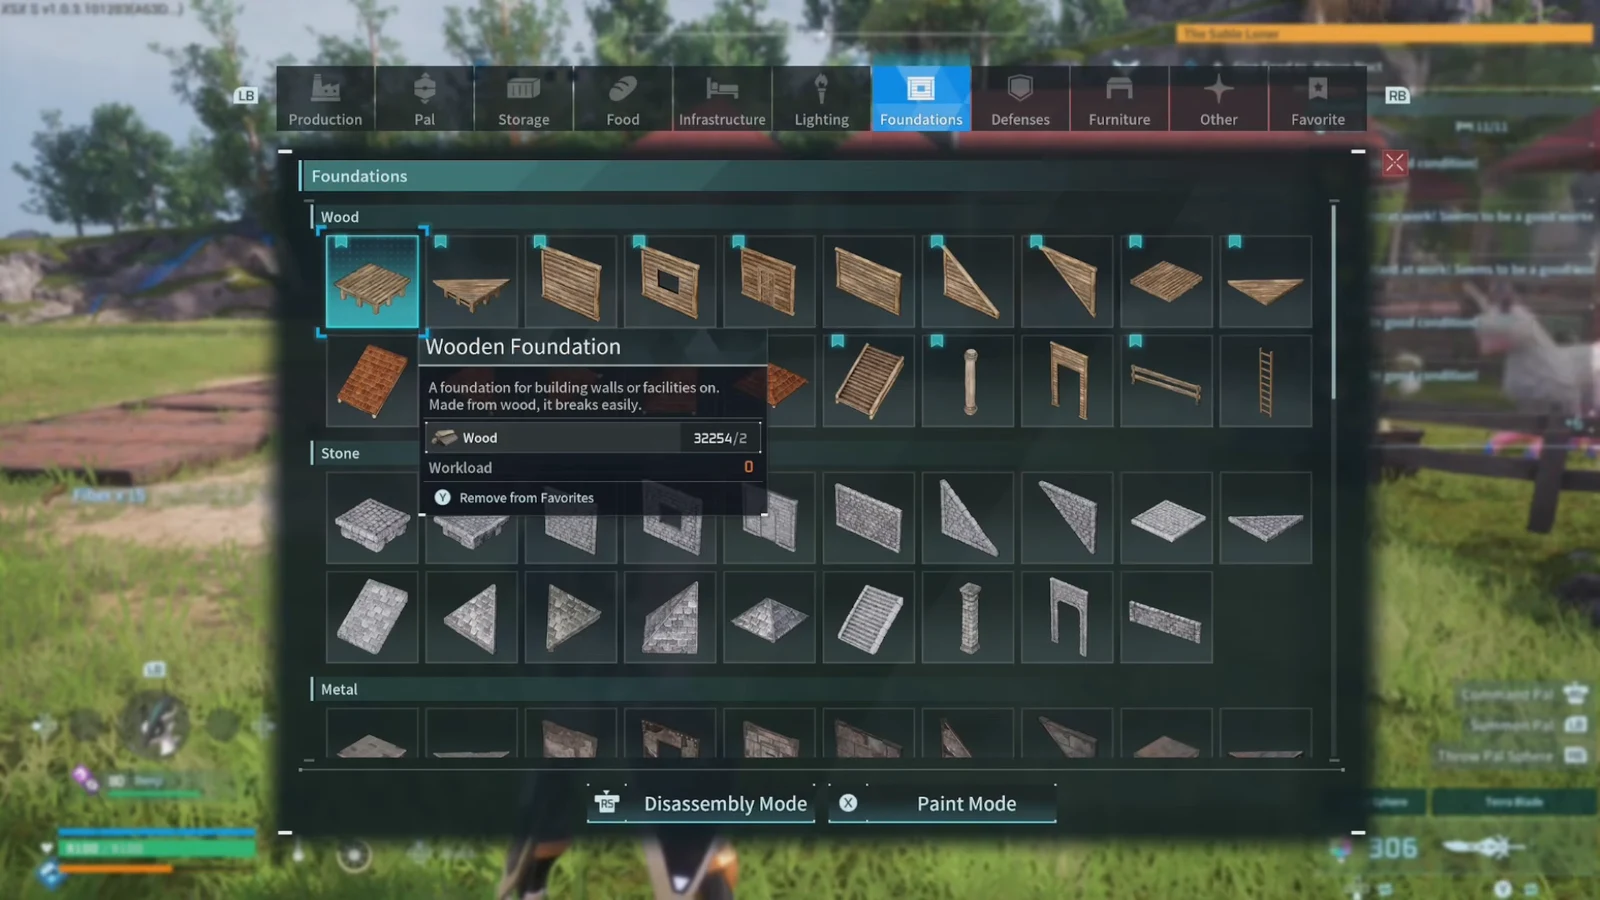
You know the layout is working when Pals walk in through the stairs and settle on the porch beds without pathing through the crafting area. If they stall at the entry, the stairs are too narrow or a chest is blocking the doorway.
Closing the roof ends with triangular walls
A sloped roof leaves two open triangles at the gable ends, and left alone they look like holes punched in the cabin. Triangular walls slot into exactly those gaps and cap the sides cleanly.
The same principle produces a proper pitched roof from scratch. Start from a flat run of roof pieces two wide, build a line of walls with windows lengthwise down the middle, lean two triangular walls against one end of that line, then place two slanted roof pieces on the same end. Delete the wall and the two flat roof pieces now sitting underneath the slanted sections, and repeat down the length of the building. The result is a peaked exterior with a vaulted ceiling inside.
Paint colors and hex codes for the cabin
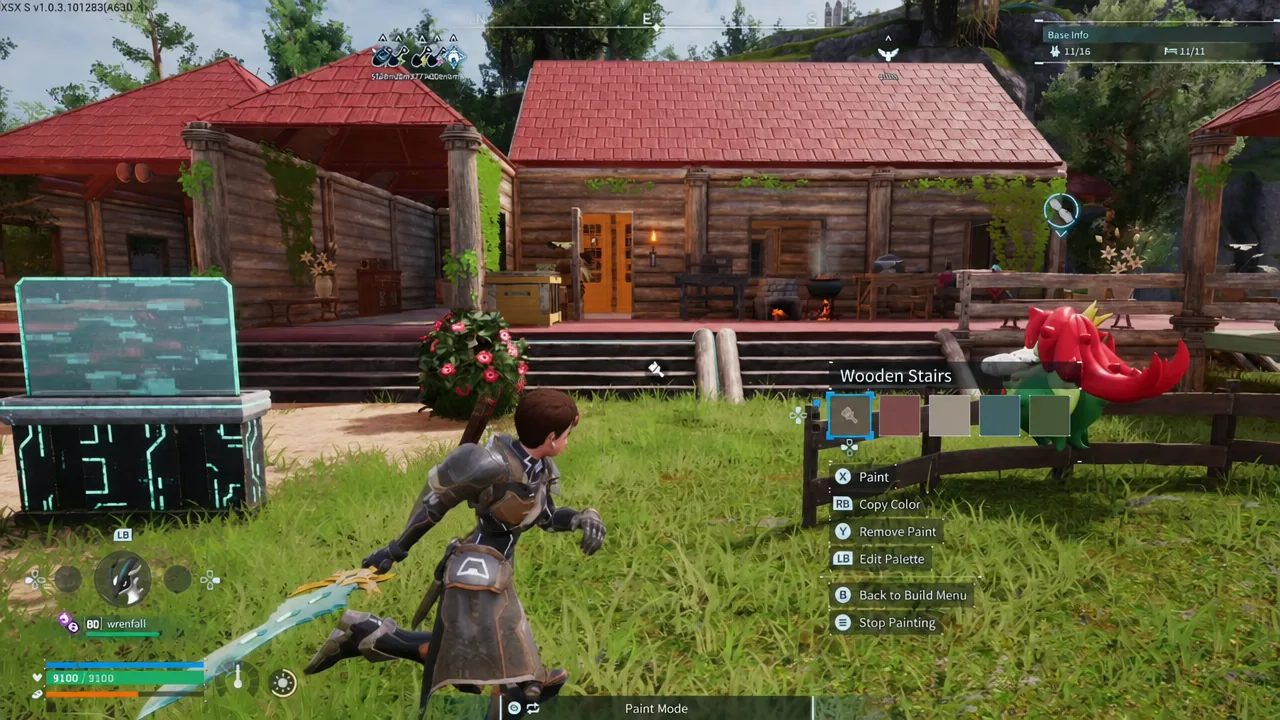
Wooden structures accept custom colors, and entering hex codes gives you a consistent palette instead of eyeballing swatches. Three codes cover the whole cabin.
| Part | Hex code |
|---|---|
| Roof | 5E2020 |
| Foundation and walls | 847663 |
| Chests | A37B30 |
If the red roof does not suit the biome, swap it for one of the alternate accent colors and keep the same wooden base tone underneath.
| Alternate palette | Hex code |
|---|---|
| Green | 667B52 |
| Pink | A56C6C |
| Blue | 658A92 |
Paint is applied per structure type, so painting one Wooden Stairs piece does not recolor the walls. Work through each piece type in turn and check the preview swatch before confirming.
Where to put the cabin
A 7×3 footprint fits almost anywhere flat, which makes the choice about surroundings rather than space. The area near Chillet works well as a main base site, since it keeps the cabin close to early resources while leaving room to expand later.
Open, level ground is the easiest to build on, but it is also the easiest for raiders to reach from every direction. Cliffs and elevated ledges cut down raid angles at the cost of buildable space, so pick based on whether raids are enabled in your world settings.
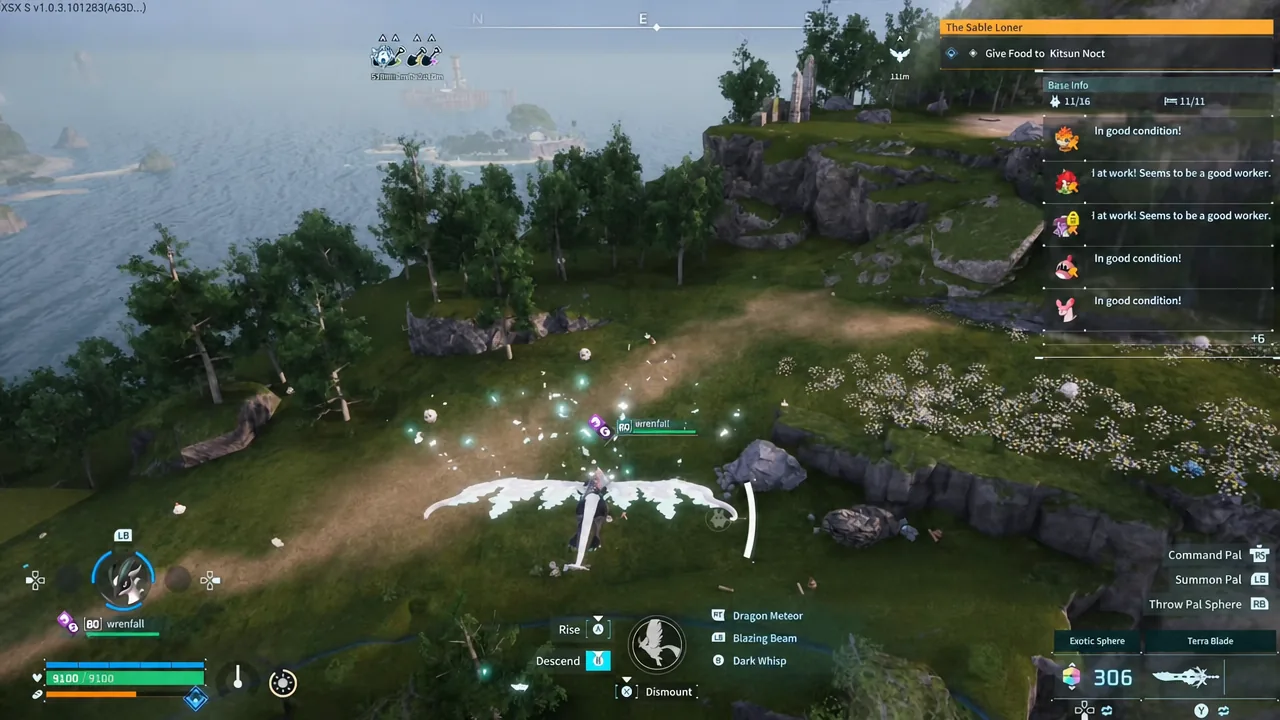
For a second camp built purely for the view, the coordinates -219, -1502 mark the Enchanted Firmament spot, where glass walls look straight out onto a waterfall. It is a scenic site rather than a production one, so keep your workstations at the main base.
Keeping Pals from getting stuck
Pal AI is the thing most likely to ruin an otherwise good build. Three rules cover almost every case, and they cost nothing to follow while you are still laying pieces.
- Keep interior ceilings at least three walls high so larger Pals can move under them.
- Make every staircase at least two pieces wide.
- Keep beds and workstations off the main walking lanes rather than pushed against doorways.
Tip: place chests next to the workstations that feed them instead of relying on one distant storage room. Shorter trips mean less time lost to Pals walking across the whole footprint.
The build is deliberately simple, which is the point. Once the 7×3 shell is up and painted, you can extend it a foundation at a time, swap the wooden pieces for stone as your tech tree opens up, or just leave it as the tidy home base you come back to between expeditions.