Gaming Guide

Mortal Shell 2: Squall Stone Tarstone Location in Prisoner’s Domain

The Squall Stone sits behind a switch-gated room inside the Executioner's Pulpit beacon, and it makes sidearm projectiles linger.

The Squall Stone sits behind a switch-gated room inside the Executioner’s Pulpit beacon, and it makes sidearm projectiles linger.

The Squall Stone is one of the few Tarstones in Mortal Shell 2 built entirely around your sidearm. Instead of boosting a stat, it changes what happens after a shot connects: the projectile stays where it landed and keeps spinning, chewing through anything that wanders too close. It is tucked inside an uncleansed beacon, behind a gate you have to open yourself.

Quick answer: Cleanse the Executioner’s Pulpit beacon in the Prisoner’s Domain, fight through to the room where enemies pour out of the torture chamber, step into the small side room and hit the wall mechanism to open the gate opposite you, then loot the chest in the room it opens.


Squall Stone effects and upgrade levels

The Squall Stone is a Combat Tarstone, and it only slots into a Sidearm. You can carry two Combat Tarstones at once alongside four Support, two Infusion, and two Ability stones, so it competes directly with your other weapon-modifying picks.

LevelEffect
1Projectiles spin in place for a duration after hitting their target
2Projectiles spin for 3s and deal 9% of the original damage
3Projectiles spin for 4s and deal 10% of the original damage
4Projectiles spin for 5s and deal 11% of the original damage

Note: some in-game readouts show the damage a percentage point lower at each rank (8, 9, and 10 percent). The spin durations of 3, 4, and 5 seconds are the same either way.

The stone shines on the Salvaged Trebuchaxe, the slow-firing sidearm that lobs axe heads and can be charged for extra damage. Its projectiles are large enough that a lingering spin keeps pressure on a target and helps build stagger. That sidearm is found in the Ravaged Hideout, a short dungeon near the Gloomshade Grove Beacon in the Fainweald region.


How to reach the Executioner’s Pulpit beacon
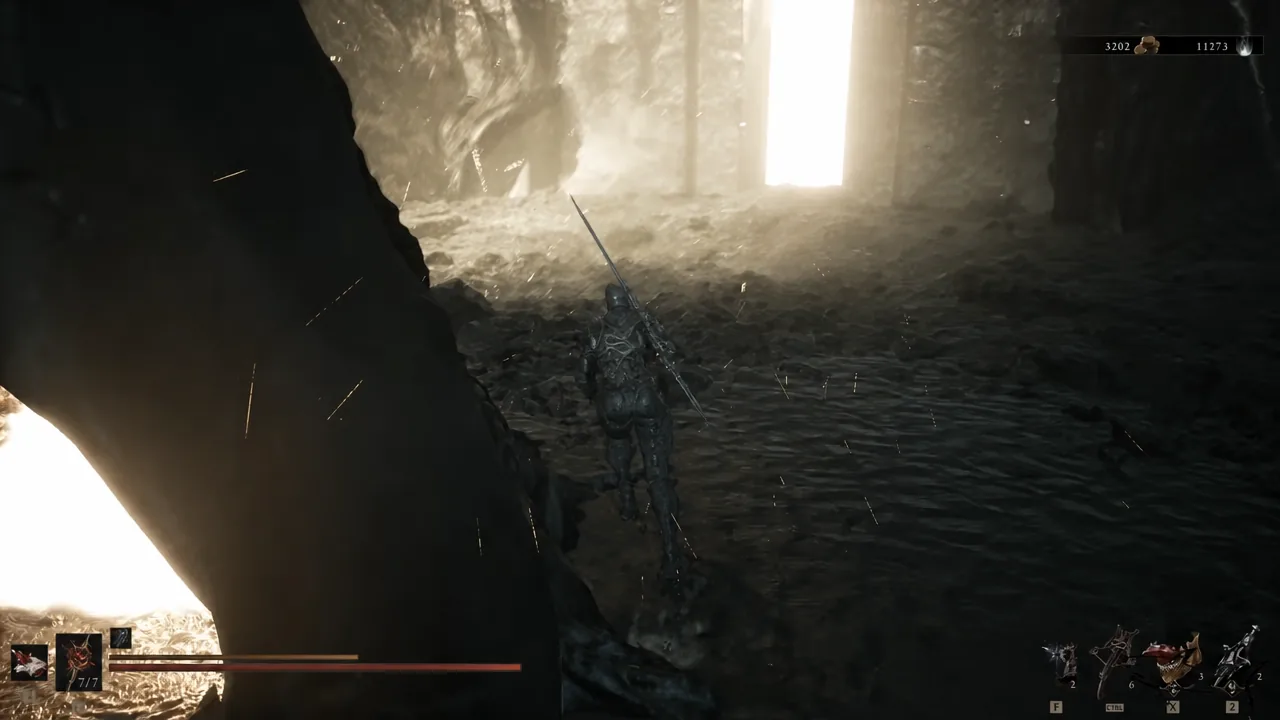
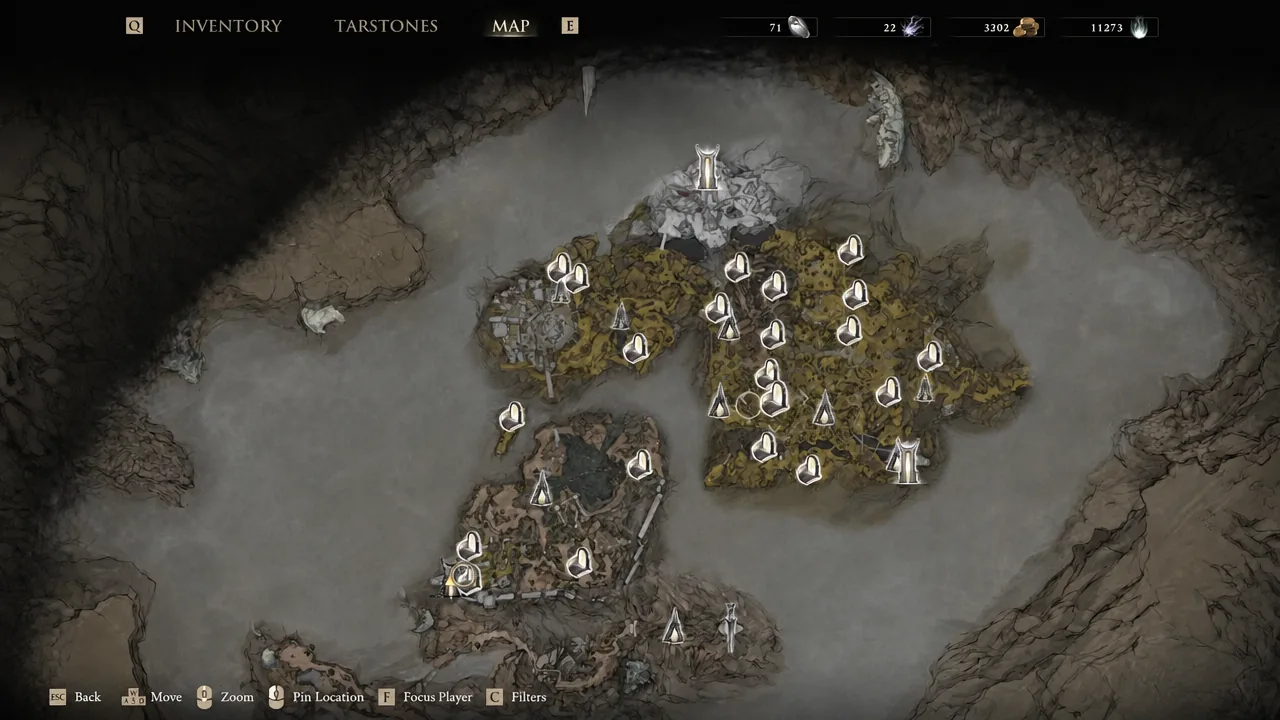
Open your map and set a course from the Nochtean Gate beacon. The Corrupted Gate nearby is the way through to the far end of the Prisoner’s Domain.
Pass through the Corrupted Gate. It drops you into the stretch of caverns that leads to the last beacon in the area.
Armored character walking through a dark cavern toward a lit opening beyond the Corrupted Gate
Heading through the Corrupted Gate toward the far end of the Prisoner’s Domain. Image: Cold Symmetry
Follow the rocky path until you reach the Executioner’s Pulpit beacon. It will still be corrupted when you arrive.
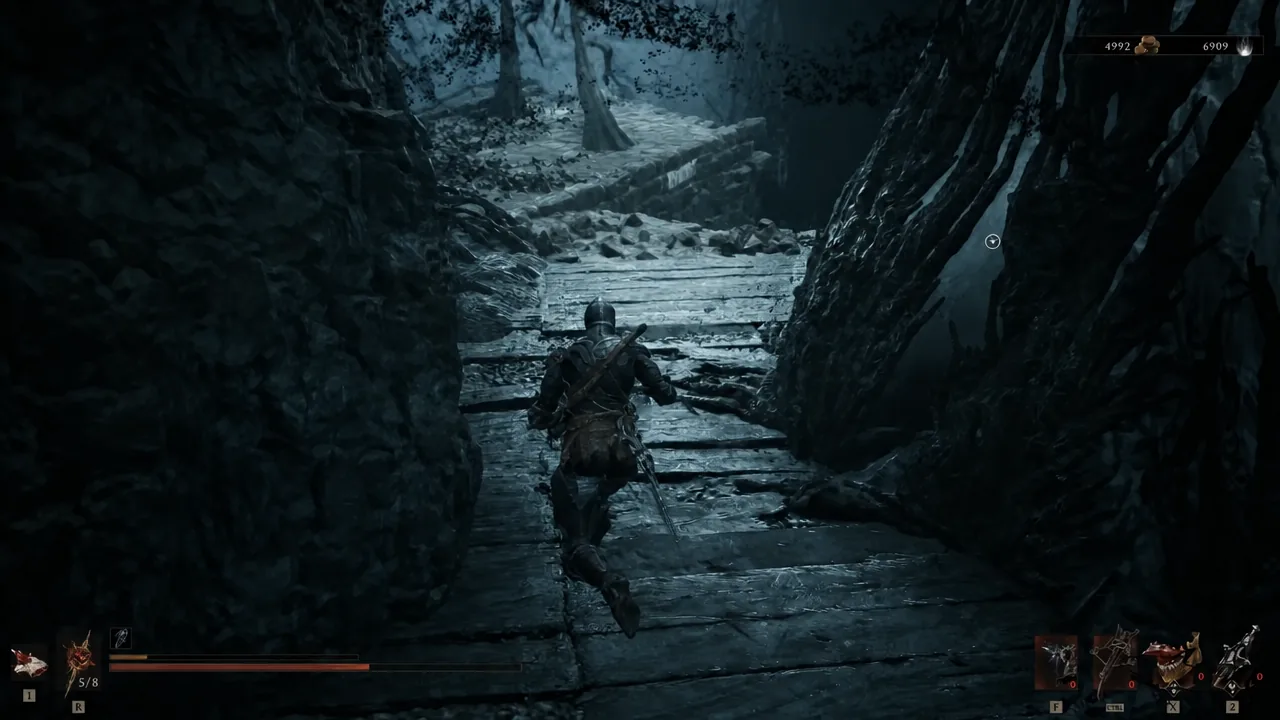
Player character running along a rocky path on the approach to the Executioner's Pulpit beacon
The approach to the Executioner’s Pulpit beacon. Image: Cold Symmetry
Interact with the beacon and choose “Cleanse Beacon.” That is the only way inside, so the chest is unreachable until you commit to the run.

Finding the Squall Stone chest inside the beacon
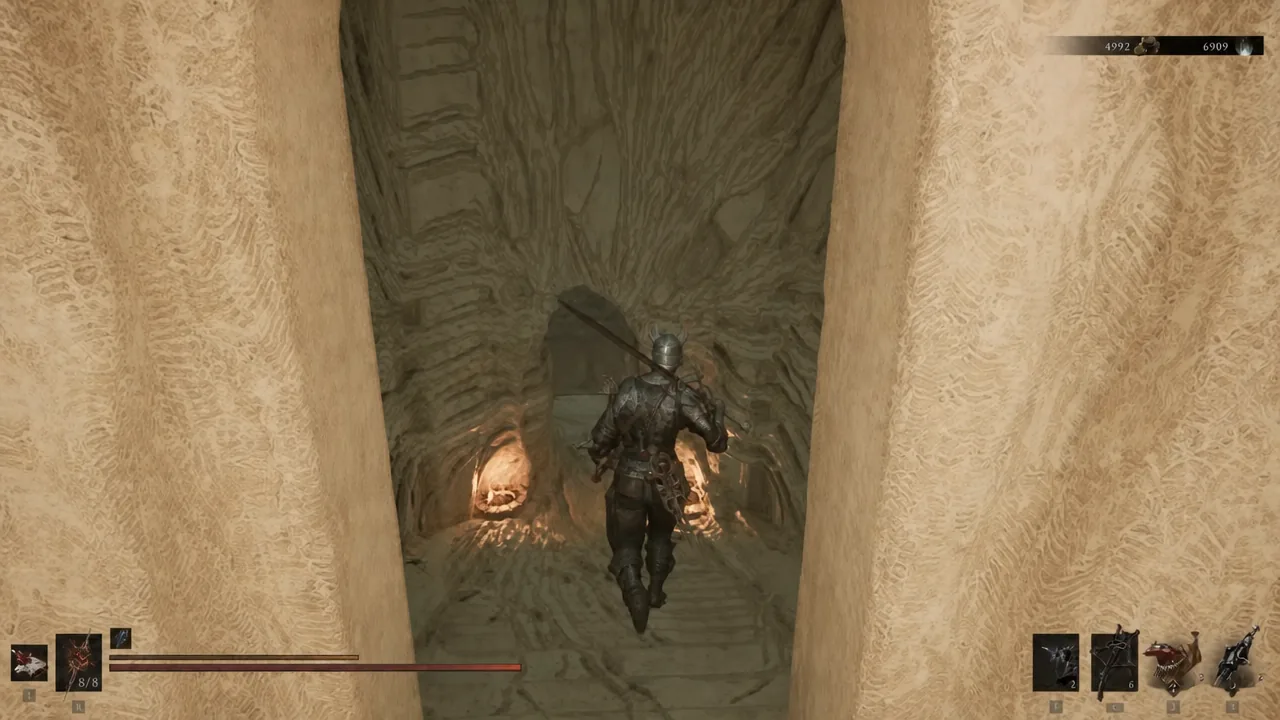
Once you are inside the uncleansed area, work your way down into the Central Sewers. The route is a series of narrow passages with no branching puzzles early on, so just keep pushing forward.
Character advancing through a tight cavern passage inside the uncleansed beacon
Working through the tunnels toward the Central Sewers. Image: Cold Symmetry
Clear the corridors as you go. Expect several waves of enemies, including a heavily armored foe that hits hard in the cramped spaces, so fight it where you have room to back off.
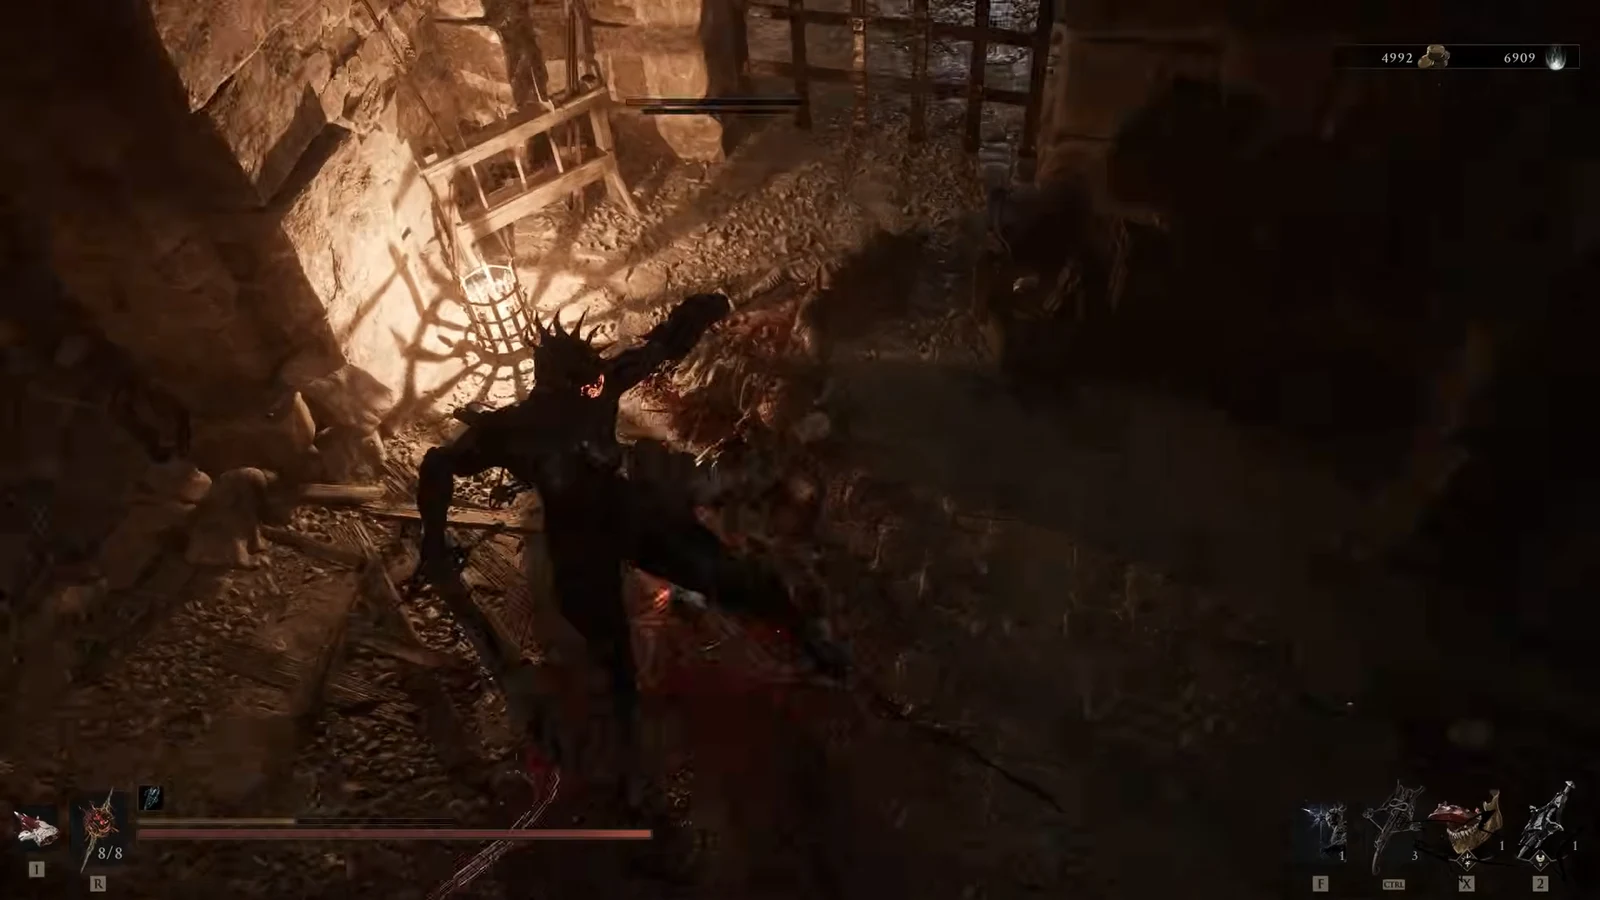
Player swinging at a large armored enemy in a dim underground chamber
The large armored enemy guarding the corridors on the way in. Image: Cold Symmetry
Continue until you hit the room where enemies spill out of the torture chamber. This is your landmark, and the gate blocking your path here is what the puzzle opens.
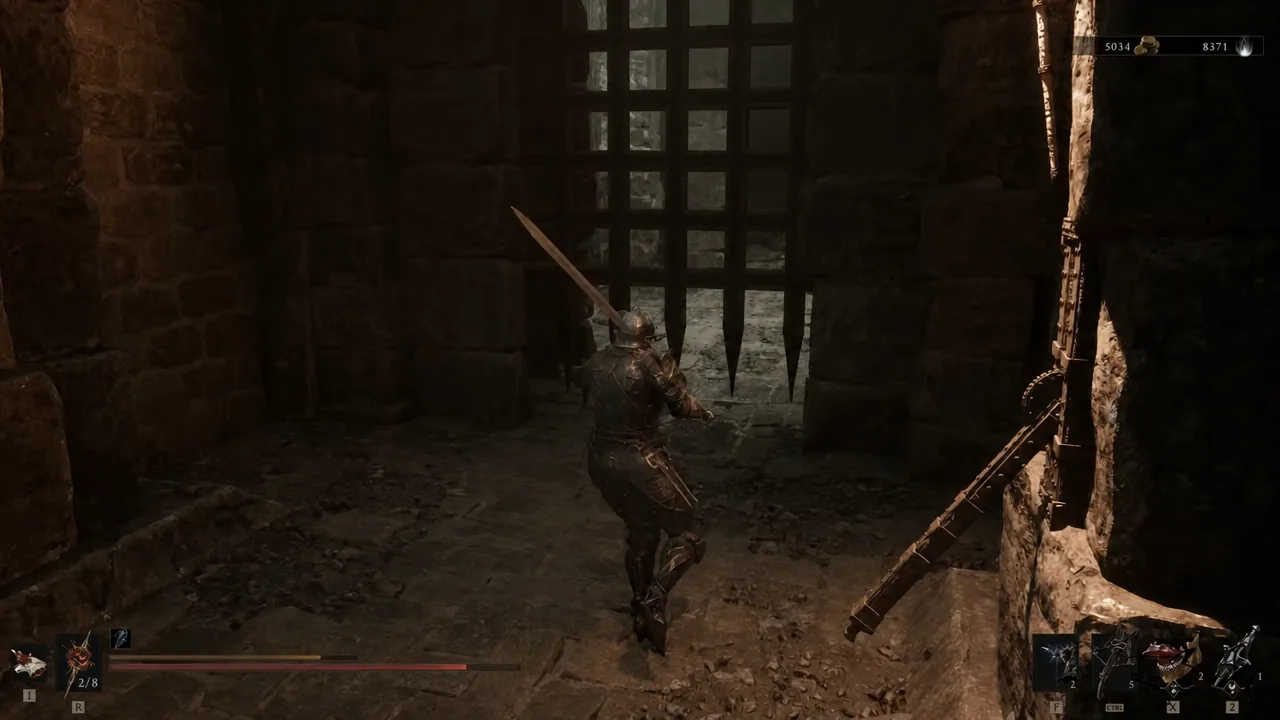
Character standing in a stone corridor facing a closed spiked portcullis gate
The barred gate that stays shut until you press the wall mechanism. Image: Cold Symmetry
Step into the small side room and press the mechanism on the wall. It raises the gate across from you rather than the one beside it, so look across the room to confirm it opened.
Head into the newly opened room and open the stone chest inside. That is the Squall Stone.

How to confirm you have the Squall Stone

Opening the chest gives you the pickup prompt on screen, and the stone lands in your Tarstones menu under the Combat category. To put it to work, open your equipment, select a Combat Tarstone slot, and attach it to your equipped Sidearm. If the slot refuses the stone, your current sidearm is not a compatible one.

If the chest room is still sealed, the mechanism has not been pressed. The switch and the gate it controls are on opposite sides of the same room, which is easy to miss in the middle of a fight.


Upgrading the Squall Stone at the Tarforge

Higher levels are locked until you expand what the Tarforge in Marrow Keep can do. That takes the Etching Needle, a quest item you hand to Franz.

Head toward the Magdalena, the Lady of the Woods boss arena. When you spot Ruk past the bridge, drop down through the opening and turn right before the tunnel to reach a small side area with a bone chest. The Etching Needle is inside.
Take the Etching Needle to Franz in Marrow Keep and give it to him. That unlocks the extra upgrade tiers on the Tarforge.
Keep the Squall Stone equipped and kill enemies. Tarstones earn their own experience only while they are slotted in.
Once the stone’s XP bar is full, return to Franz and pay the Coin cost to push it to the next level.

Because progress only ticks while the stone is equipped, it is worth slotting the Squall Stone as soon as you pair it with a sidearm you actually plan to use. The lingering projectiles are handy for keeping large enemies staggered, and at rank four you get a full five seconds of spin out of every hit.