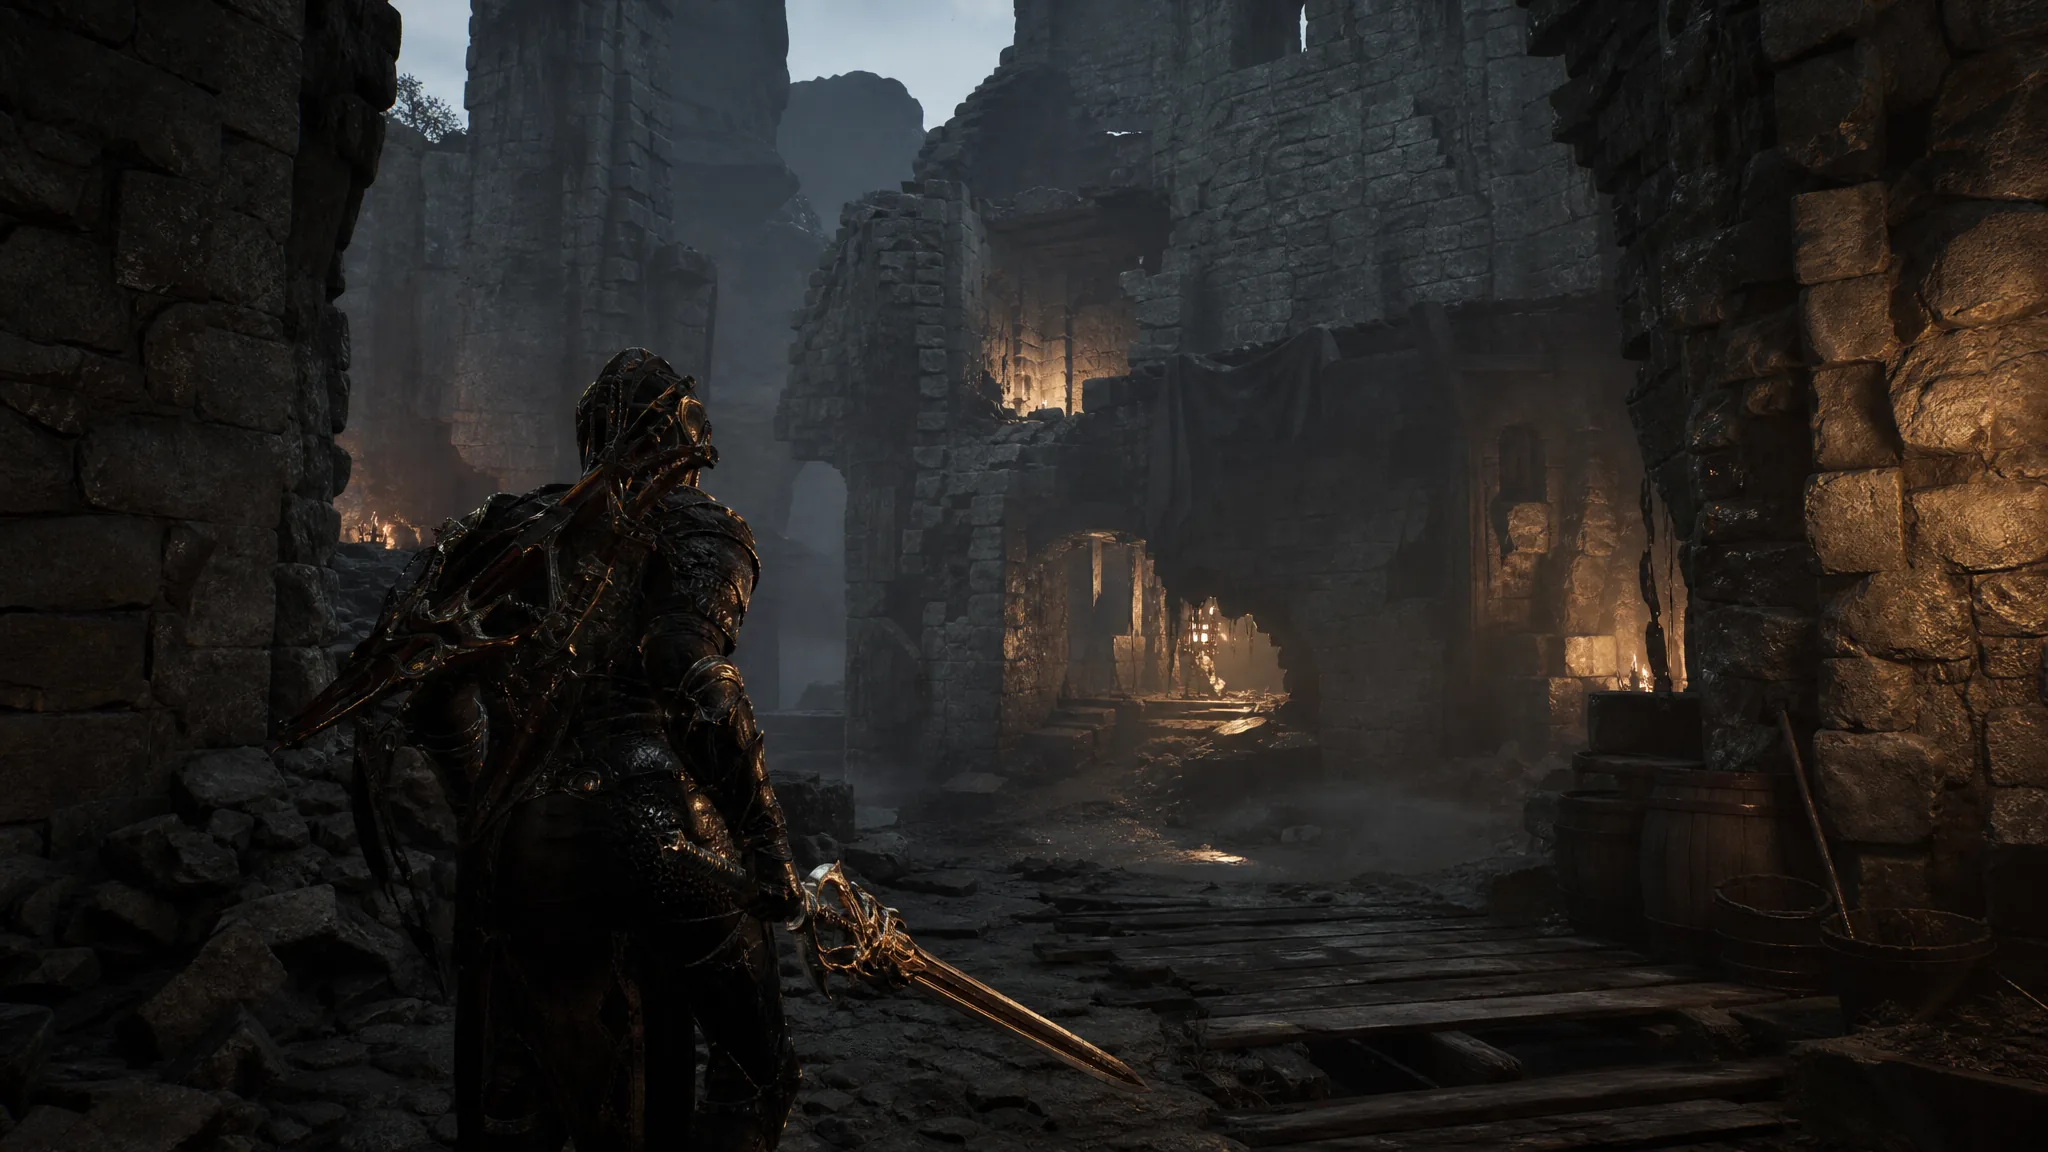
The Ravaged Hideout is a compact dungeon tucked into the southernmost swamp of the Gloomshade Grove, in the Fainweald region of Mortal Shell 2. It holds the Salvaged Trebuchaxe sidearm, and its entrance sits right where the Bloodcursed Lithopod mini-boss guards a flooded pond. Clearing it takes only a few minutes once you know the route, the fight, and the hidden crack you need to squeeze through.
Quick answer: From the Gloomshade Grove Beacon, drop down to the pond, kill the Bloodcursed Lithopod to get the Citadel Gate Lever, then enter the cave where it was resting. Ride the elevator down, break through the wall of roots, and defeat the wraiths in the hidden chamber to pick up the Salvaged Trebuchaxe.
Ravaged Hideout location in Gloomshade Grove
The dungeon lies at the bottom of the Gloomshade Grove, so the fastest starting point is the Gloomshade Grove Beacon. From the Beacon, jump off the ledge and use a plunging attack on the way down to cancel the fall damage, then head for the open pond area below.
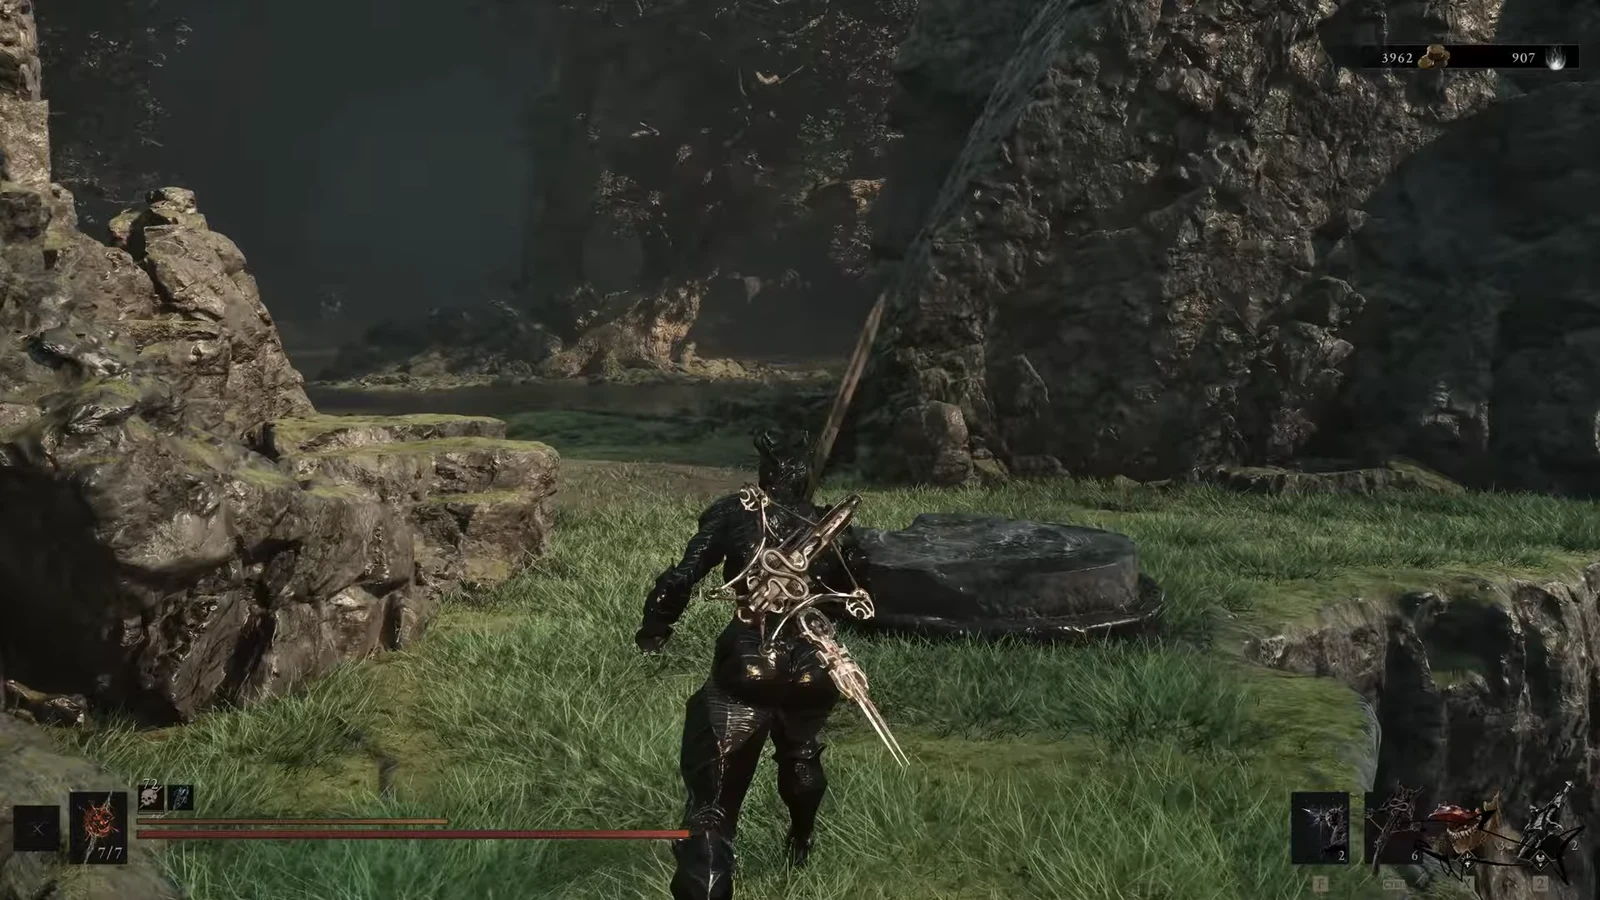
If you prefer to approach on foot rather than dropping in, follow the cliffside route from the Beacon toward the river. Cross the gap near the waterfalls to reach the lower water level, then work your way around to the pond. You can also come in from the west, through the cave that connects to the Sanguine Caverns bridge, passing the Grisha Hunters and heading south until the swamp opens up.
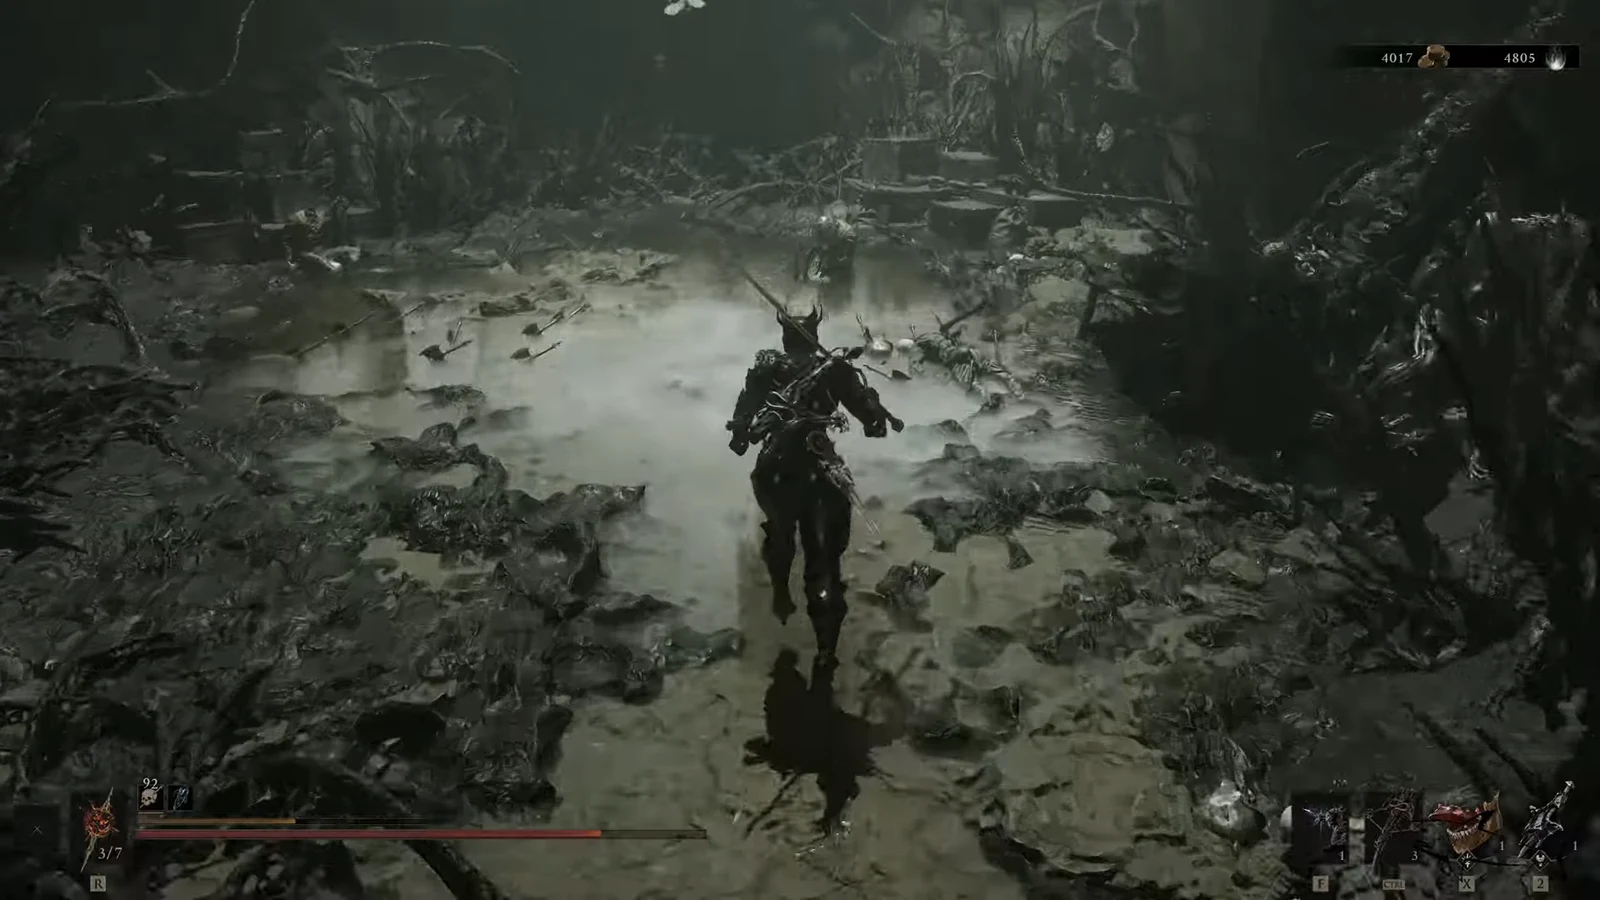
Clear the pond before you look for the entrance. The water is full of Mycellian Skulks, and a Leechtongue lurks near one of the waterfalls. A crossbow handles most of these from range without letting them swarm you.
Beat the Bloodcursed Lithopod for the Citadel Gate Lever
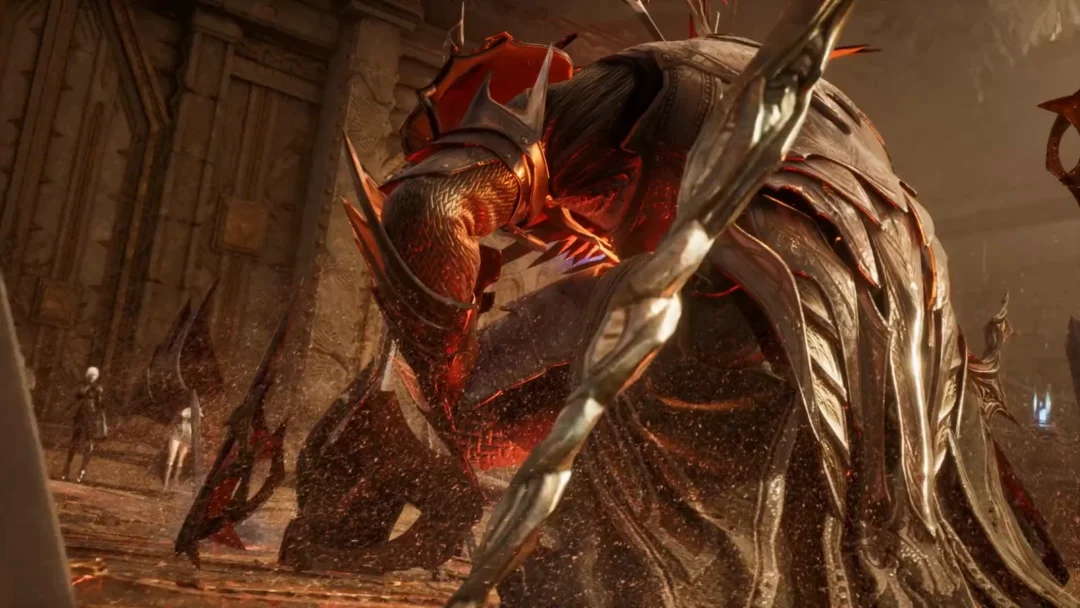
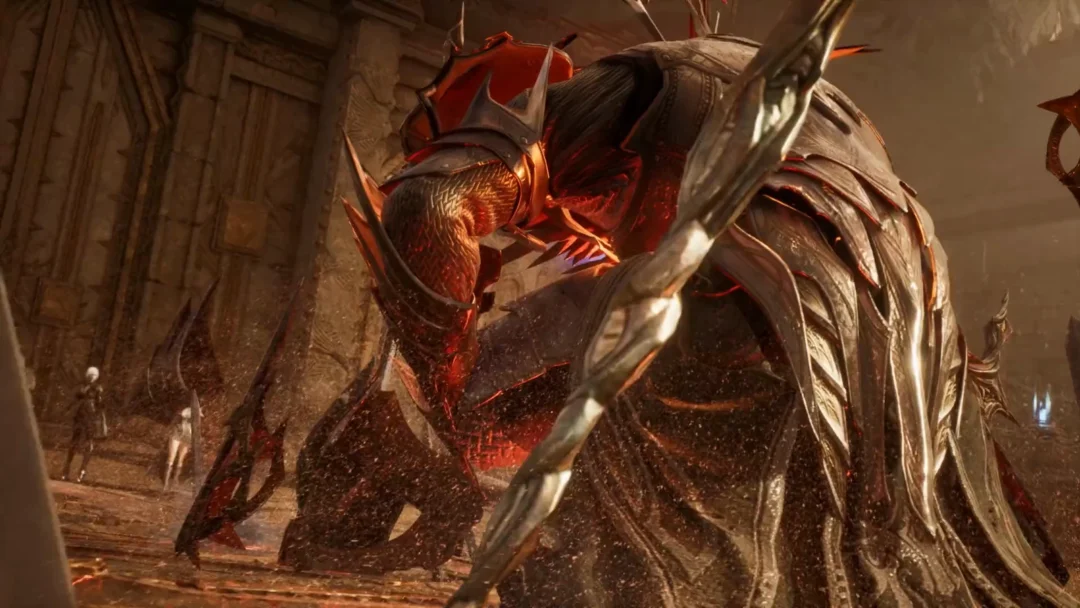
Go around to the far side of the central rock in the pond and you will wake the Bloodcursed Lithopod, the boss that blocks the dungeon entrance. It is a straightforward fight. The Lithopod uses the same slow, telegraphed swing as the regular Lithopods, which is easy to parry, and it has no surprise attacks.
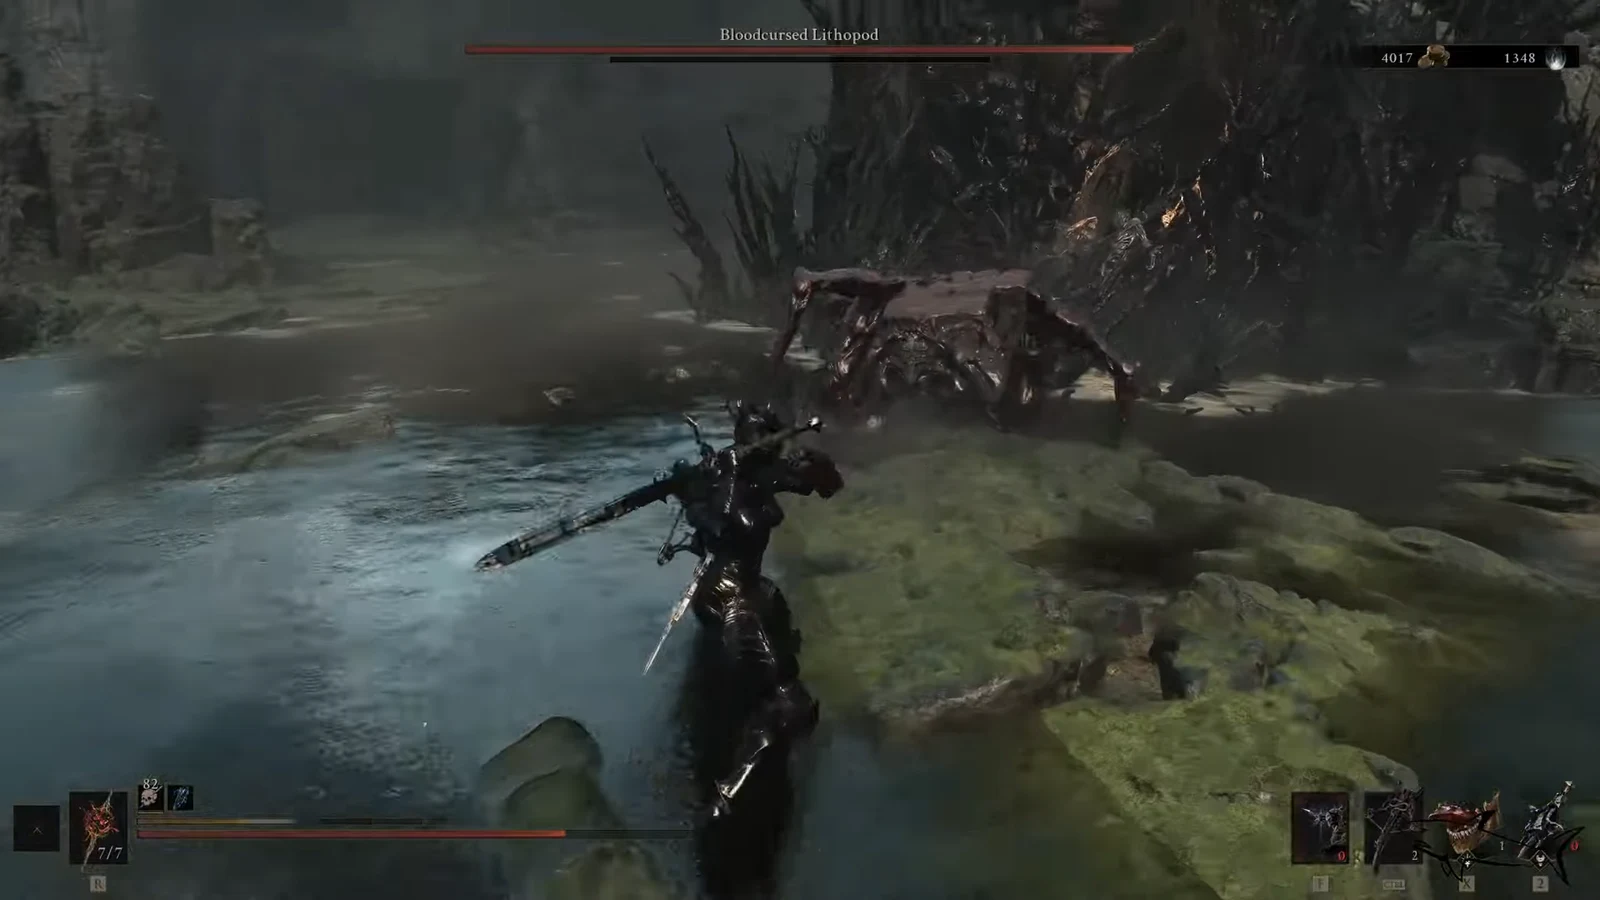
Keep punishing its attacks until it goes down. Defeating it drops the Citadel Gate Lever, a unique item that unlocks the main gate to the Citadel of Phineas. You do not need it for the dungeon itself, but it is what opens your path deeper into the region afterward.
Inside the dungeon: elevator, altar, and the hidden crack
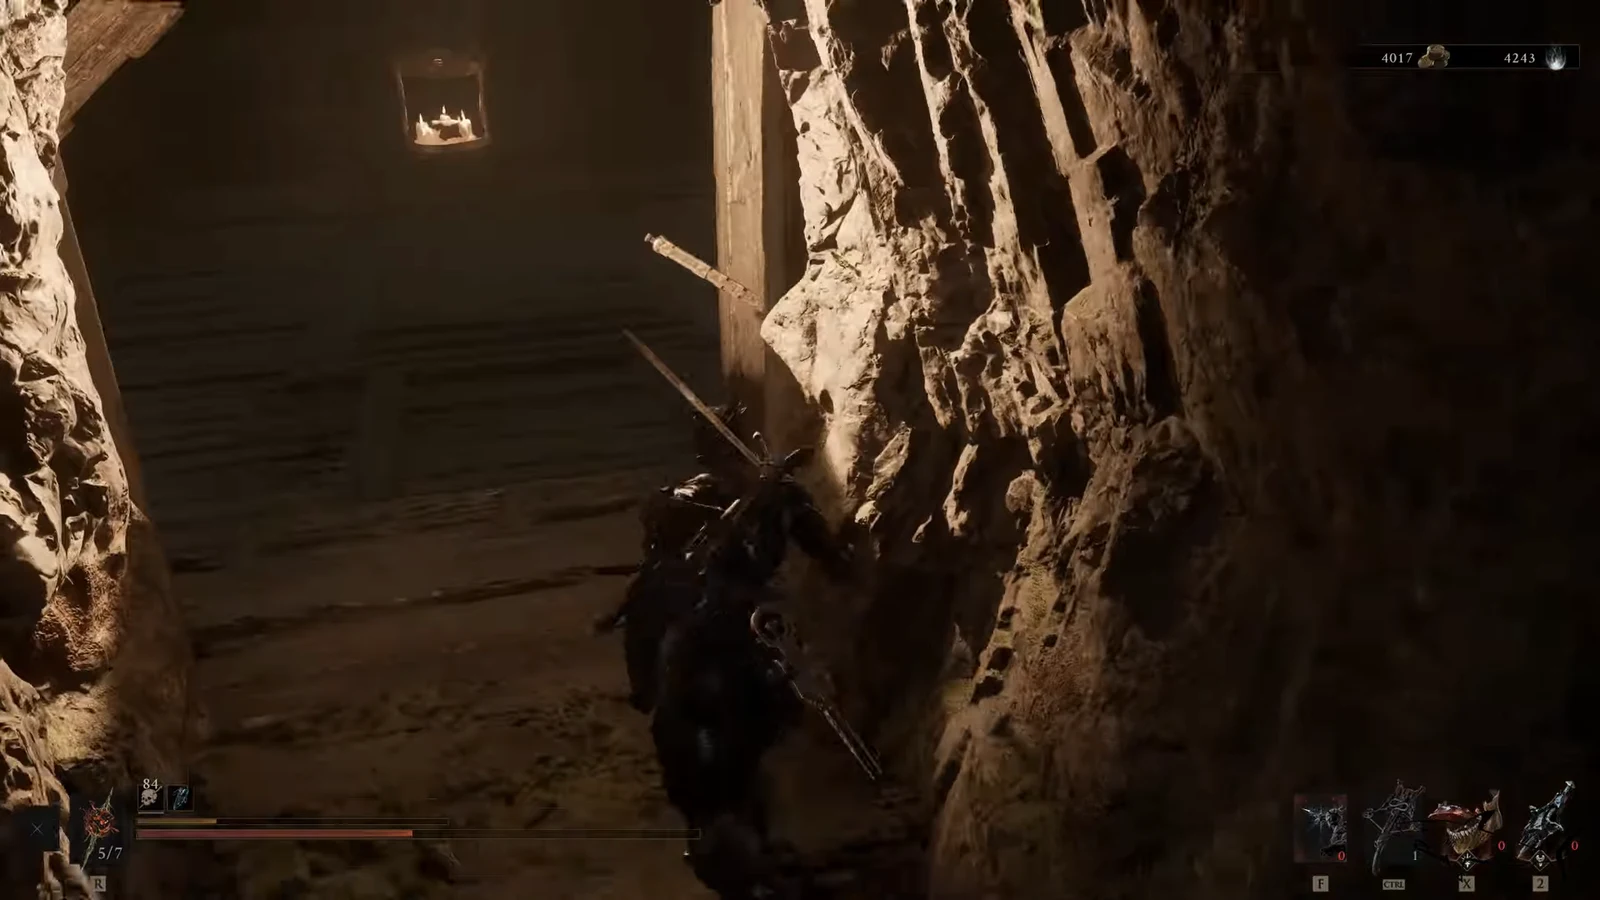
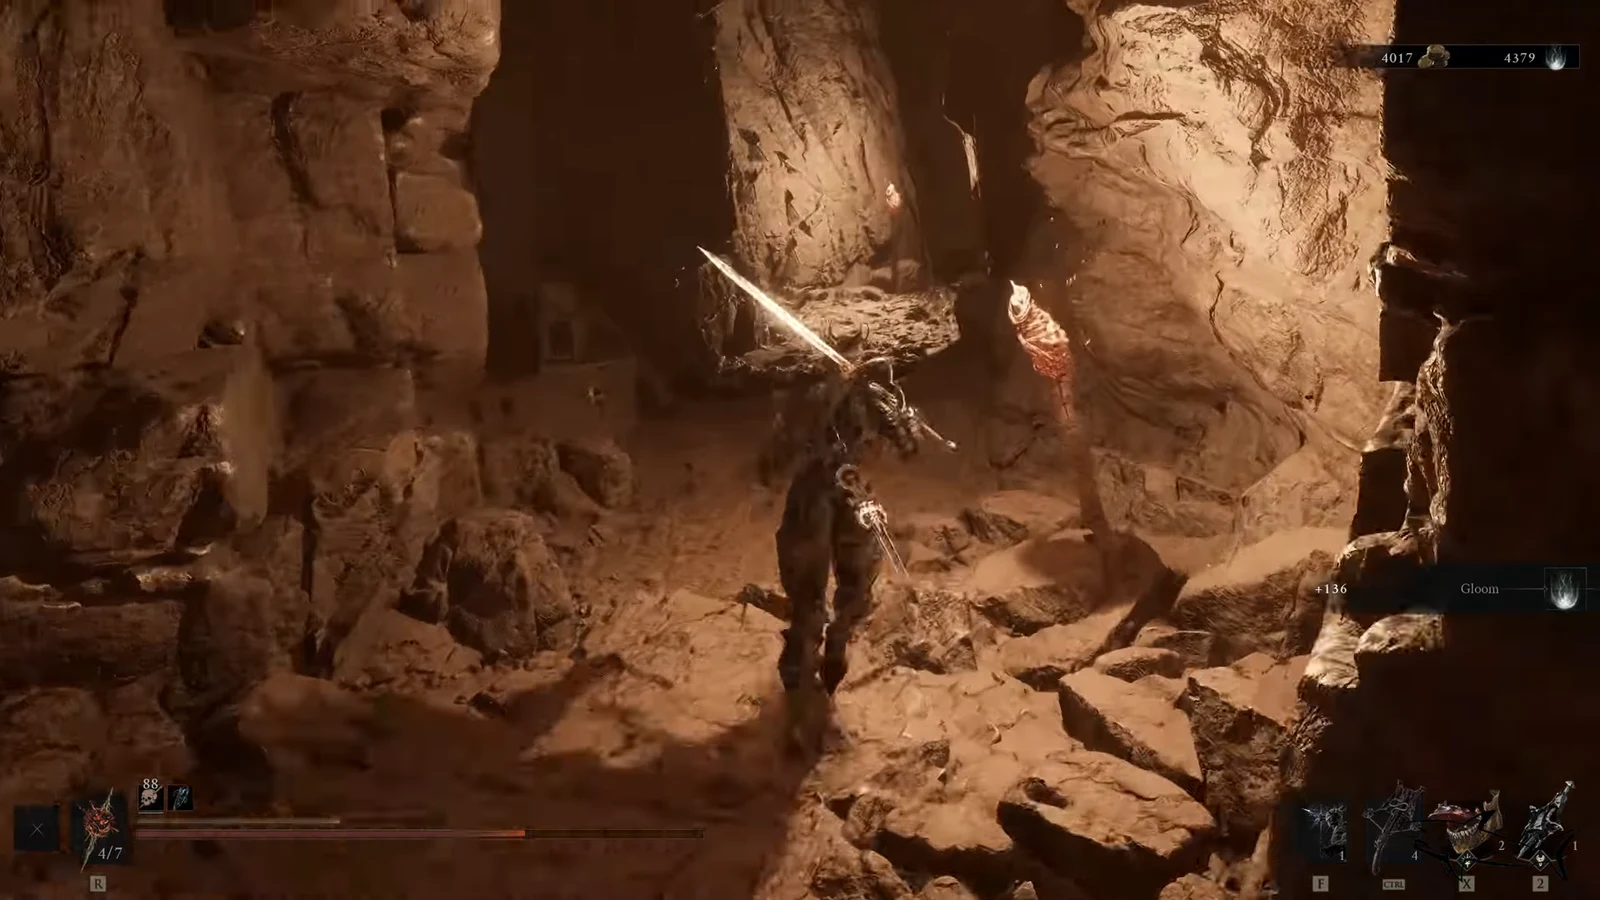
The cave entrance sits exactly where the Lithopod was resting, on the far side of the central rock. Step through the fog to load in.
Grab the Salvaged Trebuchaxe and survive the wraith ambush
The Salvaged Trebuchaxe sits on the ground at the far end of the hidden chamber. Picking it up triggers an ambush, so approach it ready to fight rather than mid-animation.
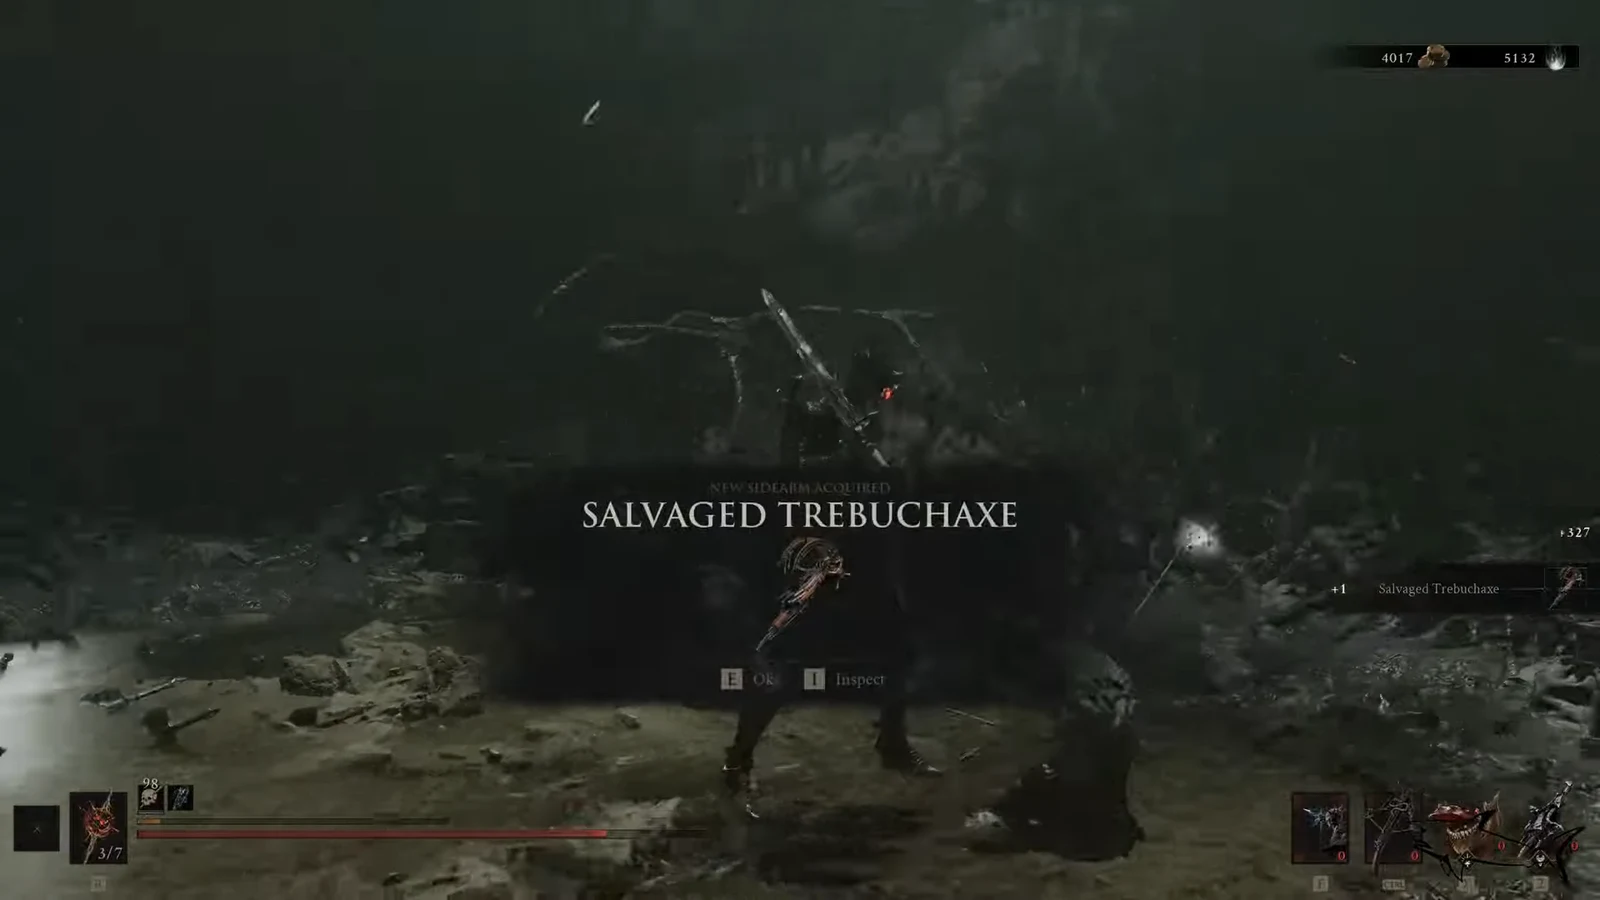
You will know the run is complete when the Salvaged Trebuchaxe shows in your sidearm slot as “Already Equipped” and the Tooth of Nochte and Laterite are in your inventory. If the weapon never appears, you likely have not picked up the ground loot at the back of the hidden room, which is the only place it drops.
How the Salvaged Trebuchaxe works
The Salvaged Trebuchaxe is a charge-based sidearm that fires actual hand axes as projectiles. It takes longer to fire than most sidearms, and holding the shot longer increases its damage, which makes it strong against large enemies. Two Tarstones are exclusive to it, and they change how those axes behave on impact.
| Tarstone | Effect | Where to get it |
|---|---|---|
| Squall Stone | Projectiles spin in place on impact, damaging nearby enemies for up to 11% of the original damage | Cleanse the Executioner’s Pulpit Beacon in the Prisoner’s Domain |
| Tarred Fragment | Ability Tarstone that launches a tethered projectile spinning horizontally, dealing 100% of the charged damage and hitting rapidly for up to 8 seconds | Defeat the Tarblighted Stoner in the Sanguine Caverns |
The Tarred Fragment is the standout. Its lingering projectile lands about three ticks of damage per second, each hit can critically strike, and a fully upgraded Trebuchaxe paired with it can shred large bosses in seconds. One caveat is that the spinning projectile sometimes passes through certain enemies, so aiming at the floor beneath a target and letting the field do the work is often more reliable than firing directly at it.
With the sidearm secured and the Citadel Gate Lever in hand, you are set to move on from Gloomshade Grove toward the Citadel of Phineas, and the Trebuchaxe becomes a dependable answer to the bigger enemies waiting ahead.