Apocalyptic Shadow’s current rotation in Honkai: Star Rail is called Celestial Lupine, and with Starward Mode switched on, Difficulty 4 turns into a three-node gauntlet instead of the usual two. Three bosses, three separate teams, three separate scores. Nothing carries over between them, so every roster has to stand on its own.
Quick answer: Enable Starward Mode, beat all three Celestial Lupine Difficulty 4 nodes with three different teams, and finish with at least 10,200 total points to earn the Prismatic Star and the extra rewards on top of the standard star payout.
Celestial Lupine Difficulty 4: Bosses, buffs, and scores
All three boss mirages sit at Level 90. Each node also comes with its own Finality’s Axiom buff, and picking the buff that matches your team’s damage type is the single biggest score swing available to you.
| Node | Boss mirage | Buff | Score |
|---|---|---|---|
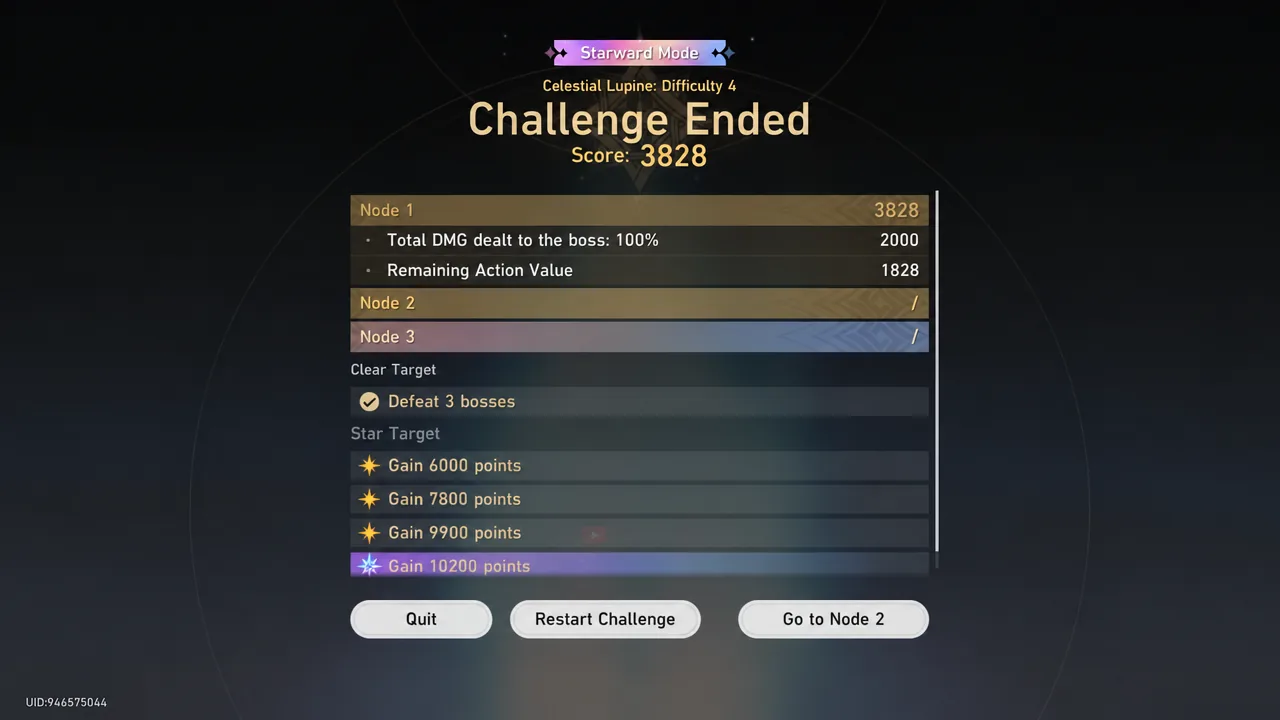
| 1 | Unwaning Ageless Immortal | Land of Fertility | 3,828 |
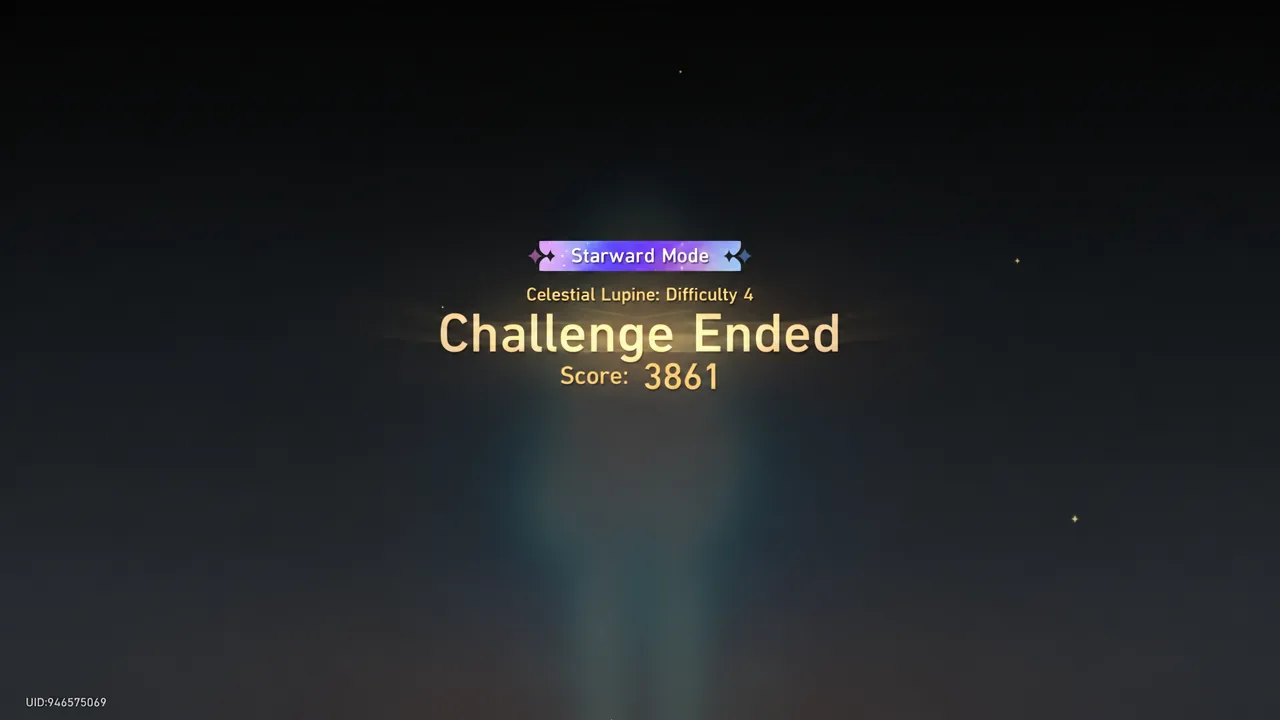
| 2 | Sanerot Hearteater | Blighted to the Bone | 3,861 |
| 3 | Super Idol: Center of Attention | Beaming Bliss | 3,730 |
That adds up to 11,419 points, comfortably past the 10,200 needed for the Prismatic Star. Blighted to the Bone is the damage-over-time option, which is why the Node 2 lineup below leans entirely on DoT stacking.
What you need before Starward Mode appears
Apocalyptic Shadow itself unlocks after the Grim Film of Finality mission in Dreamflux Reef. Starward Mode is a second gate on top of that: you have to clear Apocalyptic Shadow Difficulty 3 before the toggle becomes available.
Once it’s unlocked, Starward Mode converts the mode’s highest difficulty into a three-node stage. You can flip back to Regular Mode at any point and run the standard two-node version of Difficulty 4 for the original rewards, so there’s no penalty for trying Starward and backing out.
Note: characters cannot be reused across nodes. Three nodes means three fully built teams, and that requirement is what stops most accounts rather than the bosses themselves.
Node 1 team: Himeko – Nova hypercarry
Unwaning Ageless Immortal falls to a straightforward Erudition hypercarry setup built around Himeko – Nova, with Welt handling debuffs, Robin – Summeretto on Remembrance support, and Dan Heng – Permansor Terrae holding the Preservation slot.
| Character | Eidolon | Key stats |
|---|---|---|
| Himeko – Nova | E0 | ATK 3,792 · SPD 132 · 97.5% / 92.7% CRIT |
| Welt | E4 | SPD 168 · Effect Hit Rate 127.6% |
| Robin – Summeretto | E0S1 | HP 6,452 · SPD 159 · 44.8% / 109.6% CRIT |
| Dan Heng – Permansor Terrae | E0 | DEF 1,743 · SPD 166 |
Himeko – Nova’s near-100% CRIT Rate matters more than raw CRIT DMG here, since the run depends on every AoE instance landing. Robin – Summeretto’s inflated HP pool is a build choice tied to her Remembrance kit, not a survivability crutch.
Clearing the node drops you on the Challenge Ended screen with your score and a button to continue straight into Node 2.
Node 2 team: Hysilens DoT under Blighted to the Bone
Sanerot Hearteater is where the DoT core earns its keep. Hysilens leads, Black Swan and Kafka layer the damage-over-time stacks, and Ruan Mei covers Break Efficiency and the party speed boost. This was the highest-scoring node of the three.
| Character | Eidolon | Key stats |
|---|---|---|
| Hysilens | E1 | ATK 3,207 · SPD 136 · EHR 123.8% |
| Black Swan | E0 | ATK 3,132 · SPD 135 · EHR 126.8% |
| Kafka | E0 | ATK 2,927 · SPD 158 · EHR 12.9% |
| Ruan Mei | E0 | SPD 165 · Break Effect 94.7% |
The Effect Hit Rate split is deliberate. Hysilens and Black Swan carry roughly 125% each because their debuffs have to land every time, while Kafka runs almost none and leans on ATK instead, since her detonations trigger effects that are already applied.

A clean run here posts 3,861 points on the Challenge Ended screen, which also confirms you’re still in Starward Mode on Celestial Lupine Difficulty 4.
Node 3 team: Elation core against Super Idol: Center of Attention
The idol boss pairs naturally with the Beaming Bliss buff and a full Elation lineup. Silver Wolf Lv. 999 does the heavy lifting, Sparxie feeds Punchline, Yao Guang provides the speed, and Huohuo sustains.
| Character | Eidolon | Key stats |
|---|---|---|
| Silver Wolf Lv. 999 | E0S1 | SPD 189 · 85.5% / 128.8% CRIT |
| Sparxie | E0 | SPD 136 · 84.7% / 214.5% CRIT |
| Yao Guang | E0 | SPD 192 · 61.2% / 132.2% CRIT |
| Huohuo | E0 | HP 4,156 · SPD 167 |
Silver Wolf Lv. 999 and Yao Guang both sit near 190 SPD, which keeps action value low across a fight that punishes slow rotations. Sparxie’s 214.5% CRIT DMG is the payoff stat once Punchline builds up.
How the idol fight actually resolves
The boss opens a Livestream, sends one of your characters to a sub-field to clear mobs, and puts two screens on the main field. Hitting the left screen buffs your off-field unit; hitting the right one debuffs the enemies. Until those counters are maxed, enemies take reduced damage, and the boss resets both counters on her turn.
Kill every mob on the sub-field and the Livestream ends, dealing a large chunk of Toughness damage and putting the boss into a weakened state. Dropping her Toughness to zero from there triggers the actual Weakness Broken state. Miss the window and you eat the punish attack plus debuffs, and you have to wait for the next Livestream, which is where most of the score bleeds away. Phase 2 works the same way with tougher, Elation-focused mobs.
Elation skills hit the sub-field, which is exactly why this team fits the node. The enemies grant Punchline, and breaking the Livestream hands you a free Aha Instant.
Rewards and how to confirm the clear counted
Each node awards stars as normal, and Starward Mode adds the Prismatic Star at 10,200 total points across the three nodes. Collect all 12 stars plus the Prismatic Star and the period’s Apocalyptic Shadow Limited-Time Clearance Medal unlocks. Starward Mode is worth an extra 100 Stellar Jades on top of the mode’s usual 900.
Verification is simple. Every node ends on a Challenge Ended screen with its own score, and the star count updates on the Apocalyptic Shadow stage select. If the Prismatic Star hasn’t appeared, your three node scores are summing to less than 10,200, and the fastest fix is re-running whichever node scored lowest with a better-matched buff.
Individual character stats can be checked in the Character Details screen at any time, which is where the Base Stats and Advanced Stats breakdown lives.
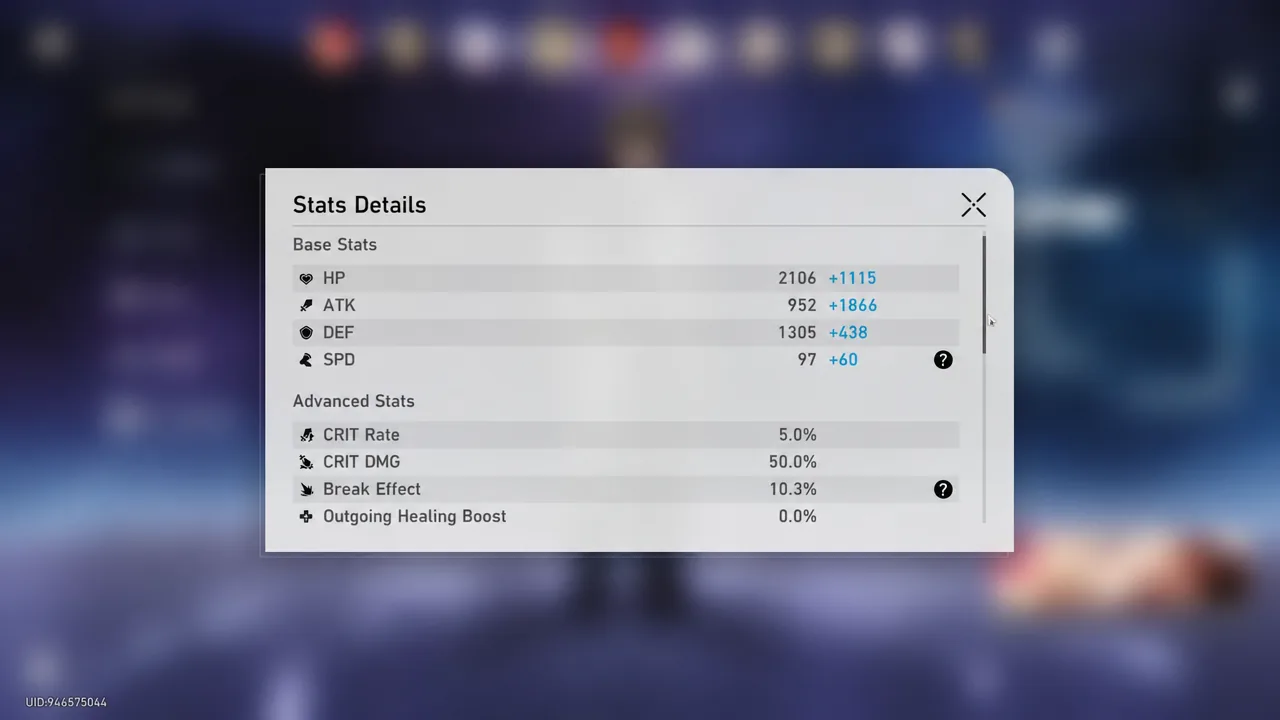
Scores in the 3,700 to 3,900 range per node are more than enough headroom here, and none of the three teams above needs deep Eidolon investment beyond a light cone or two. If you’re short on a third built team, Regular Mode is still there for the base rewards, and Starward can wait until your bench catches up.