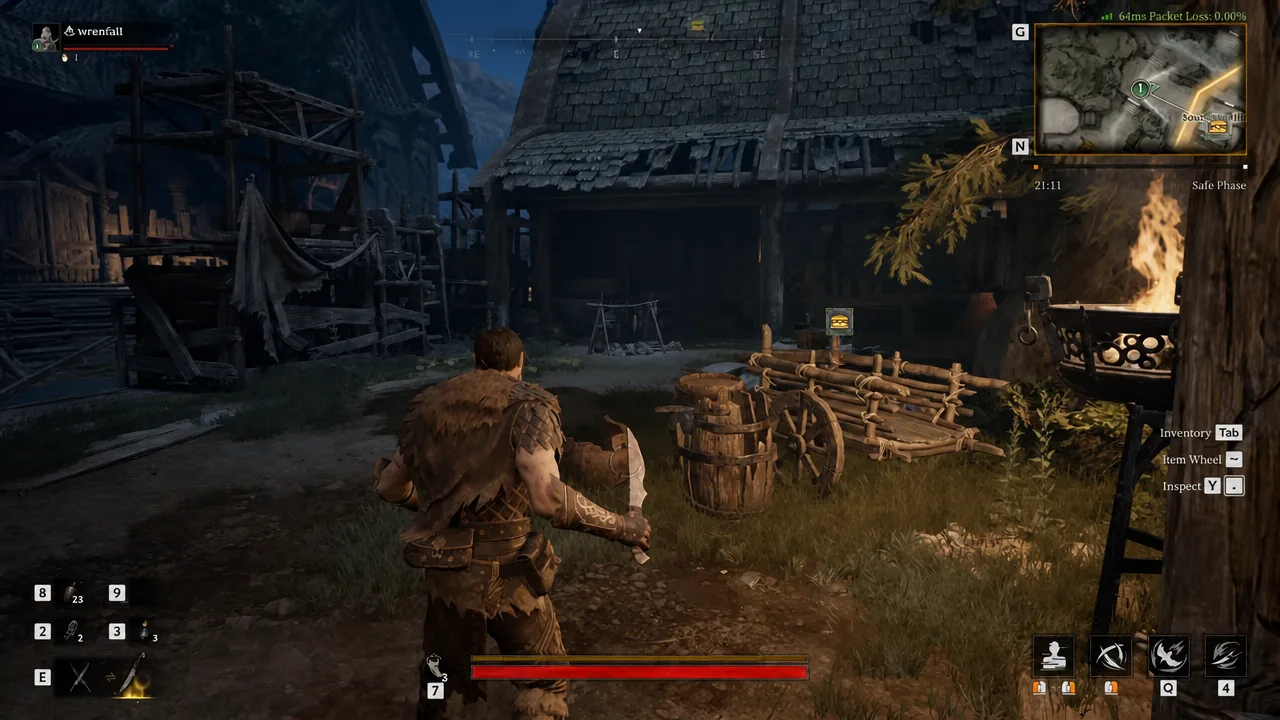
Gyldenblod is the currency that pays for everything in Mistfall Hunter — auction house purchases at Pip’s, gear and consumables from Cazarro’s Shop, forging fees, and every camp upgrade you want to unlock. The fastest way to build a reserve without fighting other players is a quiet looting run through Hallowgrove Chaos, done completely alone, on a cheap loadout you can afford to lose.
Quick answer: Queue Hallowgrove Chaos in Trio Mode with “Fill Team” unchecked so you load in solo, run a Shadowstrix with Deft on your gear, loot the right side of the map first, then leave through a Returning Chime once your bag is close to full.
Set up a solo lobby in Hallowgrove Chaos
You do not need a solo queue for this. Pick Hallowgrove Chaos, select Trio Mode, and uncheck the “Fill Team” option before you search. You drop into the raid on your own, with no random teammates splitting or taking loot, while the map still runs its normal Gyldenmist Countdown timer.
Watch the queue itself. If you cancel the search before it expands its search range, the system is far more likely to place you against players wearing the same gear colour as you. Running green or blue gear on purpose keeps you in softer lobbies, which matters a lot when the plan is to avoid fights rather than win them.
Note: this only holds while you re-queue quickly. Let the search widen and you can be matched into lobbies with far better-equipped players.
Gear, affixes, and consumables for the solo run
Shadowstrix is the class this route is built around, because stealth, high single-target damage against monsters, and repeated escape tools cover every problem a lone player runs into. Dual daggers handle the mobs you actually need to kill, and nothing in the loadout is expensive enough to hurt when a run goes wrong.
| Setup | Rough cost | Affixes and buff |
|---|---|---|
| Green “rat” build | Cheapest entry, disposable | Fervor and Deft; Mortal Tonic from the tavern |
| Blue Emissary set with dual daggers | Around 3,000 gold for the full kit | Fervor, Valor, Strife and Deft; Warblood from Sigrid |
Deft is the affix that carries the playstyle. It raises interaction speed by up to 30%, so chests, doors, item identification and the extraction bell all resolve faster. Every second shaved off an interaction is a second you are not standing still in the open.
For supplies, bring a full pouch of Healing Elixirs — around five to seven is enough — plus Potent Spellbound Keys for locked doors and shortcuts, Monster Hunting Jars, and Shadow Dust if you want quieter interactions. Keys double as escape tools, since a locked door behind you slows a chasing trio.
Skills and talents
Run Spinning Slash and Phantom Shift alongside Flash Stride, then take either Crow Storm or Smoke Bomb in the last slot. Crow Storm clears packs and holds doorways; Smoke Bomb is the safer pick if you expect to break line of sight more often than you fight.
On the talent tree, prioritise Sleight of Hand, which lets you loot containers while still stealthed, and Monster Hunter, which raises damage against monsters at the cost of PvP effectiveness — a trade that costs you nothing on this route. Fill the rest with mobility and stealth options such as Teleport Blessing, Free Movement, Unstoppable, Lightweight, Battle Frenzy and Death Sense.
The Hallowgrove Chaos loot route
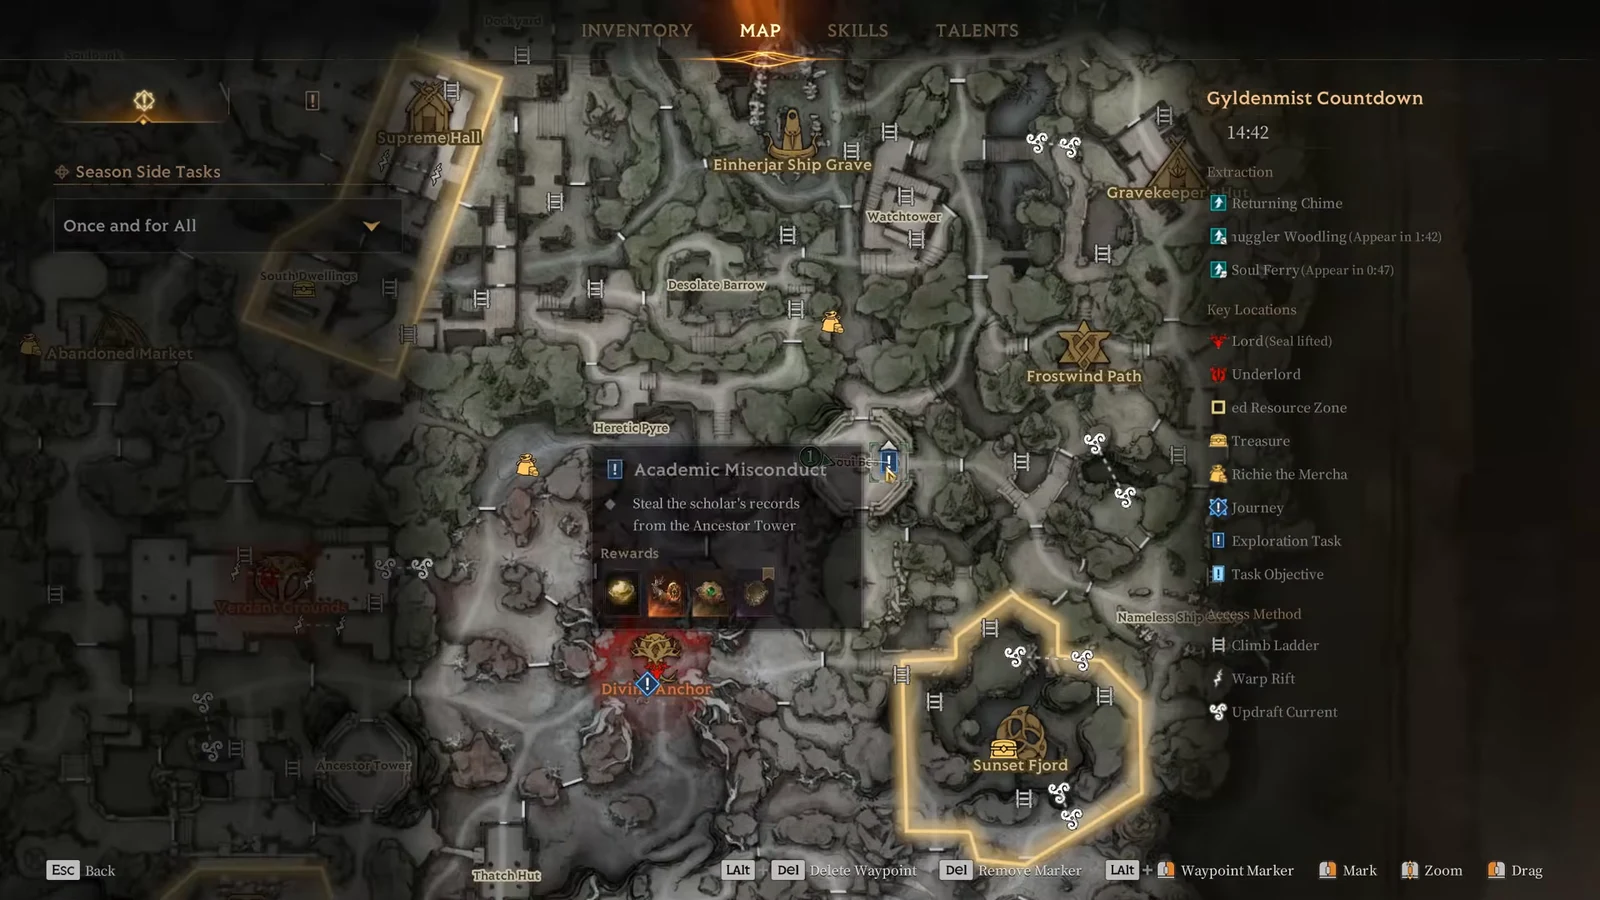
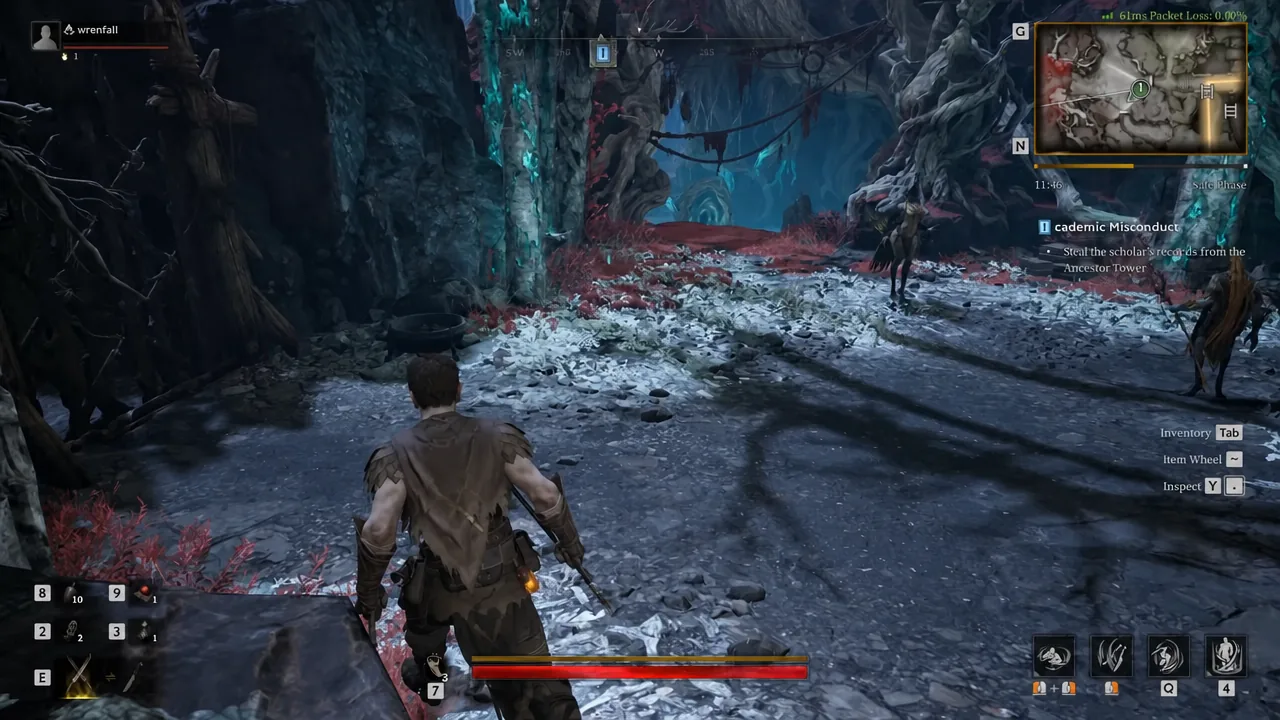
Highest-value loot spots on the map
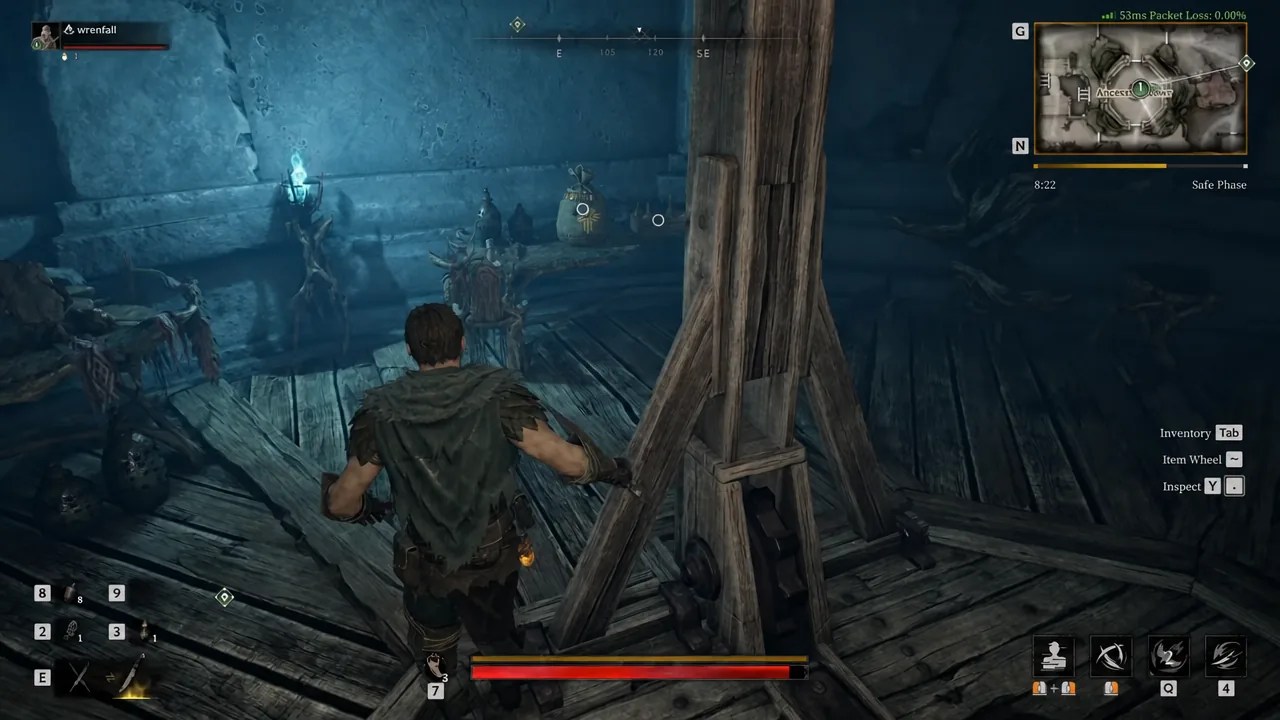
Chests are the obvious target, but they are not where the run’s margin comes from. Small containers, glowing objects and beached boats hold unidentified items and honey far more often than most players expect, and they make almost no noise to open.
| Spot | Why it is worth the stop |
|---|---|
| Boats and glowing objects | High chance of unidentified items or honey, and quiet to loot |
| Silverbough Altar pools | The red puddles can drop map-exclusive holy and legendary items |
| Richie the Merchant | Can stock legendaries; his Potent Healing Elixirs resell on the market for roughly three times what you pay |
| Gift of Fate chests | Legendary pulls, usually with light mob resistance |
| Task rewards | Solo players still get the full payout balanced for a trio |
Richie is worth a detour when he is close. Buy Potent Healing Elixirs for the flip, pick up Enhanced Firegrease Jars while you are there, and sell off low-value blues to free bag space for the second half of the run.
Reading the map to avoid other players
The map tells you where everyone else is without you ever seeing them. Dead bosses, completed tasks and active markers all update as teams work through them, so a cluster of activity in one corner means the rest of the map is quiet.
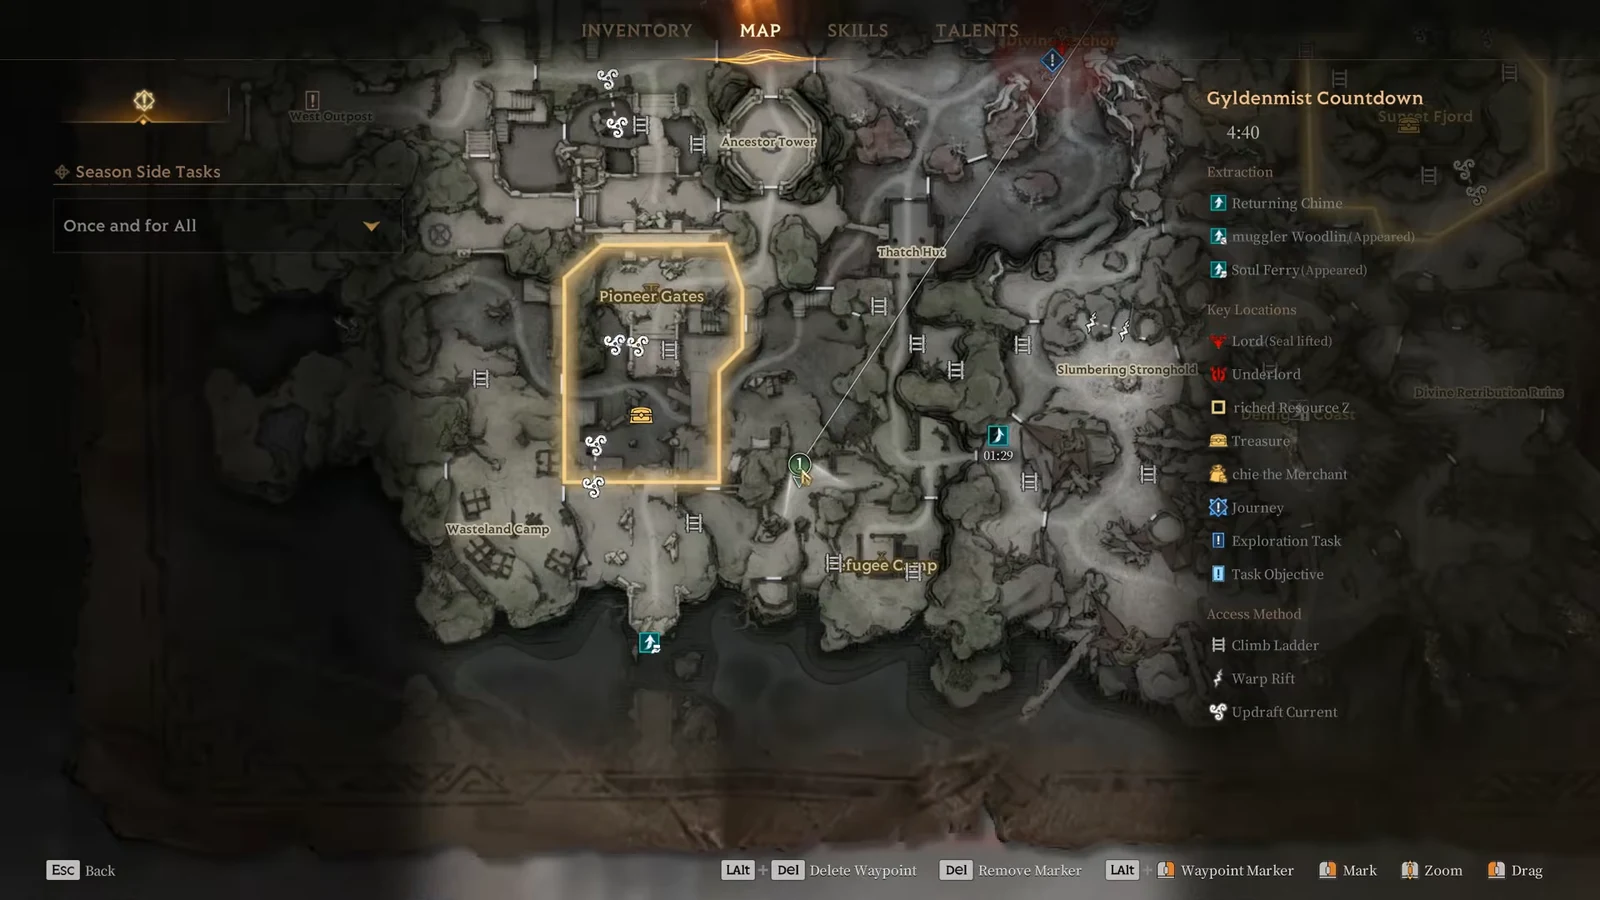
The elite Berserker is a useful clock. If it is still alive five minutes in, players are busy fighting somewhere else and you have room to work. If it dies early, someone is clearing efficiently and you should move away from that area.
Skip the Scarecrow entirely as a solo player. Its damage output drags the fight out and leaves you low on health in the open, which is exactly when a passing team third-parties you.
Extraction and the Smuggling safety net
Extraction happens at a Returning Chime. Activating it summons the portal, but it also makes noise, so clear the area first and check the map to see whether another player has recently used a chime nearby before you commit.
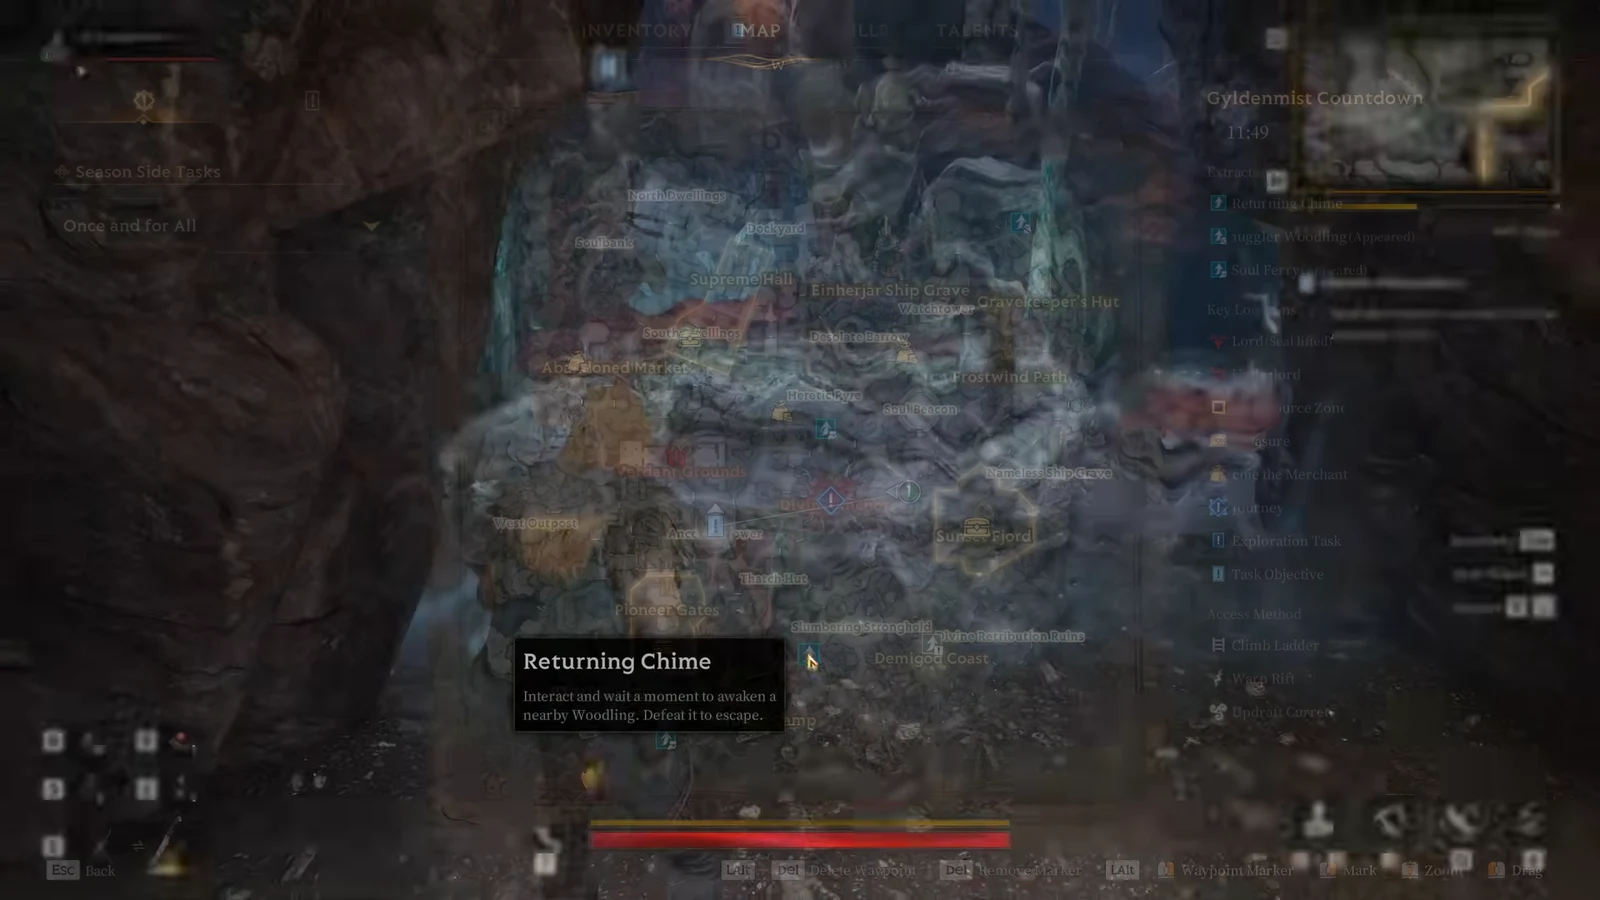
You can also use the chime as a distraction. Ringing it while a team is hunting you pulls attention toward the sound and buys you the seconds needed to reposition to a different exit.
If the run turns bad, Smuggling is the fallback. Use it and you keep your equipped gear, your bag, and up to four items from your inventory even if you die, which turns a total wipe into a partial loss. It is not a substitute for leaving early, but it protects the pieces you cannot afford to replace.
You will know the run worked when the portal takes you out and the post-raid screen tallies your haul — a clean route like this lands in the thousands, with a strong run reaching around 12,411 gold in loot value. Remember that raid-collected Gyldenblod fills the Gylden Jar, which starts capped at 200 until you raise it through the Gyldenblod Pool, so most of your income arrives as items to sell rather than raw currency.
The habit that keeps this profitable is knowing when to stop. Once your bag is holding real value, one more chest is worth far less than the extraction you already earned.