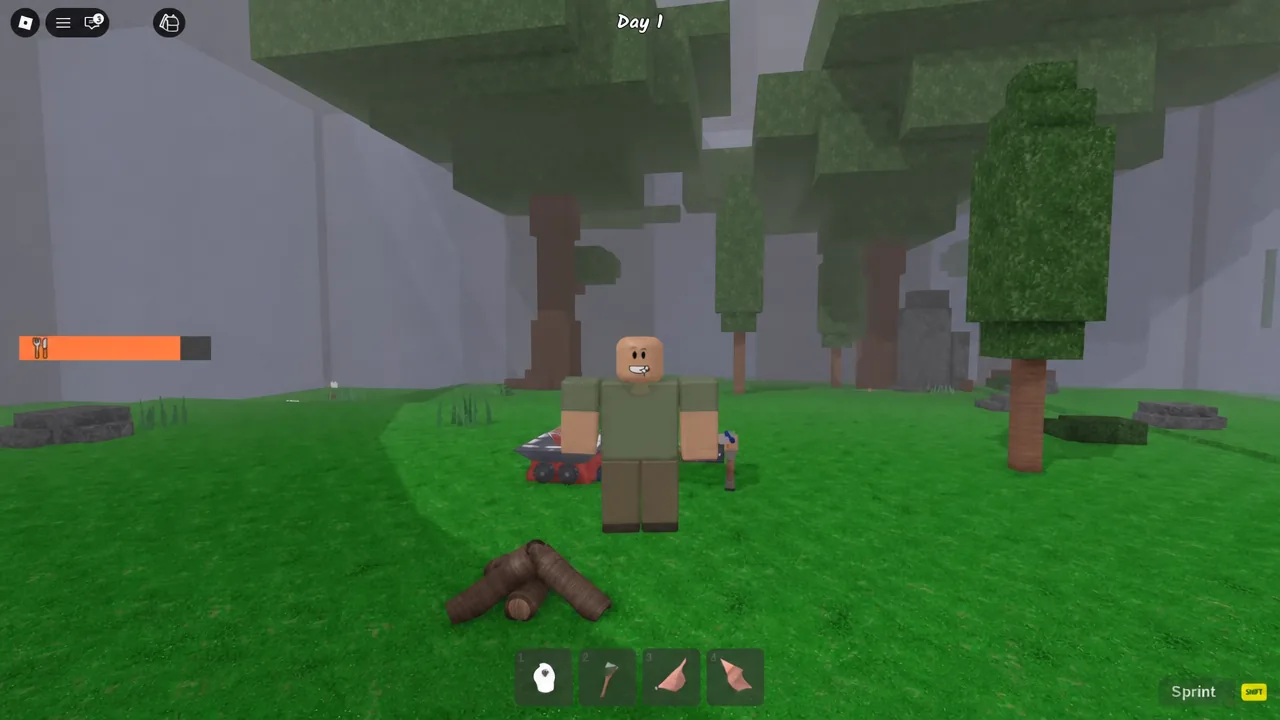
The Owl Nest sits at the top of a giant tree in the snowy biome of 99 Nights in the Forest, and it is one of the few spots on the map that enemies struggle to reach. Turning it into a livable base means solving two problems: getting up there reliably, and keeping a fire burning once you are. Both are solvable with furniture blueprints, a Tier 4 crafting bench, and a lot of wood.
Quick answer: Stack Wooden Bookshelves in a continuous line from the snowy ground up to the Owl Nest platform to form a walkable bridge, place a campfire on the nest itself, then seal the approach with Log Walls and a Log Gate. A Teleporter at the base of the bridge removes the walk back to your original camp.
Owl Nest base location and why it works
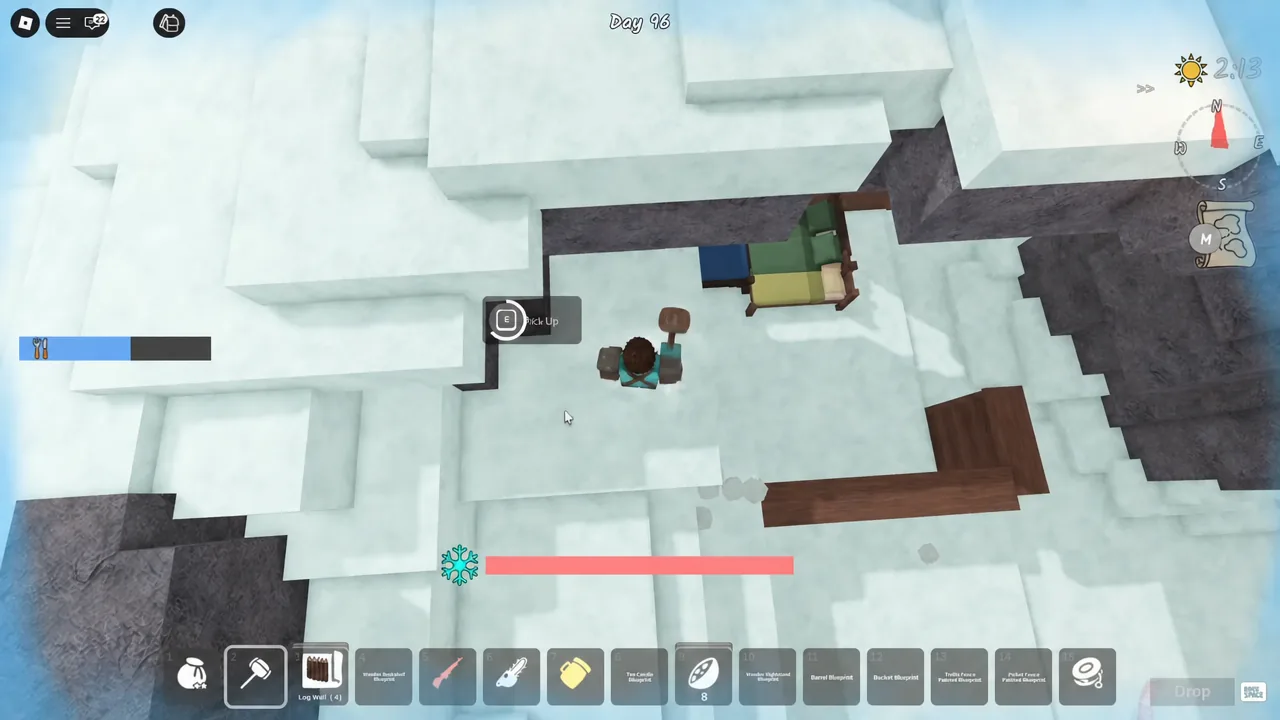
The nest is an elevated platform on a giant tree in the snowy biome, well away from the starting campfire. Height is the whole point. Ground-level attackers cannot path onto the platform, so the only route in is the one you build, and a single gated entrance is far easier to defend than a wide perimeter fence around a forest camp.
The cost is travel time and fuel. The snowy biome is a long run from spawn, and a second campfire up at the nest needs feeding just like your first one. Plan on the trip north happening around the middle of a long run, once you already have a chainsaw and a stocked bag.
What you need before you start building
Almost every piece of this base is gated behind crafting bench tiers and coins. Get the bench to Tier 4 and your coin stack healthy before you commit to the trip north, because backtracking mid-build wastes days.
| Requirement | Why you need it |
|---|---|
| Crafting Bench Tier 3 | Unlocks the Biofuel Processor and the Crock Pot for Stew |
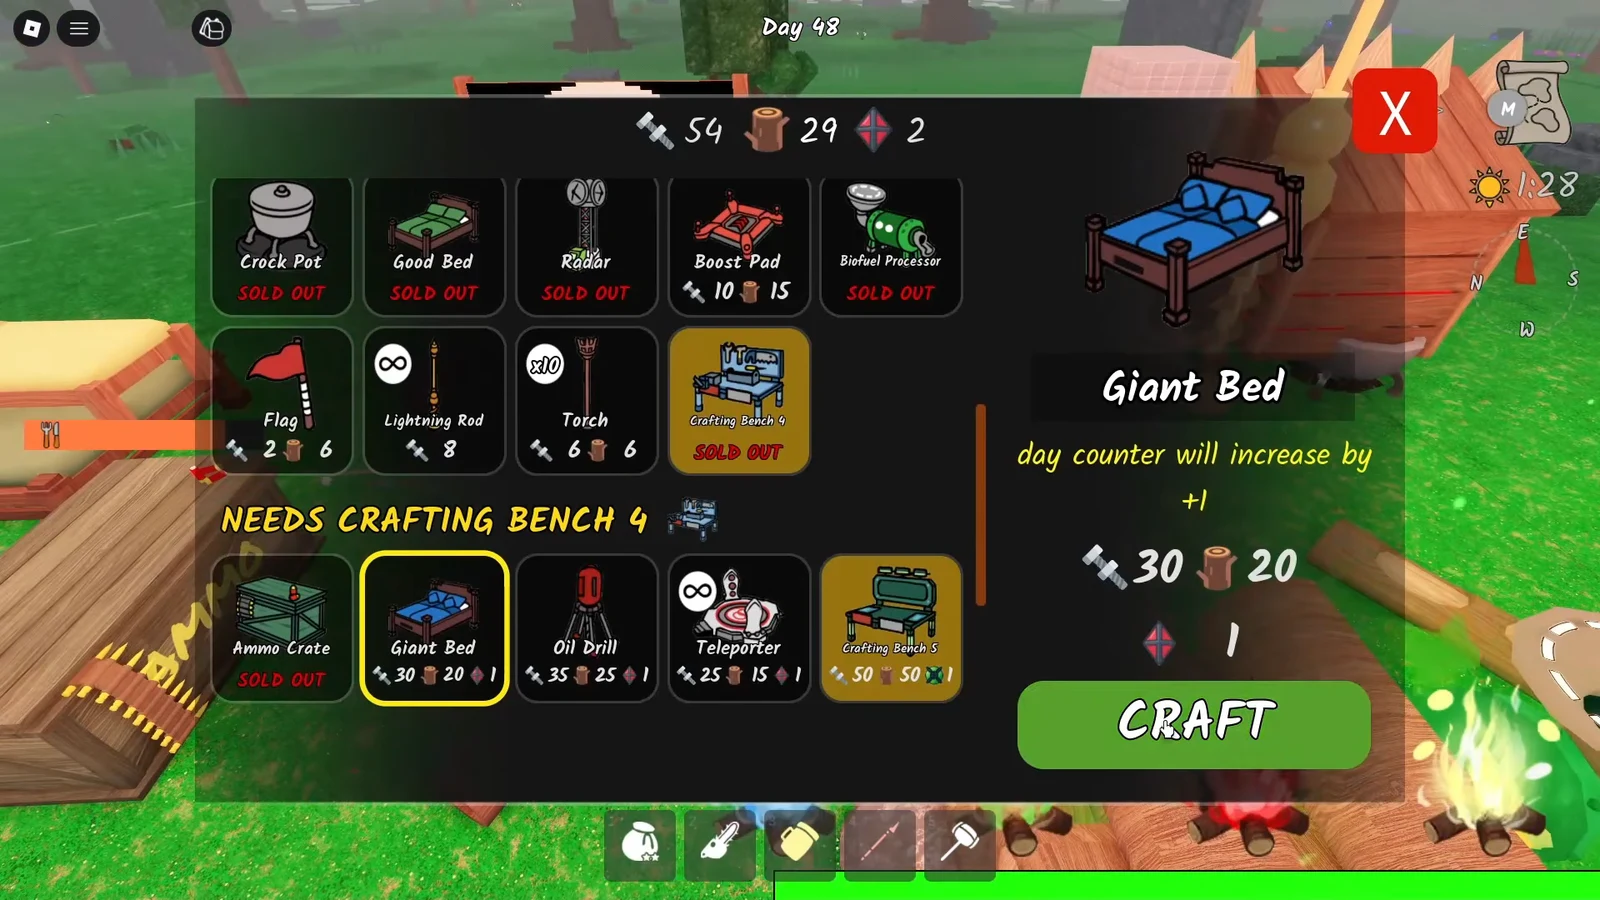
| Crafting Bench Tier 4 | Unlocks the Lightning Rod, Giant Bed, and Teleporter |
| Chainsaw | Fast wood harvesting and clearing the snowy biome’s ice temple |
| Giant Sack | Carries enough bookshelves and logs per trip to make progress |
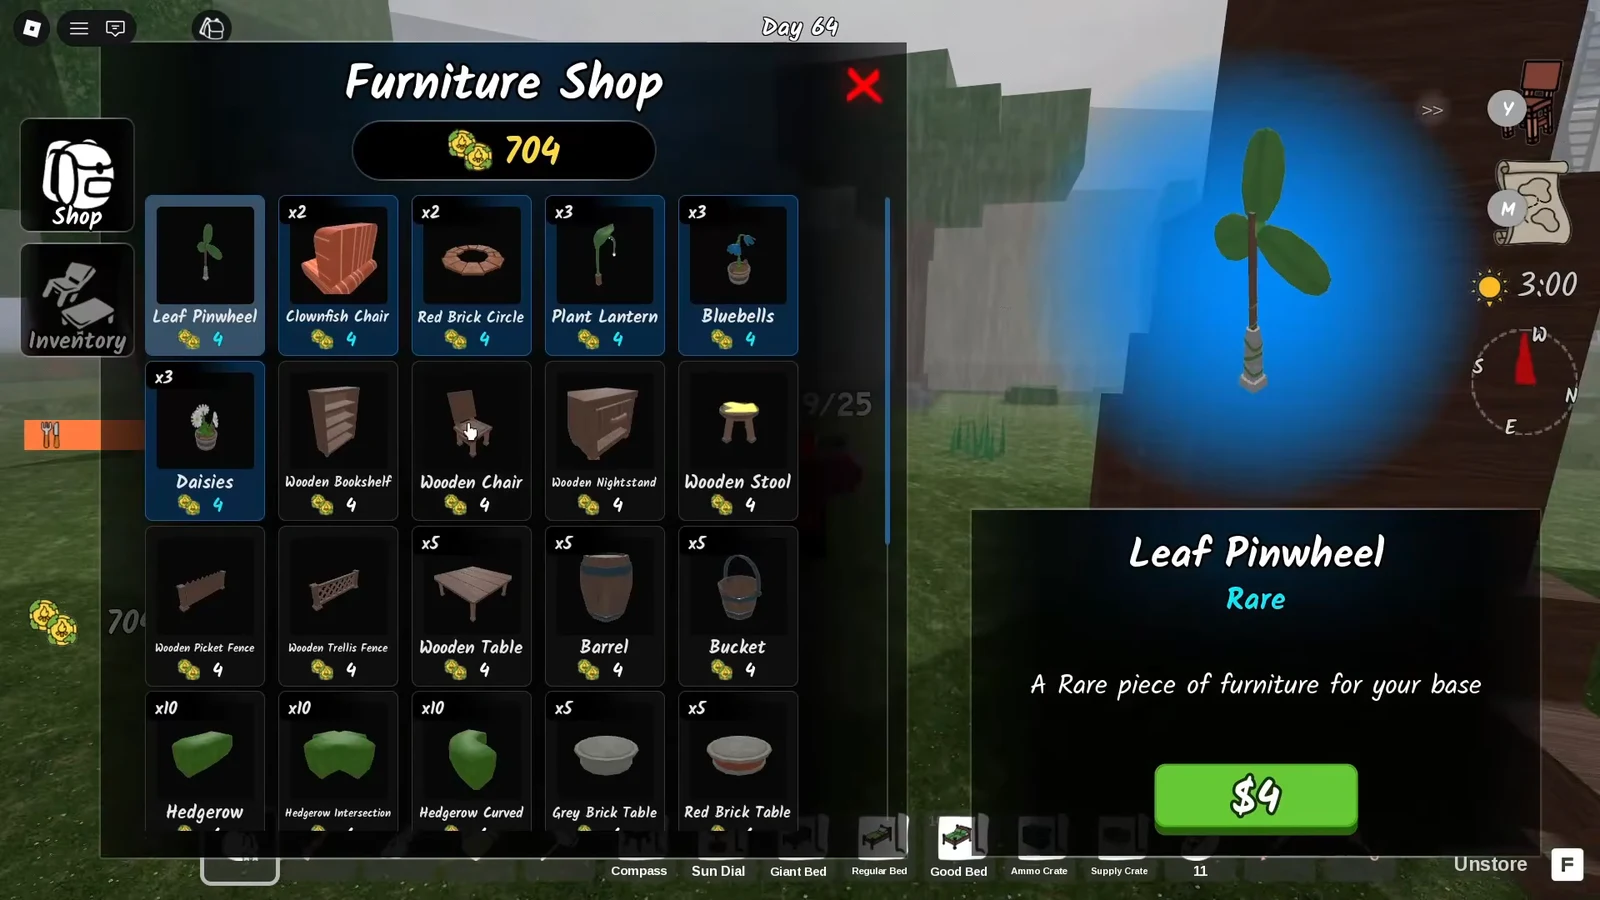
| Coins | Furniture Shop stock is the actual building material here |
| Log Wall and Log Gate blueprints | The only defensive pieces that seal the nest approach |
Coins come faster than most players expect. Looting buildings turns up Coin Stacks, Old Radios, and Coal, and clearing a mansion or stronghold of cultists pays out in gems and diamonds alongside the usual chest loot. Burning offerings in the campfire, such as the Coinsplosion and Chest Luck Offerings, feeds the same loop.
How to build the bookshelf bridge to the Owl Nest
How to secure the nest platform and entrance
Buying days and surviving the nights while you build
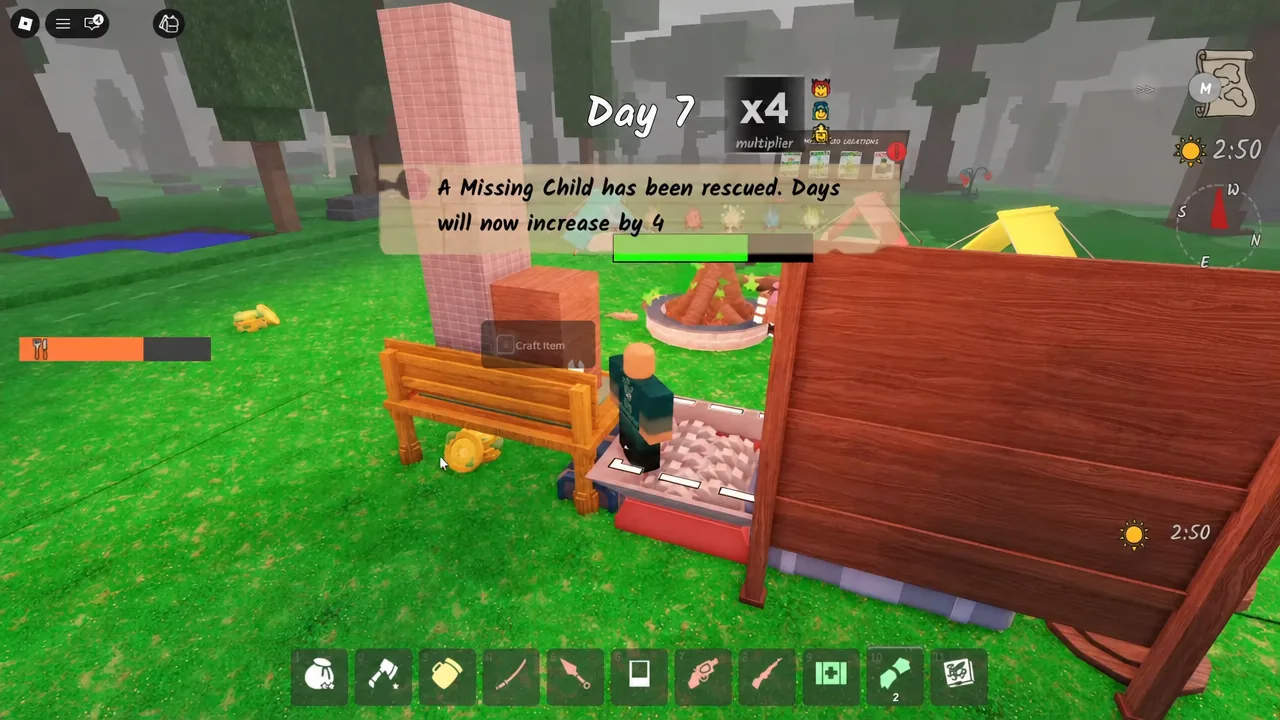
A build this large takes well past day 100, so the run has to hold together underneath it. Rescuing missing children is the fastest way to push the day counter forward, and each rescue jumps the count by a different amount.
| Rescued child | Days added |
|---|---|
| Kraken Kid | 3 |
| Squid Kid | 4 |
| Koala Kid | 7 |
The fire is the other constant. Push it to 100 percent early so the map expands, then keep feeding logs and fuel, since a warning that the campfire is almost out can arrive as late as day 128 if you stop paying attention. A Biofuel Processor and Wood Rain Storage take some of that pressure off.
Raids are scheduled, not random. When the game tells you that you will be attacked tonight and to return to your fire, stop building and defend. Keep a spear or rifle equipped, and revive downed teammates immediately rather than finishing a wall segment first.
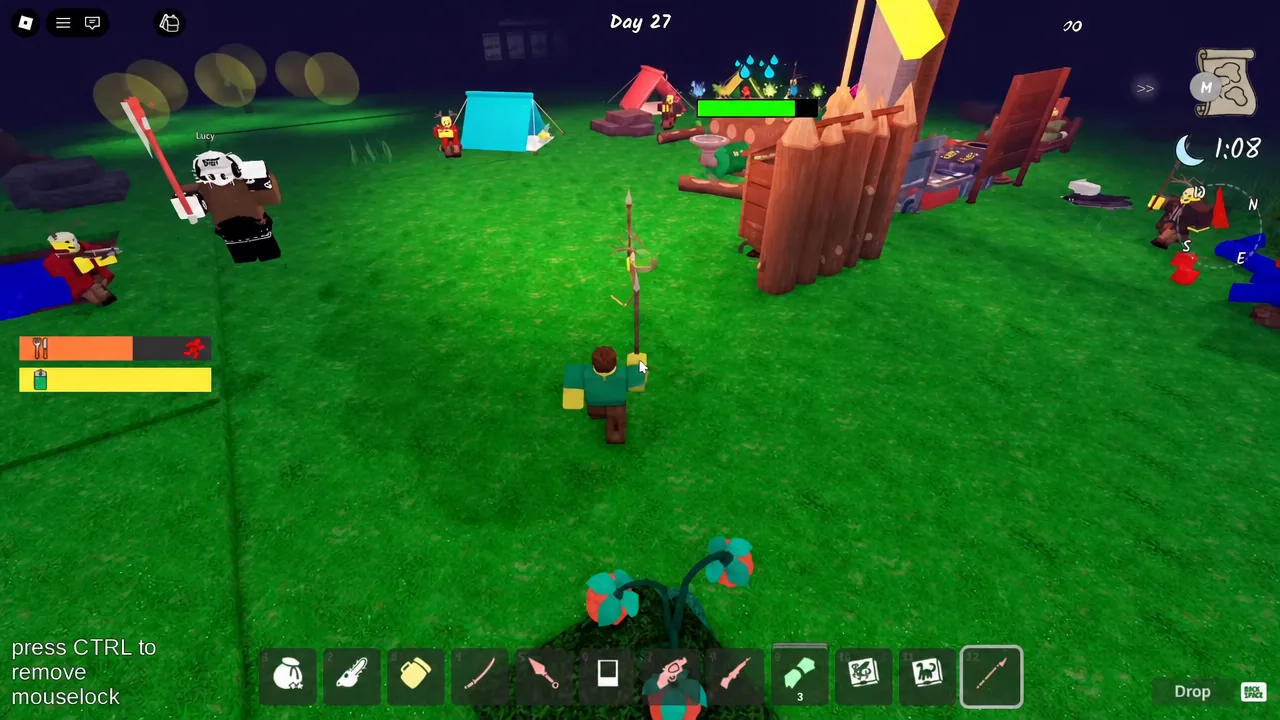
Decorating the bridge and recoloring fences
Decoration on this build is mostly Furniture Shop stock lined along the walkway. Hedgerows and Hedgerow Intersections make a continuous green edge, Shrubs and Bush Planters fill corners, and Stone Lanterns, Plant Lanterns, and Fairy Lights handle visibility on the climb at night.
The Paint Brush is the piece that ties it together. Select the recolour option and apply it to Wooden Picket Fences and Trellis Fences along the bridge to shift them off default wood tones. Pink and orange read clearly against snow, which also makes the route easier to follow in low light.
Cave blessings worth taking for an exposed base
A base perched on a tree in the snow is exposed to weather in a way a ground camp is not. The statues inside the cave grant permanent blessings for the rest of the run, and two of them directly reduce the hazards this build cares about. You can only take one blessing per statue room, so pick before you go in.
| Blessing | Effect |
|---|---|
| Blessing of the Owl | Decreases the chance of rain |
| Blessing of the Ram | Decreases the chance of lightning |
| Blessing of the Deer | Increases day length, shortens night |
| Blessing of the Bat | Decreases hunger rate |
Bring a flashlight, Stew, bandages, and a strong weapon before entering. There are no chests inside, so the blessings are the entire reward, and the green-cloaked cultists there hit considerably harder than the ones outside.
How to confirm each piece placed correctly
Every successful placement prints a build confirmation in the feed using your username, such as a message that you built a log gate or a giant bed. If no message appears, the piece did not place, usually because the ground was too uneven, the spot overlapped another object, or you were short on materials.
For the bridge specifically, the only real test is walking it. Cross the full span from the snow to the nest without falling before you start decorating, because pulling out a mid-span bookshelf later means picking up everything stacked on top of it.
Note: the Teleporter is worth crafting earlier than feels necessary. Almost all of the cost in this project is travel between the Furniture Shop and the snowy biome, and cutting that loop short is the difference between finishing the nest around day 137 and abandoning it half-built.