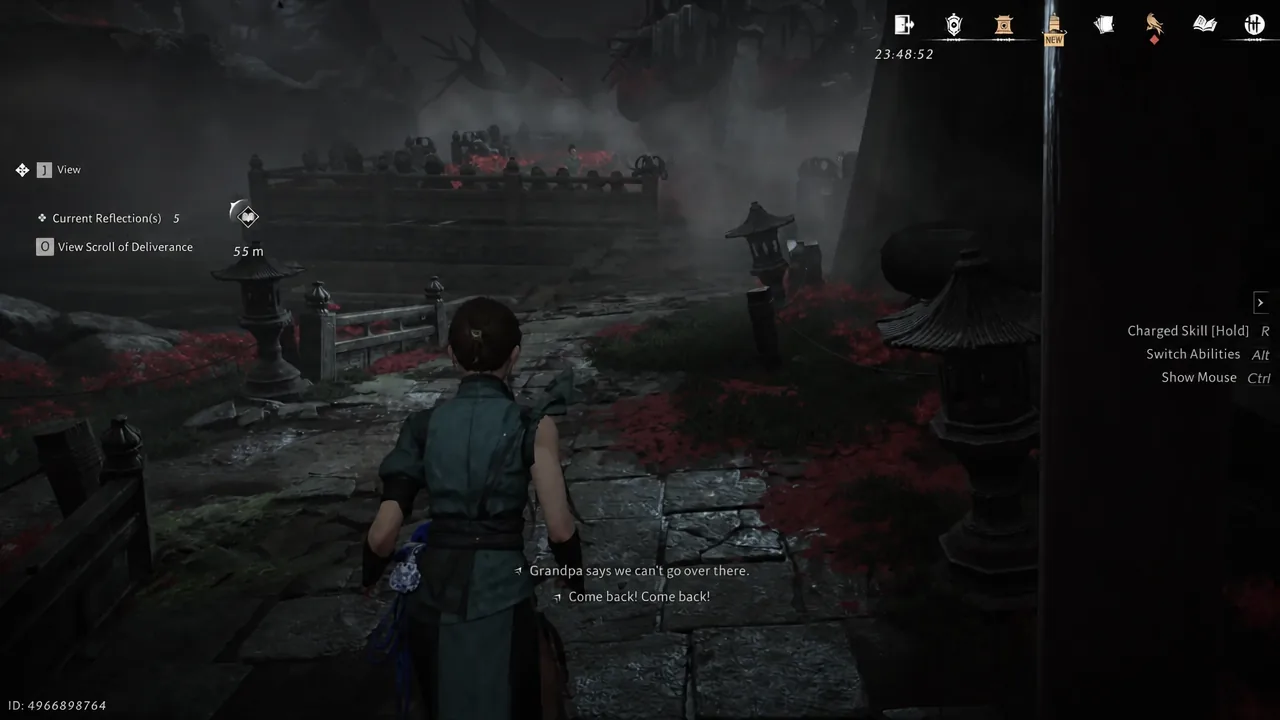
Reflection Temple is a solo horror puzzle event in Where Winds Meet built around a growing list of temple taboos. Some deaths punish mistakes, but several are scripted and cannot be skipped. The trick to a full clear is knowing which taboos to obey, which ones the story forces you to break, and how to run a clean second pass for the no-taboo objective.
Quick answer: Complete Part 1 by accepting the required deaths at the temple entrance, the offering plates, and the candle theft, then place the five offerings and retrieve the Reflection Effigy. Choose “Become Effigy (Re-enter Temple)” to start Part 2, follow the black goat for the true Red Joy offering, and finish without dying to satisfy the no-taboo clear.
How to start the Reflection Temple event
Open Windtail’s Jianghu, go to Events, select Reflection Temple, and press Go. There is no physical location to travel to; you are teleported straight into the event area. Before entering, you choose your camera and horror settings.
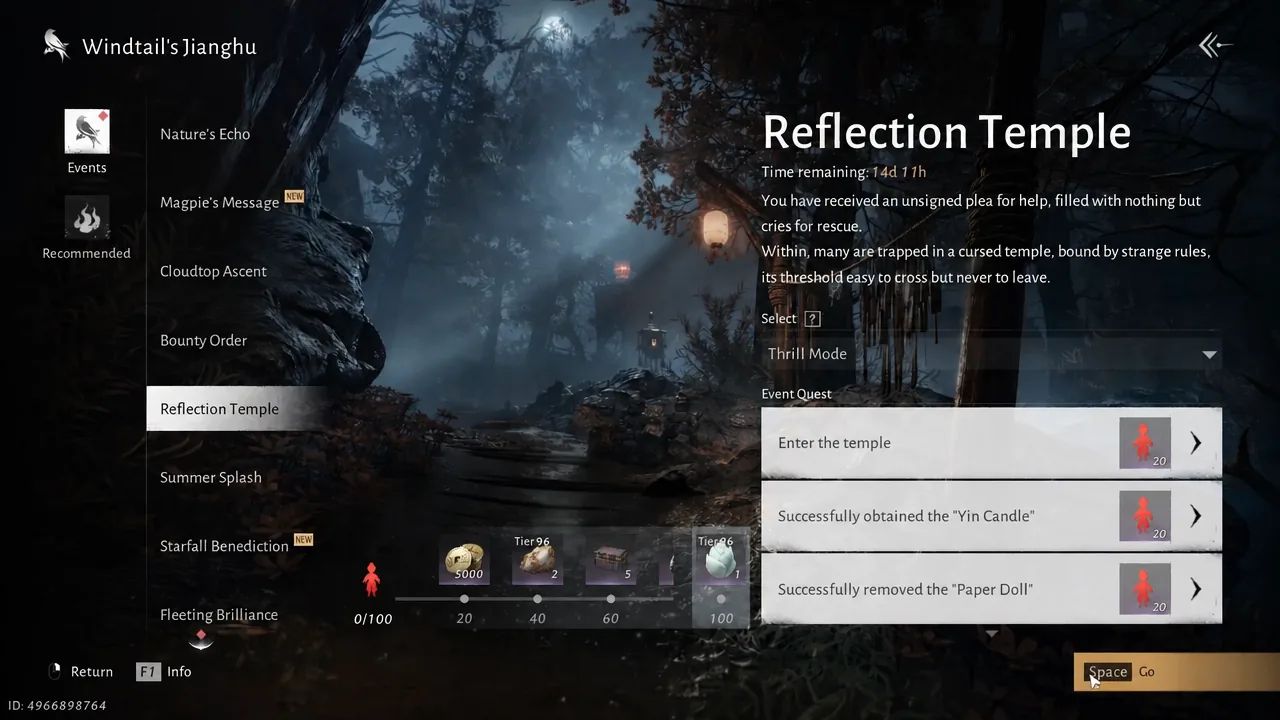
First Person is more immersive but has a narrow field of view. Third Person makes it much easier to keep threats in sight and is the better pick if you just want a fast, reliable clear. Thrill Mode is the standard horror experience with full scares; Mild Mode softens them and adds warnings before jump scares. You can switch your point of view at any time from the Scroll of Deliverance menu.
The event runs from the Version 2.1 update on August 27, 2026 until September 27, 2026 at 4:59:59 (UTC+8). You can replay the temple after finishing, which is how you complete the no-taboo objective.
All nine taboos and which deaths are required
The temple starts with five rules, but more appear as you progress, for nine possible taboo deaths in total. Breaking a taboo kills you, but you revive every time and each death adds to your Reflections count. Three of these deaths are mandatory and used to move the puzzle forward.
| Taboo | What triggers death | Required? |
|---|---|---|
| Seek No Voices Before the Temple | Turning around while the opening voice calls you. | No |
| Never Enter the Temple Alone | Entering the temple the first time. | Yes |
| Take No Altar Offerings | Taking the Paper Effigy from the statue’s hand too early. | No |
| Let No Child’s Shadow Touch You | Looking away from the child statues so they reach you. | No |
| Never Answer to Ghostly Calls | Answering the child’s question on the lift. | No |
| Consume No Food of the Dead | Eating the Nether Food at the market stall. | No |
| Never Mix the Five Offerings | Placing the offerings on the plates. | Yes |
| Steal No Relics From the Dark | Taking the Nether Candle from the monk. | Yes |
| Never Look Into Wells in Pairs | Inspecting the well again during Part 2. | No |
Note: A death is not always a mistake. The first temple entrance, the offering sequence, and the candle theft all use death on purpose. Everything else on this list should be avoided.
Part 1: Enter the temple and survive the approach
Descend the well: child statues and the three Charm Coins
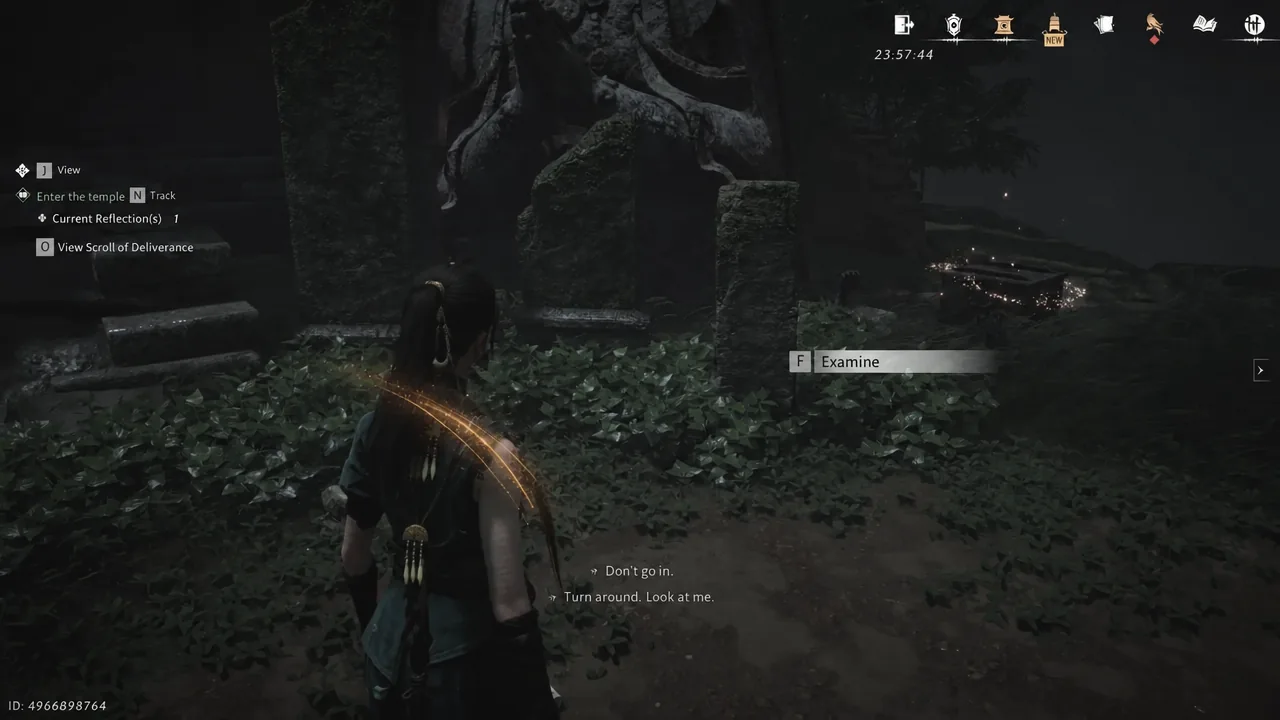
Return to the central room and drop into the dry well. This starts the underground section, where the three child statues use a weeping-angel mechanic. When you look away, they rush you and kill you. Keep them in your line of sight. Third Person makes this far more manageable because you can aim the camera at a child while your character faces elsewhere.
The hidden passage and the Bronze Key
After escaping the well, retrieve the Bronze Key from the altar room, then head to the back of the temple and exit through the door behind the statue. Follow the outdoor path until you hit the rear gate. It is locked from the other side, so turn around and a new path opens to the right of a statue, leading into a rocky cave passage.
Work through the ruined wooden rooms, looting chests along the way. You will pass a moving coffin, a corridor with a rolling woven ball, and a room with a mirror. Do not look directly into the mirror to avoid a jump scare, and expect scares after picking up items and rounding corners. At the green-lit room, take the Woven Cuju Ball from the shaft, then follow the path out to the Nether Market.
Collect the five offerings
Inside the market, trade at the butcher’s stall to buy Rotten Meat. Do not eat anything from the food tables, or you trigger Consume No Food of the Dead. Each offering matches a named plate at the assembly tables.
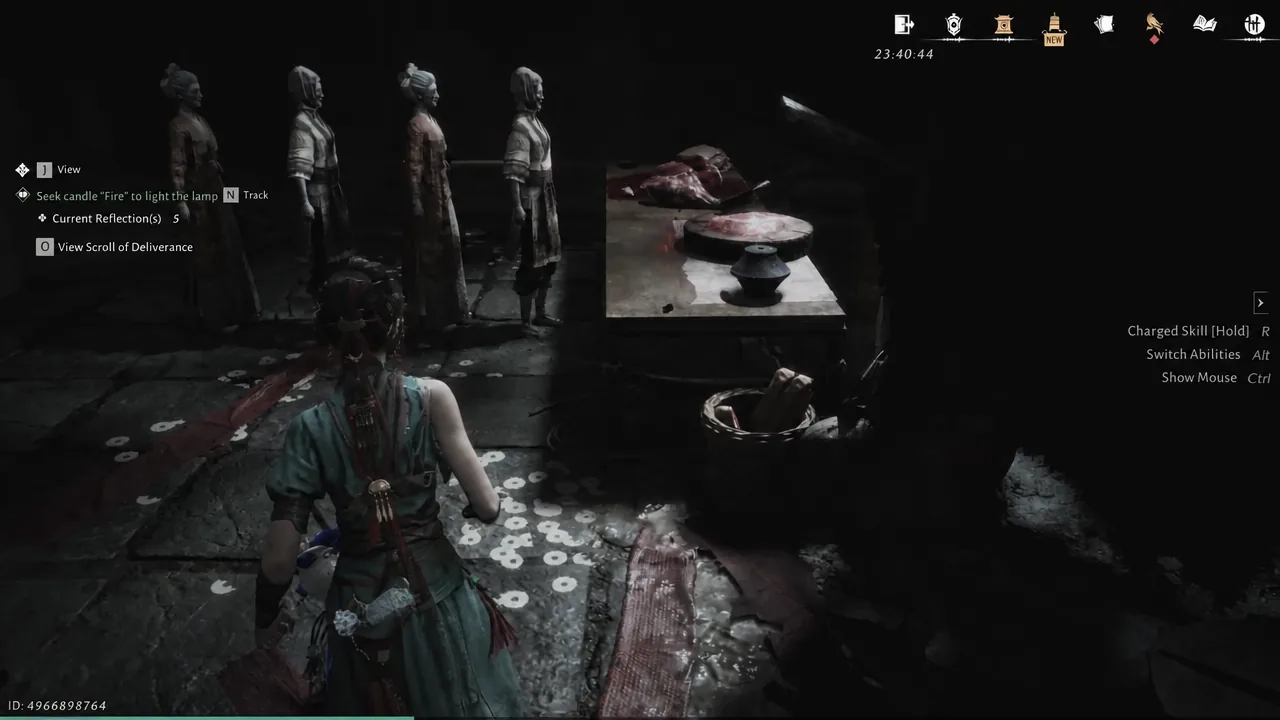
| Offering | Plate | Where to find it |
|---|---|---|
| Rotten Meat | Red Joy | Buy from the butcher’s stall in the market. |
| Soaked Riverweed | Green Strands | Left past the stacked coffins, along the narrow path. |
| Withered Paper Flowers | Yellow Dusk | Peer through the hole in the wall in the side chamber. |
| Cold White Rice | White Mouth | In the bowl by the slightly opened doors past the coffins. |
| Charm Coin | Black Path | Collected earlier during the well descent. |
Once you have all five, return to the assembly and place each one on its plate. This triggers the mandatory Never Mix the Five Offerings death. It is unavoidable, so accept it and continue.
Steal the Nether Candle and light the lamp
The final choice: leave or become the effigy
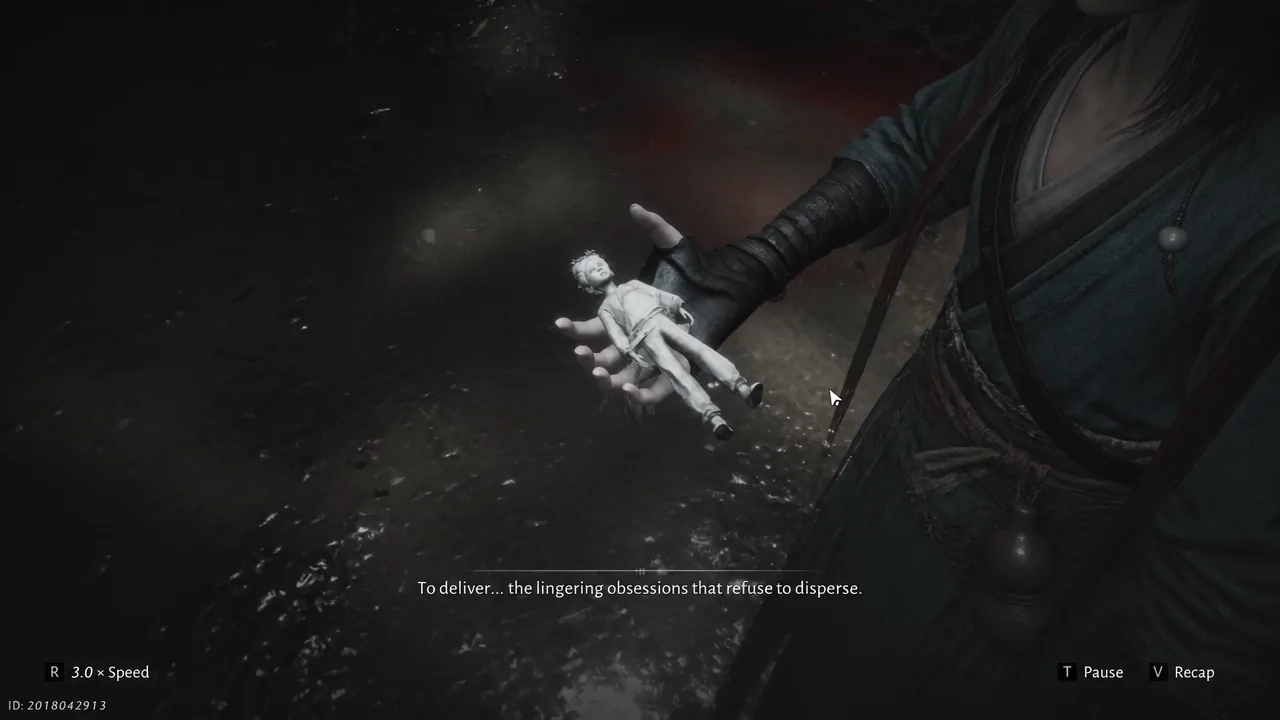
Leave through the doors to finish Part 1. At the end of the path, a voice tells you the spirits still linger despite your offerings. You then choose between “Remain Human (Leave)” and “Become Effigy (Re-enter Temple).” Pick “Become Effigy (Re-enter Temple)” to start Part 2 and deliver the souls.
Part 2: Follow the black goat for the true Red Joy
Part 2 is shorter, and it is the section that matters for a deathless run. The whole goal is to correct the mixed offering with the true Red Joy item.
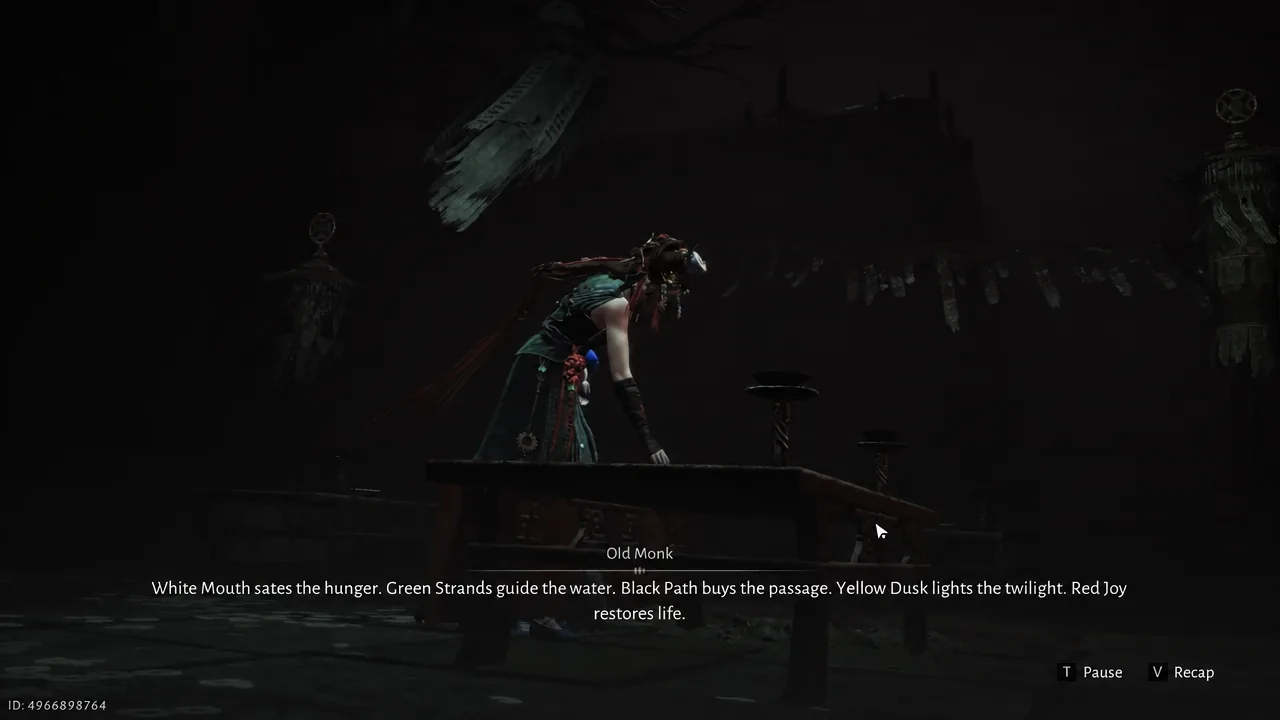
Leave the purified temple once more to complete the event. You know it worked when the quest completion screen appears and the temple is fully cleansed.
How to complete the no-taboo objective
Your first Part 1 run can never be fully deathless because the entrance, offering, and candle sequences all force a death. For the objective that asks you to leave the temple without breaking any taboo, focus on a clean Part 2. Replay it through the Scroll of Deliverance menu by choosing Re-enter the Temple.
- Do not look into the well.
- Follow the black goat’s route and take the road down instead of jumping after it.
- Place the goat meat as the Red Joy offering and return the Reflection Effigy to the well.
Reflection Temple rewards
Completing event objectives earns Soulbound Paper. Accumulating it unlocks the following collection rewards, which you claim from the event menu after finishing the route.
| Soulbound Paper | Reward |
|---|---|
| 20 | Coin ×5,000 |
| 40 | Modulating Stone: Mirage ×2 |
| 60 | Inner Way Note: Chest ×5 |
| 80 | Ebon Iron – Forge Ahead ×10 |
| 100 | Re-Attunement Stone: Mirage ×1 |
The temple becomes far easier once you know which deaths are scripted and which ones you cause yourself. Play in Third Person for visibility, switch to Mild Mode if you would rather skip the surprise scares, and save the Part 2 replay for your clean no-taboo clear before the event closes on September 27.