DMZ in Call of Duty: Modern Warfare 4 splits its bosses into two tiers. Commanders are large threats that turn up in different areas of Hajin. Lieutenants are named officers who hold a named point of interest, and a banner names it as you get close, such as LIEUTENANT BALE / RE-EDUCATION CENTER. Several of them move between spots: Bale, Gorani, the Warden, the Scavenger and The Doctor have each turned up in more than one place. Below are 13 of them, three Commanders and ten Lieutenants. More bosses may exist beyond these.
Quick answer: Each Lieutenant holds a named point of interest (some have more than one), and each drops a LEGENDARY dog tag, usually with a named weapon. Kill one and a SIDE OP COMPLETE banner confirms it; extract with the tag to collect $25,000.
DMZ Lieutenant locations and drops
Threat levels come straight from the compass as you approach. Names and points of interest are written the way the game shows them.
| Lieutenant | Location | Threat | Drops |
|---|---|---|---|
| Bale | RE-EDUCATION CENTER or CHANG-SAN AIR BASE BUNKER | MEDIUM (EXTREME at the bunker) | DREADNOUGHT (LEGENDARY LMG, $8,000) or TYPE 73 (RARE, $2,000), Bale’s Dog Tag (LEGENDARY) |
| Gorani | Mujin Pass, or forest in the South Korean Wilderness | LOW at Mujin Pass | INCISOR (LEGENDARY marksman rifle, $6,900) or MAR-9 (RARE, $1,700), Gorani’s Dog Tag (LEGENDARY), Infantry Invasion Plans |
| The Doctor | MIRAE GENERAL HOSPITAL (wards, parking garage or grounds) | LOW | DOCTOR’S SALVE, office key, dog tag |
| Jin-Tae | Heavenly Luck Casino | HIGH | ISO Nightshade, Jin-tae’s Dog Tag |
| Jang-ui | NETSHIN TECH COMPLEX | EXTREME | PAEKTU (ULTRA assault rifle, $11,200) or HYEON BURST (EPIC, $2,800), dog tag |
| Warden | THE CITADEL or the 14TH POLITICAL PRISON blocks | CRITICAL (HIGH in the prison blocks) | INCARCERATOR (ULTRA SMG, $8,500) or a plain X-58 NYX, Kang’s Dog Tag |
| Scavenger | CHEONGUN VILLAGE, SOUTH ISLAND or DEADTOWN | LOW | ORIS 8.6 marksman rifle, Scavenger’s Dog Tag (LEGENDARY) |
| Roze | DBN HEADQUARTERS | EXTREME | THE KRAKEN or ASTAROTH .57 sniper rifle, Roze’s Dog Tag |
| Iskra | Cheonwang Peak Array | MEDIUM | WIDOWMAKER (LEGENDARY shotgun) or WARLORD (RARE shotgun, $900), Iskra’s Dog Tag (LEGENDARY), SMALL SECURE BACKPACK (EPIC) |
| The Chemist | Haneul Nuclear Reactor | HIGH | REVENANT, Chemist’s Dog Tag |
Some entries need details beyond a table cell. DOCTOR’S SALVE is a LEGENDARY battle rifle based on the Patriot XMR and valued at $6,900. The Doctor also drops the LEGENDARY THE DOCTOR’S COMMAND OFFICE key, which opens the Command Office on the hospital’s 7th floor, plus a LEGENDARY dog tag with a 25K bounty. Roze’s rifle can differ between matches: some drop THE KRAKEN, others the ASTAROTH .57, a RARE sniper rifle worth $6,400. The Scavenger drops the ORIS 8.6 marksman rifle ($1,900) alongside a LEGENDARY dog tag with a 25K bounty, and a cache with a GAS MASK (RARE, $300). The Warden’s INCARCERATOR is an X-58 NYX valued at $8,500; the Warden’s dog tag bears the name “Kang’s Dog Tag,” not Warden’s. Jin-Tae’s death unlocks the ISO NIGHTSHADE. Iskra is located at Cheonwang Peak Array in the SOUTH KOREAN WILDERNESS region.
The Chemist’s loot is the REVENANT (a LEGENDARY marksman rifle worth $7,500) and the Chemist’s Dog Tag (LEGENDARY). The tag drops on the body in a warehouse by the reactor tanks at Haneul Nuclear Reactor; the REVENANT and dog tag have also been picked up on the beach at Dansik Turtle Island in another match.
You must extract with a dog tag for it to count on the Boss Board. If you die while carrying one, the kill won’t advance the board.
The payout is worth the trip. Getting out with a Lieutenant dog tag adds a Lieutenant Dog Tags line of $25,000 to the extraction summary, and your first Lieutenant kill adds First Lieutenant Takedowns for another $10,000. Two tags in one run show as one line, 2 Lieutenant Dog Tags $50,000. That makes Lieutenant hunts one of the quicker ways to make money in DMZ.
How to beat DMZ Lieutenants
The Scavenger fights like a tougher version of a regular soldier. Clear the guards first, then push in. The rest have a gimmick you need to plan for: Jin-Tae lays down heavy automatic fire on the open casino floor, Iskra runs, and others hide behind shields, smoke or radiation.
The Doctor is a bulky heavy in a white protective suit and gas mask who fights at close range. The fight is not tied to one room at Mirae General Hospital: it can happen inside the wards during Operation Critical Extraction, in the parking garage under the hospital, or on the grounds outside. The side op starts as “Reach the Lieutenant’s Location,” switches to “Kill the Doctor” once you are close, and the kill adds +500 to the side-op line. The full guide to beating The Doctor covers each spot and the drops.
The Scavenger can be found at Cheongun Village, South Island or Deadtown. At South Island, the LIEUTENANT / SCAVENGER / SOUTH ISLAND banner comes up over a car park between apartment blocks, and the side op reads “Kill the Scavenger.” At Deadtown, the LIEUTENANT / SCAVENGER banner comes up at LOW threat with the same side op, the fight runs along the street by sandbag barricades, and the ORIS 8.6 turns up again. The full guide to the Scavenger covers Cheongun Village, South Island and the drops.
Iskra fights in a building stairwell at Cheonwang Peak Array, and the banner comes up on the stairs. Iskra fires from the upper doorway, then runs down the stairs; chase and finish the fight on a landing, where the kill shows PAID INTEL: KILL ISKRA. Killing Iskra can drop the WIDOWMAKER, a LEGENDARY shotgun valued at $3,700, or the WARLORD, a RARE shotgun worth $900, by the body, along with Iskra’s Dog Tag. Iskra’s cache held a CONTROL UNIT (UNCOMMON, 3D PRINTER, $200) and a DISPOSABLE PARACHUTE. Iskra can also drop a SMALL SECURE BACKPACK (EPIC, $2,500, three secure slots). The full guide to beating Iskra covers the stairwell fight.
Bale at the Re-Education Center and Chang-San Air Base Bunker
Bale holds the upper floor of the Re-Education Center with a ring of guards. Take the interior stairs up into offices and corridors filled with smoke and green gas, where Bale fires an LMG down the corridors. Clear the guards as you go; Bale goes down by the balcony door at the end of one corridor. Bale also turns up at CHANG-SAN AIR BASE BUNKER, at EXTREME threat.
Bale drops BALE’S DOG TAG (LEGENDARY) and either the DREADNOUGHT (LEGENDARY, LMG, $8,000, built on the TYPE 73) or a plain TYPE 73 (RARE, $2,000). The full guide to beating Bale covers the Re-Education Center fight.
Gorani at Mujin Pass and in the South Korean Wilderness
Gorani holds a woodland camp at Mujin Pass: green canvas tents, crates and a field table, next to a few small buildings and walled yards. The compass rates it LOW, and the side op reads “Kill Gorani.” Don’t let the threat rating fool you. Guards in ghillie suits sit in the trees around the camp, smoke and fog cut visibility, and decoys can blend in among them. Taking out a decoy won’t count: the side op completes only when the real Gorani dies.
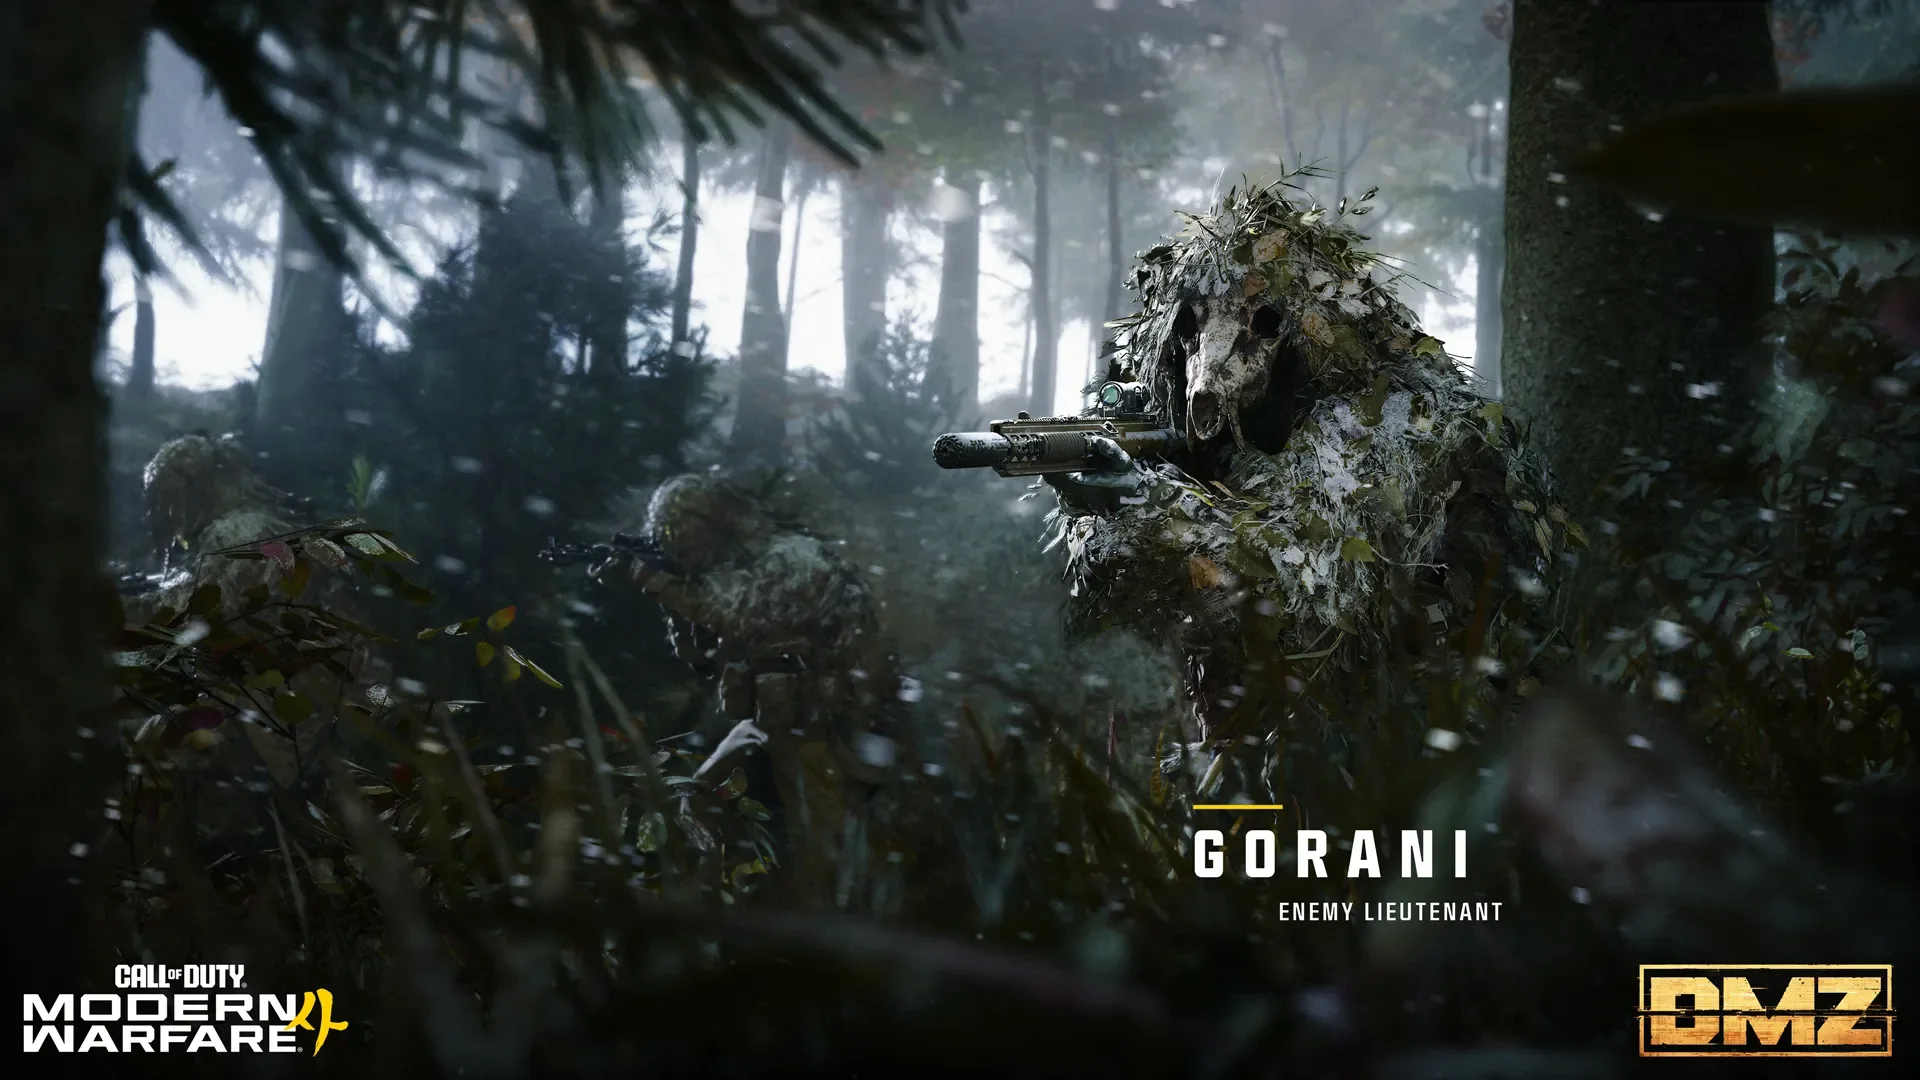
One way that works is to push straight through the camp with an assault rifle, close the distance, and keep firing into Gorani through the smoke. The kill brings up SIDE OP COMPLETE / KILL GORANI with +500 on the side-op line, and picking up the tag shows KILL CONFIRMED.
Gorani drops GORANI’S DOG TAG (LEGENDARY) and the INCISOR, a LEGENDARY marksman rifle based on the MAR-9 and worth $6,900. Gorani’s loot backpack held INFANTRY INVASION PLANS (UNCOMMON, VALUABLE, $1,000), which you can extract and sell at the FOB for cash, along with one Nitro Compounds (a 3D PRINTER ingredient for the Artillery Beacon and the Impact Warhead), an Armor Plate and 18 AR/LMG ammo.
Gorani has also been found in open forest in the SOUTH KOREAN WILDERNESS, tracked from a Lieutenant Hunt Tower: the side op reads “Reach the Lieutenant’s Location,” then “Kill Gorani.” The compass shows only the region there, with no point-of-interest name. Trees, bushes and smoke cover the ground, and Gorani fires from cover and is hard to see. One way that works is to move from tree to tree, close the distance and finish at short range. The kill shows SIDE OP COMPLETE / KILL GORANI and ELIMINATED LIEUTENANT. The drop in that match was a MAR-9 (RARE, MARKSMAN RIFLE, $1,700), the plain base of the INCISOR.
Jin-Tae at Heavenly Luck Casino
The LIEUTENANT / JIN-TAE / HEAVENLY LUCK CASINO banner comes up on the casino floor at HIGH threat, and Jin-Tae opens with heavy automatic fire. Get off the open floor, fall back into the back offices and fight it out from there; the HEAVENLY LUCK CASINO COUNTING ROOM door in that area is locked. The kill shows PAID INTEL: KILL JIN-TAE, and the dog tag pickup reads “Jin-tae’s Dog Tag.” The full guide to beating Jin-Tae covers the office fight and the loot.
Jang-ui at Netshin Tech Complex
Jang-ui holds NETSHIN TECH COMPLEX in The Grid at EXTREME threat. Take the interior stairwell to the upper floor, where the banner comes up, then fight into the server hall marked “14.” The kill shows PAID INTEL: KILL JANG-UI with +500 XP. Jang-ui can drop the PAEKTU (ULTRA, ASSAULT RIFLE, $11,200, built on the HYEON BURST, with five attachments) or a plain HYEON BURST (EPIC, $2,800). The full guide to beating Jang-ui covers the route and the attachments.
Warden at The Citadel and the 14th Political Prison
The Warden waits deep inside The Citadel (CRITICAL) behind a riot shield, with heavy waves of guards in the way. The Warden has also been met in the 14TH POLITICAL PRISON blocks (arrival card THREAT: HIGH): the LIEUTENANT / WARDEN banner comes up over the courtyard, and the fight is in a smoky mess hall, again behind a riot shield. In both spots, get close, flank the shield and shoot the Warden’s exposed side. The kill shows SIDE OP COMPLETE / PAID INTEL: KILL WARDEN with +500 XP. The Warden drops the INCARCERATOR or a plain X-58 NYX, plus Kang’s Dog Tag. The full guide to beating the Warden covers the prison fight.
Roze at DBN Headquarters
Roze fights from the rooftop terraces at the top of DBN Headquarters, among HVAC units, metal stairs and a radio mast, and one shot from that sniper rifle can down you. As you approach, climb the staircase using its rails for cover. The side op “Reach the Lieutenant’s Location” completes as you step onto the roof and switches to “Kill Roze”; the kill adds +500 XP. The full guide to beating Roze walks through the climb and the rooftop fight.
Roze can also be met indoors on the top floor of DBN Headquarters, in a machine room by the door out to the roof, reached by the elevator. The kill there shows PAID INTEL: KILL ROZE (+500). Roze’s cache held a LEGENDARY key, “Roze’s Highrise Armory” x1, and DEGRADED EXECUTION FOOTAGE (RARE, VALUABLE, $2000), which “Can be extracted and sold in the FOB for cash.” The ASTAROTH .57 (RARE, $6,400) dropped again.
Watch the sky while you fight: the DEATHSTALKER Commander patrols the same roof. The same rooftop kill is one of the steps in the Operation Grid Assault story mission.
The Chemist and the Haneul Nuclear Reactor radiation zone
The reactor’s radiation field has an outer yellow zone and a red inner core. The yellow area causes light damage, while the core rapidly damages gas masks. Take a gas mask with you and work out your escape route before entering.
The Chemist is met in a warehouse by the reactor tanks inside the radiation zone, where the banner reads LIEUTENANT / CHEMIST / HANEUL NUCLEAR REACTOR (HIGH). Bring Radiation Blockers (RARE, $100, “Mitigates Effects Of Radiation”). The guards wear dark hazmat suits; the Chemist wears a yellow one. The kill shows SIDE OP COMPLETE / PAID INTEL: KILL CHEMIST with +500 XP, and CHEMIST’S DOG TAG (LEGENDARY) drops on the body. A cache there held a COMMS MODULE (EPIC, 3D PRINTER, $1500) and a CONTROL UNIT (UNCOMMON, 3D PRINTER). The full guide to beating the Chemist covers the reactor fight.
DMZ Commander locations: Tank, Deathstalker and Colossus
When you get close to a Commander, a COMMANDER banner shows its name and the area. The Deathstalker moves around Hajin rather than holding one building, and Colossus has turned up in more than one place.
| Commander | Location | Threat | What it is |
|---|---|---|---|
| Commander Tank | Streets by Nurigo Mall | MEDIUM | Ground tank with cannon turret |
| Deathstalker | Roams: The Grid, NuriGO West, Compound Delta, DBN Headquarters | Varies by area (EXTREME at DBN Headquarters) | Attack helicopter |
| Colossus | The Armory; 14th Political Prison / The Citadel; South Korean Wilderness by Cheonwang Peak Array | Varies by area (EXTREME in The Armory) | Armored juggernaut with automatic fire |
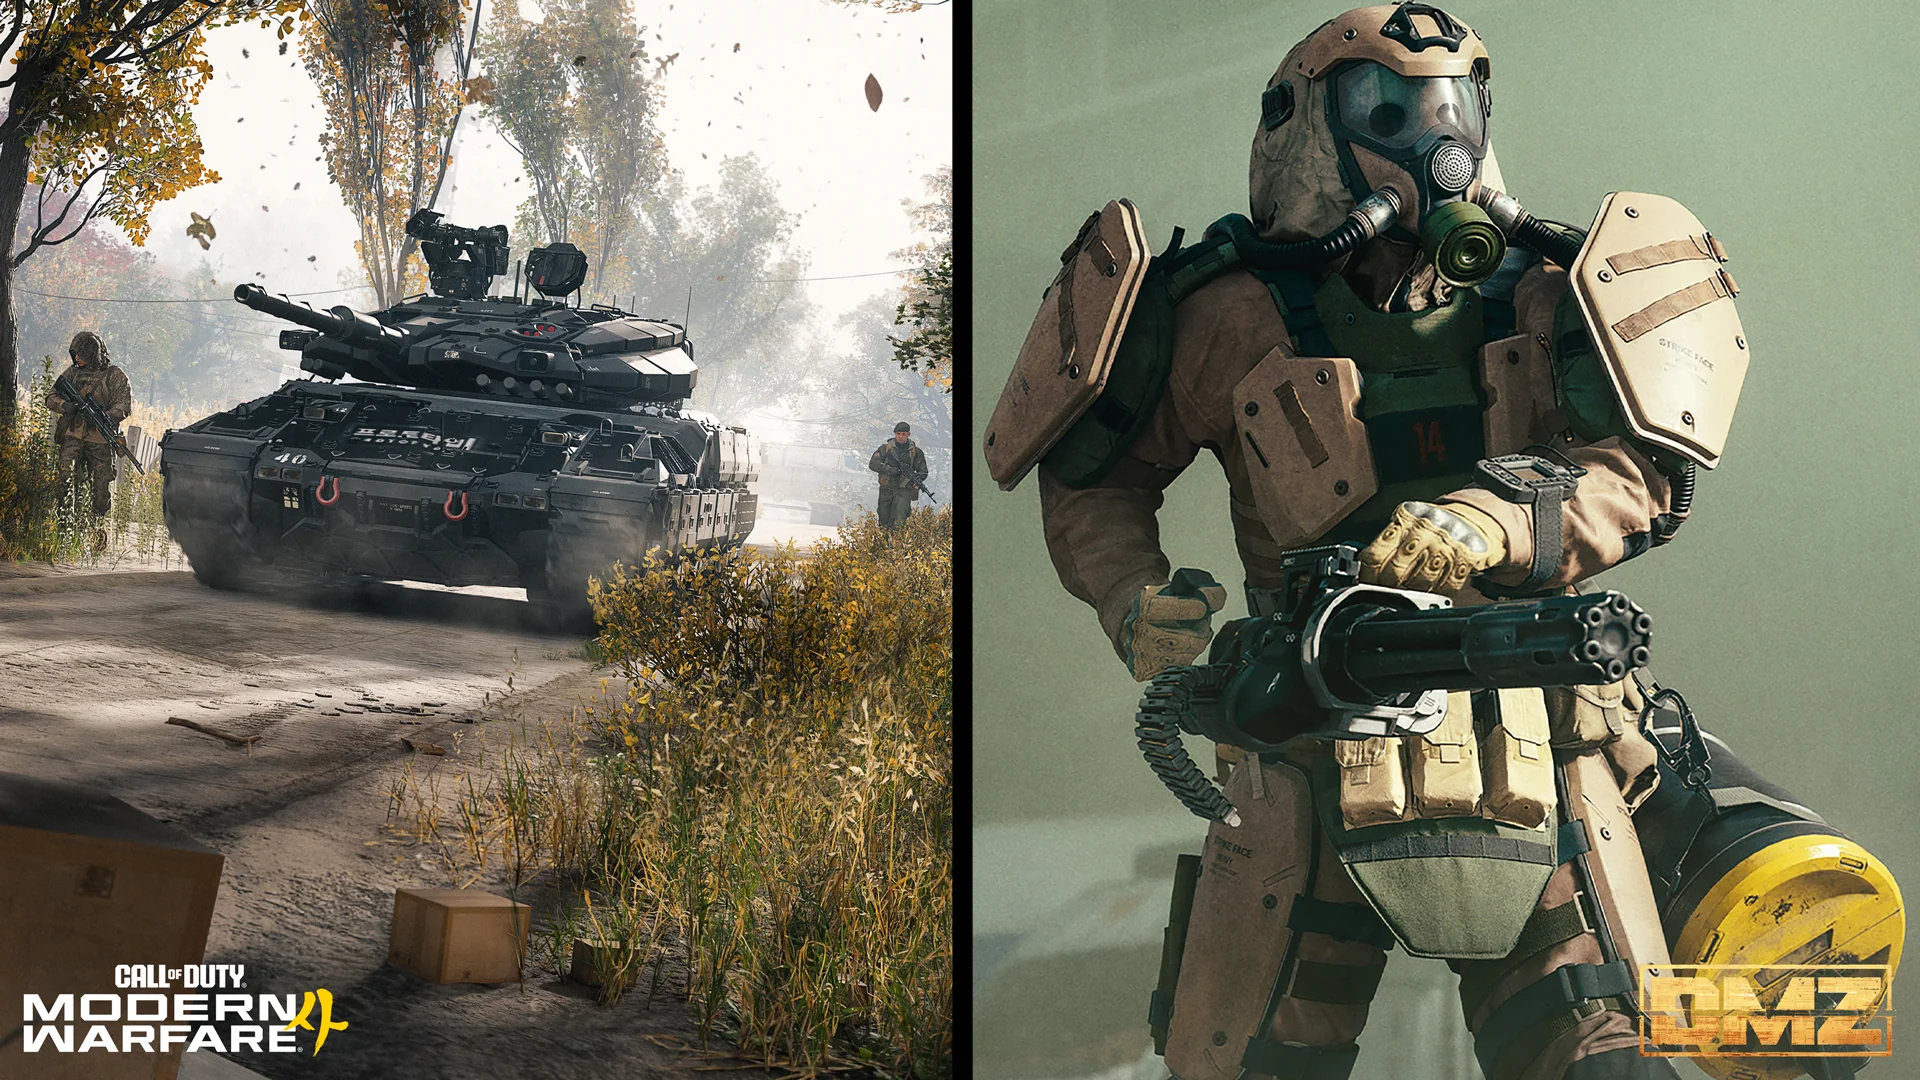
Colossus also shows up at 14TH POLITICAL PRISON, where the fight moves into The Citadel prison complex, and in the SOUTH KOREAN WILDERNESS at the gate of Cheonwang Peak Array. In The Armory he appears in MISSION: OPERATION IRON CITADEL during the “Explore the Armory” step, and his drop there is MILITARY COMPOSITES, a LEGENDARY 3D PRINTER ingredient worth $3500. You need it to print the Tempered Armor Vest and the Secure Scavenger Backpack. Colossus has also dropped Military Composites at Cheonwang Peak Array.
Commander Tank
Standard bullets are ineffective against it. Take rocket launchers and repeatedly strike the hull from cover, keeping clear of the turret’s firing line. Once destroyed, loot points are available at the front, back, and top.
Deathstalker
The Deathstalker roams Hajin. Its COMMANDER / DEATHSTALKER banner has appeared over The Grid, NuriGO West, Compound Delta and DBN Headquarters, where it strafes the roof. Keep steady automatic fire on the airframe to bring it down, and duck behind the rooftop doorways and railings between its passes. A captured SAM site can also shoot it down; the full Deathstalker guide walks through that method.
A scoped rifle is faster. On the DBN Headquarters helipad, sustained sniper fire into the cockpit and hull dropped one in about 25 seconds, and a second Deathstalker that showed up later over the broadcast tower went down the same way. The kill shows a DESTROYED DEATHSTALKER COMMANDER banner.
Colossus
Colossus is an armored juggernaut that keeps up automatic fire as it walks toward you. Don’t open with explosives: the game warns, “Careful, the Colossus’ suit makes him immune to explosive attacks like that.” Use sustained automatic fire from cover instead. The full Colossus guide covers the truck and stair setups.
In The Armory he holds the ground floor, standing in green gas at the foot of a metal stair. Climb to the stair landing and fire down on him: a sniper rifle (the Signal 50) plus squad rifle fire from that height killed him without anyone dropping into the gas. The kill banner reads ELIMINATED ARMORED COMMANDER, and an assist on the kill paid +1075 XP.
How to find a Lieutenant in DMZ
Paid intel is the direct route. After you buy it, the hunt shows up under SIDE-OPS as “Paid Intel: Reach <name>.” Once you’re close, it changes to “Paid Intel: Kill <name>.” Without intel, you can use a Lieutenant Hunt tower out in the field.
On the Boss Board, each Lieutenant card shows REWARD $10,000 and BUY INTEL: $25000; a bought card is tagged PURCHASED, and a claimed one shows CLAIMED.
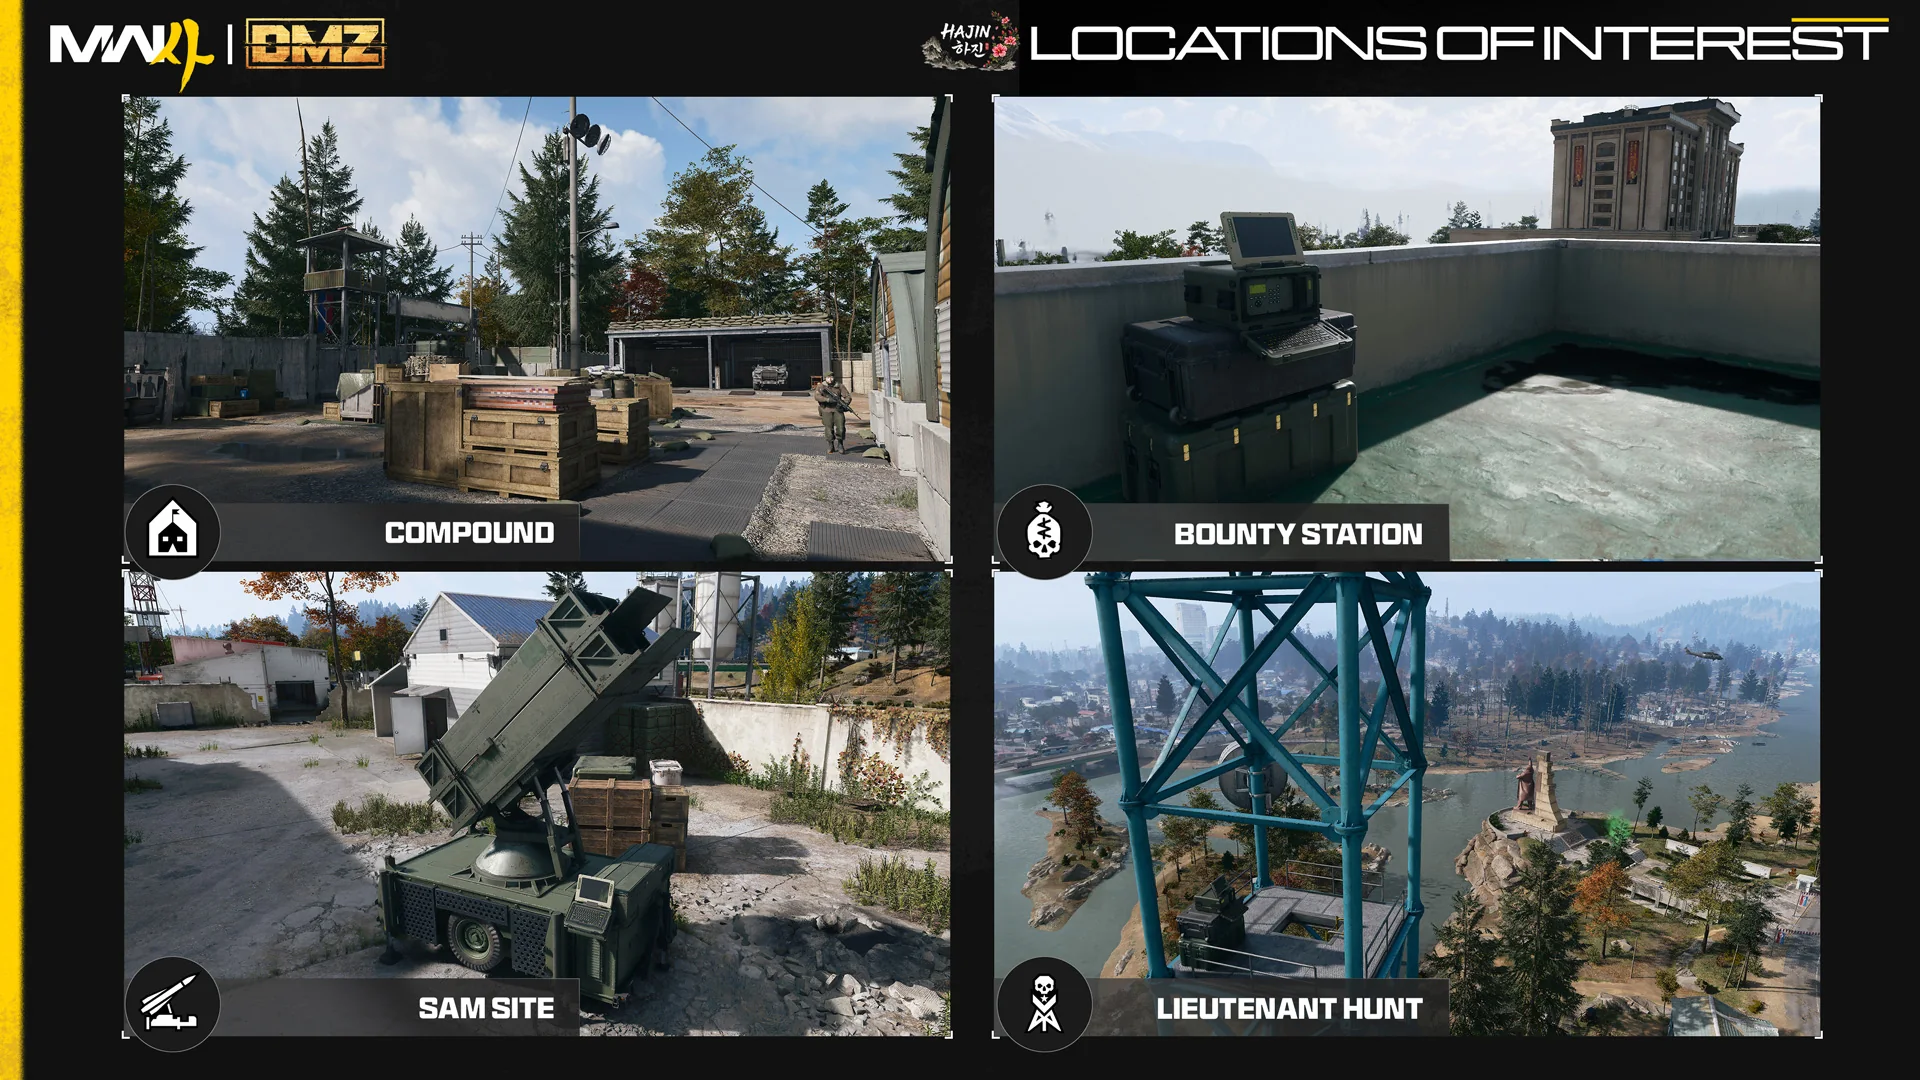
Pick up the LEGENDARY dog tag and anything else they drop, then get to an exfil. The tag only counts toward your Boss Board once you extract with it. Lieutenant dog tag cards read BOUNTY $25K, KILLER, TIME OF DEATH and “All other operators can see this case’s location on the tac map.”