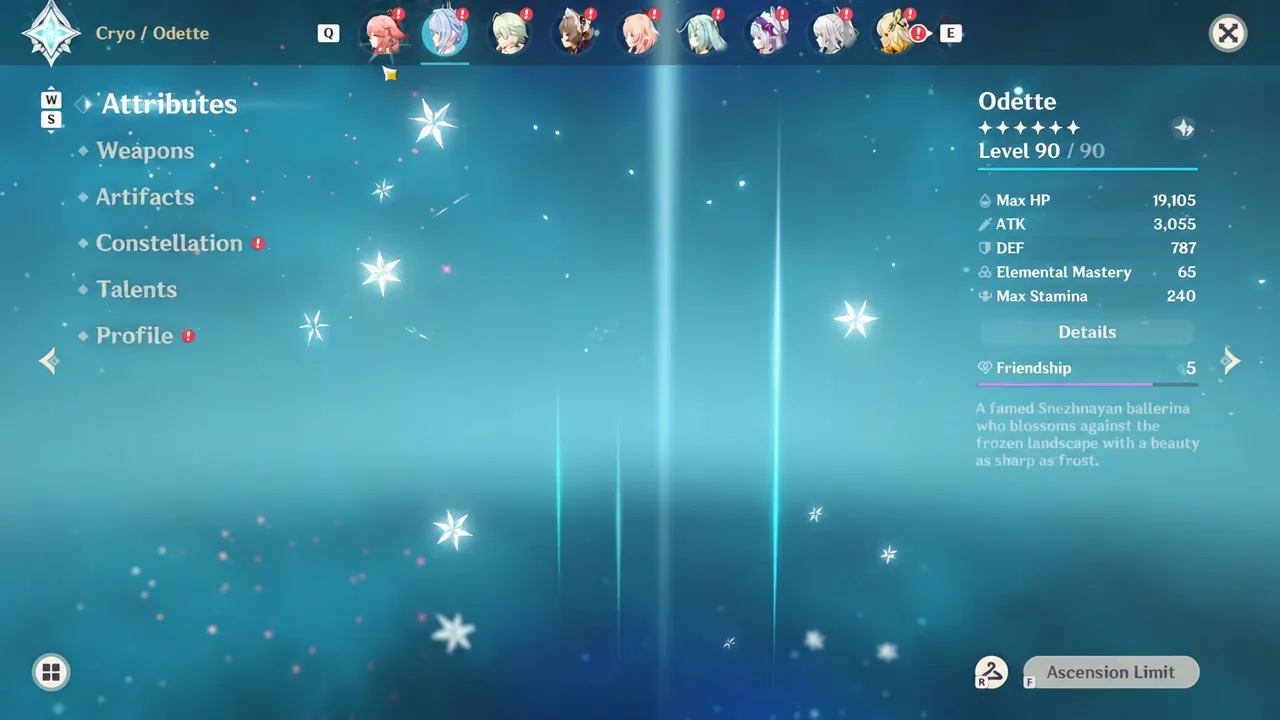
Odette is a 5-star Cryo sword user who spends almost all of her time off-field, feeding Stellar-Conduct and Stellar Swirl reactions to the rest of the party. Her damage is tied to ATK, but her ascension stat is CRIT DMG, which makes the circlet slot genuinely awkward. Do you keep piling on ATK%, or do you take the CRIT DMG headpiece and let her ratios do the work?
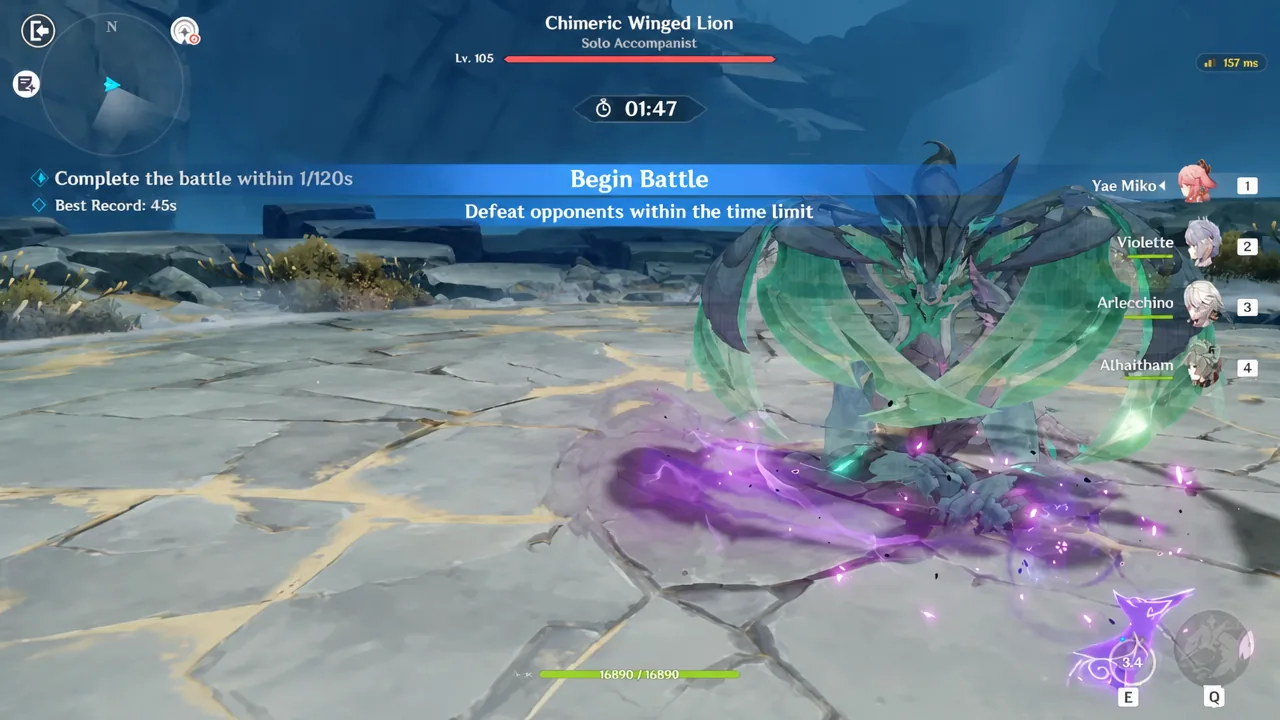
Quick answer: Use a CRIT DMG circlet with ATK% sands and ATK% goblet. In a timed run against the Chimeric Winged Lion, that setup matched the triple-ATK build’s 45-second clear while carrying 227.5% CRIT DMG instead of 177.0%, so you get the same result with far more headroom. Switch to a CRIT Rate circlet only if your CRIT Rate would otherwise sit below roughly 50% before Cryo Resonance.
Circlet main stat test: ATK% vs CRIT DMG on Odette
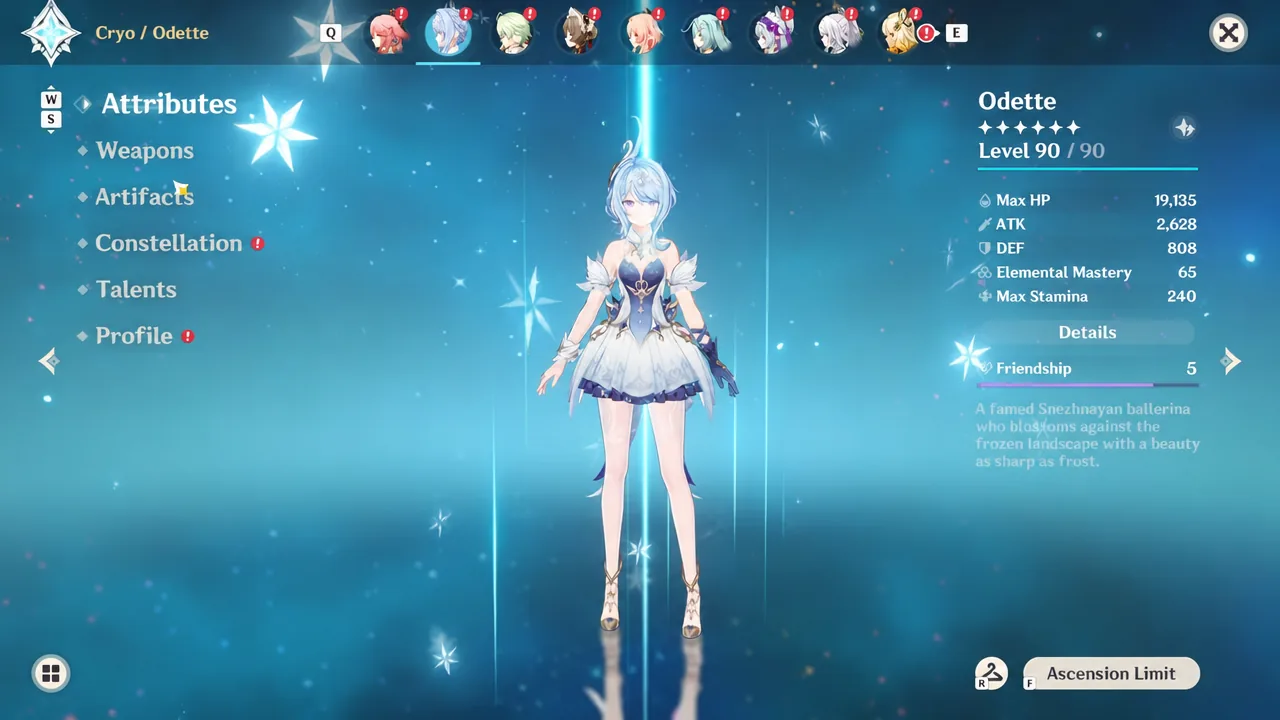
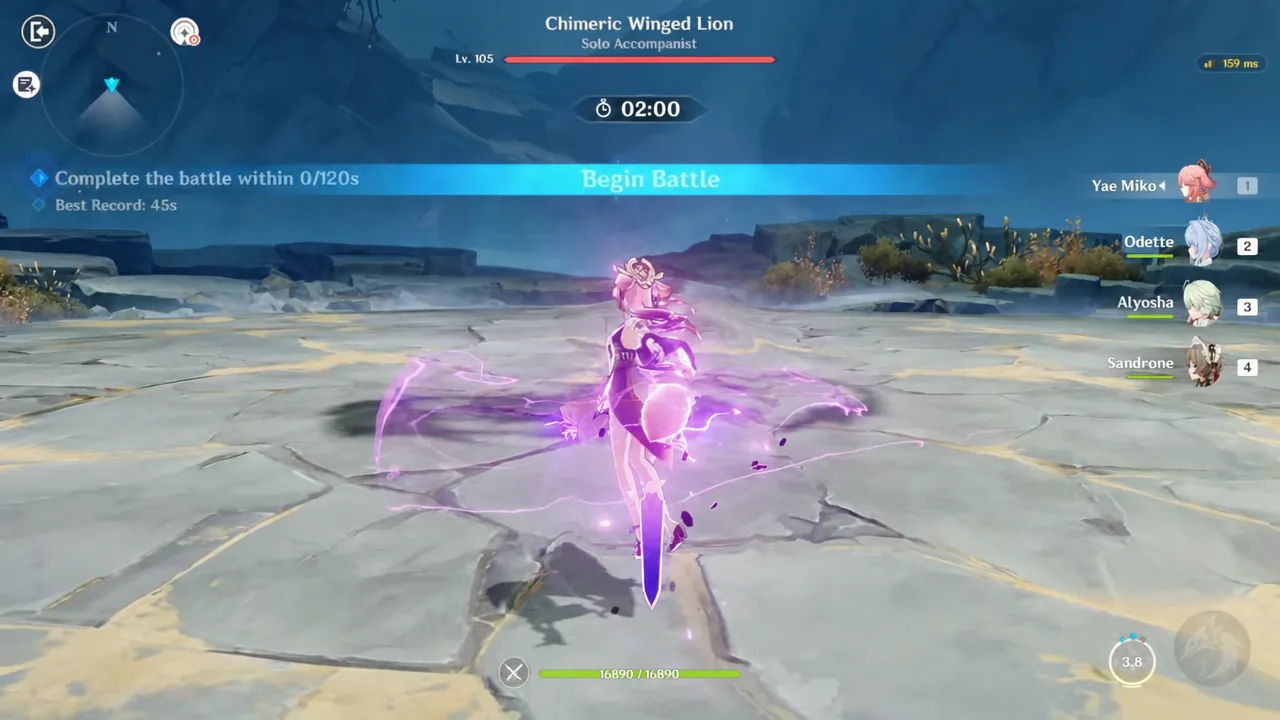
The comparison held everything else constant. Odette ran 4-piece Heart of the Furnace with a Level 90 Whitelake Frostfeather at Refinement Rank 1, in a team of Yae Miko, Myosha, and Sandrone, against the Chimeric Winged Lion (Solo Accompanist) at Level 105. Only the main stats on the sands, goblet, and circlet changed between runs.
| Stat | ATK / ATK / ATK | ATK / ATK / CRIT DMG | EM / ATK / ATK |
|---|---|---|---|
| ATK | 2,628 | 2,628 | 2,593 |
| CRIT Rate | 75.3% | 77.6% | 72.9% |
| CRIT DMG | 177.0% | 227.5% | 180.9% |
| Elemental Mastery | 65 | 65 | 228 |
| Max HP | 19,135 | 19,135 | 19,319 |
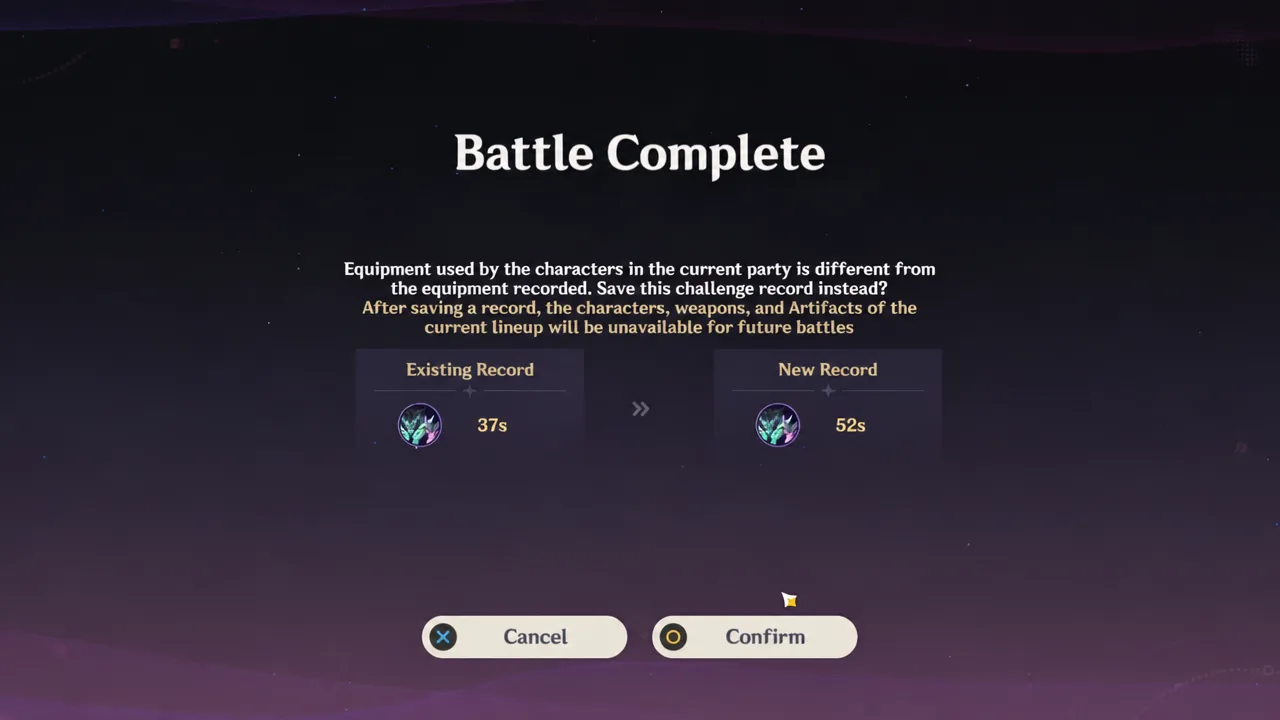
| Clear time | 45 seconds | 45 seconds | 48 seconds |
Two things stand out. The ATK% and CRIT DMG circlets finished the fight at exactly the same time, so neither is a trap. The Elemental Mastery sands version was the slowest of the three by three seconds, despite gaining 163 Elemental Mastery, because it gave up ATK and CRIT Rate to get there.
Why CRIT DMG is the better default circlet
A tie on the clock is not a tie on value. The CRIT DMG build reached the same time with 50 percentage points more CRIT DMG in reserve, which means every future substat roll and every team buff scales harder from that starting point. It also finished with a healthier 77.6% CRIT Rate, so it was not crit-starved.
The circlet should always carry CRIT of some kind. Pick between CRIT Rate and CRIT DMG based on whichever produces the better ratio on your specific pieces. Odette’s ascension stat already hands her CRIT DMG, and Cryo Resonance adds another 15% CRIT Rate in a double Cryo team, so most players land on the CRIT DMG headpiece and cover rate with substats.
Note: an ATK% circlet is not a mistake if that is the only well-rolled piece you own. It clears at the same speed. It just leaves less room to grow.
Sands and goblet: keep both on ATK%
Odette’s passives are the reason ATK dominates the other two slots. Pathetique of Pateticheskaya adds 1.5% Stellar Glimmer damage for every 100 ATK she has above 1,000, capped at a 30% increase. Dance of Aurore separately raises the base damage of the converted Stellar reaction by 0.7% per 100 ATK, up to 14%. Both of those read your total ATK, including her summoned Solo Dance Double‘s contribution to the team’s reaction layer.
Elemental Mastery is not dead weight, but it is a second-tier stat here. It only becomes close in value once Odette is already sitting around 3,000 ATK, and it still trails slightly behind. The 48-second run shows what happens when you take it before you have the ATK to spare.
Artifact set and substat priority for Odette
Heart of the Furnace is the default. Two pieces give 18% ATK, and the four-piece adds 12% ATK for 12 seconds whenever she triggers or deals Stellar Glimmer reaction damage, plus a 50% Stellar Glimmer reaction damage boost for every nearby party member. Both halves work while she is off-field, and the team-wide portion does not stack with a second wearer, so she should claim it if nobody else on the team is using it.
| Slot or stat | Recommendation |
|---|---|
| Sands | ATK% |
| Goblet | ATK% |
| Circlet | CRIT DMG (CRIT Rate if your ratio is short) |
| Substats | CRIT Rate and CRIT DMG > ATK% > Elemental Mastery > Energy Recharge |
| Alternate set | Disenchantment in Deep Shadow in Stellar-Conduct teams; Tenacity of the Millelith in ATK-scaling teams |
Disenchantment in Deep Shadow raises Superconduct damage by 80% and Stellar-Conduct damage by 40%, with a 16% CRIT Rate bonus when attacking affected enemies, but it does nothing in a Stellar Swirl team. Tenacity of the Millelith is worth considering when your damage dealers scale on ATK, since her 20-second Solo Dance Double duration keeps the buff up comfortably.
Stat targets to aim for
| Stat | Target on the character screen |
|---|---|
| ATK | 2,400 to 3,000 (2,000 to 2,500 is already workable) |
| CRIT Rate | 50% to 75% before Cryo Resonance |
| CRIT DMG | 150% to 180% at minimum, higher is better |
| Elemental Mastery | 150 to 200, only after ATK and CRIT are settled |
| Energy Recharge | 100% is fine; up to 130% only if your rotation has room for her Burst |
| HP | Around 17,000 to 20,000 as a natural byproduct |
Those numbers are read before buffs from her own set effect, her teammates, or Cryo Resonance. Energy Recharge is the stat most players over-invest in here. Odette’s Burst has a long animation, and in most rotations skipping it is the correct call, so Energy Recharge only becomes a requirement in teams that leave a gap large enough to cast it every cycle.
Weapons that fit the ATK and CRIT build
Weapon
Why it works
Whitelake Frostfeather
Her signature. 674 base ATK, 22.1% CRIT Rate, stacking ATK on Skill hits, and +50% CRIT DMG on her Stellar Glimmer reaction damage at three stacks. Best for her personal output.
Emberwell
Craftable 4-star with 165 Elemental Mastery. Adds ATK and Stellar Glimmer reaction damage after any reaction, and works off-field. Her strongest 4-star option.
Exaiphanes Blade
Free sword with 608 base ATK and 33.1% CRIT Rate. She cannot use the passive, but the raw stats carry it. Give it to the Traveler first if you play them.
Freedom-Sworn
Trades personal damage for a team ATK and Normal Attack buff. The damage bonus does not apply to Stellar reactions.
Xiphos’ Moonlight
Support pick that spreads Energy Recharge to the party based on her Elemental Mastery.
How to confirm your build is landing
The short version: is that Odette is forgiving to build. Her Elemental Skill does the heavy lifting, so talent levels go there first, and her artifact plan comes down to stacking ATK in the sands and goblet, then letting the circlet decide whether you want raw multiplier or a cleaner ratio. Elemental Mastery is the one stat that punishes you for taking it early, and only becomes competitive once your ATK is already high.