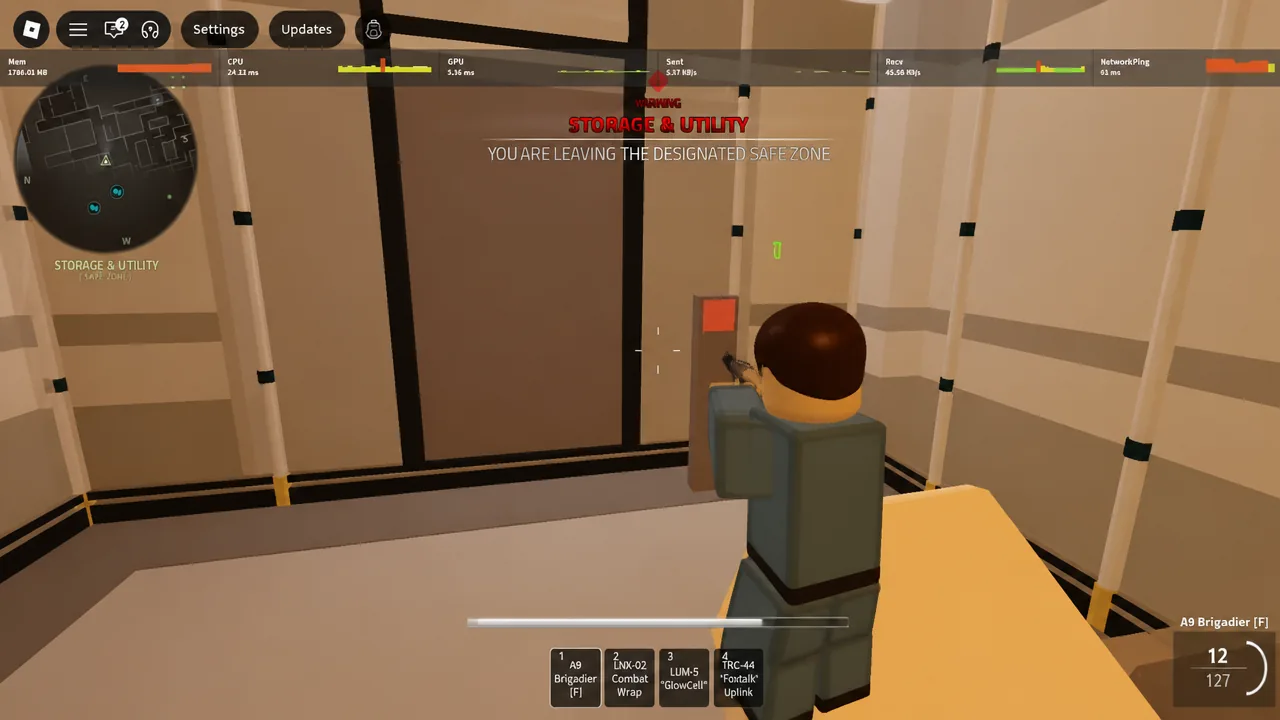
The Examination Underequipped badge comes from an unclassed, teammate-free endurance attempt inside the nuclear power plant. It is awarded as soon as you cross the Sector 3 gate, making the key task to get through the opening sectors with the default loadout and conserve ammunition.
Quick answer: Create a private solo server without choosing a class. Complete the Sector 1 and Sector 2 objectives, avoid the Gilbert boss, and unlock the Sector 3 gate. Entering that sector awards the badge.
Underequipped badge requirements
Three conditions must all be true for the run to count. Miss any one of them and the badge will not register even if you reach Sector 3.
| Rule | Detail |
|---|---|
| Server | Solo private server. No one can join at any point. |
| Loadout | Classless. Do not select any base class. |
| Goal | Reach and enter the Sector 3 entrance alive. |
The run does not have to be deathless, which is what makes the whole strategy possible. Completing it awards the SPECIAL-FORCES classes and a rank upgrade. To start correctly, walk into the utility room and use the private server teleporter so nobody can drop in and void the attempt.
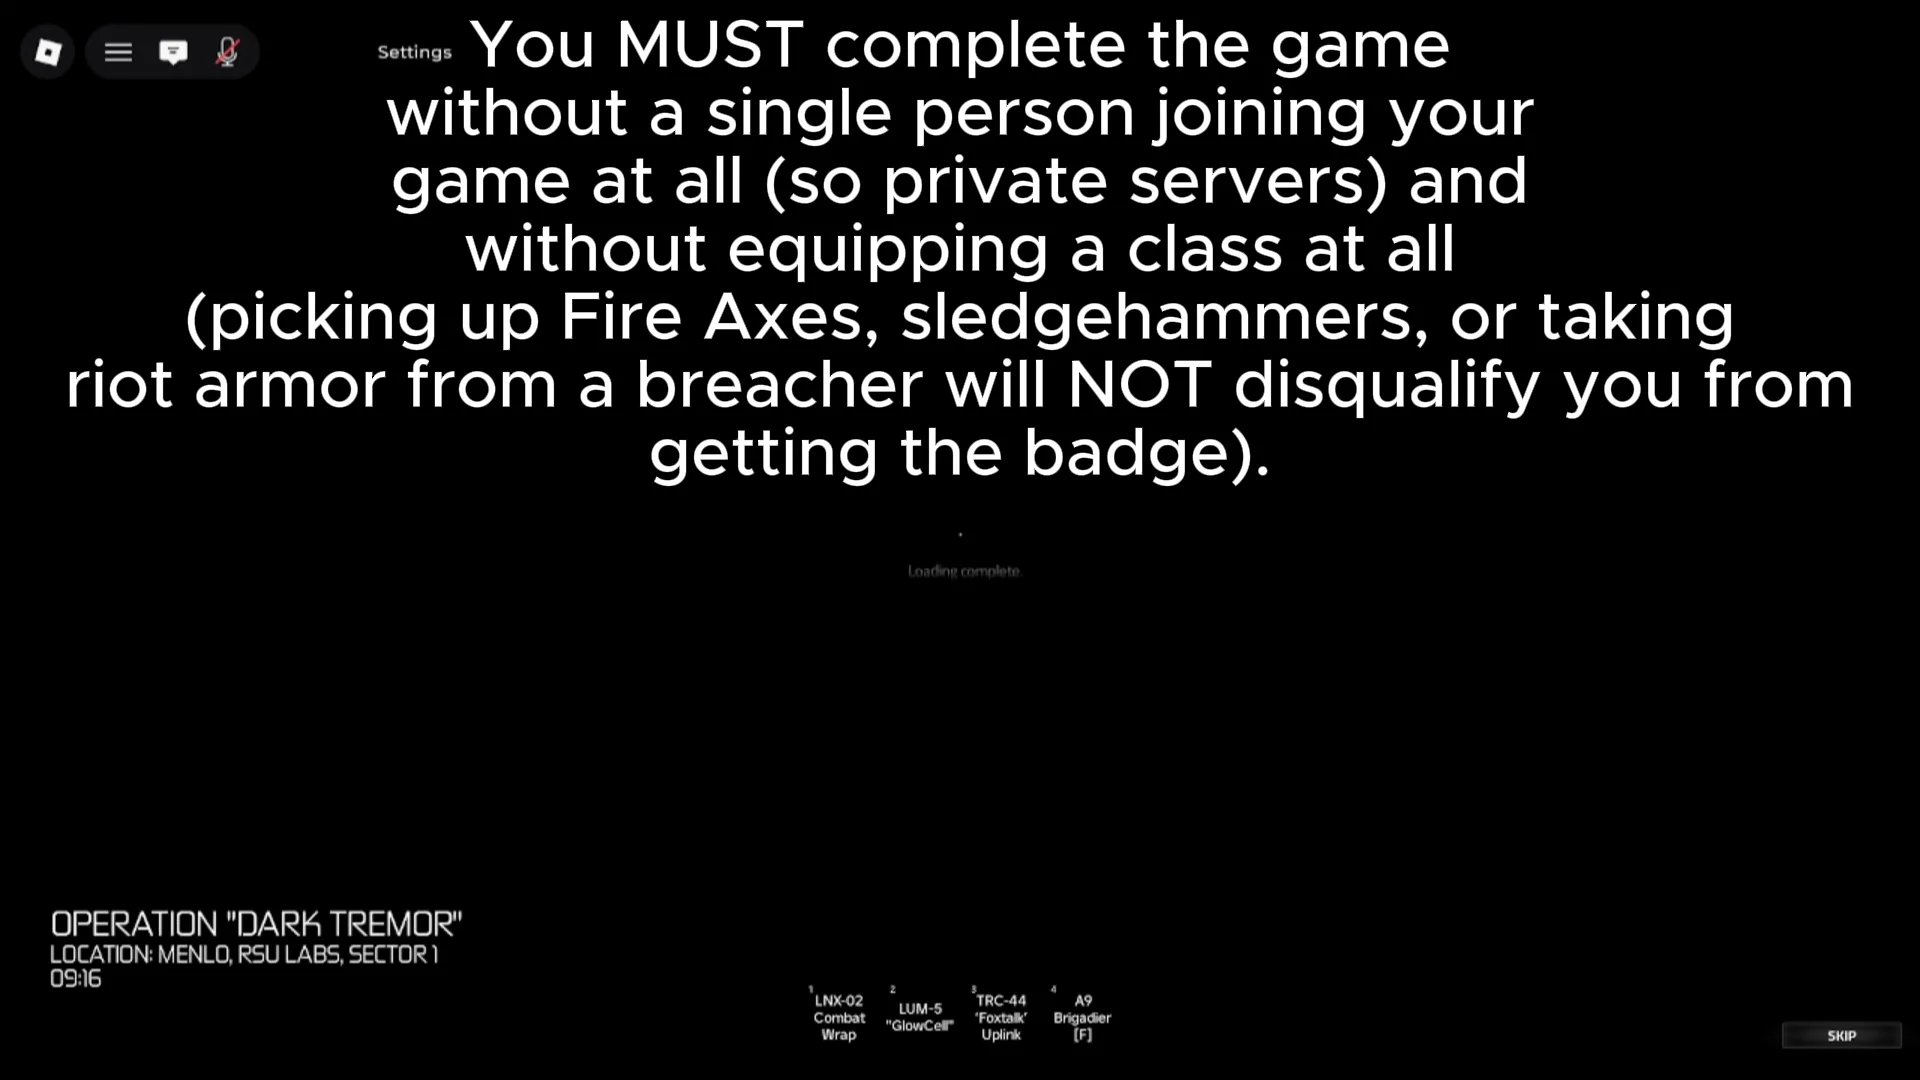
Prepare before you start the run
A little preparation removes most of the pain from a classless attempt. Since you are stuck with the default A9 Brigadier pistol and whatever you loot, ammo control and visibility matter more than anything.
- Complete Yuri’s quest first to unlock Night Vision, which makes the unlit corridors far easier to read.
- If you have access to better weapons, run Antonio’s mission beforehand.
- Aim for headshots. Human and armored enemies have high health and heavy damage.
- Loot lockers and ammo crates along the route for extra supplies.
- Close doors behind you to block crawlers and stop enemies from teleporting in.
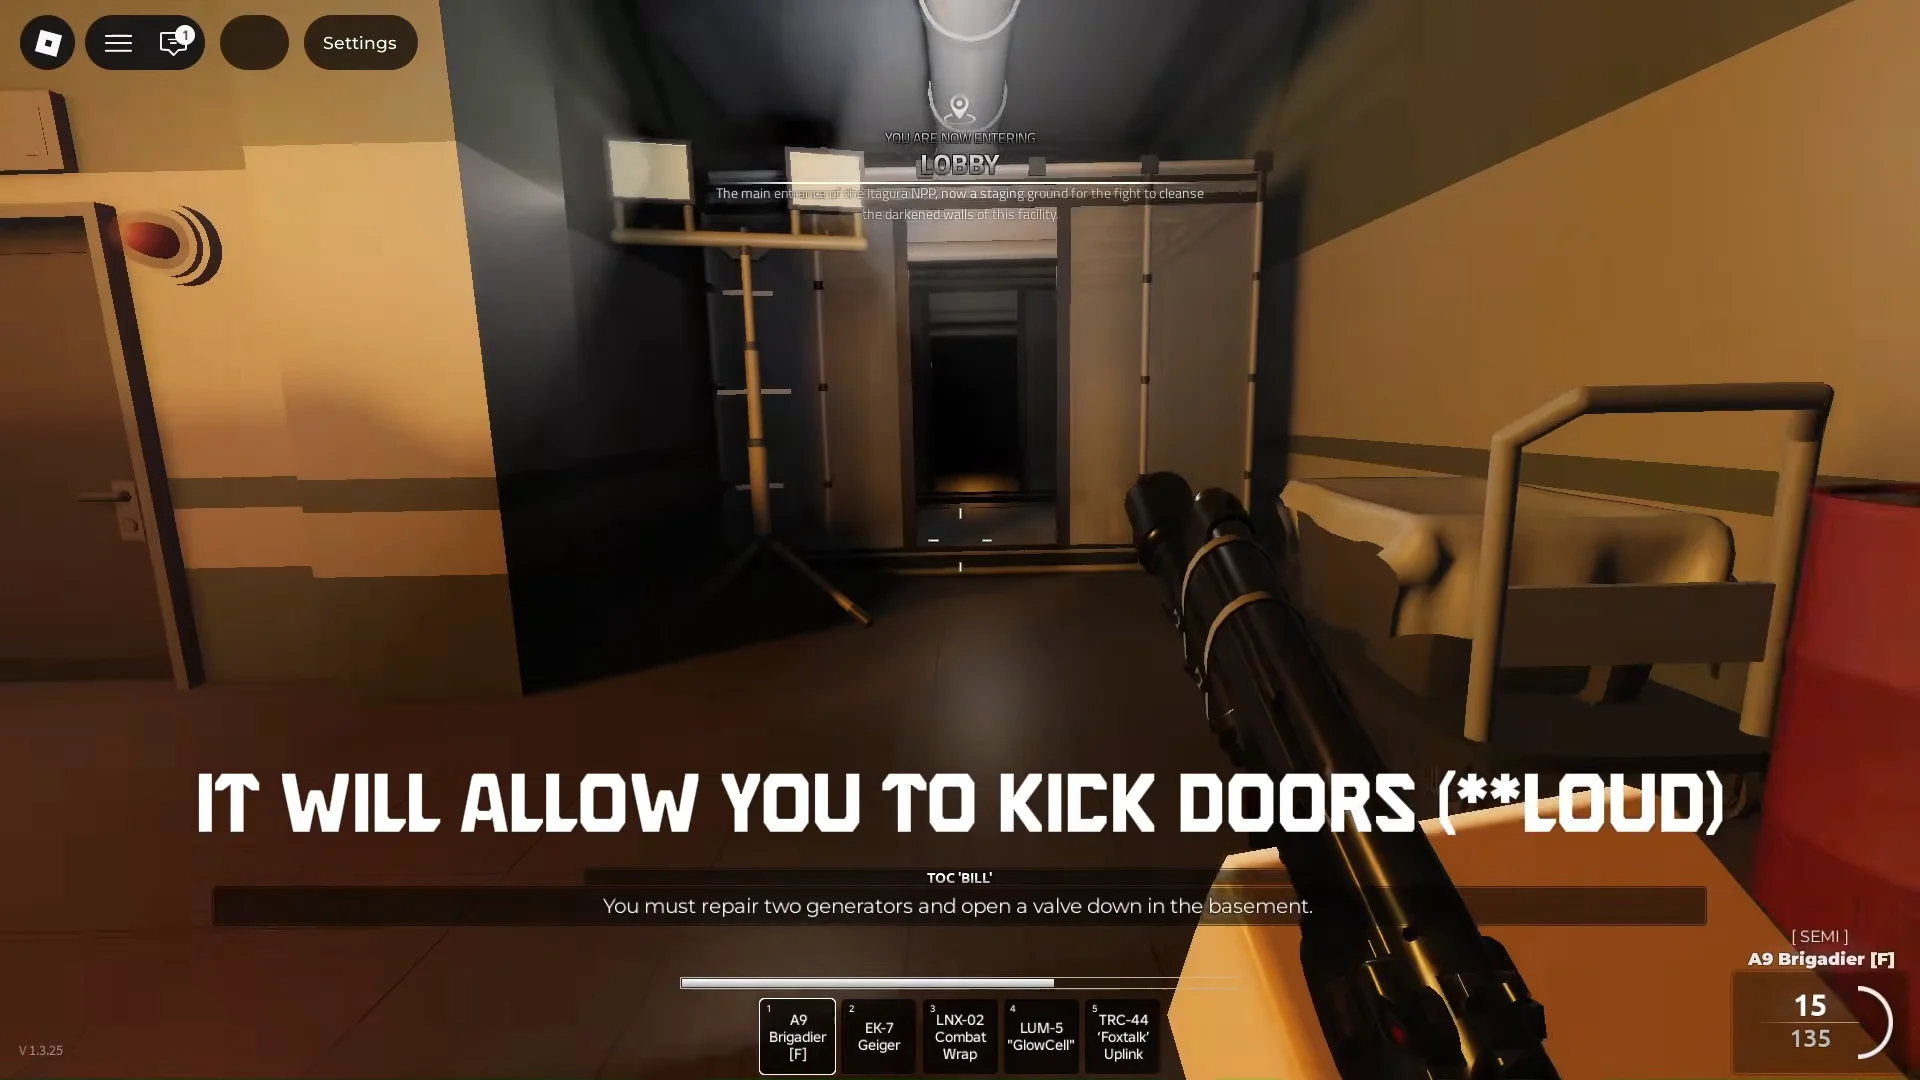
A Deceiver can take the form of a teammate and kill you in one hit. Since a solo run has no actual teammates, assume every figure that looks like a player is an enemy.
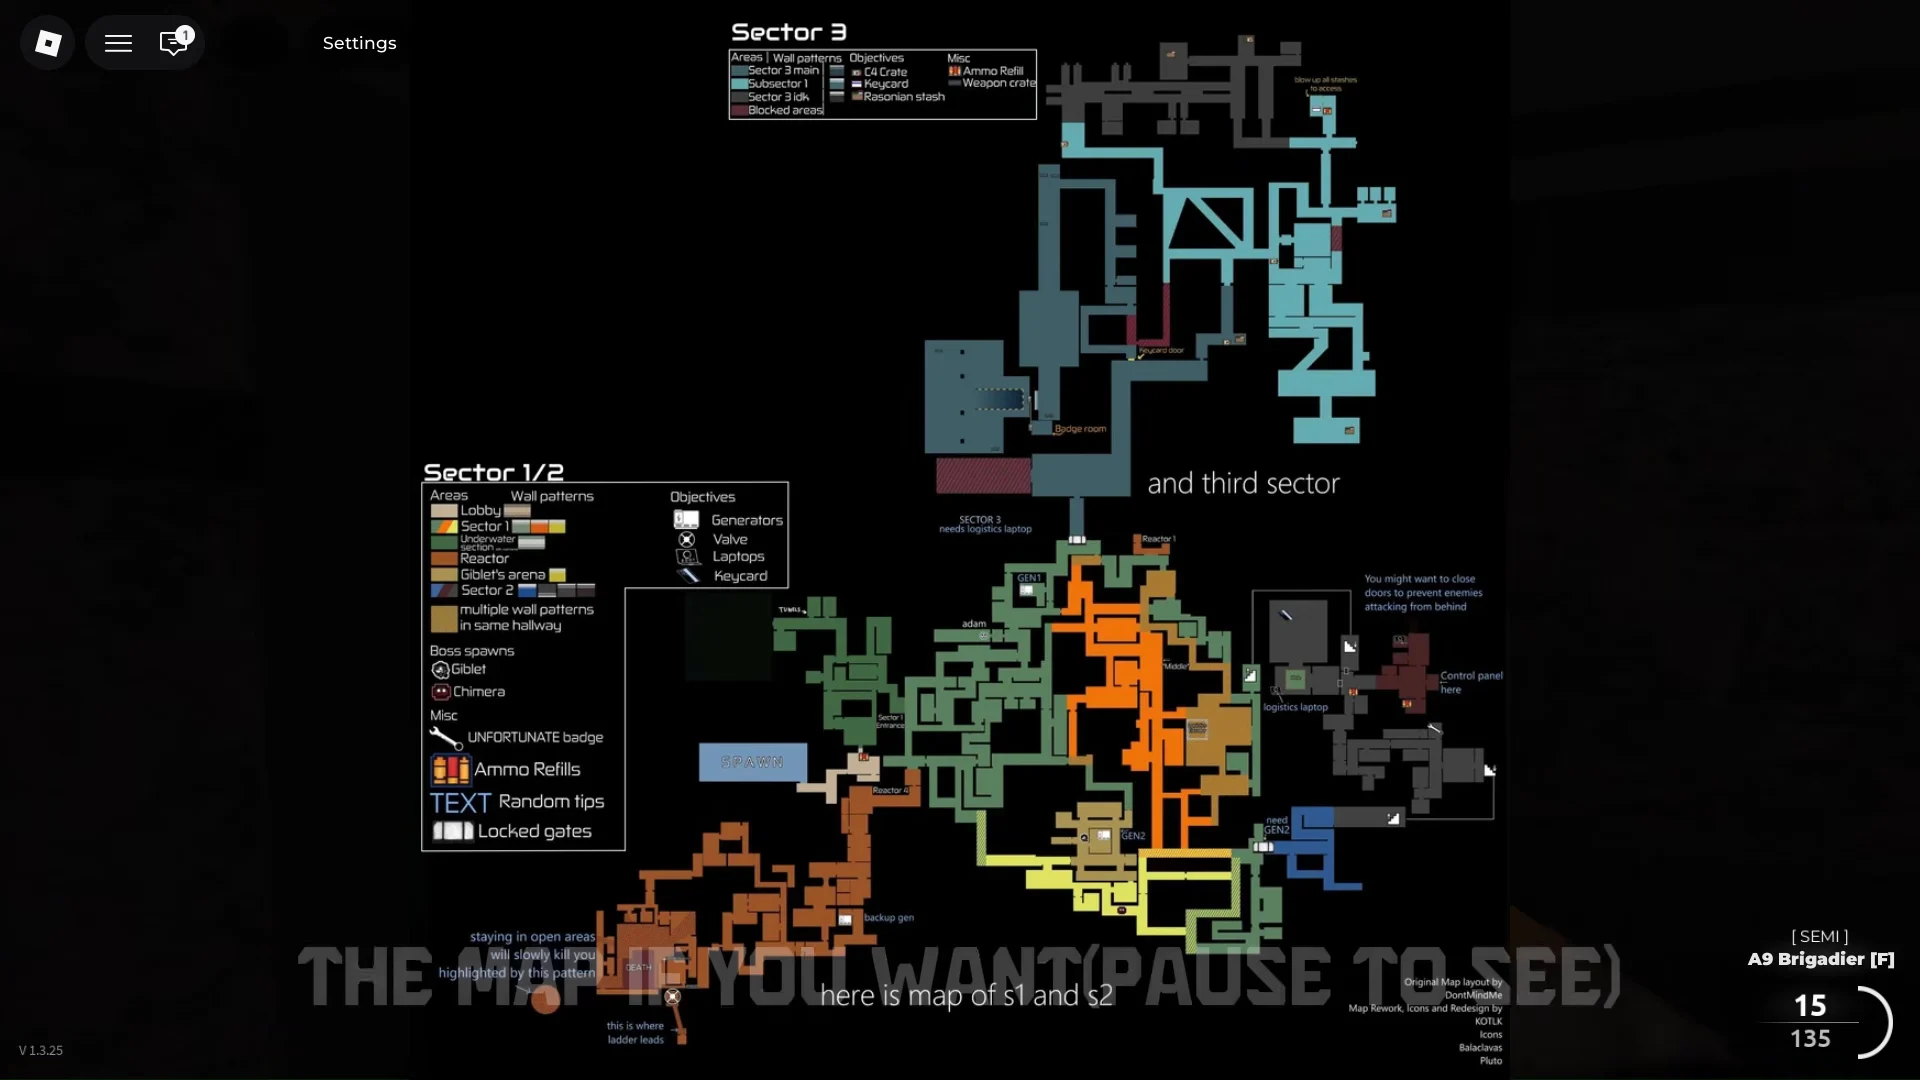
Sector 1: generators and the Reactor 4 valve
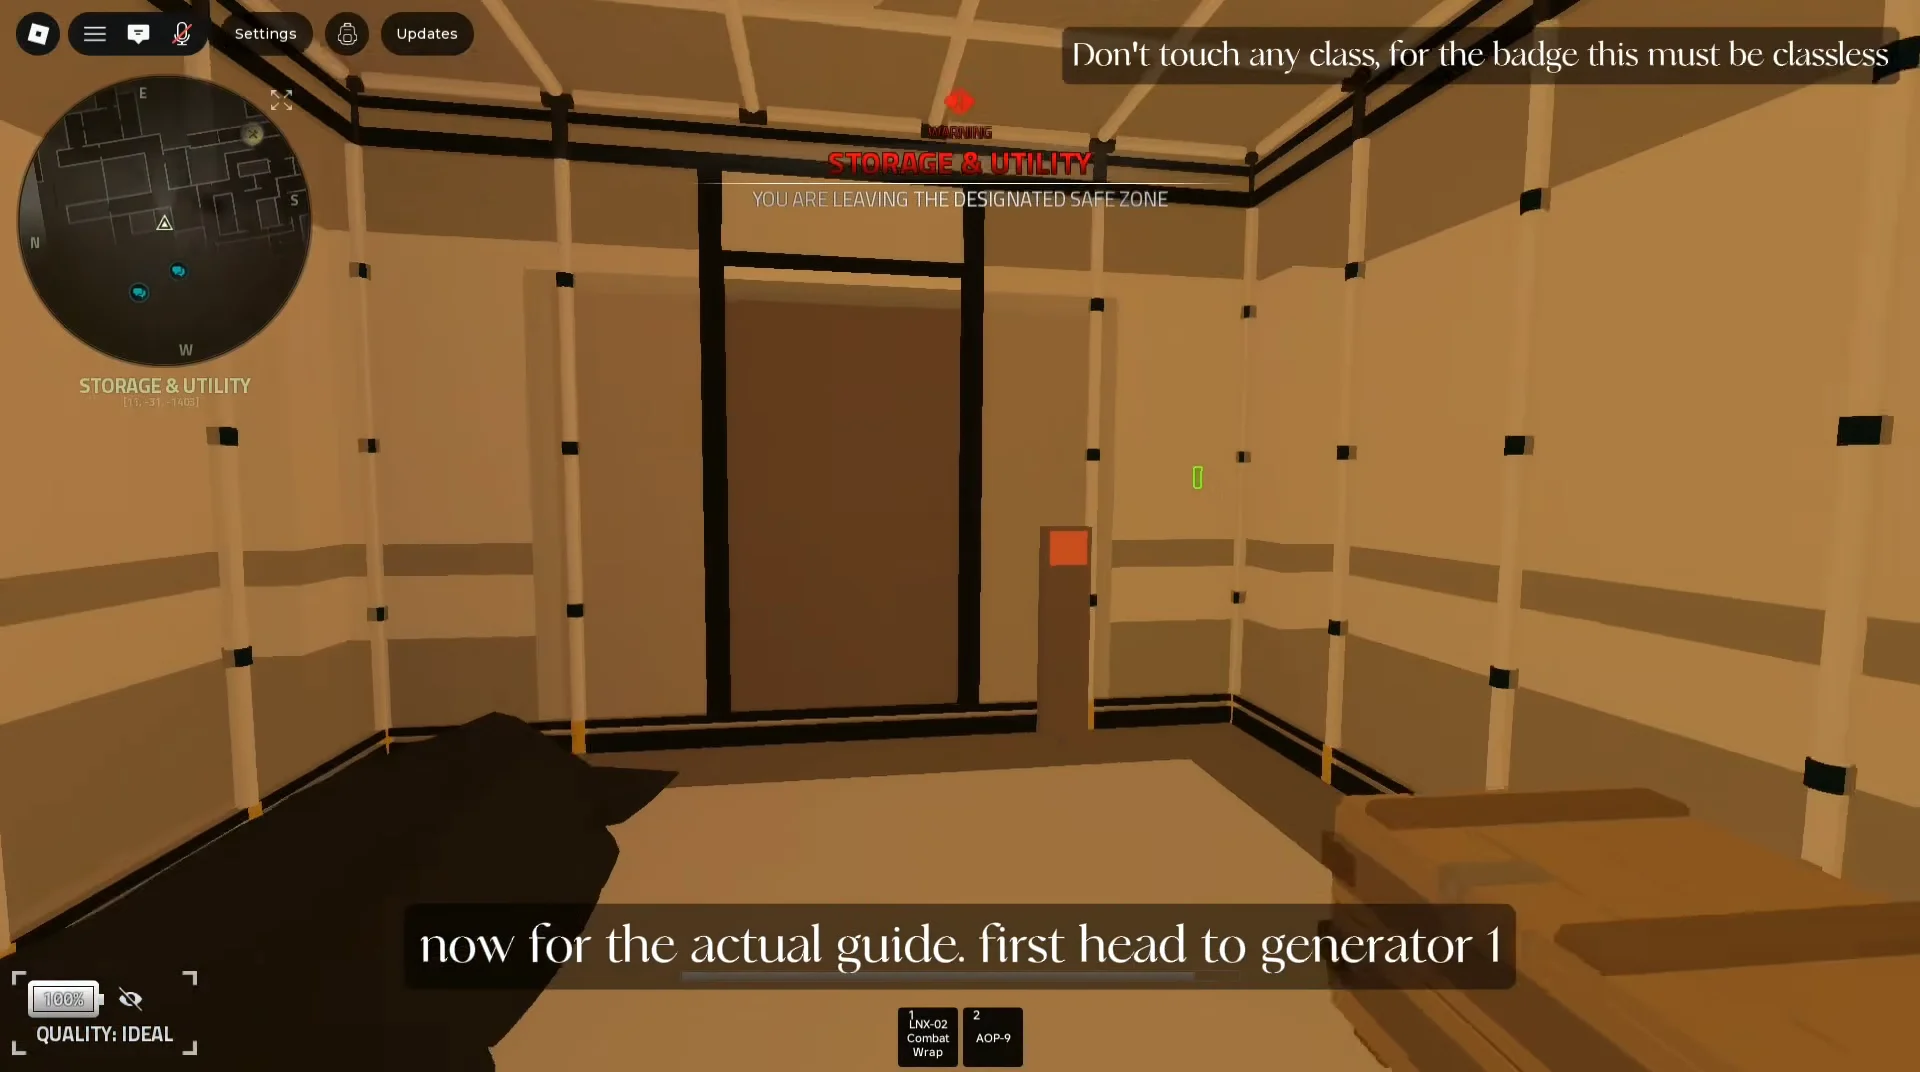
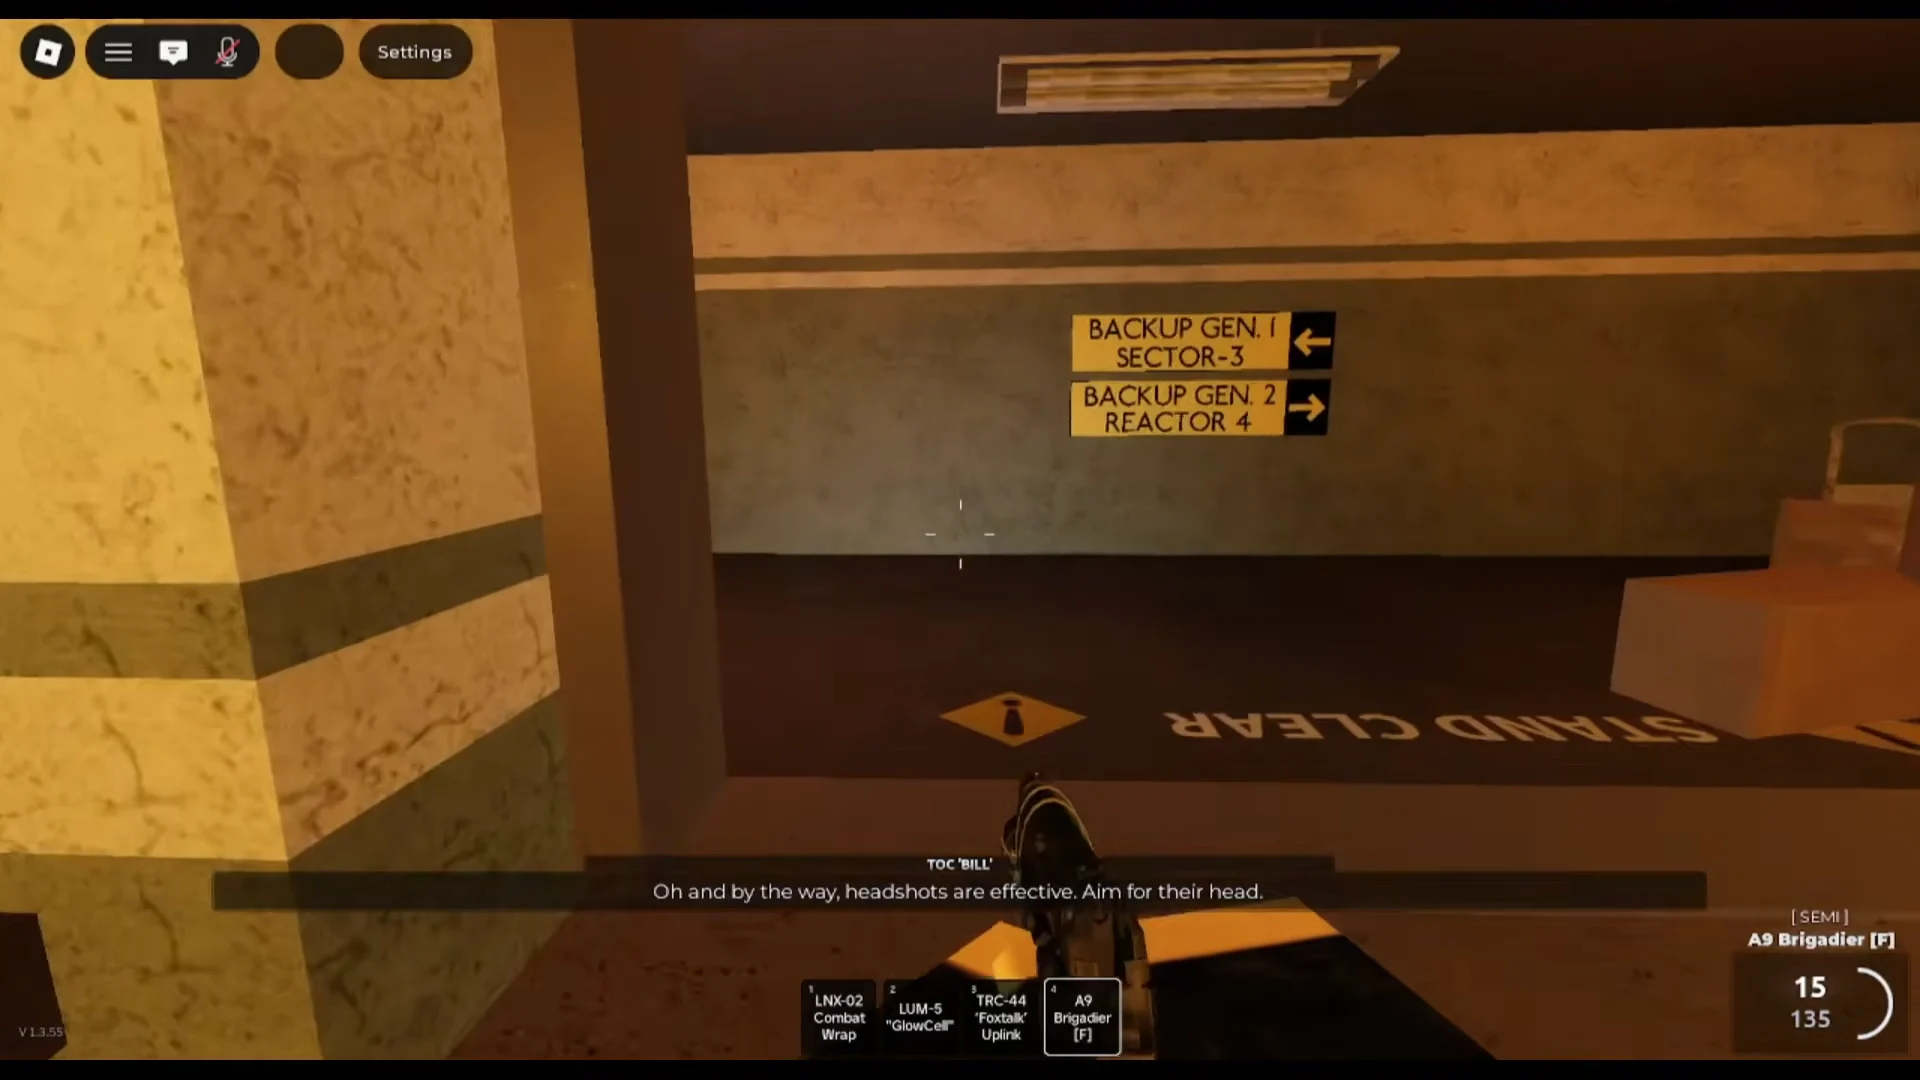
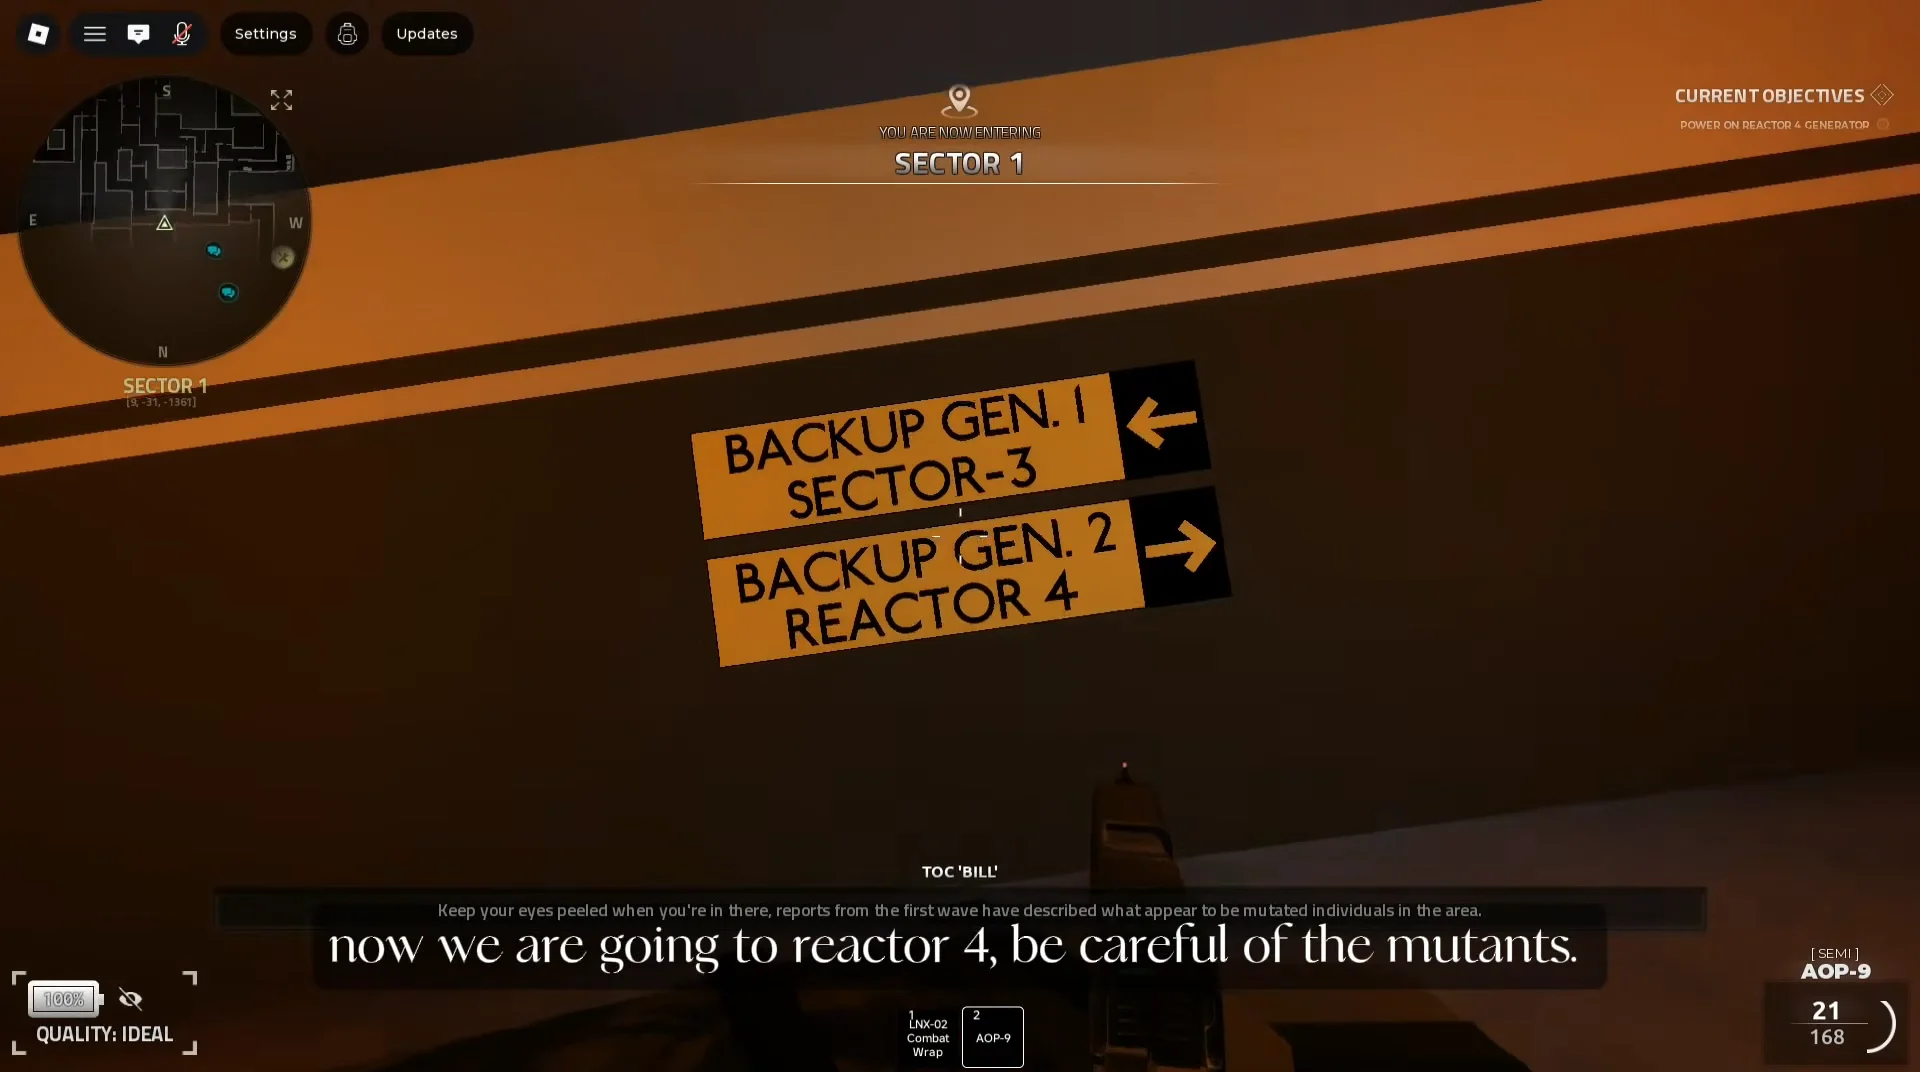
Do not look at the black pillar in the Molten Reactor room. Looking at the core anomaly kills you, though that can also be used deliberately as a fast respawn.
Use the death shortcut to restock ammo
Because deaths do not reset badge progress, dying on purpose is a legitimate tool rather than a setback. After turning the valve, let yourself die. You respawn back at the staging area with full ammunition and a much shorter run to the next objective.
From the spawn, sprint back through Sector 1 toward Generator 2. Keep the main sector door shut behind you, since it is the most important one to control during the whole run.
Handle the Gilbert boss and power Generator 2
Gilbert is the shotgun-wielding boss patrolling the yellow corridor near Generator 2. You do not have to win a straight fight, and there are two reliable ways past him.
- Open the Generator 2 door to alert him, then retreat and loop around office furniture until he wanders away.
- Bait him into firing and back away to the spawn barrier, where spawn protection finishes him off.
Once Gilbert has cleared the room, run in and boot Generator 2 on the pipe valve. The intercom confirms Sector 2 is now open. Head to the large blast door labeled Sector 2, clear the heavy armored soldiers outside with headshots, and press the red button to open the checkpoint.
If the fight or the loop fails, expect to reset and try again. Persistence through repeated deaths is a normal part of getting past Gilbert.
Sector 2: laptops, the Armory, and stealth
Reach the Sector 3 gate to unlock the badge
Entering the area is enough to claim the badge; no further survival is required for it to count. The “UNDEREQUIPPED” award will appear on screen, while your Codex will show the badge as unlocked and give you access to the SPECIAL-FORCES classes. That notice confirms the run is finished.