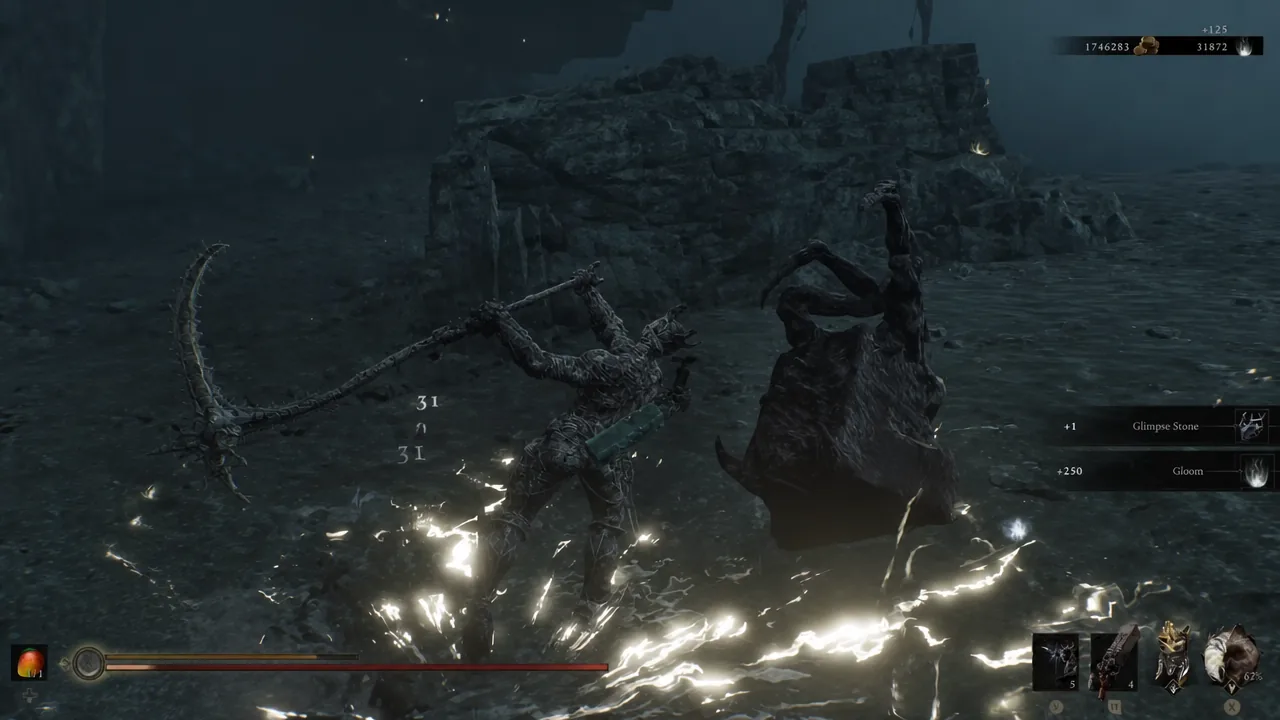
Glimpse is the currency that raises a Shell’s Bonding Tier at the Shellkeeper’s Vault, and a normal playthrough of Mortal Shell II simply does not hand out enough of it. Cleansed Beacons, Corrupted Gates, and Gloom siphoning Ova in Marrow Keep together cover about three Shells. Everything past that comes from one repeatable source: the Glimpse Stone.
Quick answer: Equip a Glimpse Stone, defeat 20 enemies to break it for 3 Glimpses, and restock stones by killing the Lithopods just outside the Chamber of the Forsaken beacon in The Unfound Path.
How the Glimpse Stone works
The Glimpse Stone is a Fragile Tarstone added in the Week 1 Update. Unlike unique Tarstones, it is not a one-off pickup, and it does nothing while it sits in your inventory. It only pays out when it shatters, which happens the moment its durability hits zero after 20 enemy defeats. The break message reads “FRAGILE TARSTONE BROKEN,” and the Glimpses land immediately.
| Detail | Value |
|---|---|
| Type | Fragile Tarstone (non-unique) |
| Durability | 20/20, one point per enemy defeated |
| On break | Grants 3 Glimpses |
| How to get | Lithopod drops in The Unfound Path, or purchase from Merrick |
| Stacking | Only one Fragile Tarstone can be equipped at a time |
Because Fragile Tarstones do not stack, you cannot speed this up by wearing several stones at once. The total time it takes to convert stones into Glimpses is fixed by the 20-kill requirement, so the only real variable is how quickly you can kill 20 things.

Requirement: Unlock The Unfound Path
Glimpse Stones only drop from the Lithopods, the crab-like stone enemies, inside The Unfound Path. The Lithopods you meet earlier in the game will not drop them; those ones roll Egon’s Stone, Justiciar’s Stone, and Gloombound Stone instead.
To open The Unfound Path, collect 167 Ova from Corrupted Gates and cleansed beacons, then use the Gloom Siphon in Marrow Keep. That opens an underground route inside the Keep leading into the area. This is late-game content, which is fine, since it is also where your weapons hit hard enough for the farm to be worth running.
Fastest way to farm Glimpse Stones (Chamber of the Forsaken)
The tightest loop uses the Forgotten Crossbow paired with the Shuddering Tarstone. The knockback on each bolt is strong enough to shove a Lithopod off a ledge, which kills it outright, so you never have to trade hits with a stone crab.
A full lap takes roughly 15 seconds and averages about one Glimpse Stone per run. Fifteen minutes of this is usually enough to cover every stone you will ever need.
Alternative: The Hidden Nave cliffside loop
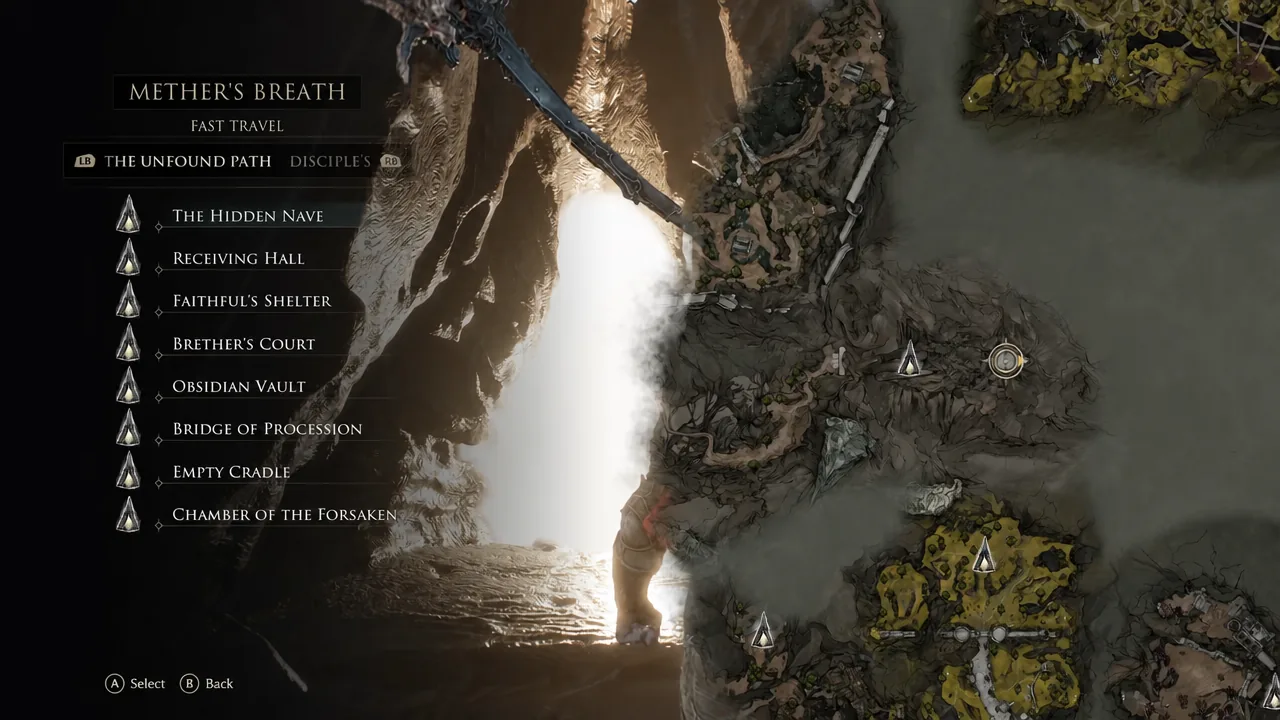
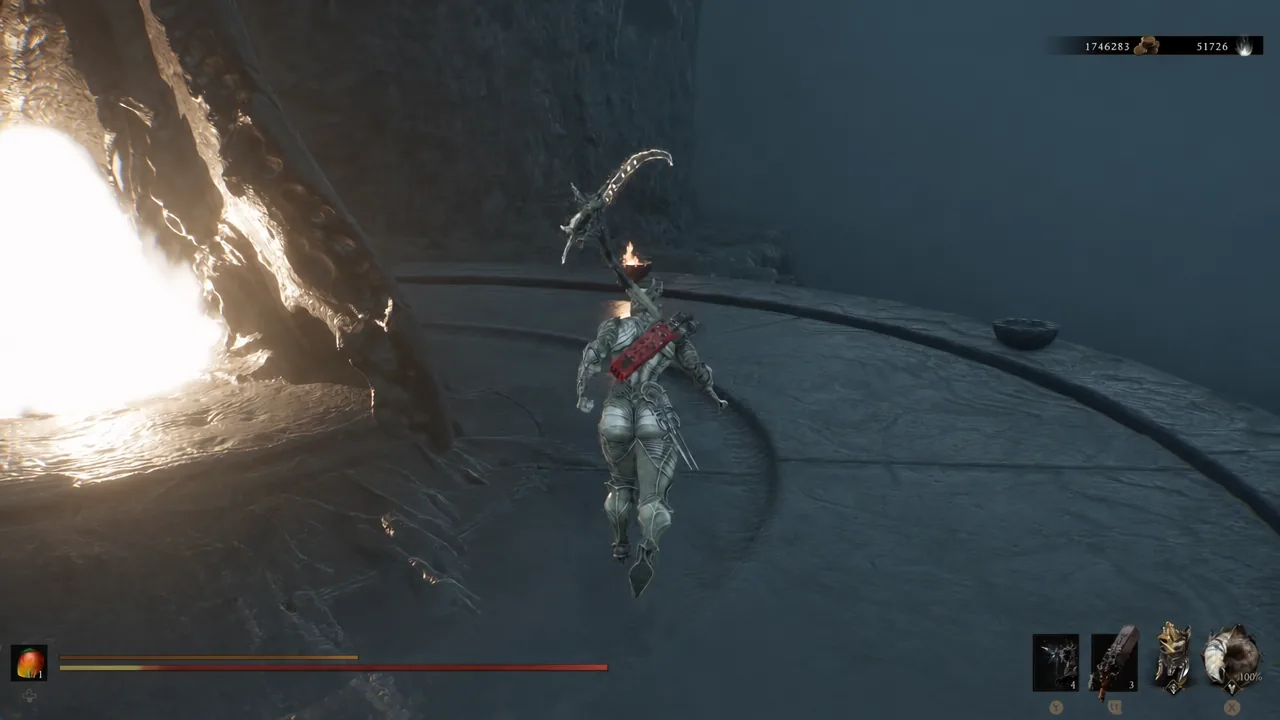
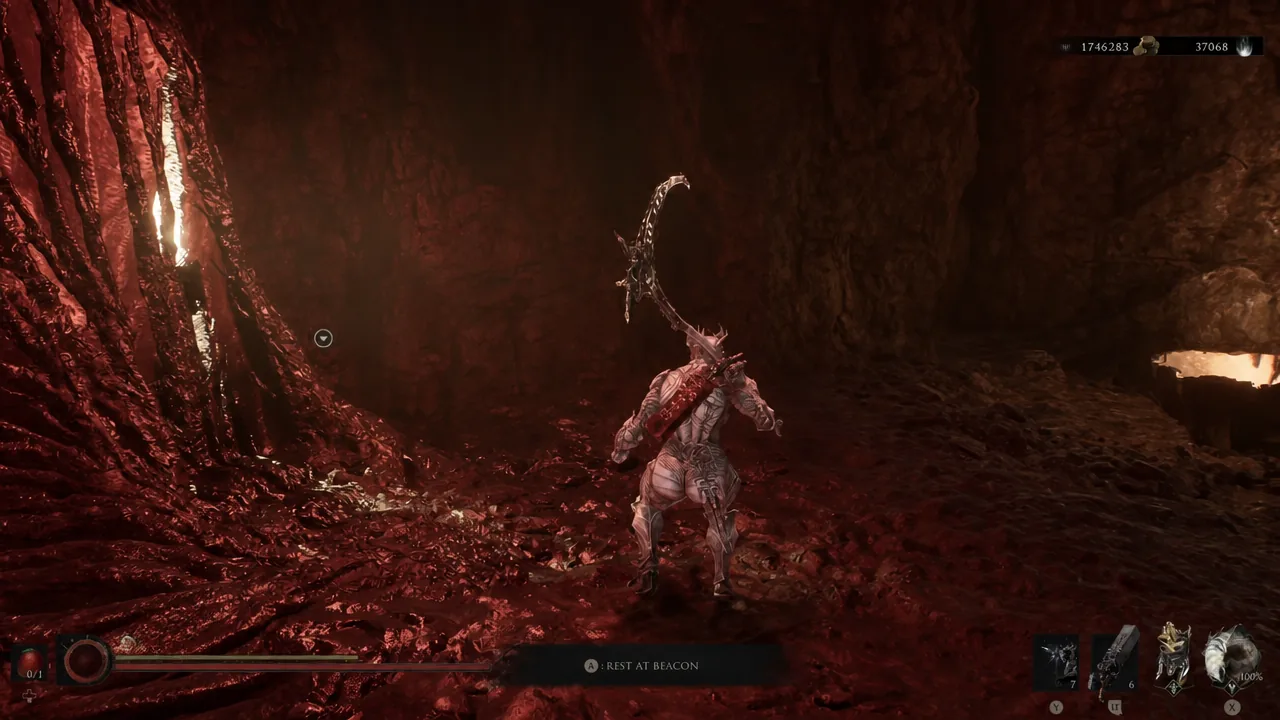
If you would rather kill enemies than shove them off cliffs, there is a longer route that farms stones and chips away at your equipped stone’s durability at the same time. It runs between two beacons, so it resets cleanly in either direction.
Fastest way to break stones: the bats at Blackridge Pass
Once you have a pile of stones, the bottleneck becomes the 20 kills. The quickest way to burn through them has nothing to do with The Unfound Path. It is the pair of hanging bats near the Blackridge Pass Beacon.
That pace works out to roughly two kills every five seconds, or about 50 seconds per broken Glimpse Stone. Tip: keep a Charged Stone equipped only if it does not conflict with the Glimpse Stone slot, since the Glimpse Stone must stay on for every kill to count.
How many Glimpse Stones you need to max every Shell
Maxing a single Shell costs exactly 27 Glimpses. A normal run through the game covers about three of them, leaving five Shells to fund entirely through farming.
| Target | Amount |
|---|---|
| Glimpses to fully upgrade one Shell | 27 |
| Shells covered by regular play | 3 |
| Remaining Shells | 5 |
| Glimpses still required | 135 |
| Glimpse Stones required | 45 |
| Enemies to defeat in total | 900 |
At the Blackridge Pass rate, breaking all 45 stones takes under 50 minutes. Add the roughly 15 minutes of Lithopod farming and the whole project lands around an hour.
Why the farm is not paying out
If you are killing plenty of enemies and no Glimpses are appearing, one of a few specific things is happening.
- No Glimpse Stone is equipped. Kills only count while the stone is active, and durability does not tick down otherwise.
- You are killing Lithopods outside The Unfound Path. Those drop other Fragile Tarstones, never Glimpse Stones.
- You are waiting for a second stone to break. Only one Fragile Tarstone can be worn at a time, so stones burn through strictly one after another.
You will know a cycle completed when the “FRAGILE TARSTONE BROKEN” notice appears and your Glimpse count jumps by three. From there it is just a matter of equipping the next stone and heading back to Zhirelle at the Shellkeeper’s Vault once you have enough banked to push a Shell to its final Bonding Tier.