Melee ability Tarstones are the slot that converts Resolve into a burst window. Twelve of them exist in Mortal Shell II, and they range from cheap charged attacks you can fire off every few seconds to hundred-Resolve set pieces that lock you into a long animation. The gap between the good ones and the mediocre ones usually comes down to two things: whether the animation protects you while it plays, and whether your infusions and status effects still apply during the hits.
Quick answer: Run Magdalena’s Memento on the Axe and Dagger or Captive’s Scabstone on the Great Martyr’s Blade. Both cost 100 Resolve, both give you invincibility frames mid-animation, and both hit hard enough to justify the spend.
Melee ability Tarstone tier list
| Tier | Tarstone | Weapon |
|---|---|---|
| A | Magdalena’s Memento | Axe and Dagger |
| A | Captive’s Scabstone | Great Martyr’s Blade |
| B | Unwieldy Stone | Charged heavy attack |
| B | Conqueror’s Reward | Spear |
| B | Acolyte’s Stone | Charged light attack |
Placements are judged on damage per point of Resolve, whether the animation gives you invincibility frames, whether infusions and status effects still proc during the ability’s hits, and how naturally the stone slots onto a weapon you would already be using. This ranking reflects the state of the game in early September 2026, after the balance updates and weapon changes that followed launch.
The two stones worth building around
Magdalena’s Memento sits at the top of the pile. At level 3 it costs 100 Resolve, dropping to 80 with cost reduction, and it turns the Axe and Dagger into an aerial spinning flurry that applies 3 Weak stacks per strike while granting +15% Critical Chance and +100% Critical Damage. The spin carries invincibility frames, so it doubles as a panic button when a crowd closes in. Given that the Axe and Dagger is already one of the fastest weapons in the game and the only one besides the Axatana that can slot the Duality Stone, stacking a crit multiplier on top of it is not subtle.
Captive’s Scabstone lands just under it. It costs 100 Resolve, reduced to 75, and it is locked to the Great Martyr’s Blade. Each strike deals 300% Damage and 250 Stagger Damage, and the wide spin that comes with it is one of the better crowd-clear animations in the game. Pair it with a Frost infusion and the ice burst freezes anything caught in the sweep. You also get invincibility frames during the swing, which matters a lot on a weapon whose normal light and heavy combos are slow enough to get you punished.
The B tier stones and why they fall short
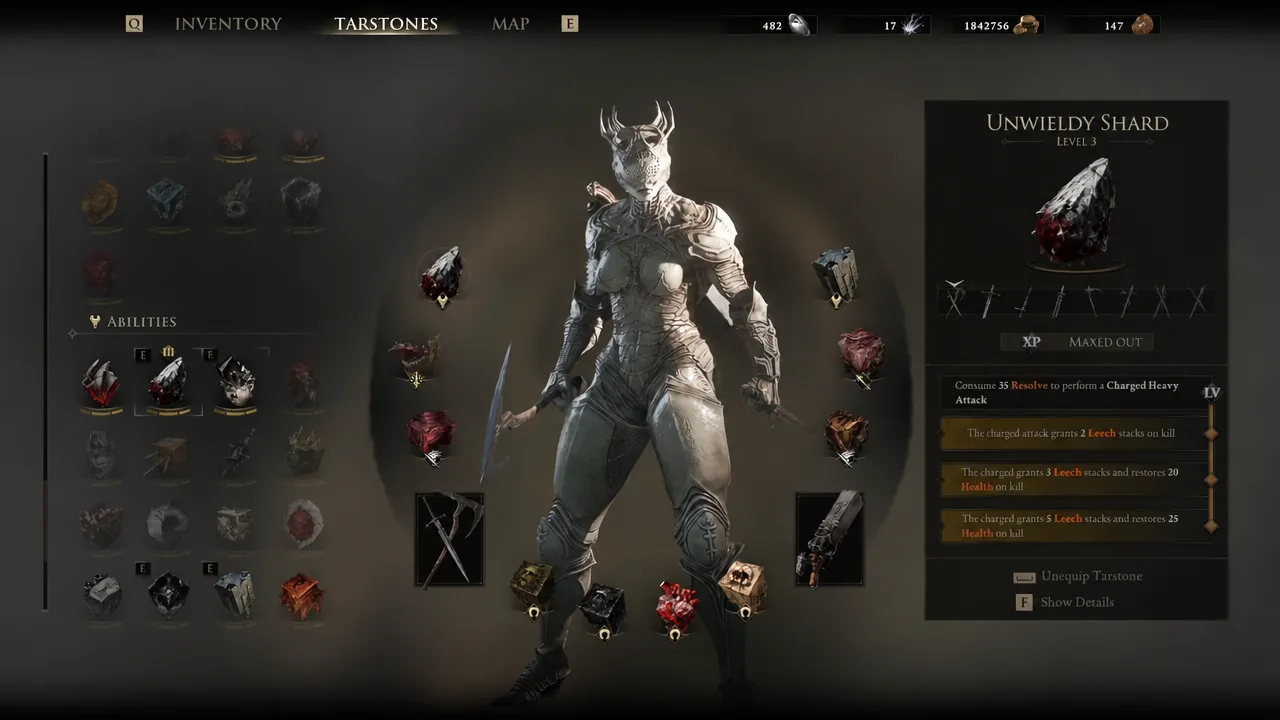
Unwieldy Stone is the best of this group. It costs 35 Resolve, or 25 reduced, and gives you a charged heavy attack that grants 5 Leech stacks and restores 25 Health on kill. The sustain is genuinely useful when you are clearing camps with a pickaxe or hammer, and the price is low enough that you can use it constantly. The catch is the startup, which has no invincibility frames at all, so a badly timed charge gets interrupted.
Acolyte’s Stone is the cheapest entry point here at 40 Resolve, reduced to 30. It grants a charged light attack with +15% Critical Chance and +50% Critical Damage, and the long reach on that swing makes it a decent poke tool. The problem is scale: the crit bonuses are half of what Magdalena’s Memento offers on the same weapon family, and the ability does not do enough on its own to change a fight.
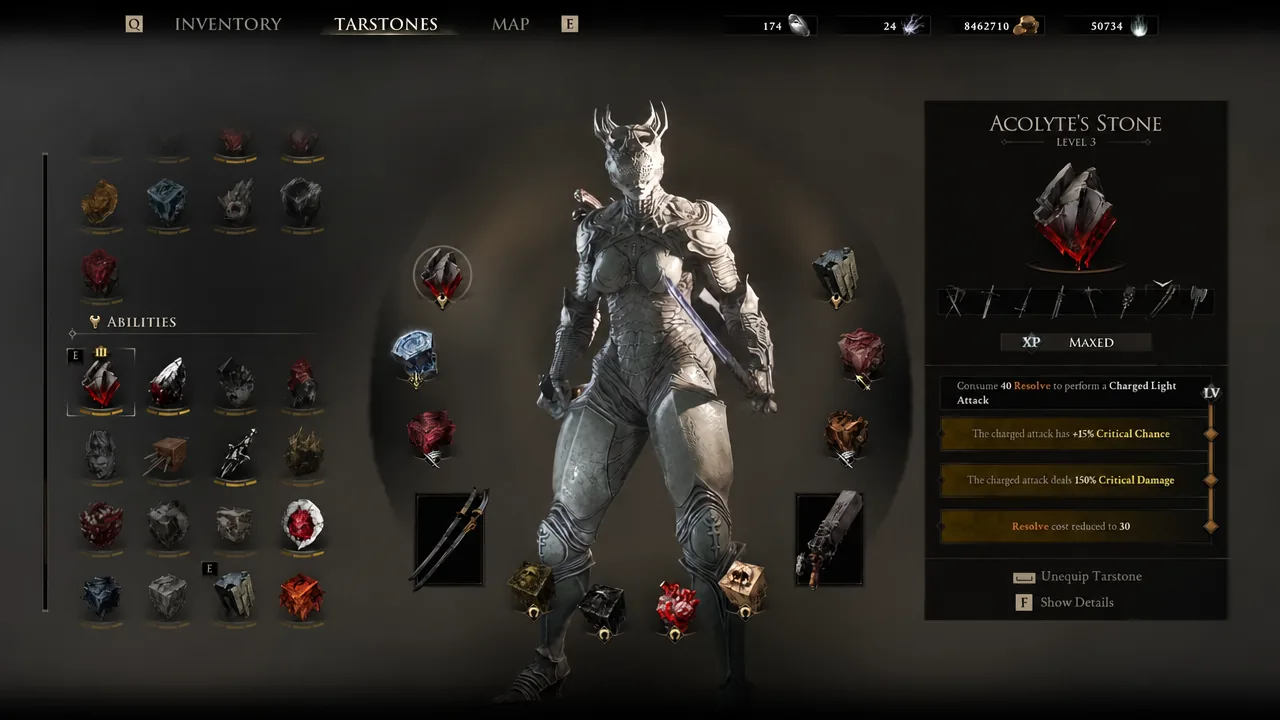
In practice the charged light attack still applies whatever you have infused, so poison and Bloodcurse builds get some mileage out of it against grouped soldiers. That status application is most of the reason it is on the list at all.
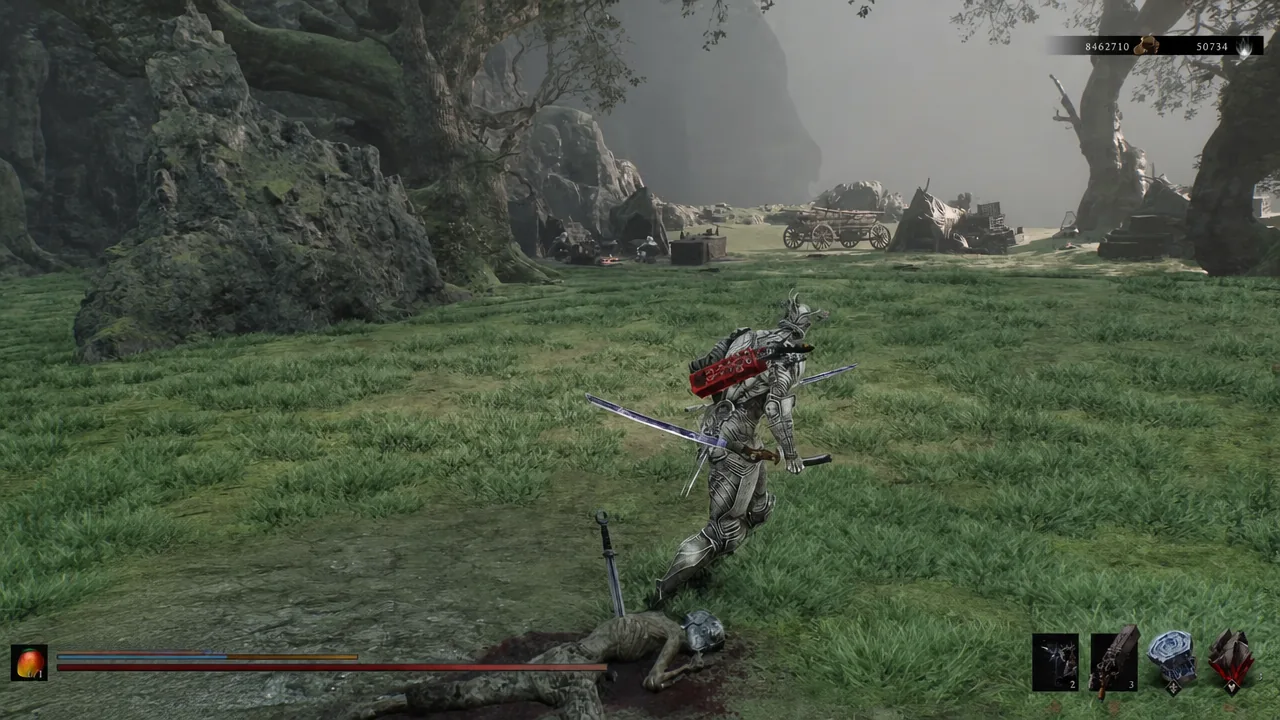
Conqueror’s Reward is the disappointment of the group. For 100 Resolve, reduced to 75, the Spear delivers 200% Damage per strike across 4 additional thrusts, which sounds strong until you notice that infusion statuses like Phantom do not apply during those hits. Paying a full ability’s worth of Resolve and losing your status pressure in exchange is a bad trade at a point in the game where damage over time carries most builds.
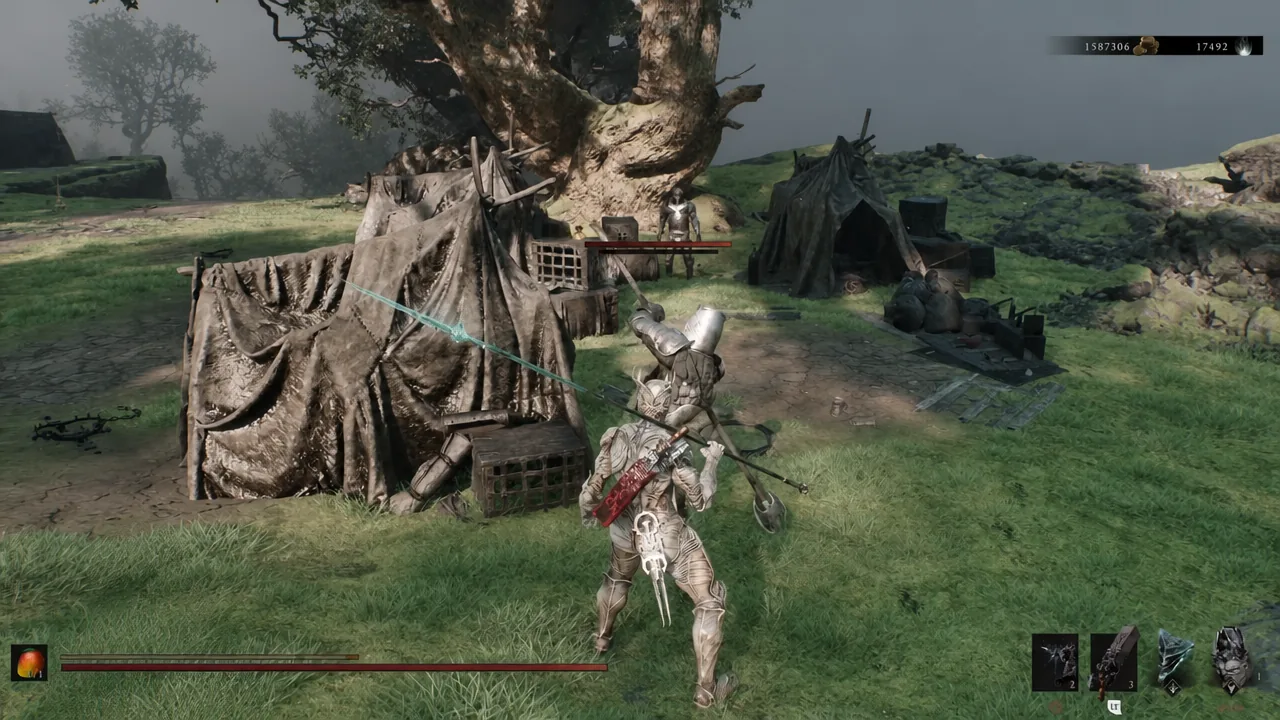
Note: the Spear’s other option, Infused Stone, costs 70 Resolve at level 3 and throws the weapon at up to four targets. It is a different tool entirely, aimed at ranged pressure rather than a melee burst window.
Level 3 costs and effects
| Tarstone | Resolve (reduced) | Level 3 effect |
|---|---|---|
| Magdalena’s Memento | 100 (80) | 3 Weak stacks per strike, +15% Critical Chance, +100% Critical Damage |
| Captive’s Scabstone | 100 (75) | 300% Damage and 250 Stagger Damage per strike |
| Unwieldy Stone | 35 (25) | Charged heavy attack; 5 Leech stacks and 25 Health on kill |
| Conqueror’s Reward | 100 (75) | 200% Damage per strike with 4 additional strikes |
| Acolyte’s Stone | 40 (30) | Charged light attack; +15% Critical Chance, +50% Critical Damage |
| Infused Stone | 70 | Throws the Spear at up to 4 targets |
Matching the stone to your weapon and Resolve economy
The expensive stones only feel good if you can pay for them repeatedly. Fast, multi-hit weapons generate Resolve far quicker than heavy ones, which is why the Axe and Dagger with Duality Stone can keep an 80-Resolve ability on near-permanent rotation while a hammer build struggles to fund a single cast per fight. If your weapon is slow, the cheap charged-attack stones will see more total use than a high-cost ability sitting on an empty bar.
Shell choice pushes this further. Resolve-efficient Shells make the 100-cost abilities routine rather than occasional, and Shells that lean on critical hits get more out of the crit-multiplier stones than they would from raw percentage damage. Pick the stone that fits the weapon you have already committed upgrade materials to, then adjust from there.