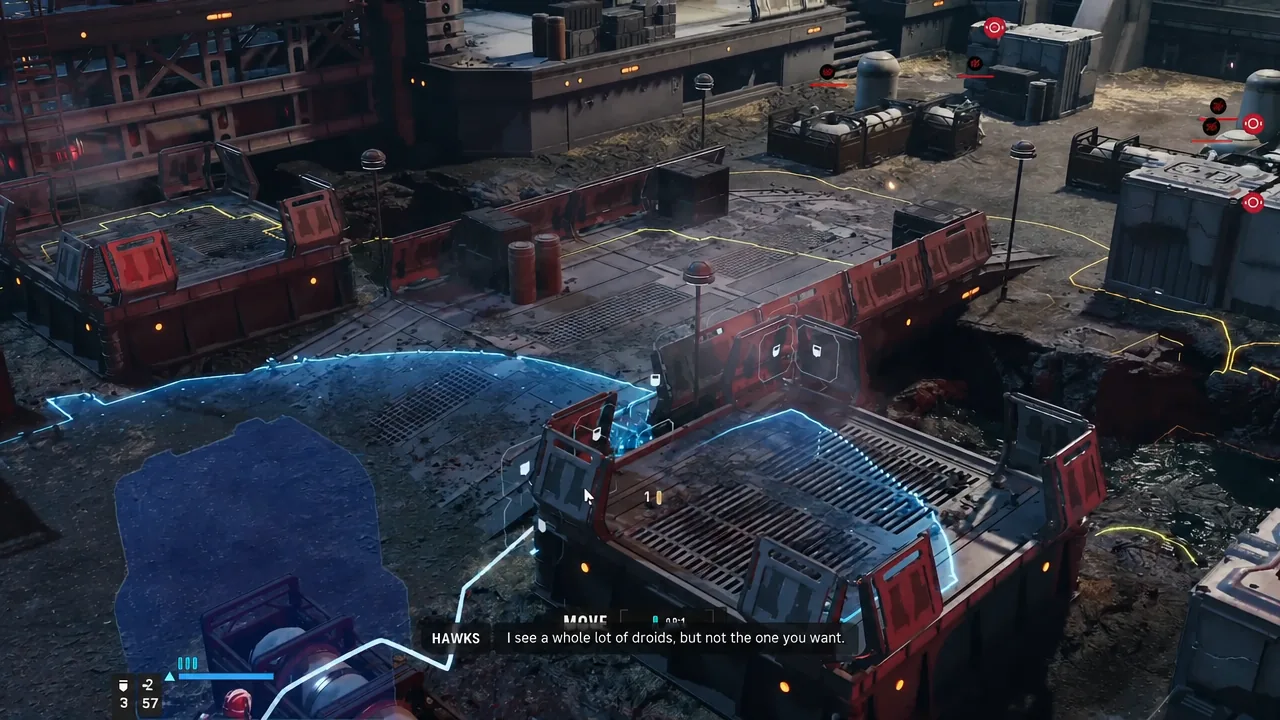
Lord of Betrayal is Luco’s personal mission in Star Wars Zero Company, and it ends with a boss fight against Geryon that punishes anyone who rushes straight at him. He fights behind a wall of droids, and shooting him too early hands the enemy a free round of return fire.
Quick answer: Thin out Geryon’s escort first, then break him with status effects — Burning from Flamethrower Mk. II and Dazed from a Droid Popper — and finish him with a heavy melee hit such as Trick’s Brutal Strike VI. Keep Luco in cover at the back the entire time, because the mission fails the moment he goes down.
Lord of Betrayal objectives and where the mission appears
Lord of Betrayal is a crewmate mission tied to Luco, and it shows up on the Holotable during Chapter 10, Liberate Luunata. The deployment target is Sullust. Like other crewmate work, it is optional in the strict sense, but clearing both of an operator’s personal missions awards a trophy/achievement, and personal missions are easy to lose if you burn cycles on critical work first.
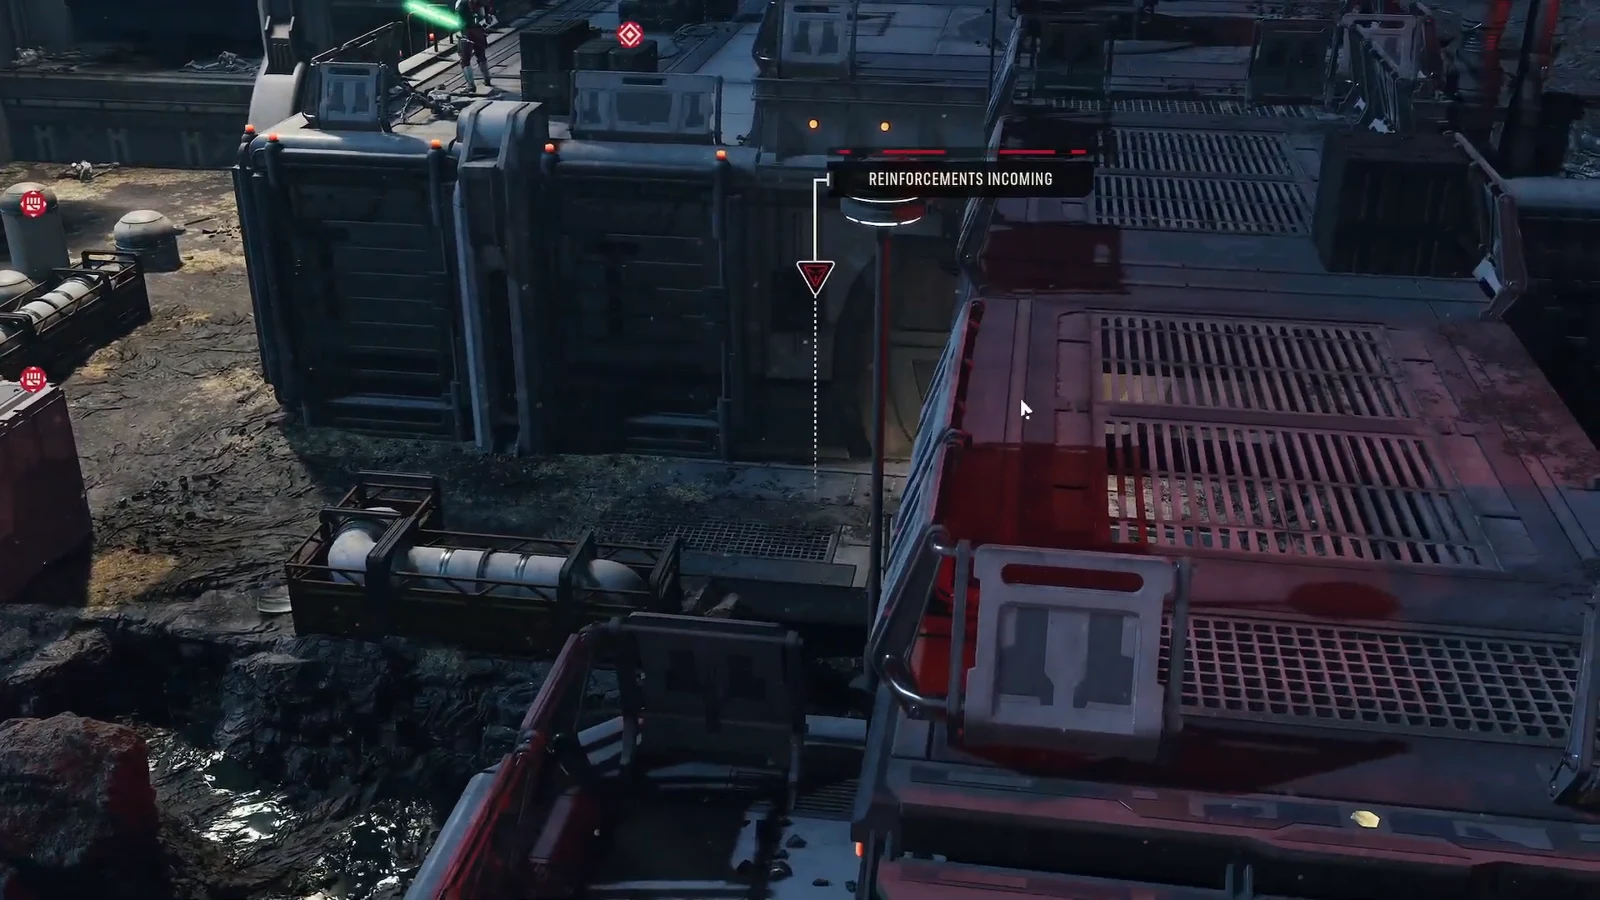
The objective list changes partway through the fight. You start with three conditions, and a fourth is added the moment the boss walks onto the map.
| Objective | When it applies |
|---|---|
| DEFEAT THE SEPARATIST FORCES | From the opening turn |
| HELP LUCO GET REVENGE | From the opening turn |
| LUCO MUST SURVIVE | Entire mission — a fail state, not a bonus |
| ELIMINATE GERYON | Added when Geryon enters through the doorway with reinforcements |
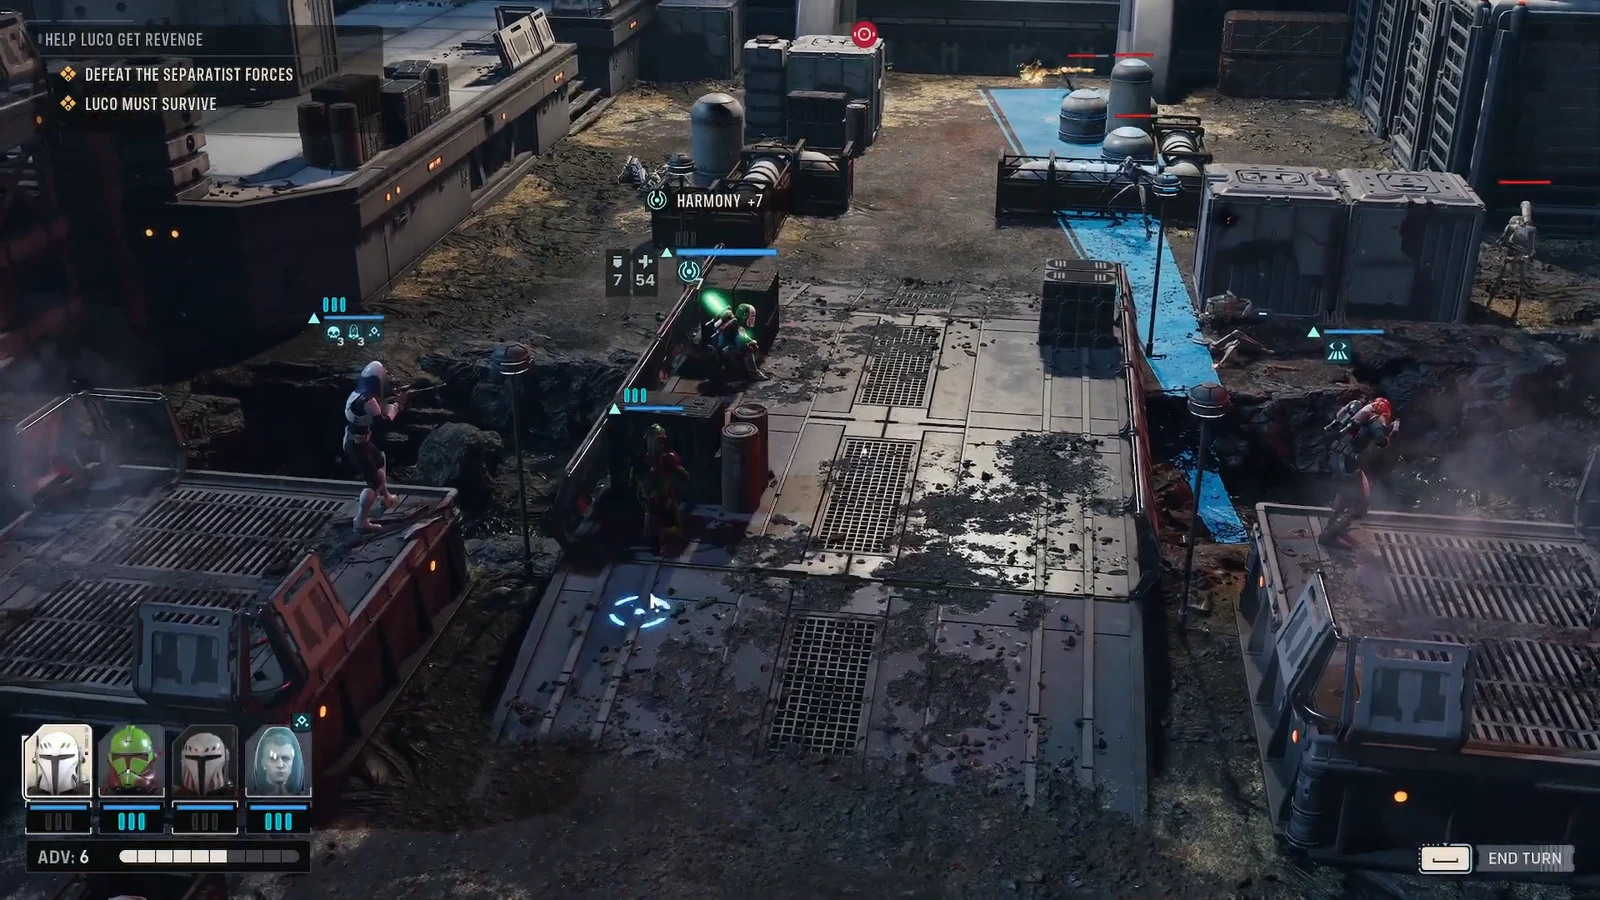
Squad roles for the Geryon fight
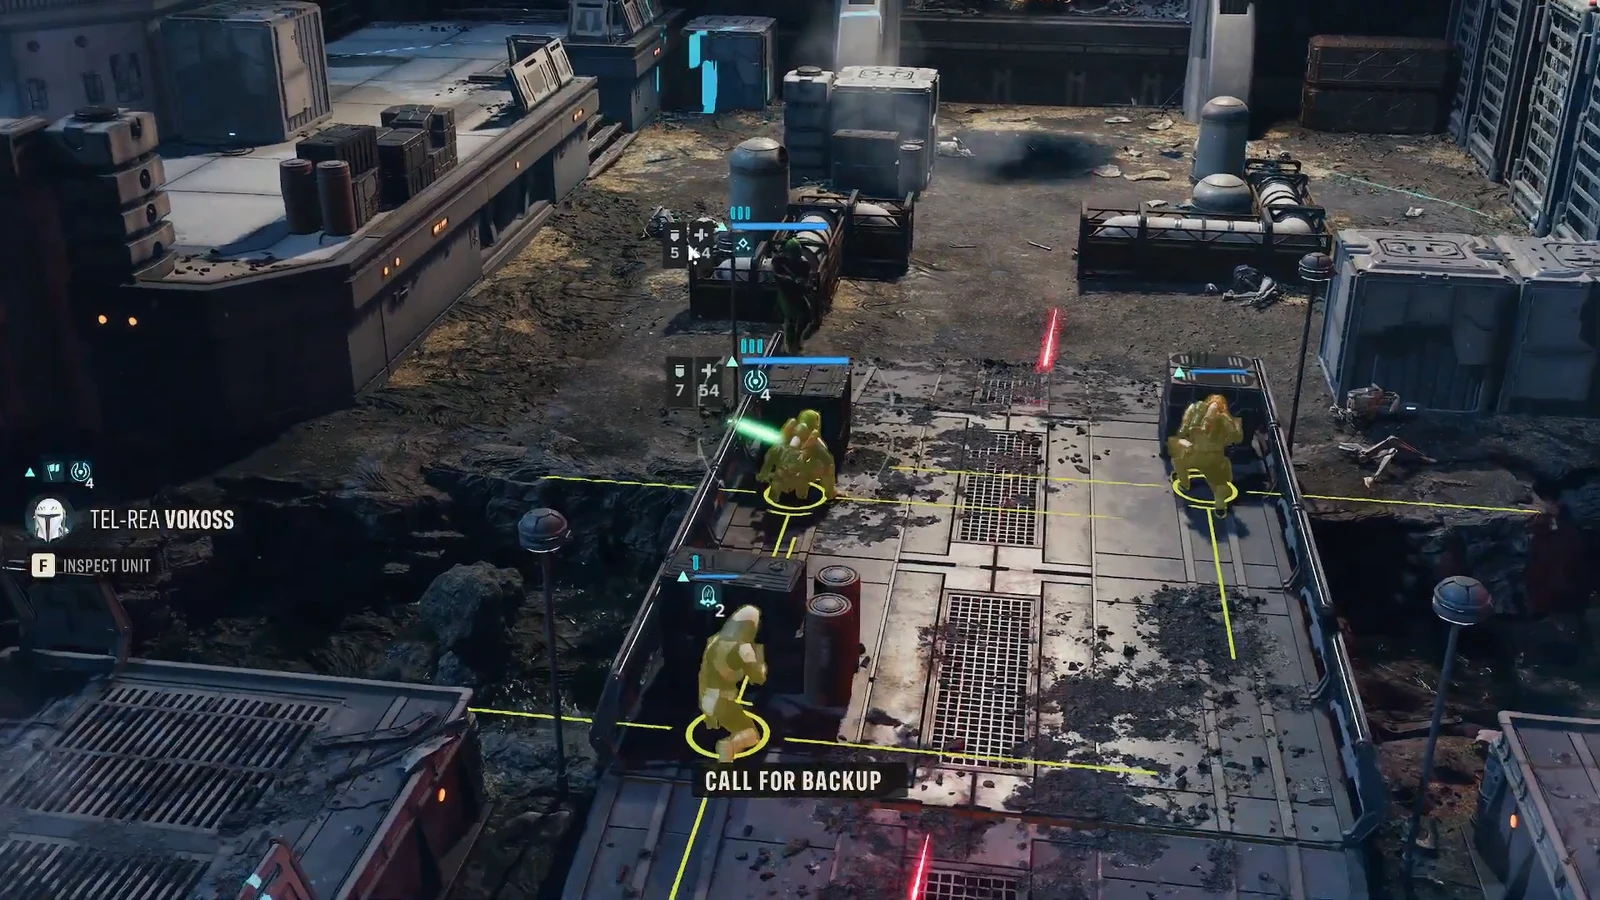
A four-operator team of Hawks, Luco, Trick, and Tel-Rea covers everything the map throws at you. Each one has a job, and swapping any of them changes how you have to play the boss phase.
| Operator | Job in this mission |
|---|---|
| Tel-Rea Vokoss | Force control. Push IV and Pull ignore shields, so she can reposition or delete clustered droids, and Lightsaber Strike handles anything that closes in. |
| Trick | Main damage. Rocket Strike II and Flamethrower Mk. II clear groups, Brutal Strike VI is your finisher, and his passive revives him at full health the first time he goes down. |
| Tesh Hawks | Ranged cleanup and crowd control. Overwatch punishes advancing droids, and Droid Poppers apply Dazed to Geryon and his guards. |
| Luco Bronc | Support and survival priority. Zero In and Combat Gas buff him before he sets Overwatch, and Combat Stim III keeps Trick standing. |
Tip: Luco is a fail condition, so treat him as artillery, not a frontliner. Buff, shoot, then park him behind cover well away from the doorway Geryon uses.
Enemy lineup and Geryon’s Call for Protection
The Separatist force is a mix of chaff and specialists. B1 Battle Droids arrive in clumps and die to a single hit or a well-aimed Force Push. BX Droid Snipers and BX Droid Commandos are the real threat before the boss shows up, and later waves add MagnaGuards and a Droideka with a ray shield.
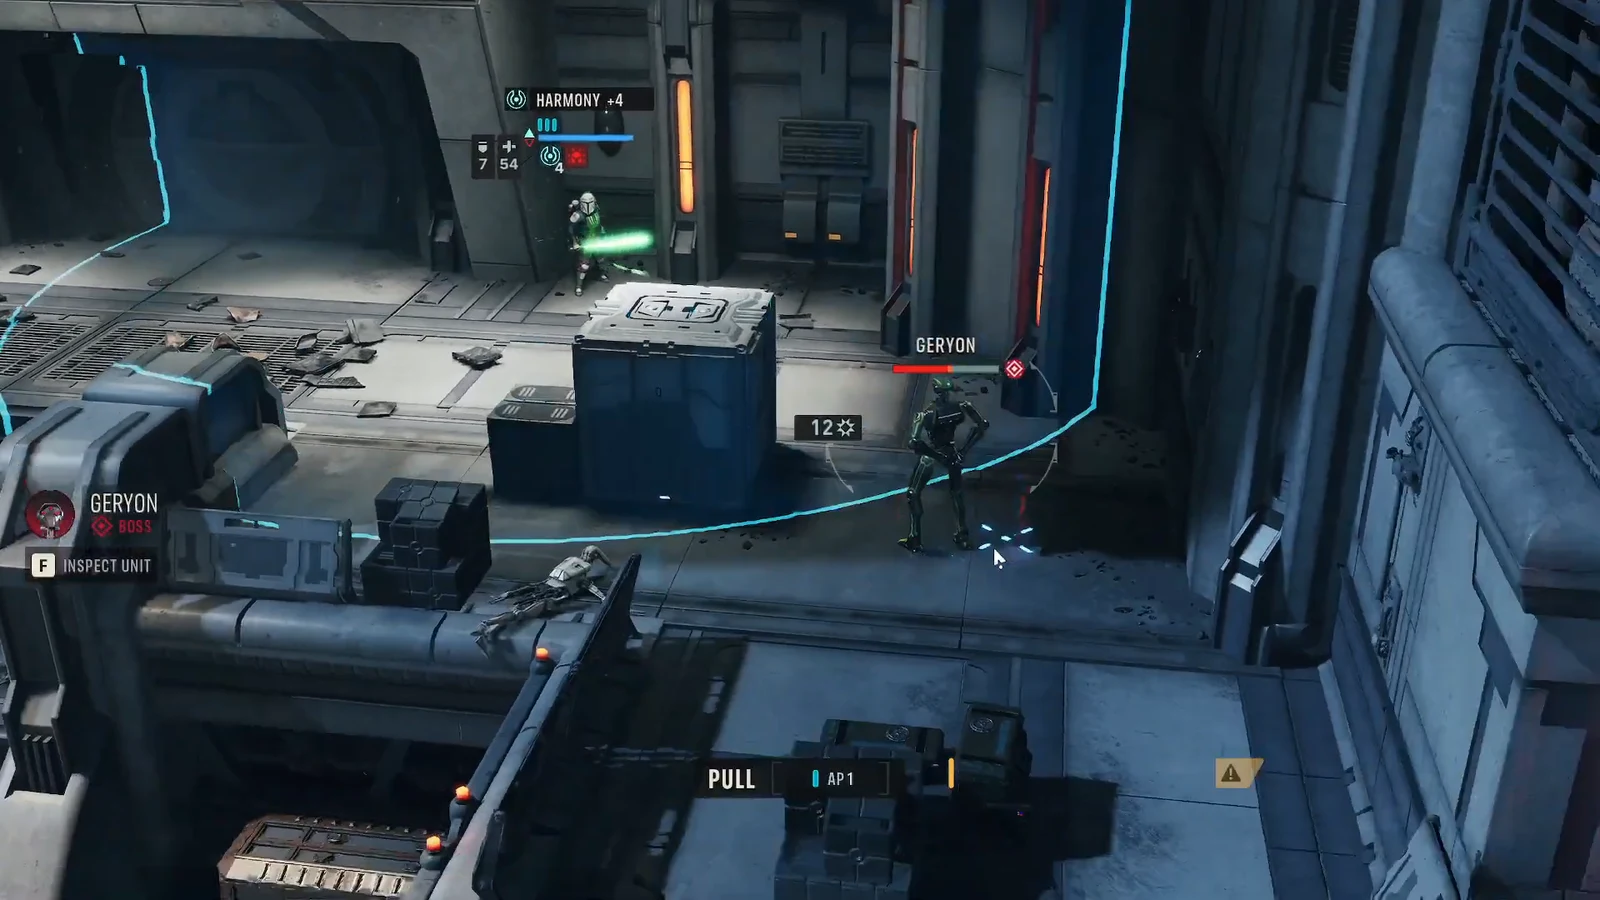
Geryon himself carries a reaction called Call for Protection. Damage him while his escort is intact and a nearby droid immediately fires back at whoever attacked. That single rule shapes the whole encounter — every droid you remove first is one less retaliation shot later. He also has a rocket that hits hard at range, so spreading your operators out matters as much as cover does.
| Threat | Counter |
|---|---|
| BX Droid Sniper | Kill on sight with a Hawks shot plus an assist, or Force Push |
| B1 Battle Droid packs | Push IV, Impact Bomb, or Rocket Strike II |
| MagnaGuard | Flamethrower Mk. II for Burning, then melee |
| Droideka | Force abilities bypass the ray shield |
| Geryon’s Call for Protection | Remove nearby droids before committing damage |
Opening turns before Geryon arrives
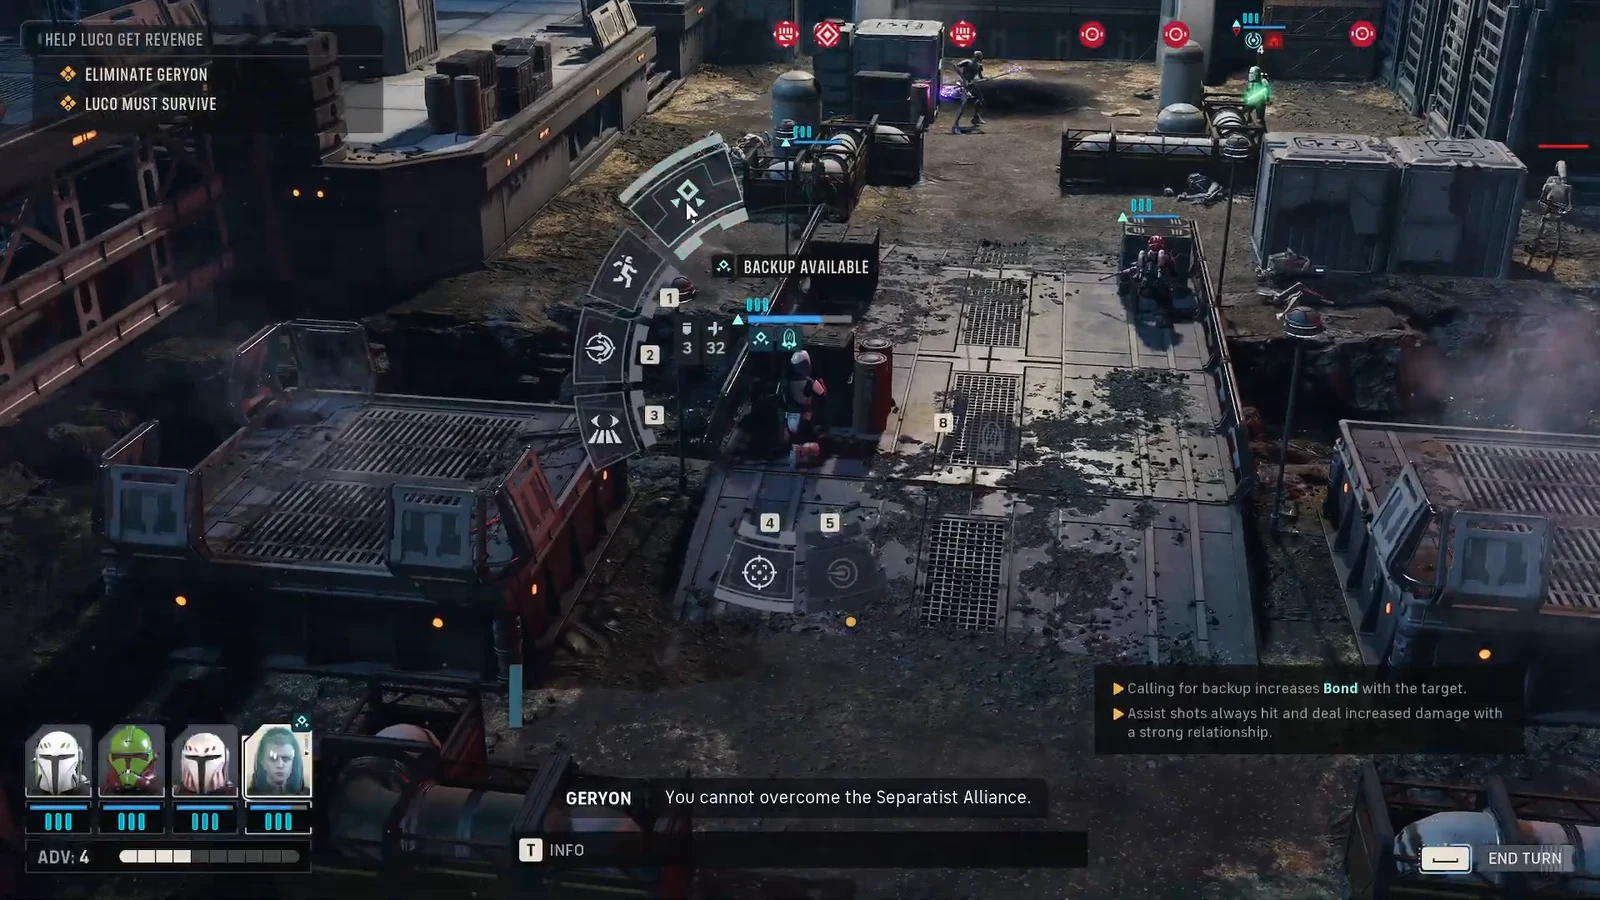
How to kill Geryon
Geryon steps out of a doorway with an escort in tow, and the ELIMINATE GERYON objective appears at that moment. Everything below assumes you still have Trick’s flamethrower charges and at least one Droid Popper in reserve.
Confirming the mission is complete
Geryon’s death triggers an outro cutscene rather than a simple victory screen, and the mission closes on a conversation instead of a mop-up phase. You do not have to kill every remaining droid once the boss falls.
Dialogue during and after the fight adjusts Harmony, in both directions. Swings run from small gains to a +10, and wrong answers subtract, so pick responses that back Luco if you care about the bond. Completing the mission also advances the cycle by one when you return to the Den.
Why the mission fails
- Luco goes down. He is a hard fail condition, and the snipers will target him if he ends a turn without cover.
- You attack Geryon while his escort is intact, and Call for Protection grinds your squad down one retaliation at a time.
- Your operators bunch up and eat Geryon’s rocket together.
- You burn Trick’s flamethrower and your Droid Poppers on early B1s, leaving nothing to lock the boss down.
If a run goes badly, restarting the mission from the game menu is always available, and it keeps the same operators. Difficulty can also be lowered outside of combat, which is worth remembering when permadeath is switched on and an injury is threatening to cost you a member of the roster.