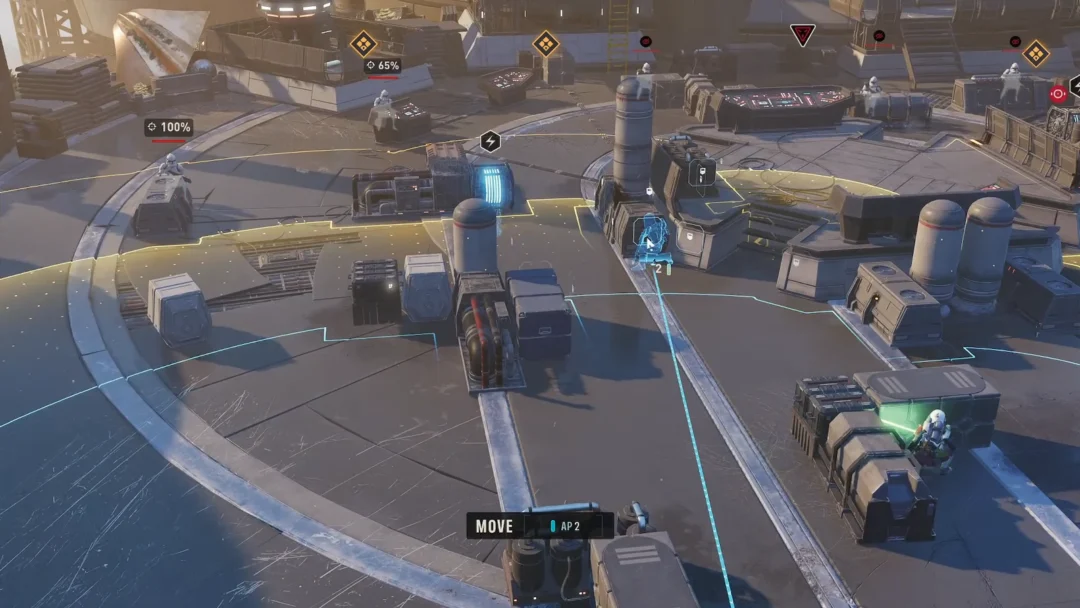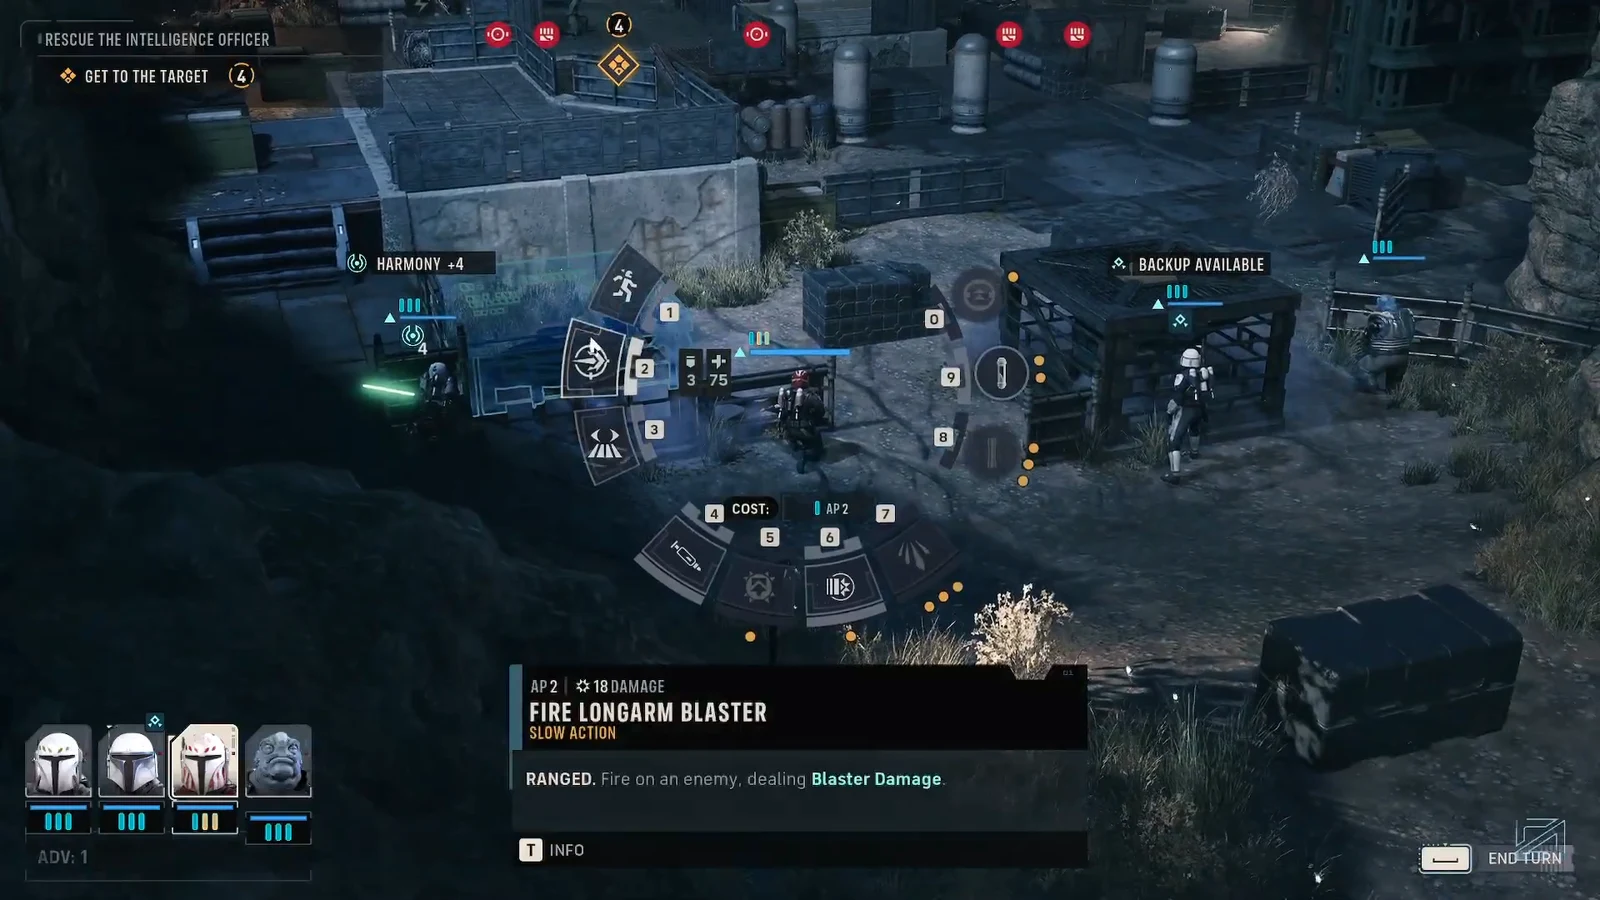
The Rescue Operation mission on Dantooine tasks your squad with freeing a captive Republic intelligence officer and getting everyone out under a strict turn clock. This is a speed-and-movement mission, not a kill mission. You do not need to wipe out the enemy force to win, and trying to fight everything will burn the turns you need to reach the target in time.
Quick answer: Rush toward the target with your fastest units while the timer reads “4 TURNS REMAINING,” free the Republic Officer, then move every operator into the yellow extraction zone. Keep the officer alive with healing items and ignore reinforcements once evac opens.
Mission objectives and win conditions
The mission runs through three stacked goals. You reach the prisoner first, rescue the officer, then evacuate the whole squad. The officer counts as a protected unit for the rest of the fight, so losing them fails the run.
| Objective prompt | What it means |
|---|---|
| GET TO THE TARGET | Move a unit to the captive within the turn limit. |
| RESCUE THE INTELLIGENCE OFFICER | Reach the officer’s position to free them. |
| THE TARGET MUST SURVIVE | The rescued officer cannot die during evacuation. |
| EVACUATE ALL OPERATORS | Every squad member must stand in the extraction zone. |
The turn counter starts at four turns to reach the target. That window is the real pressure point, so plan your first two turns around distance covered, not enemies downed.
Reach the target before the timer runs out
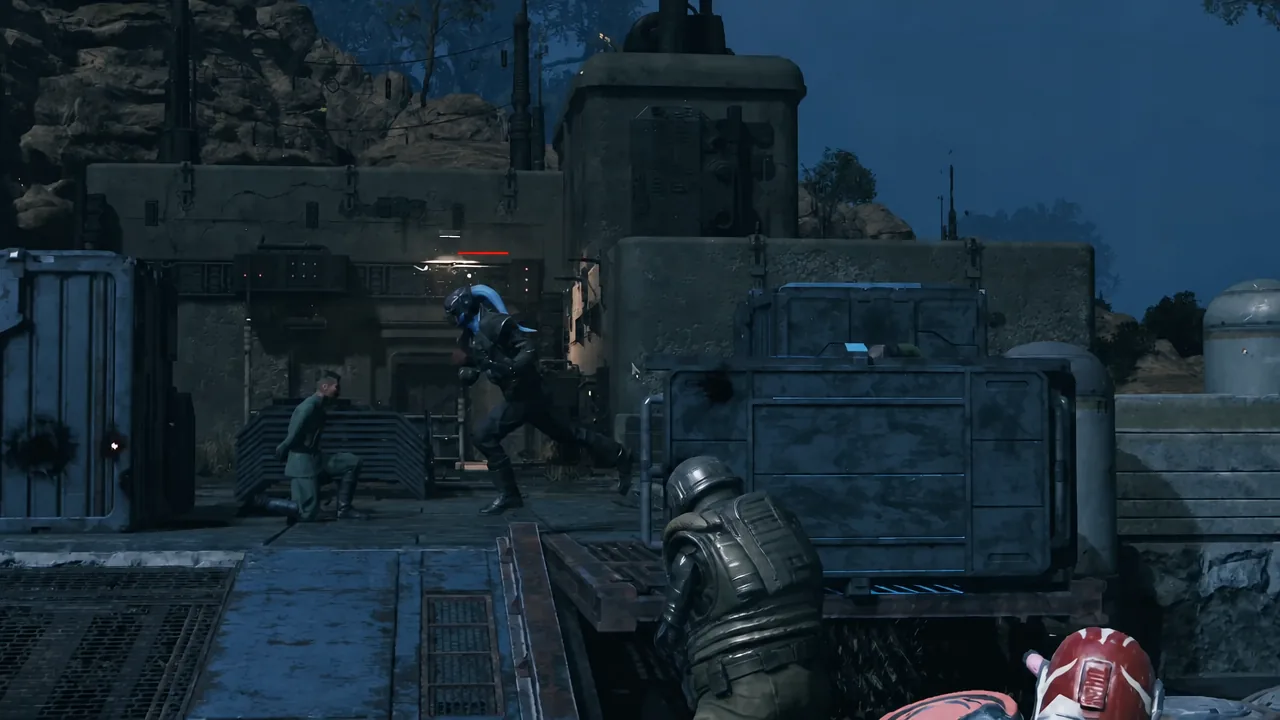
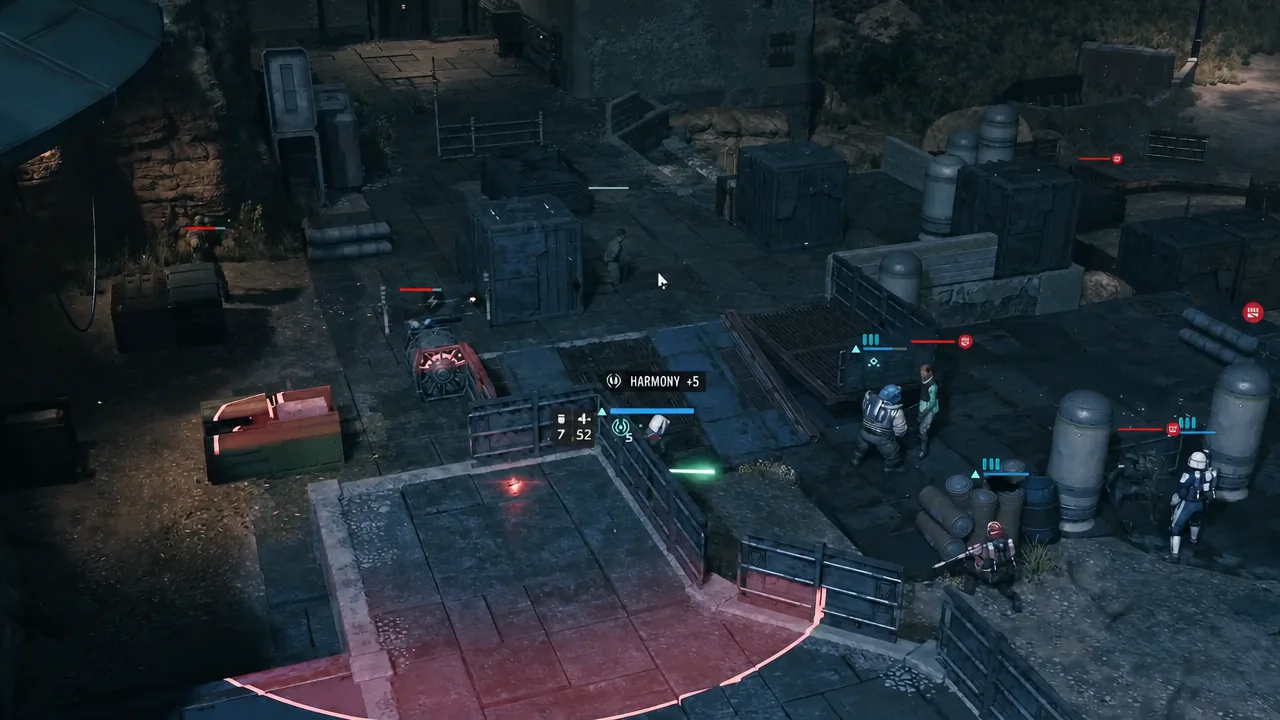
Evacuate the squad and keep the officer alive
Once the officer is freed, the extraction zone appears and the mission shifts to a running retreat. From here, your job is to funnel everyone into the yellow evac area while keeping the protected officer standing.
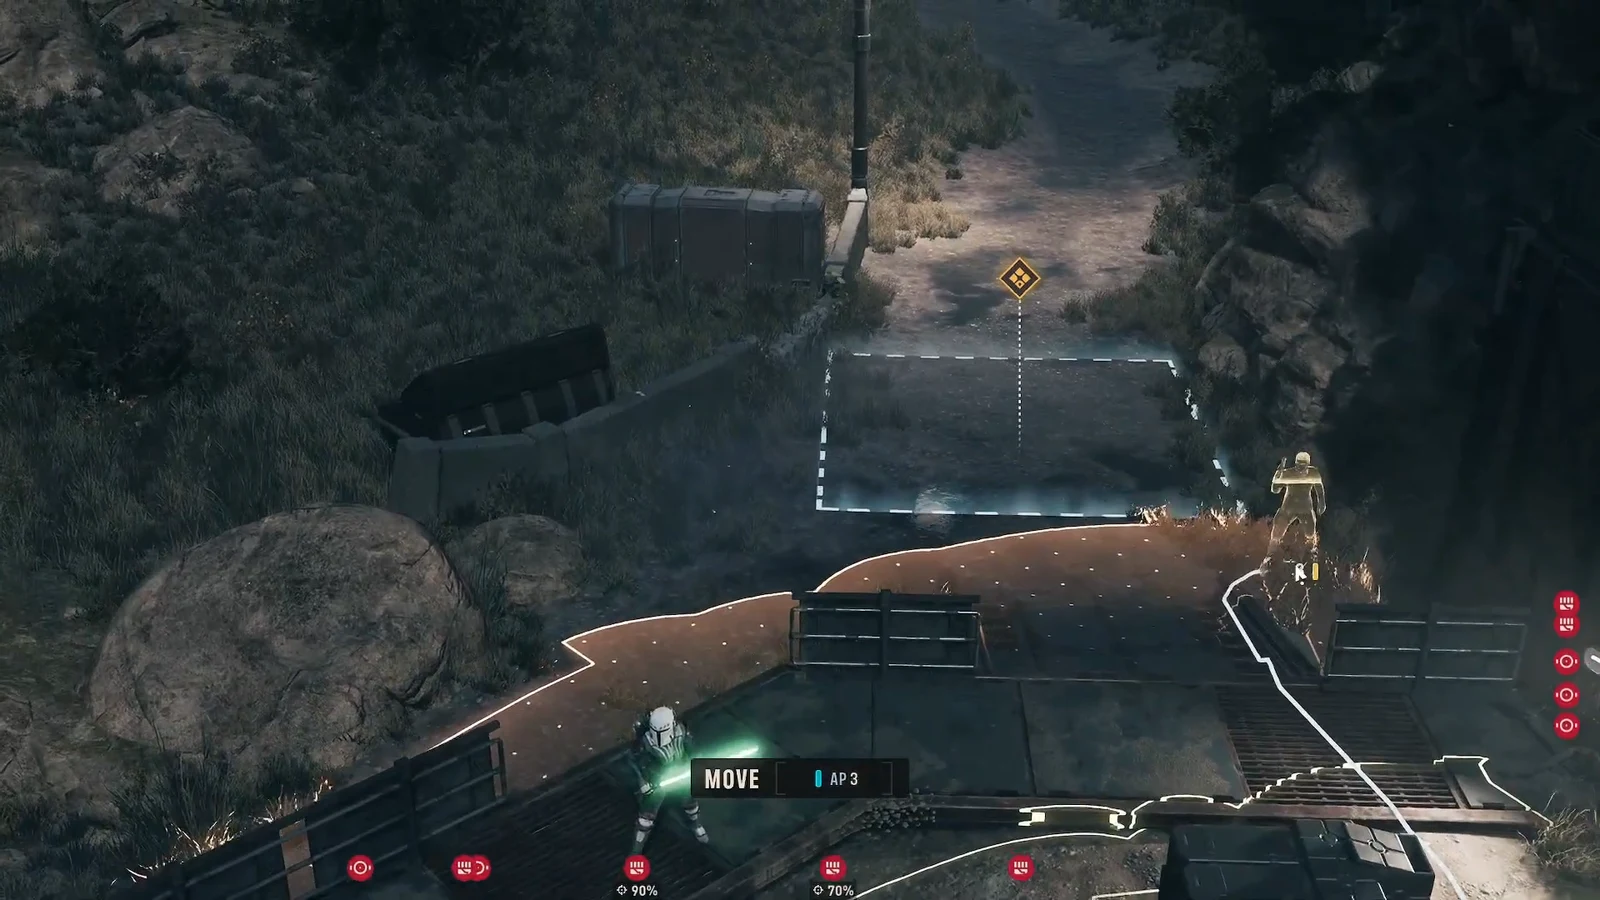
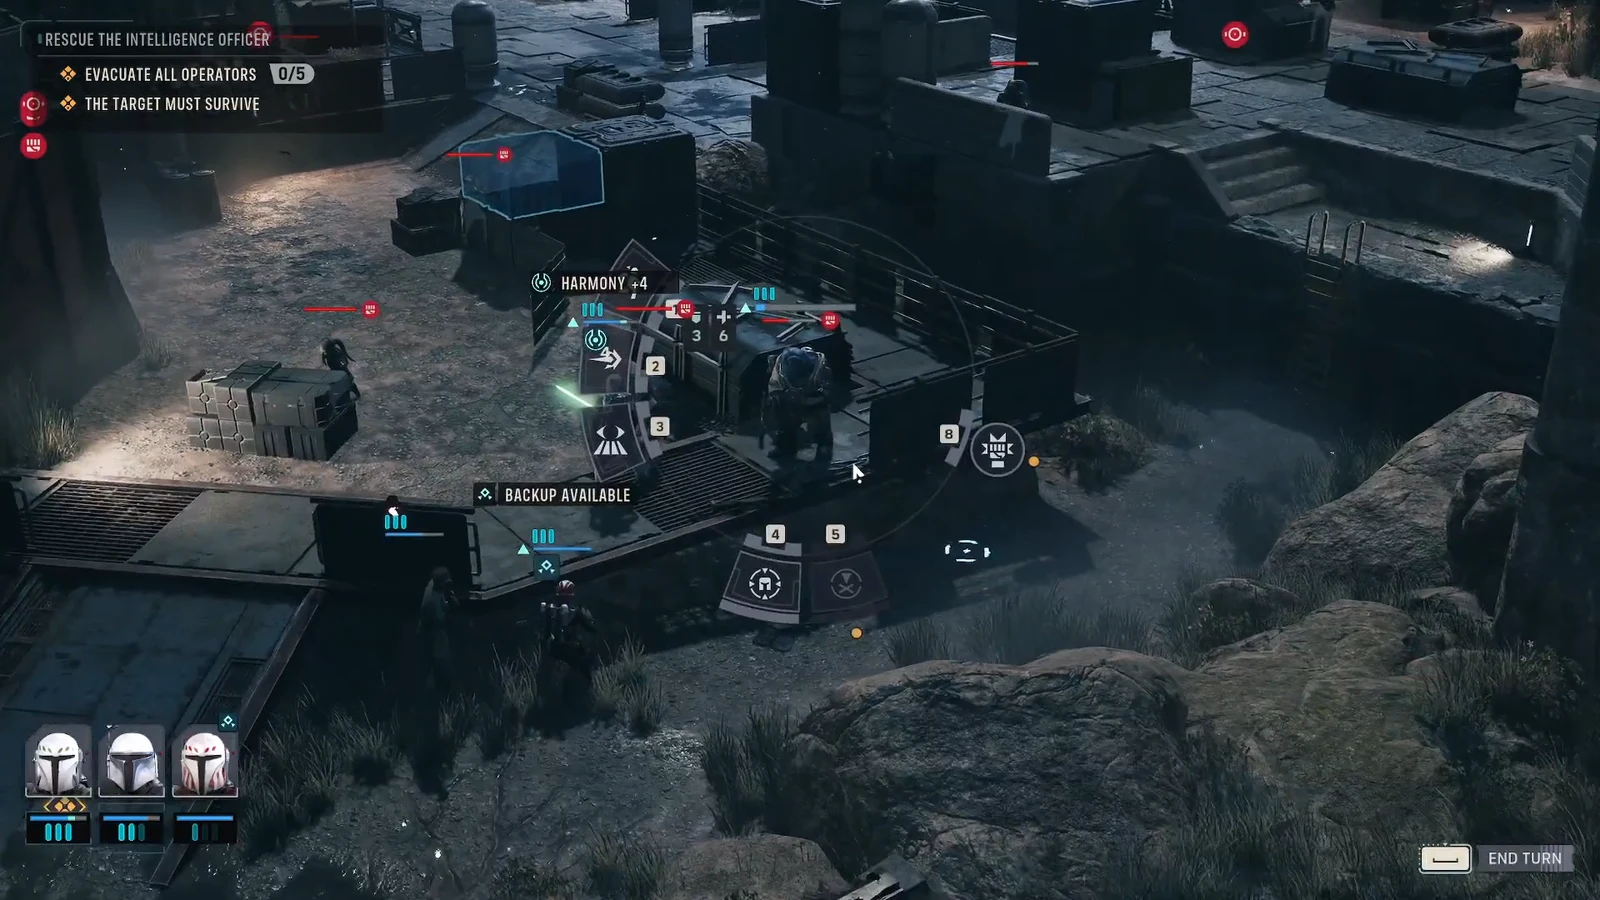
How to confirm the mission is complete
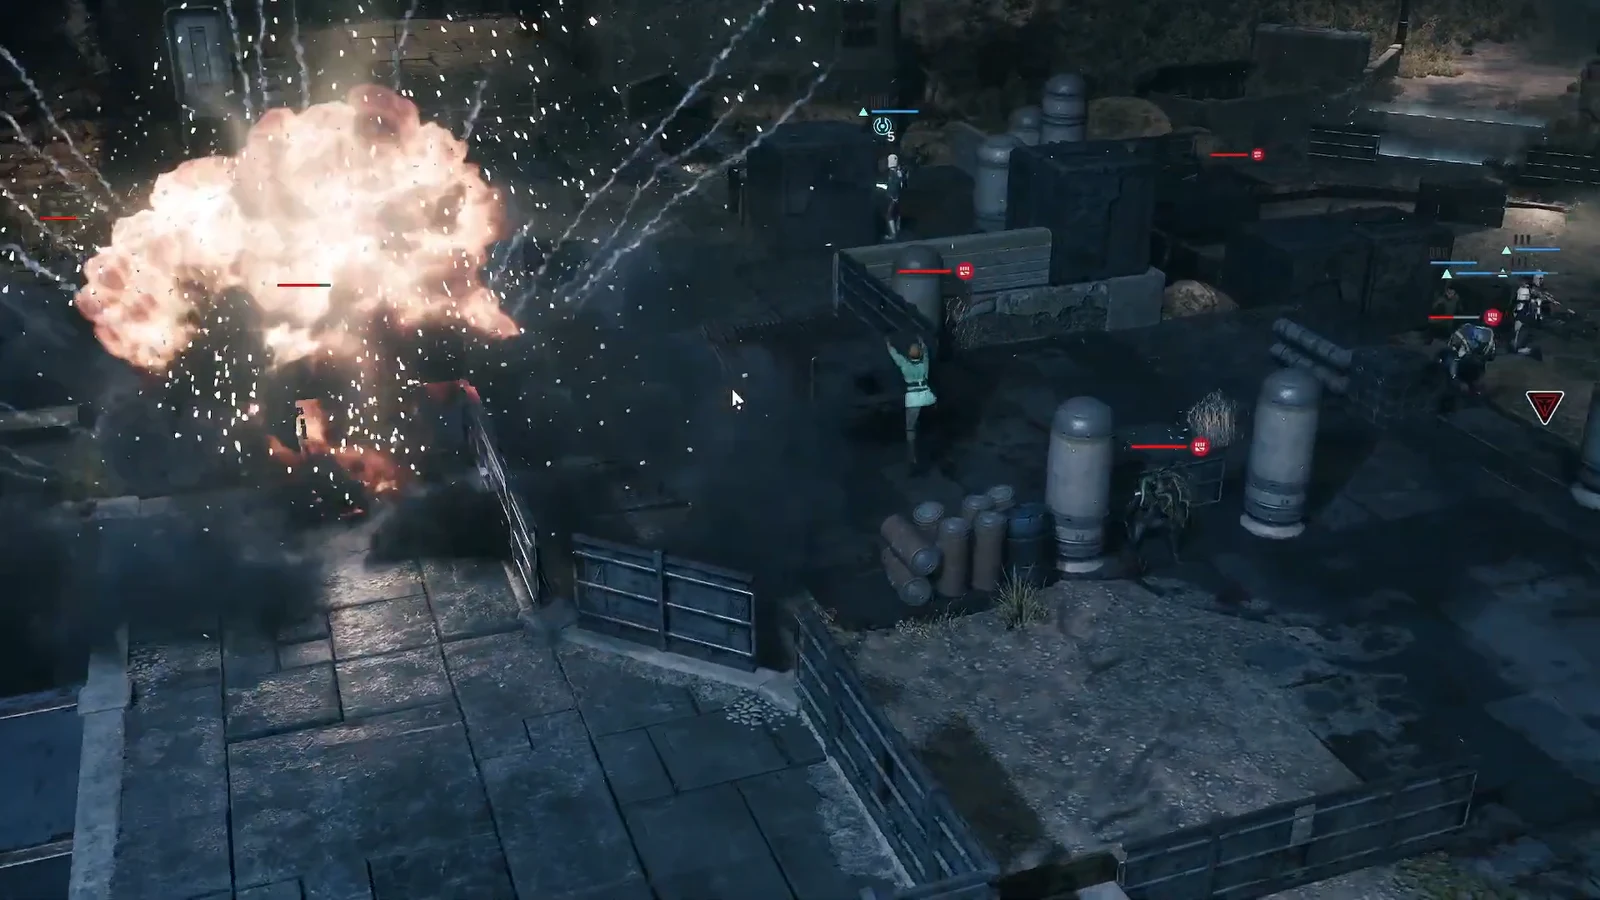
When every operator and the rescued officer are inside the extraction zone, the evacuation resolves and a short cinematic shows the squad escaping. The “MISSION SUCCESS” screen then confirms the win.
Two failure conditions end the run: letting the Republic Officer die at any point after the rescue, and leaving an operator outside the extraction zone when you evac. Any operator you leave behind is lost, so account for all of them before pulling the trigger on evacuation.
Treat the whole encounter as a race with a bodyguard attached. Move fast, use Force Pull to strip enemy overwatch out of your path, heal the officer whenever they take damage, and refuse every fight that does not sit between your squad and the yellow zone. Do that, and the four-turn clock stops being a threat.