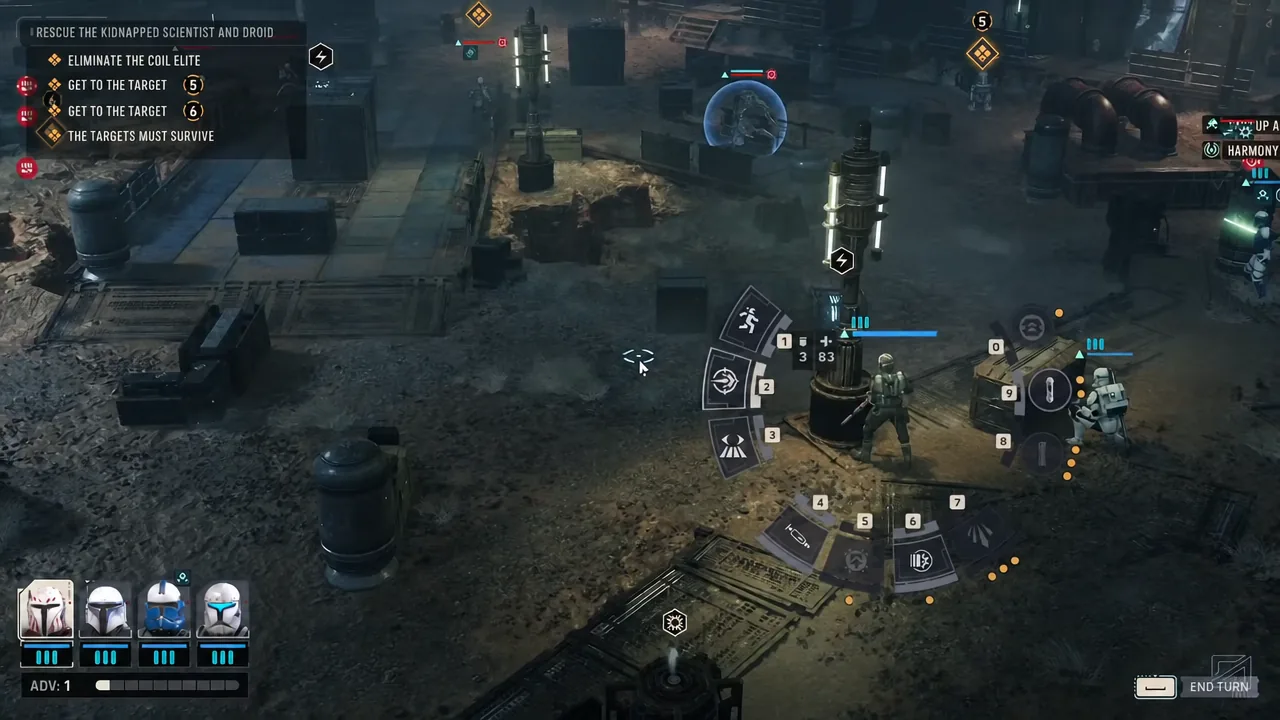
Rescue the Kidnapped Scientist and Droid is a hostage extraction job that stacks four objectives on top of each other: reach both targets, kill the Coil Elite, keep the targets alive, and then walk every operator out. The map is built around bridges, catwalks, and open drops, and that geometry matters more than your damage numbers. A Coil Guardian Elite with a deep health pool dies the instant it leaves solid ground.
Quick answer: Use Force Push, Force Pull, or Bull Rush to shove enemies off ledges and bridges for instant kills, rescue the Captured Astromech first so PICO-5 can feed the squad extra AP, then move all six operators into the extraction zone on the same turn to trigger MISSION SUCCESS.
Mission objectives and what fails the run
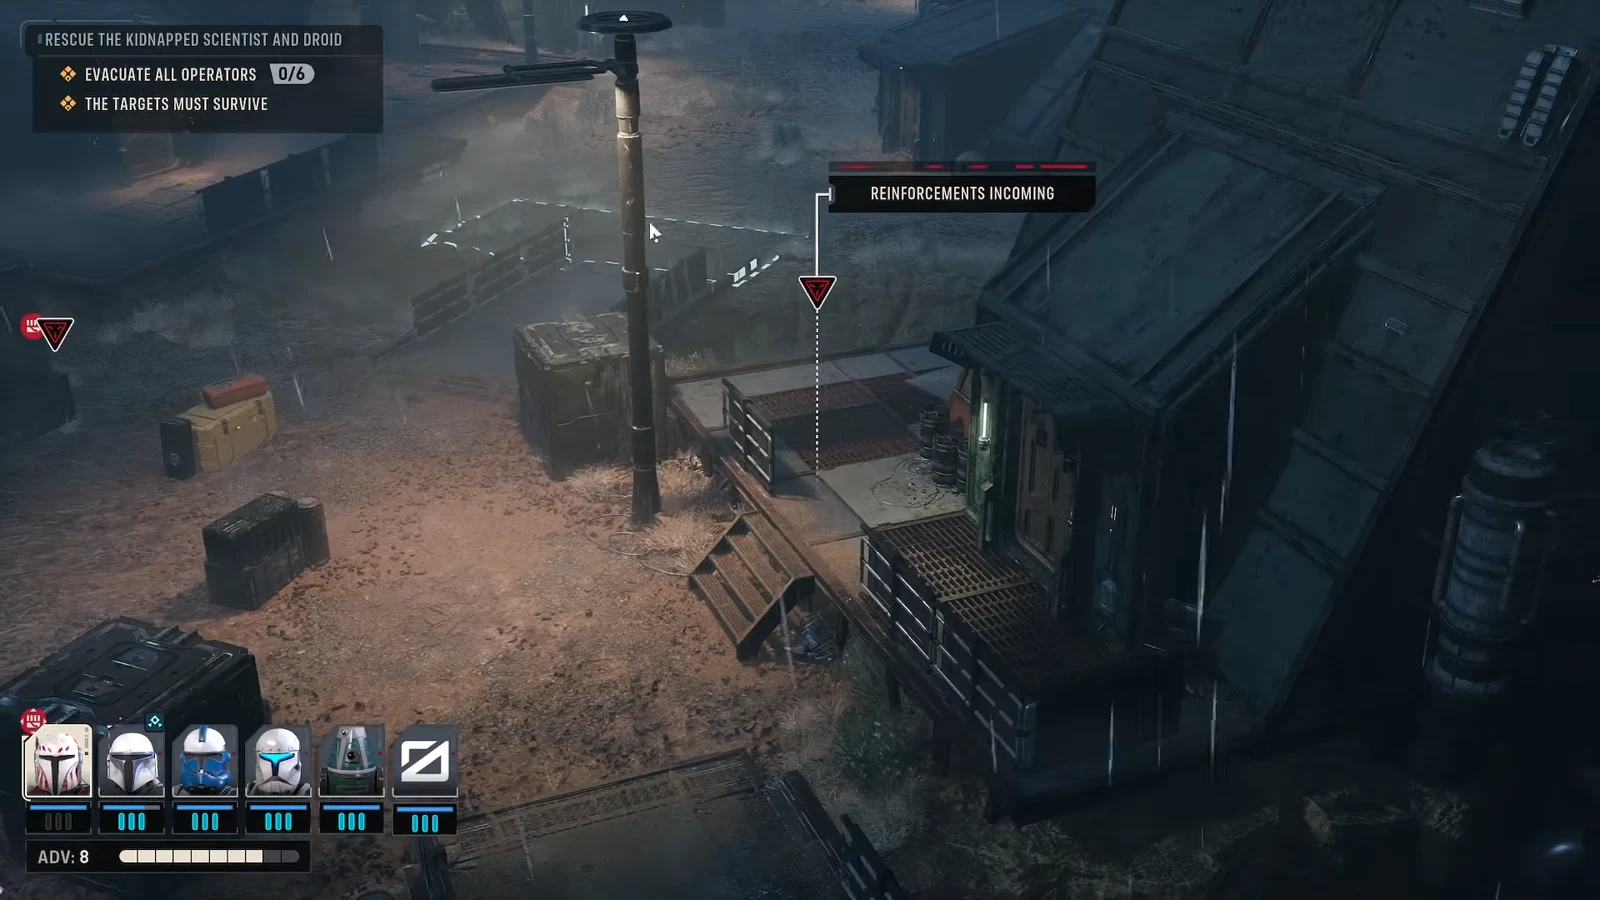
Objectives appear in the top-left of the HUD and update as you clear them. The evacuation counter only appears after both targets are secured, so there is no way to rush the exit early.
| Objective | What it requires |
|---|---|
| GET TO THE TARGET | Move an operator adjacent to the Captured Astromech, then to the Republic Scientist. |
| ELIMINATE THE COIL ELITE | Destroy the Coil Guardian Elite. Other Coil units can be ignored or bypassed. |
| THE TARGETS MUST SURVIVE | PICO-5 and the Republic Scientist cannot be killed once rescued. |
| EVACUATE ALL OPERATORS 0/6 | All six active operators, including both rescued targets, must be inside the extraction zone. |
Note: the rescued targets count toward your six operators. They are not escorted NPCs you drag around — they join the active squad and take turns like everyone else.
Use ledges to delete high-health Coil units
The single most efficient tactic on this map is displacement. Pushing or pulling an enemy off a bridge or high ledge removes it from the fight regardless of how much health it has left. That turns the Coil Droideka, the Coil Enforcer, and the Guardian Elite from multi-turn problems into one-action kills.
| Ability | Use case |
|---|---|
| Force Push | Shoves a target away from the Jedi. Best when the enemy is standing with a drop behind it. |
| Force Pull | Drags a target toward you. Use when the pit is between you and the enemy. |
| Bull Rush | Melee displacement for non-Jedi operators, useful on catwalk edges. |
Push costs 1 AP, and the targeting screen will warn you when the move triggers enemy overwatch. Check that warning before committing — the kill is still usually worth it, but you want the shove coming from an operator who can absorb a reaction shot.
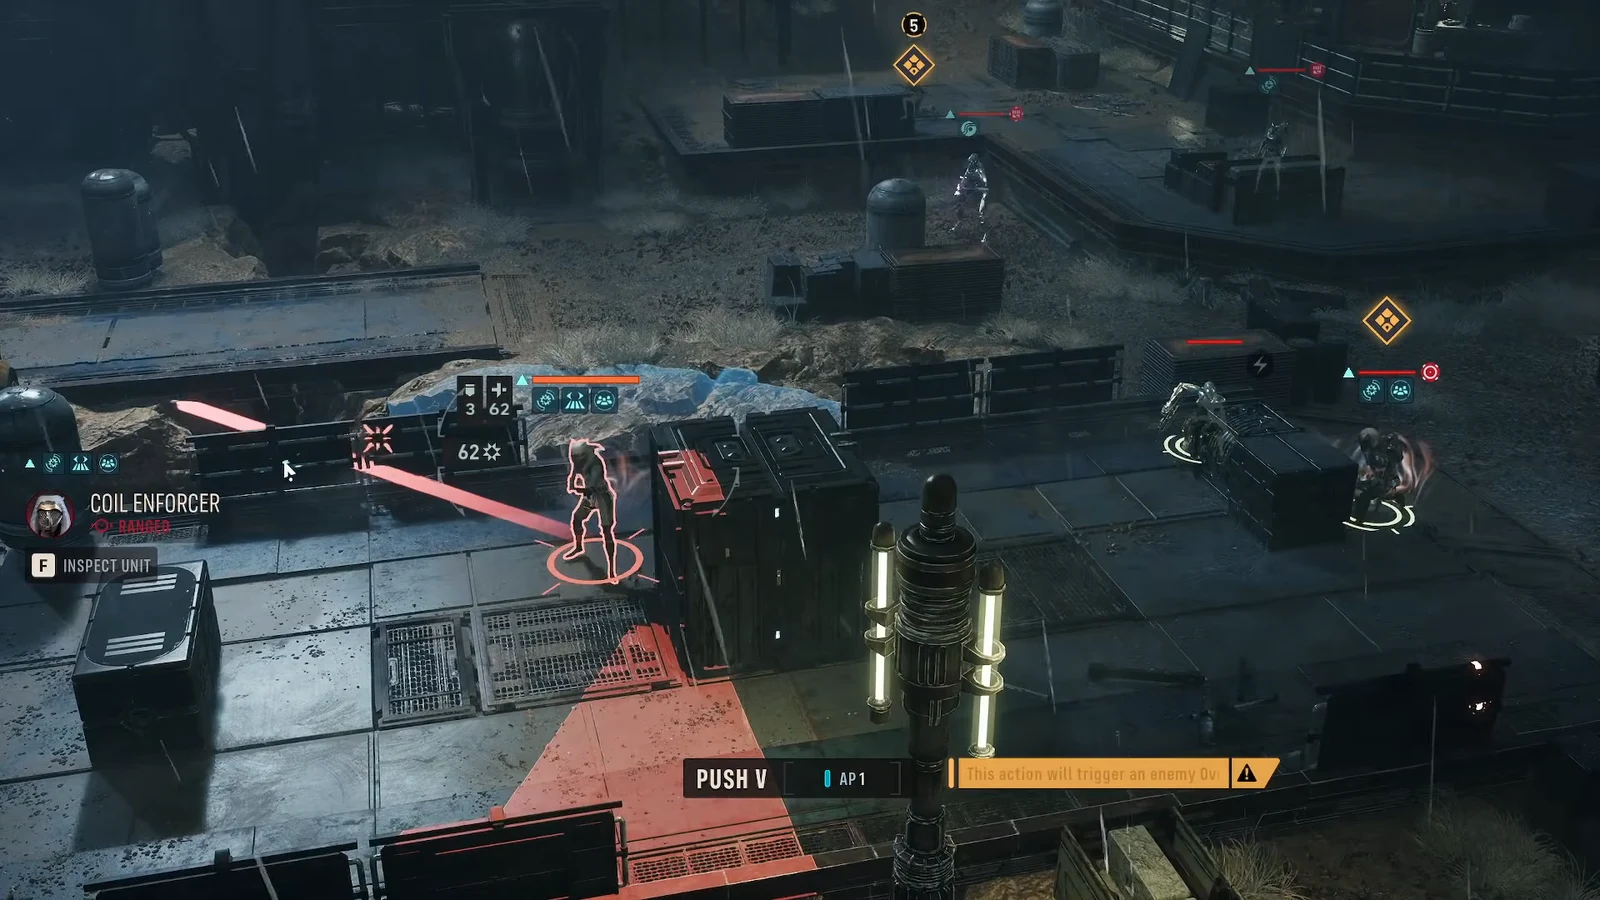
Open the fight this way. On the first turn, a Jedi in range of the bridge can Force Push a Coil Droideka straight off it, which removes the toughest early threat before it ever deploys its shield.
Rescue the Captured Astromech first
The Captured Astromech sits closer to your deployment than the scientist does, and there is a real reason to grab it before pushing deeper. The moment an operator reaches it, PICO-5 joins the active team with its own support kit.
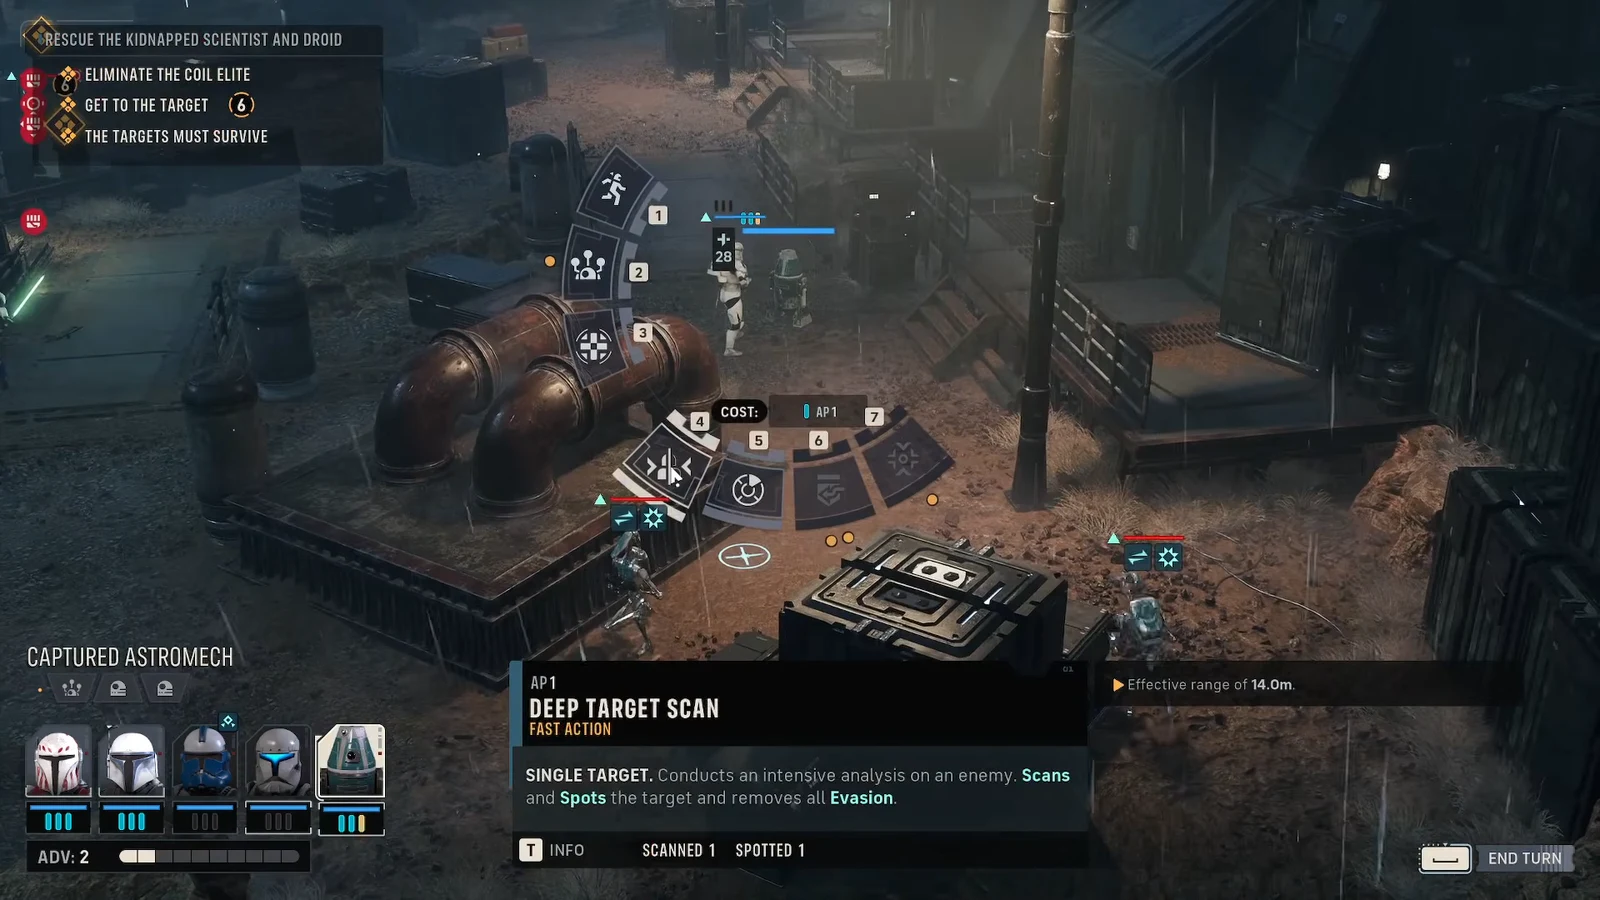
Built-in Comlink is the other ability worth planning turns around, since it grants an ally +1 AP. Handing a spare point to your Jedi is often the difference between a Force Push landing this turn or next. Predictive Analytics rounds out the droid’s support toolkit.
Eliminate the Coil Guardian Elite
The Guardian Elite is the only enemy the mission actually requires you to kill. Everything else on the field — Coil B1 Battle Droids, the Coil 8X Droid Commando, the Coil Scourge — can be walked past if the route is clear.
If the Elite is standing near an edge, displace it and the objective closes in one action. If it holds ground in open terrain, stack damage instead. Call for Backup lets a nearby teammate add their attack to the active operator’s shot, and chaining that with a scanned target removes the Evasion problem that makes elite units miss-prone.
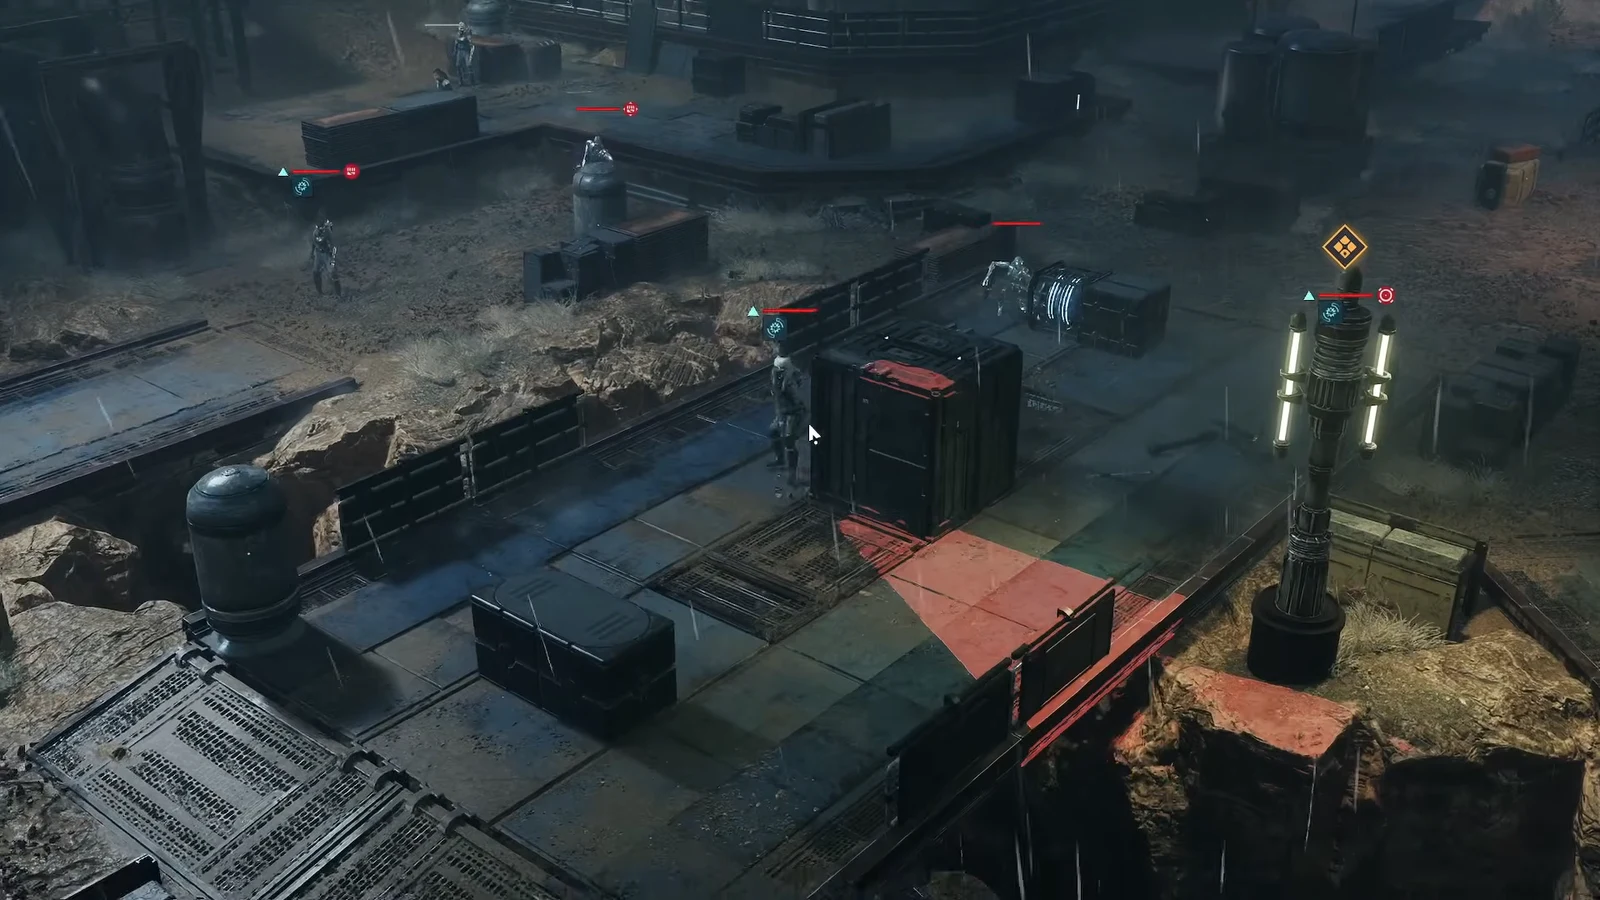
Spend leftover AP on Overwatch rather than letting it expire. Coil units that reposition into your firing arc will eat a free reaction shot, which thins reinforcements without costing you a turn.
Reach the Republic Scientist
The scientist is held further across the map, past the arena where the Elite patrols. Move in staggered pairs rather than a single line, keeping an operator in cover for every one that advances. Any Coil unit that steps onto a walkway edge on the approach should be shoved rather than shot.
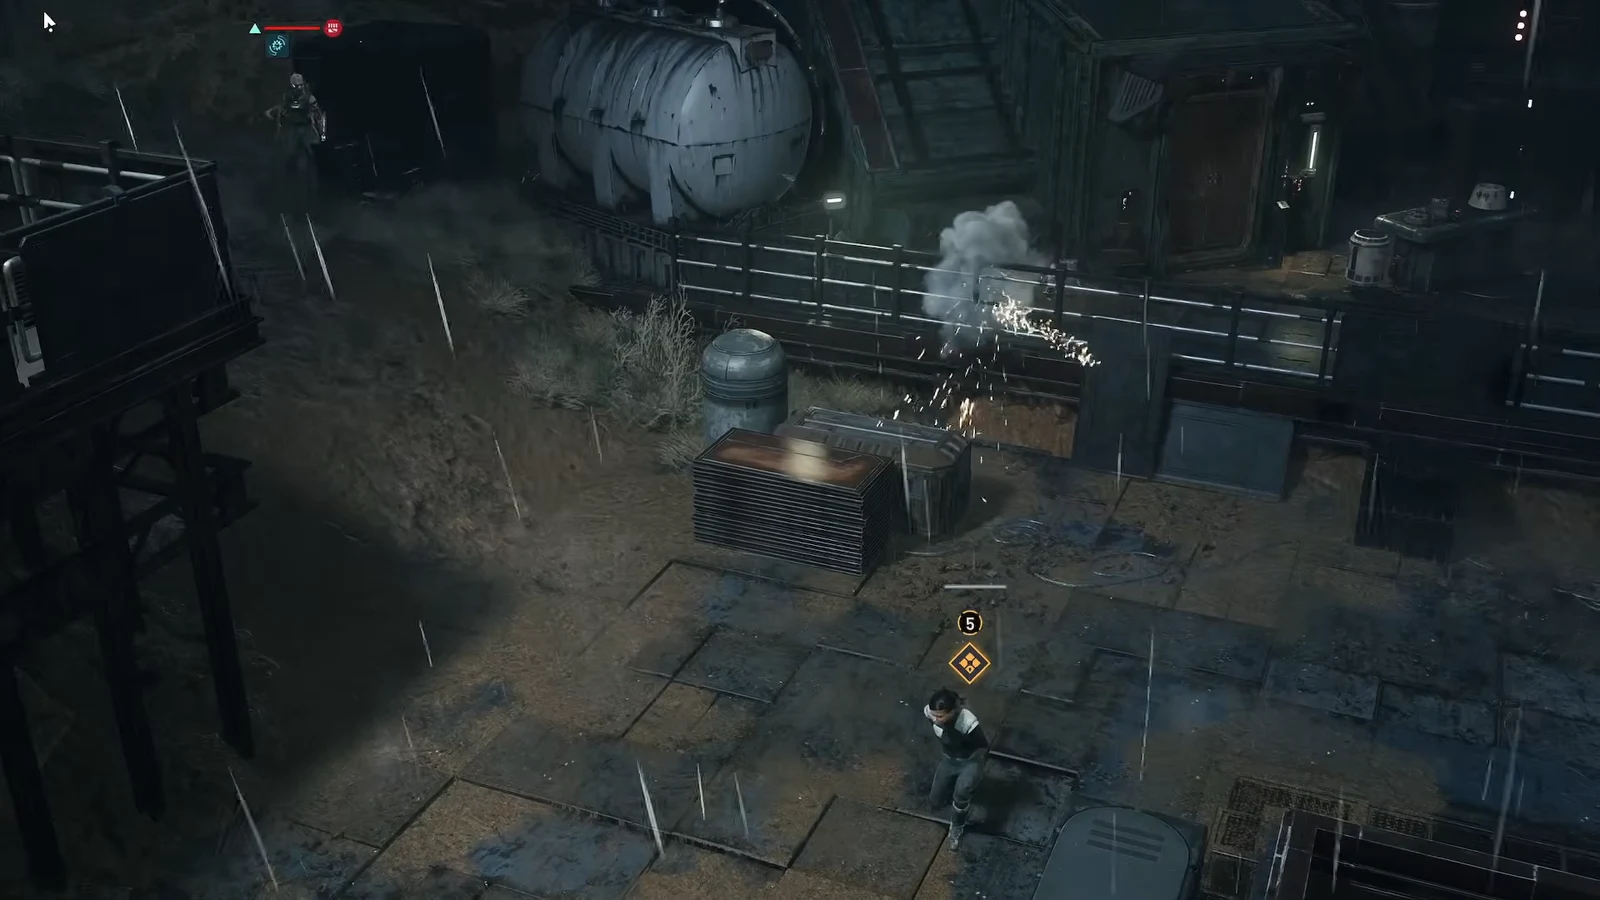
Touching the Republic Scientist completes the rescue and immediately swaps the mission over to its final phase. The extraction zone is marked on the map at that moment, and Coil reinforcements begin arriving.
Evacuate all six operators
The counter reads EVACUATE ALL OPERATORS 0/6 and it does not tick up permanently — operators standing inside the zone still count only while they are there, so the mission resolves when all six are inside together. That means the rescued scientist and PICO-5 need to make the walk too, and they are the slowest part of the group.
How to confirm the mission completed
MISSION SUCCESS on screen is the confirmation, followed by the stat readout. A clean run using ledge kills throughout looks roughly like this.
| Stat | Clean run benchmark |
|---|---|
| Total Tactical Rounds | 8 |
| Enemies Defeated | 8 |
| Damage Dealt | 325 |
| Casualties | 0 |
Low damage dealt with a high kill count is the signature of a displacement-heavy run — enemies knocked into pits never register as damage taken. If your damage total is climbing but enemies are still standing, you are fighting the map instead of using it.
Two things commonly stop this mission from completing. Either one operator was left outside the extraction zone when the rest arrived, or a rescued target was killed during the evacuation phase, which fails THE TARGETS MUST SURVIVE outright. Both are recoverable — you can restart the mission from the game menu and redeploy the same operators with a different plan.
Squad composition gives you some flexibility here. A Jedi is the cleanest answer to the ledge tactic, but Bull Rush on a melee-capable operator covers the same job when Fred is out of position or already spent, and Star Wars Zero Company lets you swap difficulty outside of combat if the reinforcement wave during evacuation is outpacing your extraction.