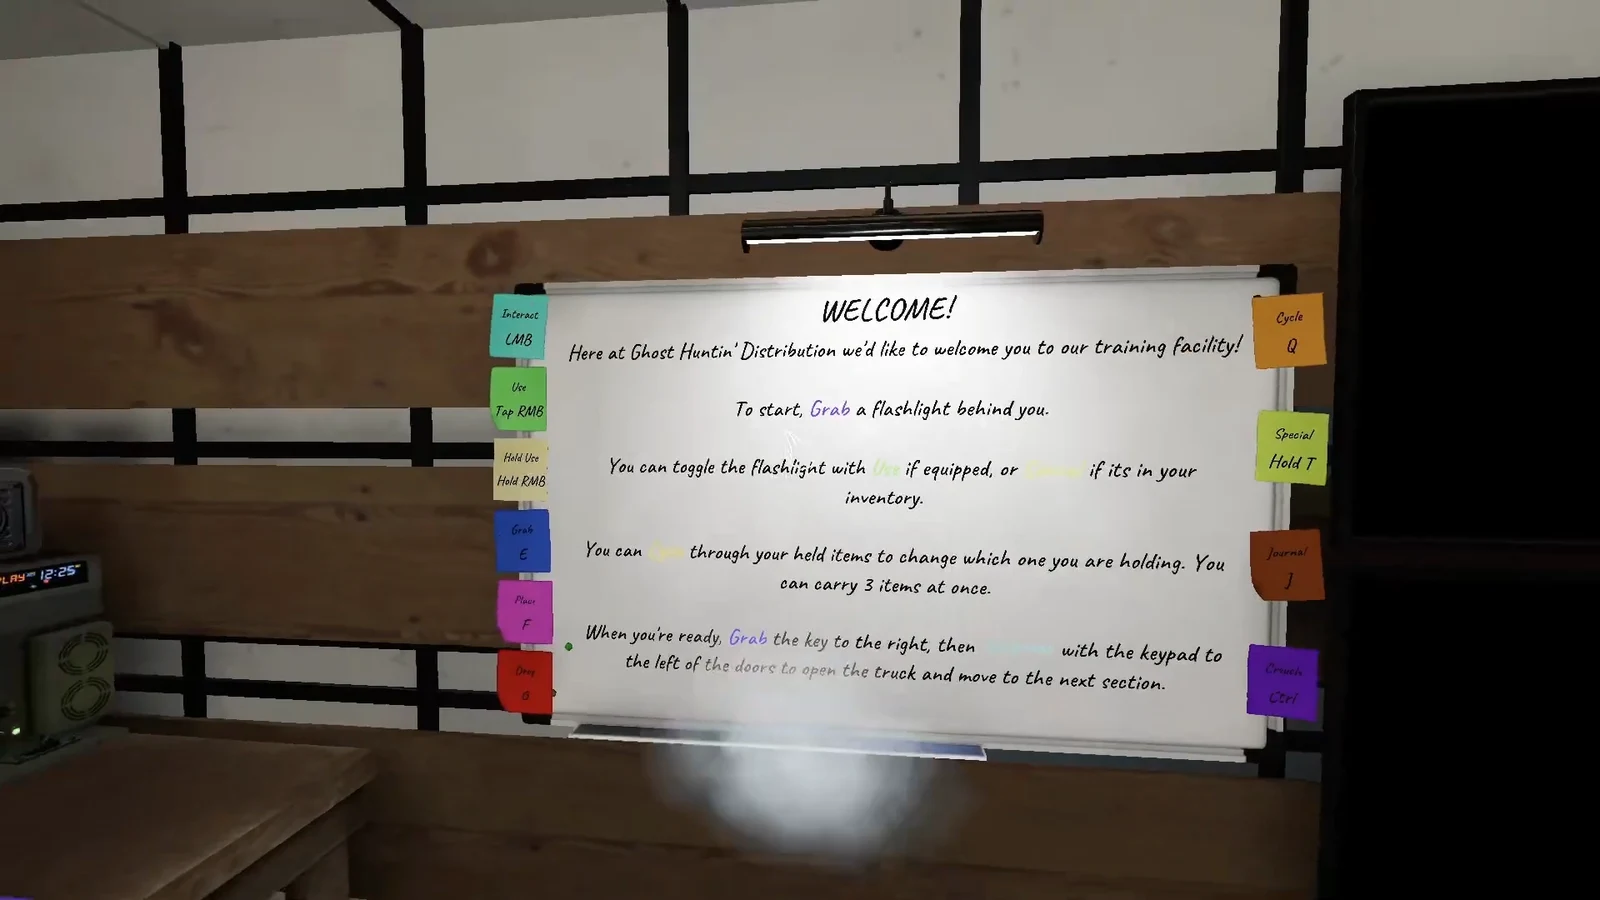
Training is Phasmophobia’s built-in tutorial, and it runs on a purpose-built map called the Warehouse that you cannot play any other way. It is a straight line of rooms separated by locked doors, and each door stays shut until you perform one specific action. There are 11 stages in total, covering the truck basics, sanity, lighting, all six evidence types the training “ghost” produces, and a scripted hunt at the end.
Quick answer: Each locked door opens only when you complete that room’s single task, so work through all 11 stages in order, survive the final hunt by hiding with your electronics off, then press the keypad in the truck at the end to return to the lobby.
Start Training from the Singleplayer menu
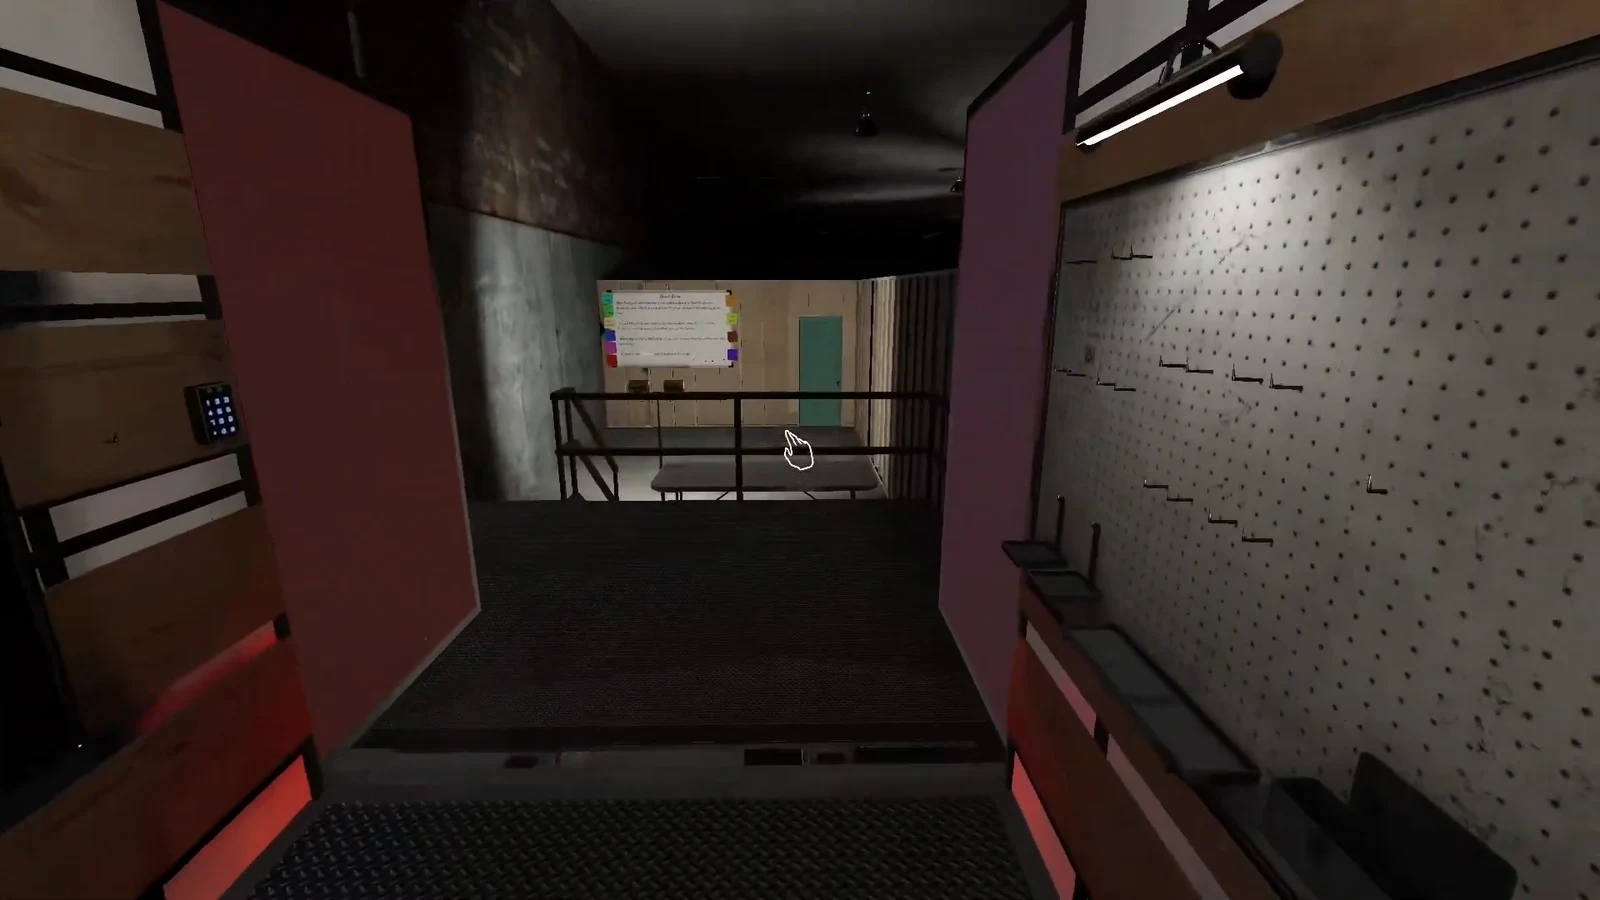
From there you pass through three rooms labelled Room One, Room Two and Room Three. In Room Three the training “ghost” will throw an object as you walk past. Nothing is required of you here beyond opening the doors and moving forward.
Default controls used in Training
| Action | Default input |
|---|---|
| Interact (switches, keypads, doors) | Left mouse button |
| Use held item | Right mouse button |
| Pick up | E |
| Place item | F |
| Drop item | G |
| Cycle held items | Q |
| Special action | T |
| Open journal | J |
| Crouch | C |
You can carry three items at once. If a table item refuses to go into your hands, you are already full, so drop something with G first.
Every Training stage and what opens the next door
| Stage | What unlocks the next door |
|---|---|
| 1. Essentials | Open the truck with the keypad and walk through Rooms One to Three. |
| 2. Sanity | Pick up and drink a tier 1 Sanity Medication. |
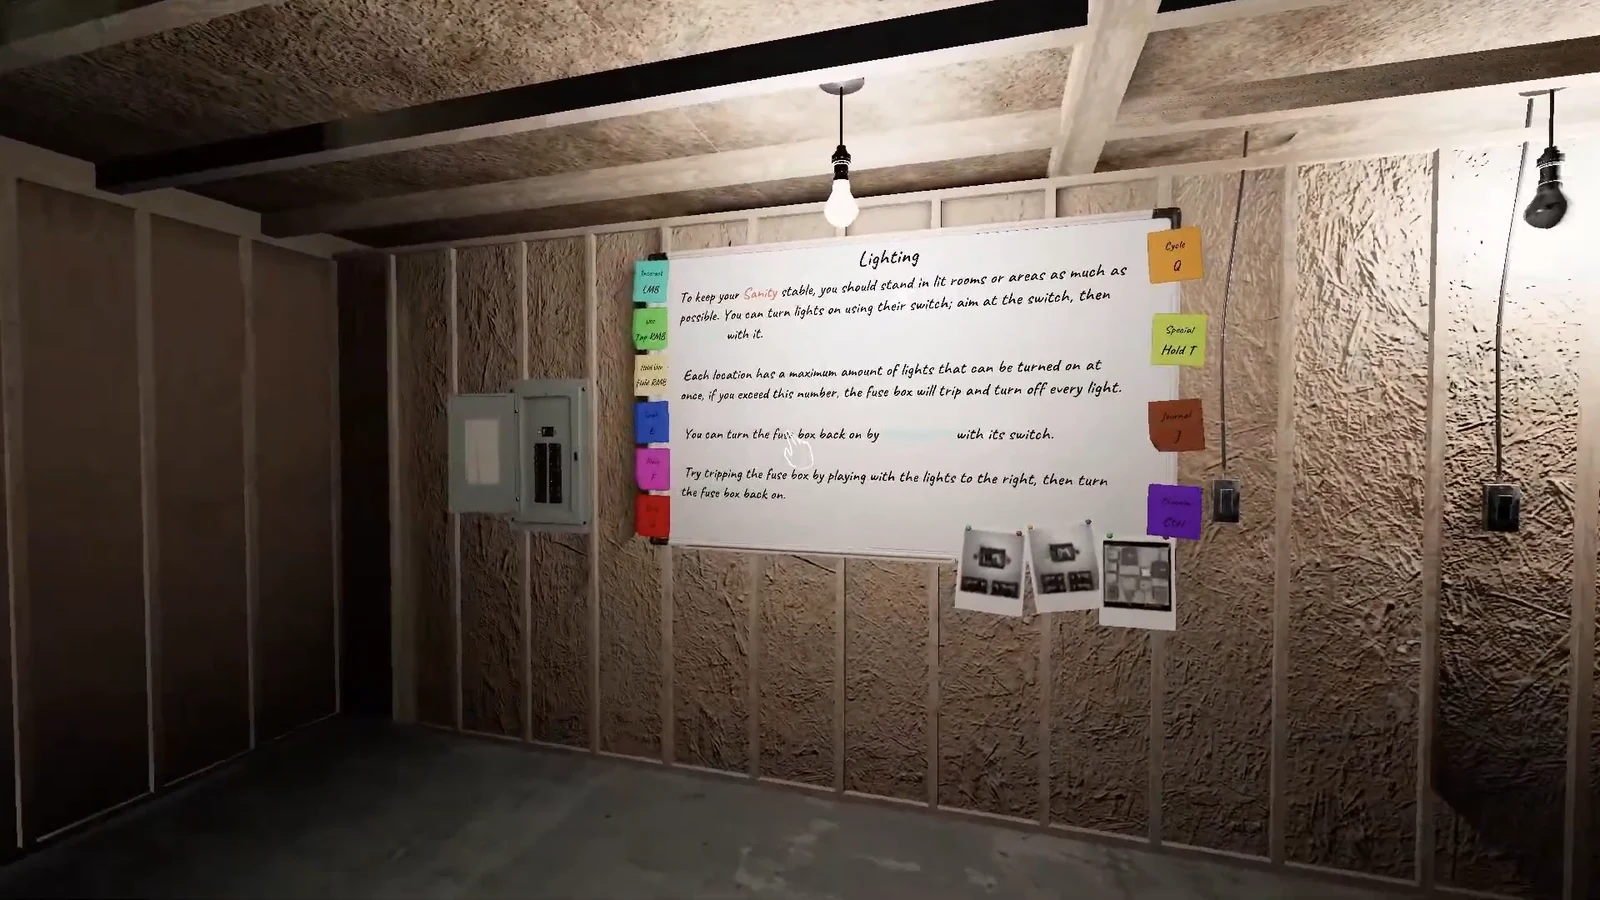
| 3. Lights | Flip all three light switches to trip the fuse box, then switch the fuse box back on. |
| 4. EMF | Get an EMF 5 reading on the tier 1 EMF Reader once objects start moving. |
| 5. Ultraviolet | Use the tier 1 UV Light to reveal the handprint on the door and the footprints on the floor. |
| 6. Freezing Temperatures | Find the below-freezing room with the tier 1 Thermometer. |
| 7. D.O.T.S Projector | Set up the tier 1 projector in the dark room and spot the figures it reveals. |
| 8. Ghost Orbs | Record a ghost orb in the dark room with the tier 1 Video Camera. |
| 9. Ghost Writing | Place the tier 1 Ghost Writing Book in the next room and wait for it to be signed. |
| 10. Spirit Box | Turn the lights off and get a spoken answer through the tier 1 Spirit Box. |
| 11. Hunts | Hide until the ghost crosses the room and vanishes. |
There is no real ghost anywhere in the Warehouse. Every effect is scripted, which is why the training “ghost” appears to give six pieces of evidence at once and why no genuine ghost type matches. You can walk back into rooms you have already cleared if you want to re-read a board.
The stages that stall most players
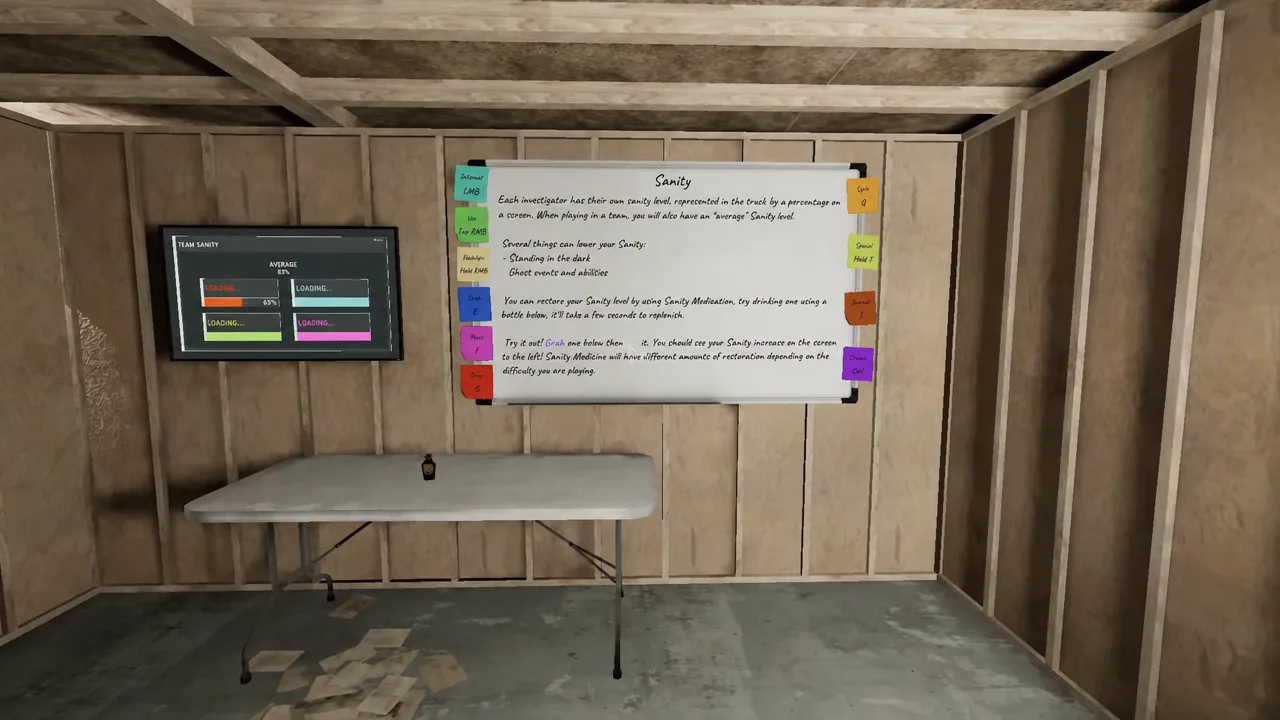
Sanity: pick up the bottle, then drink it
Drinking the medication is two separate inputs. Take the bottle off the table with E, then use it with right mouse button. Your sanity climbs on the wall monitor once it goes down, and the door opens after that.
Lights: trip the breaker on purpose
This room has three switches, each wired to one light. Turning all of them on overloads the circuit and kills the power, which is the point of the lesson. Walk to the fuse box and switch it back on to restore power and open the door.
Freezing Temperatures: the thermometer is slow
The tier 1 thermometer updates at a third of the speed of the better models, so stand still in each room and wait for the reading to settle instead of sweeping through. The cold room is near the end of the run.
Ghost Writing: place the book, do not throw it
F places an item on a surface. G throws it. Hold F over the table in the neighbouring room so the book lands flat, then step back and wait for the writing to appear.
Spirit Box: kill the lights first
The Spirit Box will not answer while the room the ghost is in is lit. There are two switches to deal with, one on the wall of the room you start in and one on the next door along. With both off, turn the box on and speak a question into your microphone, such as “Where are you?” A working microphone with voice recognition set up is required, otherwise this stage cannot complete.
Hunts: hide and turn everything off
Walking into the locker room locks every door and starts a simulated hunt, with lights and electronics flickering. The ghost only spawns at the entry door once you are inside a hiding spot with your electronics switched off. Stay put while it crosses the room. If it sees you, you are teleported back to the start of the stage and the sequence runs again. Note: this hunt triggers regardless of your sanity level, unlike hunts in a real contract.
How to end Training and confirm it is finished
Once the ghost disappears at the end of the hunt stage, the doors unlock and the path leads to a truck. It is not the one you started in, which you can tell because it has no flashlights on the shelf. Click the keypad by the door and you are returned to the main lobby.
Landing back in the lobby is the confirmation that Training is done. There is no reward and no payout, and although you can open the journal with J during Training, selecting a ghost type does nothing because the six evidence types shown do not correspond to any real ghost.
The Warehouse is not available outside Training, so once you leave you cannot load it from the map list. If you want another pass at a specific device, start Training again and use the backtracking to walk to that room.