Bounty of the Mire is one of three leech collection activities tied to Boyar Ambrus in The Blood of Dawnwalker. It sits in the bogs of Vale Sangora, runs on a short loop of combat and a single interaction, and pays out a Skill Point alongside a stack of Blood Leeches. It also counts toward Ambrus’s anger, which is what eventually forces him into a boss confrontation.
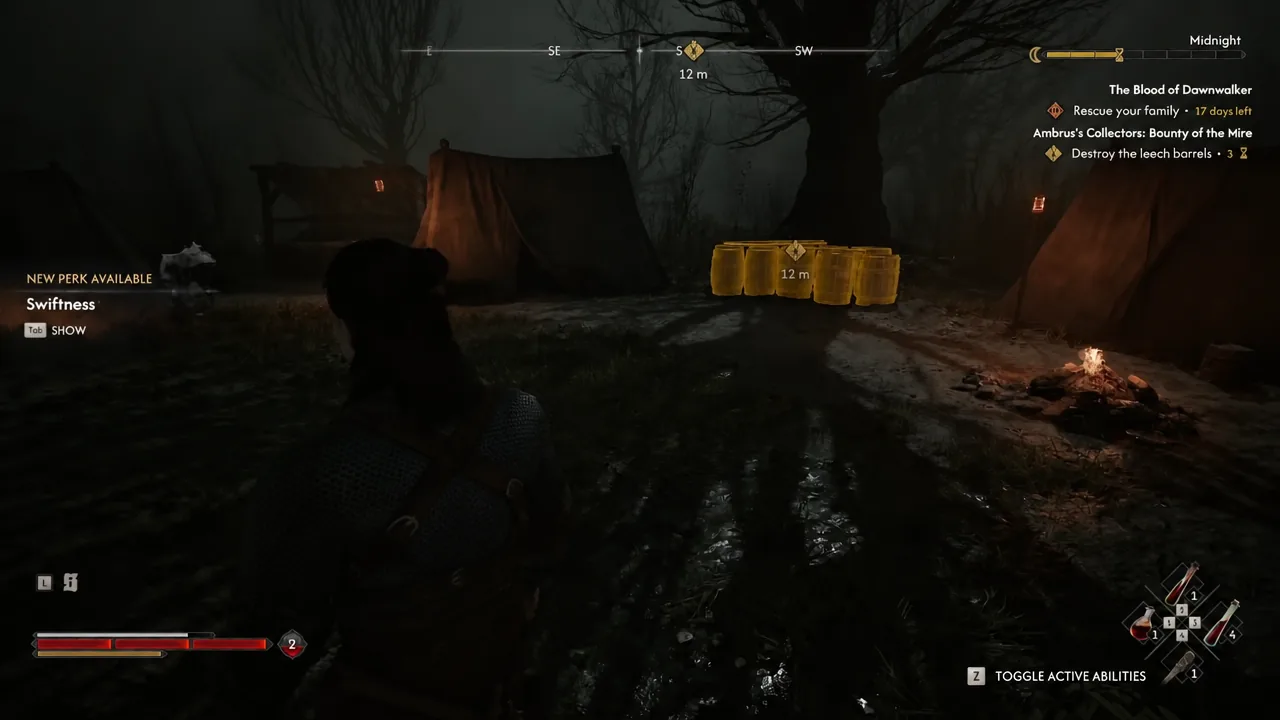
Quick answer: Travel to Ambrus’s Outpost southeast of Briar Sloughs, kill the four soldiers guarding the camp, then interact with the yellow-highlighted leech barrels. That single interaction spends 3 time segments and closes the activity for 250 XP, 1 Skill Point, and Blood Leeches.
Bounty of the Mire location, time cost, and rewards
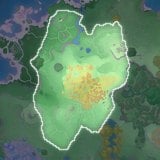
The camp is built on a swamp island in the marshy northern part of Vale Sangora, southeast of Briar Sloughs at a spot marked Ambrus’s Outpost. Walking in flags you as trespassing, so expect the soldiers to turn hostile the moment you cross the perimeter. Nothing you do before touching the barrels advances the clock.
| Detail | Value |
|---|---|
| Full name | Ambrus’s Collectors: Bounty of the Mire |
| Region | Vale Sangora, southeast of Briar Sloughs |
| Level band | Ambrus court activity (Level 1+) |
| Time cost | 3 time segments, charged when you interact with the barrels |
| Enemies | Roughly four soldiers, beatable by day or night |
| Rewards | 250 XP, 1 Skill Point, Blood Leeches |
Blood Leeches are a Master Consumable that restores a full Vampiric Health Segment and pushes Corruption up in exchange. The quantity scales with how many of the three leech camps you have already dealt with, so the order you clear them in decides the size of each payout.
| Leech camp cleared | Blood Leeches received |
|---|---|
| First | 5 |
| Second | 12 |
| Third | 18 |
The other two camps in the same set are Ambrus’s Collectors: Wetland Helpers and Ambrus’s Collectors: Unsavoury Solutions. Each costs 3 time segments and pays the same 250 XP and Skill Point.
How to start Bounty of the Mire
Court activities are not pinned on the map from the start. They show as “Unknown Activity” until you physically find them, so you either walk into the camp or pick up the paperwork that points you there.
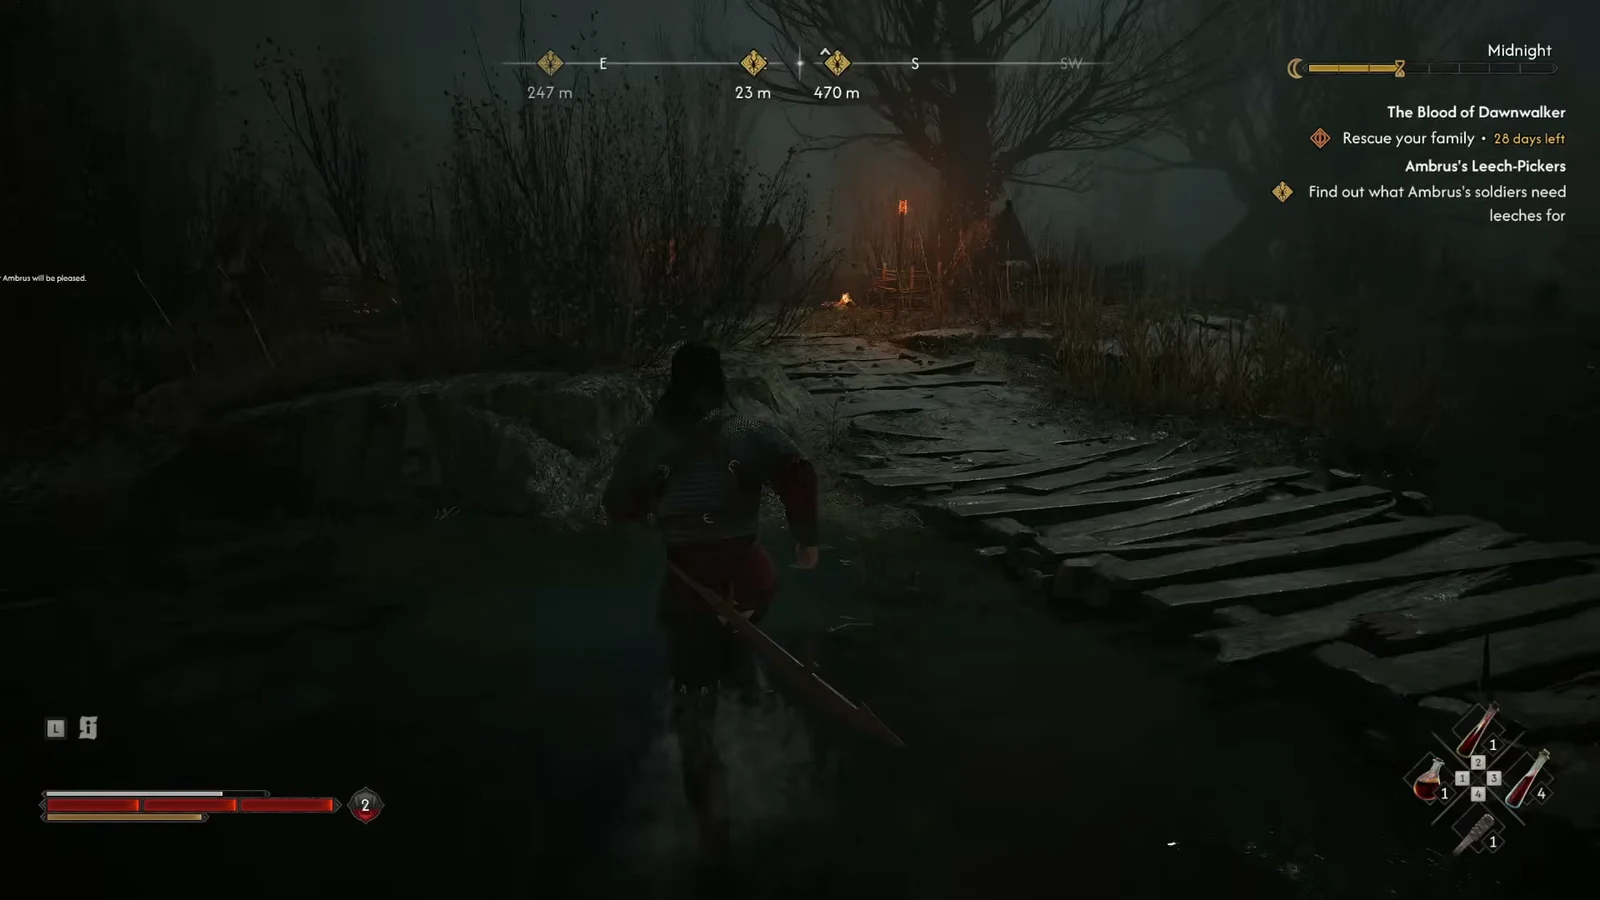
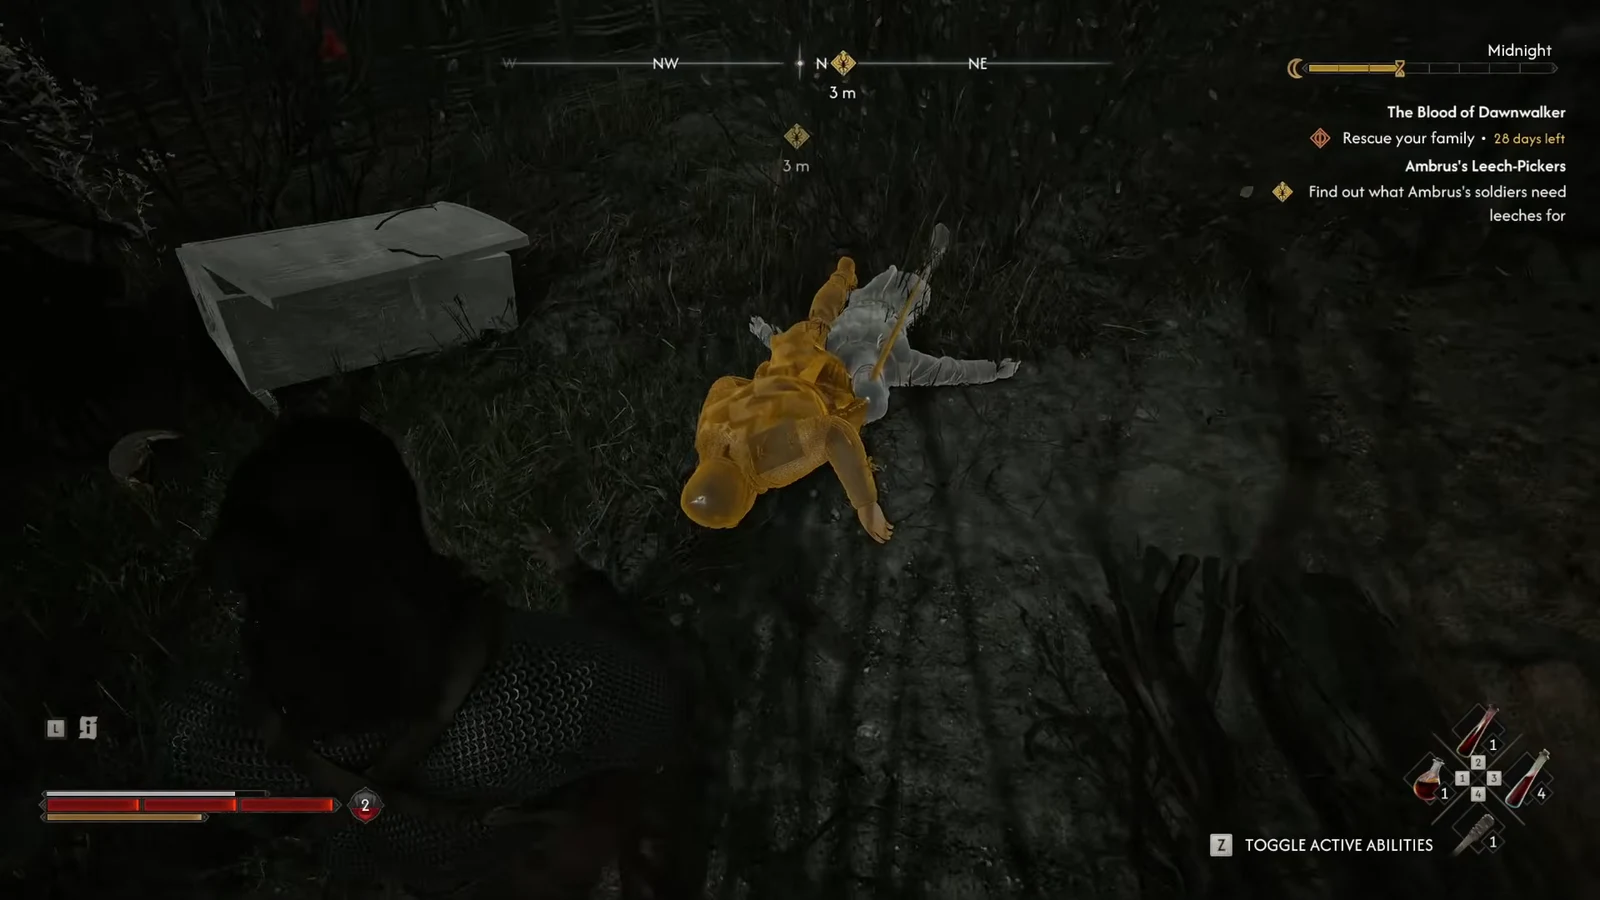
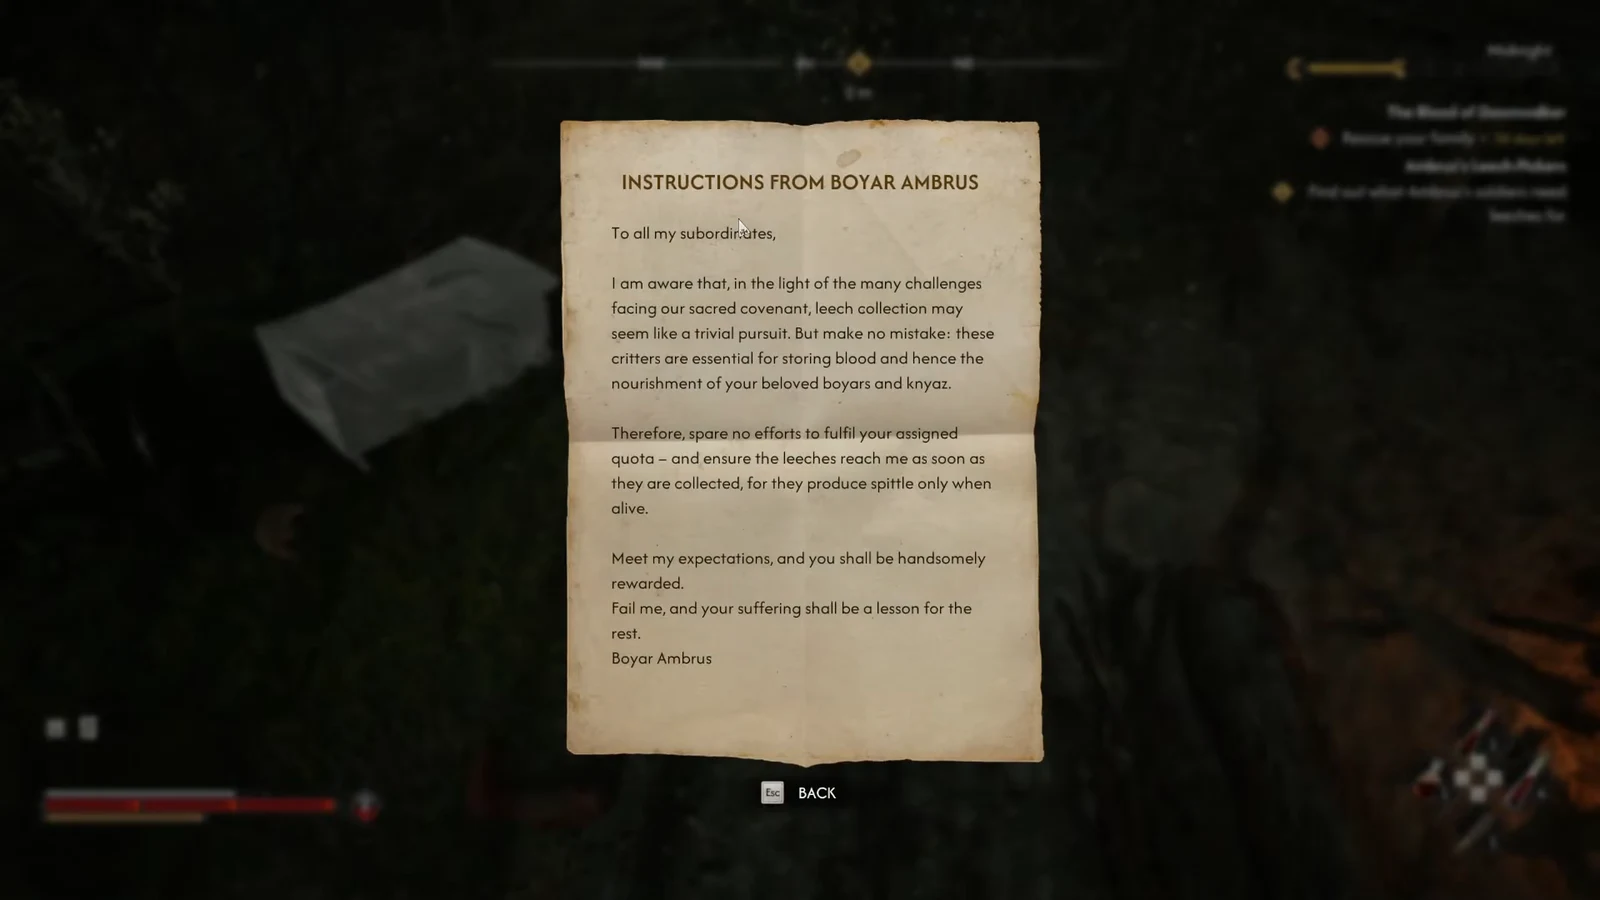
Reading it starts two entries at once, Ambrus’s Collectors: Bounty of the Mire and Ambrus’s Collectors: Wetland Helpers, both with the same objective wording about destroying leech barrels. You can press Tab to track whichever one you want to finish first.
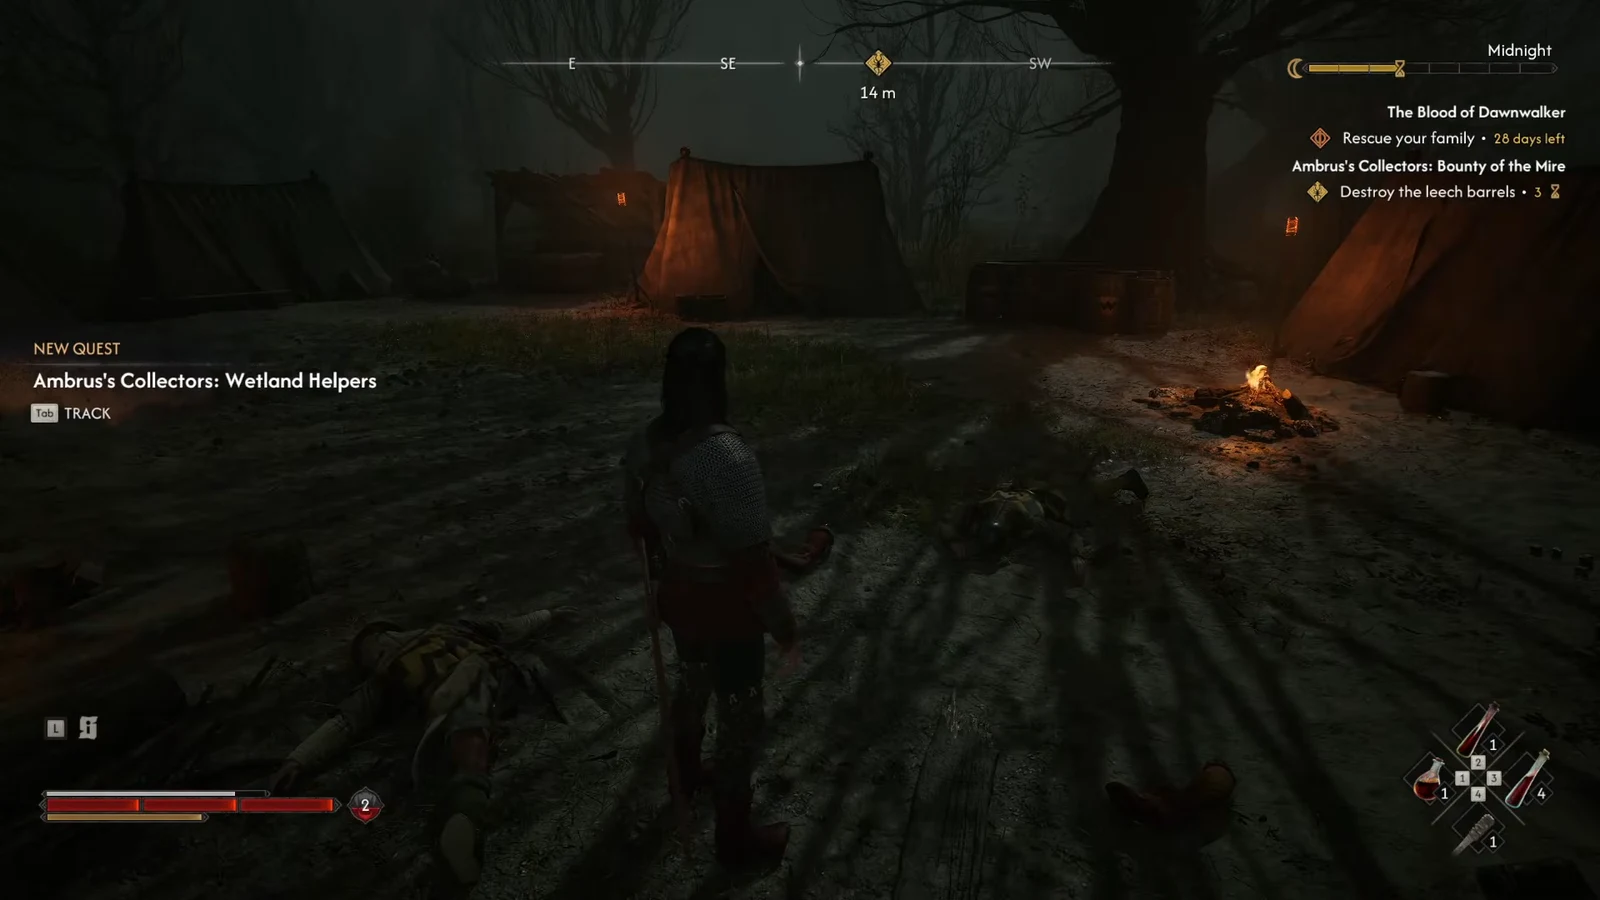
Destroy the leech barrels and handle the collectors
The barrels sit inside the camp and glow yellow in Focus Mode. Interacting with them is the point of no return for the clock, since that is the action that charges the 3 time segments.
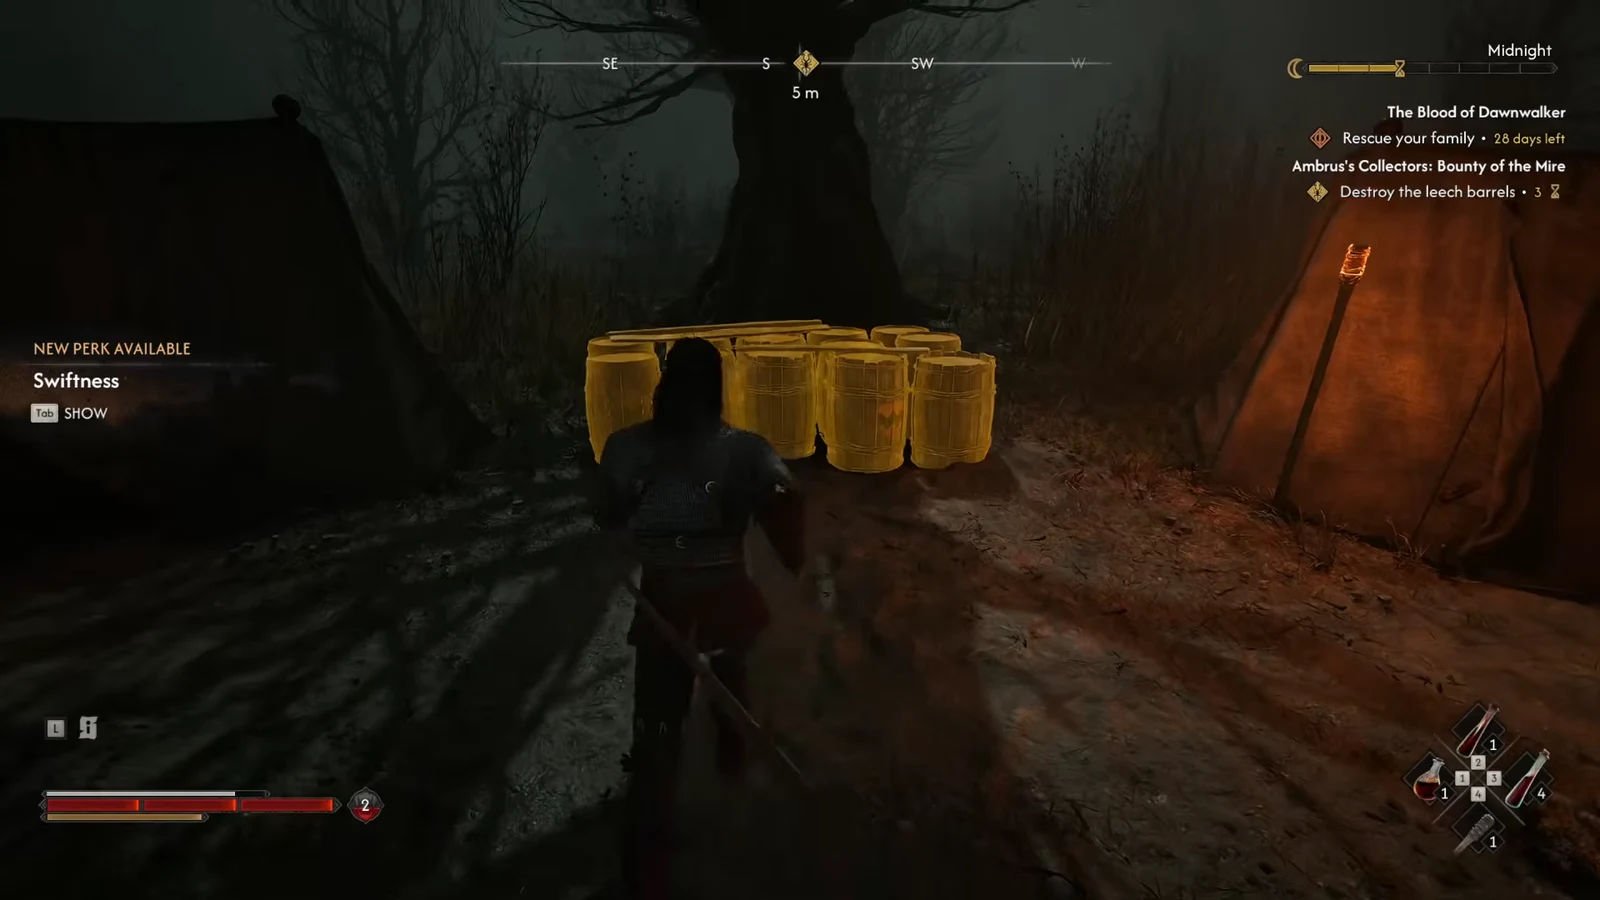
The payout is identical whether you smash the barrels or walk away from them. What changes is the journal outcome recorded for the camp and, more importantly, whether a later boss appears.
How to confirm Bounty of the Mire is complete
Completion is signposted clearly. The quest name appears on screen with the completion banner, the reward panel lists 250 XP alongside 1 Skill Point, and Blood Leeches drop into your inventory as a Master Consumable. The in-game clock also jumps forward by 3 segments, which is the surest sign the interaction registered.
Note: if the clock advanced but no reward appeared, the barrels were not actually destroyed. That distinction matters at the third camp.
Why the leech camps sometimes fail to complete
Sparing every barrel across all three leech camps causes the final camp you visit to hang without resolving. Time still passes, but the quest reward never lands and Ambrus’s anger does not tick up. Destroying the barrels at a minimum of one camp avoids that outcome entirely.
The other way the activity stalls is simply never triggering it. The camps stay hidden as “Unknown Activity” until you find them in the world, so the objective will not appear on the map on its own.
What destroying the barrels unlocks: The Bloodletter
Wreck the barrels at any of the three camps and a miniboss called The Bloodletter spawns nearby once you make your decision at the third camp. He fights with a sword in each hand and hits considerably harder than the camp guards. When he winds up an unblockable attack, dodge twice rather than once, because the area of effect will still catch you at short range.
He drops a large amount of loot, which is the main reason to run all three leech camps rather than one. Skip the barrel destruction across the board and he never turns up.
Every court activity you finish in Ambrus’s territory raises his anger, and the leech camps are among the cheapest to clear at three time segments each. With 30 in-game days on the clock and three vampire bosses to draw out before Brencis, it is worth saving manually before you commit to the barrels so you can revisit the choice later without losing the run’s pacing.