Destroyed Shrines: Small Bridge is one of the repair jobs scattered across Vale Sangora, and it follows the same rule as every other broken shrine in the game. The shrine itself is inert until you bring it the piece it is missing, and that piece is being carried by the group camped around it. Clear them out, and the fast travel point switches on permanently.
Quick answer: Kill everyone guarding the ruined shrine by the small bridge, including the Vrakhiri Banneret mini-boss, loot the Small Bridge Shrine’s Heart from the bodies, then interact with the shrine to place it.
Why repairing the Small Bridge shrine is worth the fight
Shrines are the only fast travel points in The Blood of Dawnwalker, and you can only travel between shrines you have already touched. They also double as the place where you buy skills and skip time, which matters in a game where the clock keeps moving on your family. There are 111 shrines in total, split between 94 regular ones and 17 destroyed ones like this.
Regular shrines unlock just by walking near them, turning from grey to blue on the map. Destroyed shrines are the exception. They need a physical piece returned to them before they count as unlocked, and that piece is always somewhere close by.
Finding the destroyed shrine near the small bridge
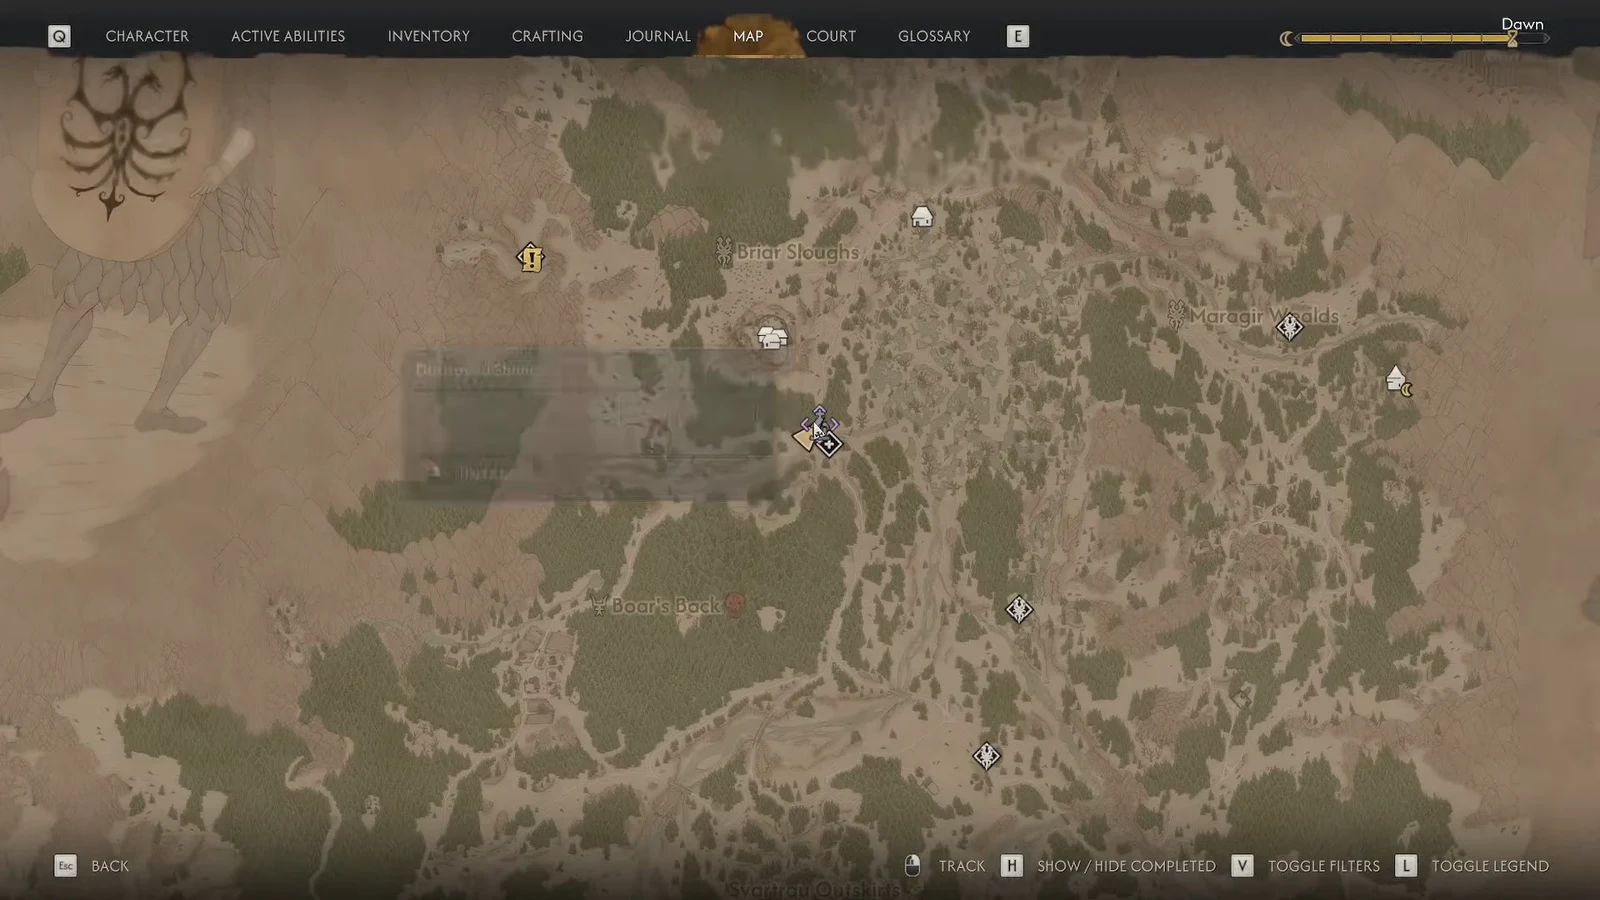
Open the map and look for the greyed-out shrine icon sitting beside the small bridge. Grey means it is still broken, so it will not appear as a fast travel destination until you finish the repair. Set the marker and ride over.
As you get close, the quest tracker updates to Investigate the shrine. That is your confirmation you are in the right spot, and it is also your cue that armed company is waiting.
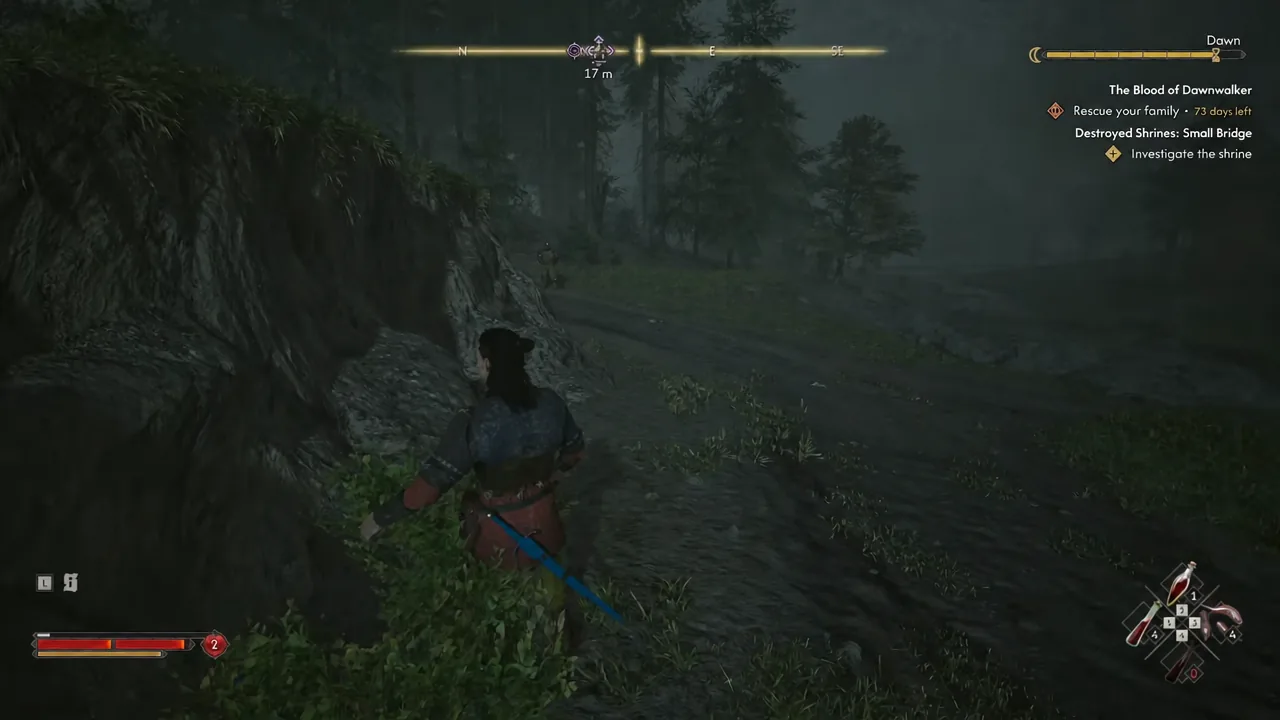
Tip: hold L2 or LT for Focus Mode at any destroyed shrine. It outlines the missing piece in yellow and traces where it went, which saves you sweeping the whole camp on foot.
Clearing the guards and the Vrakhiri Banneret
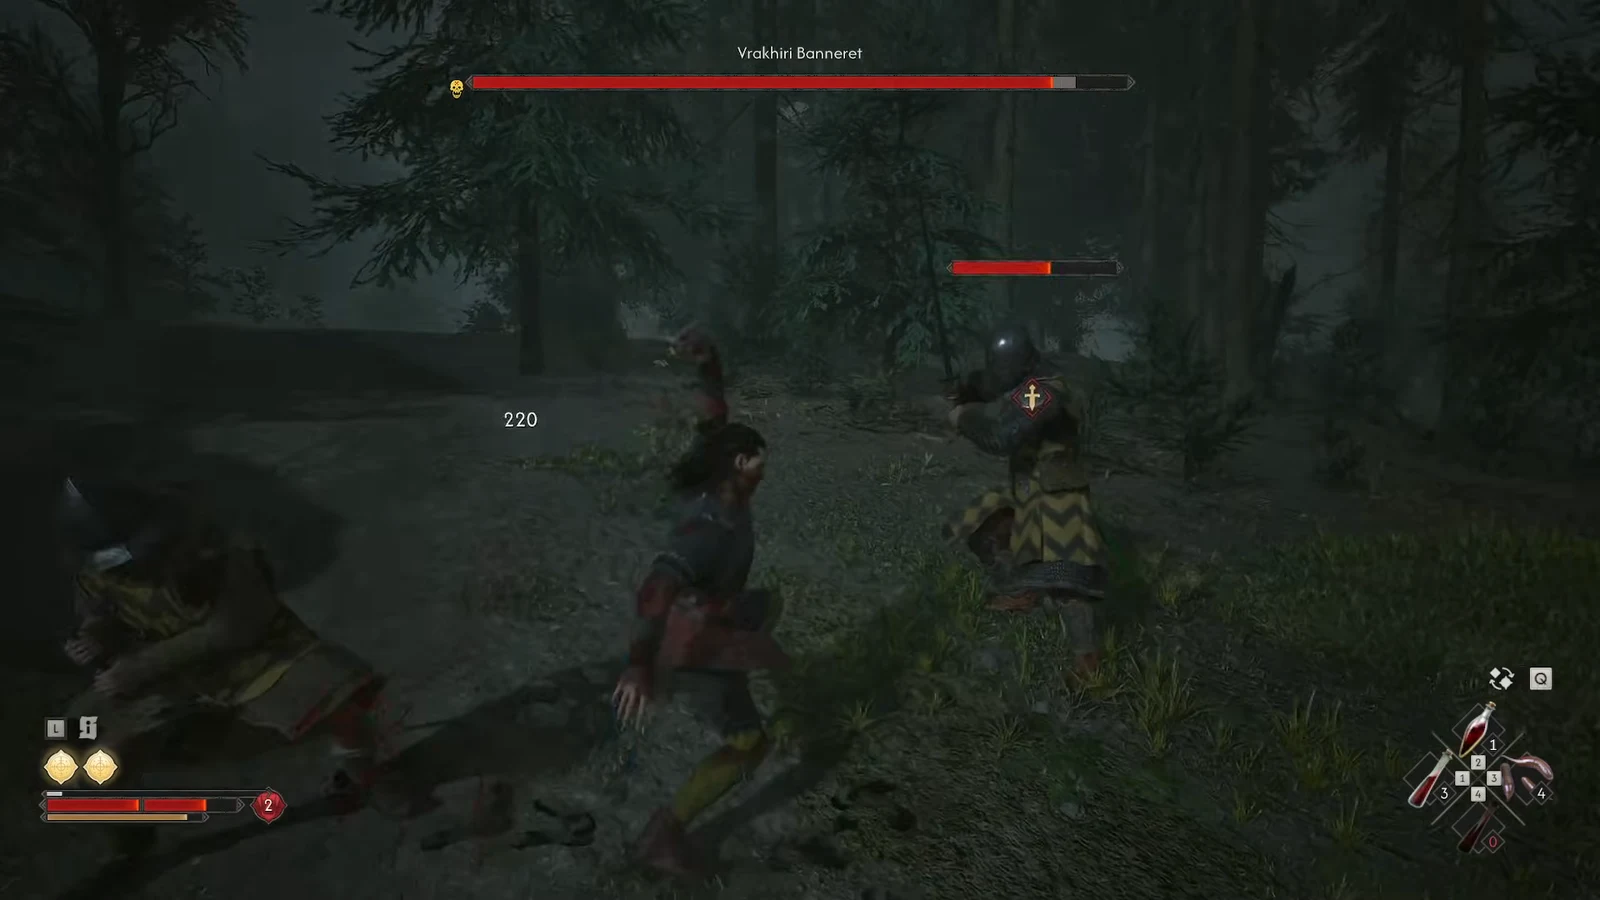
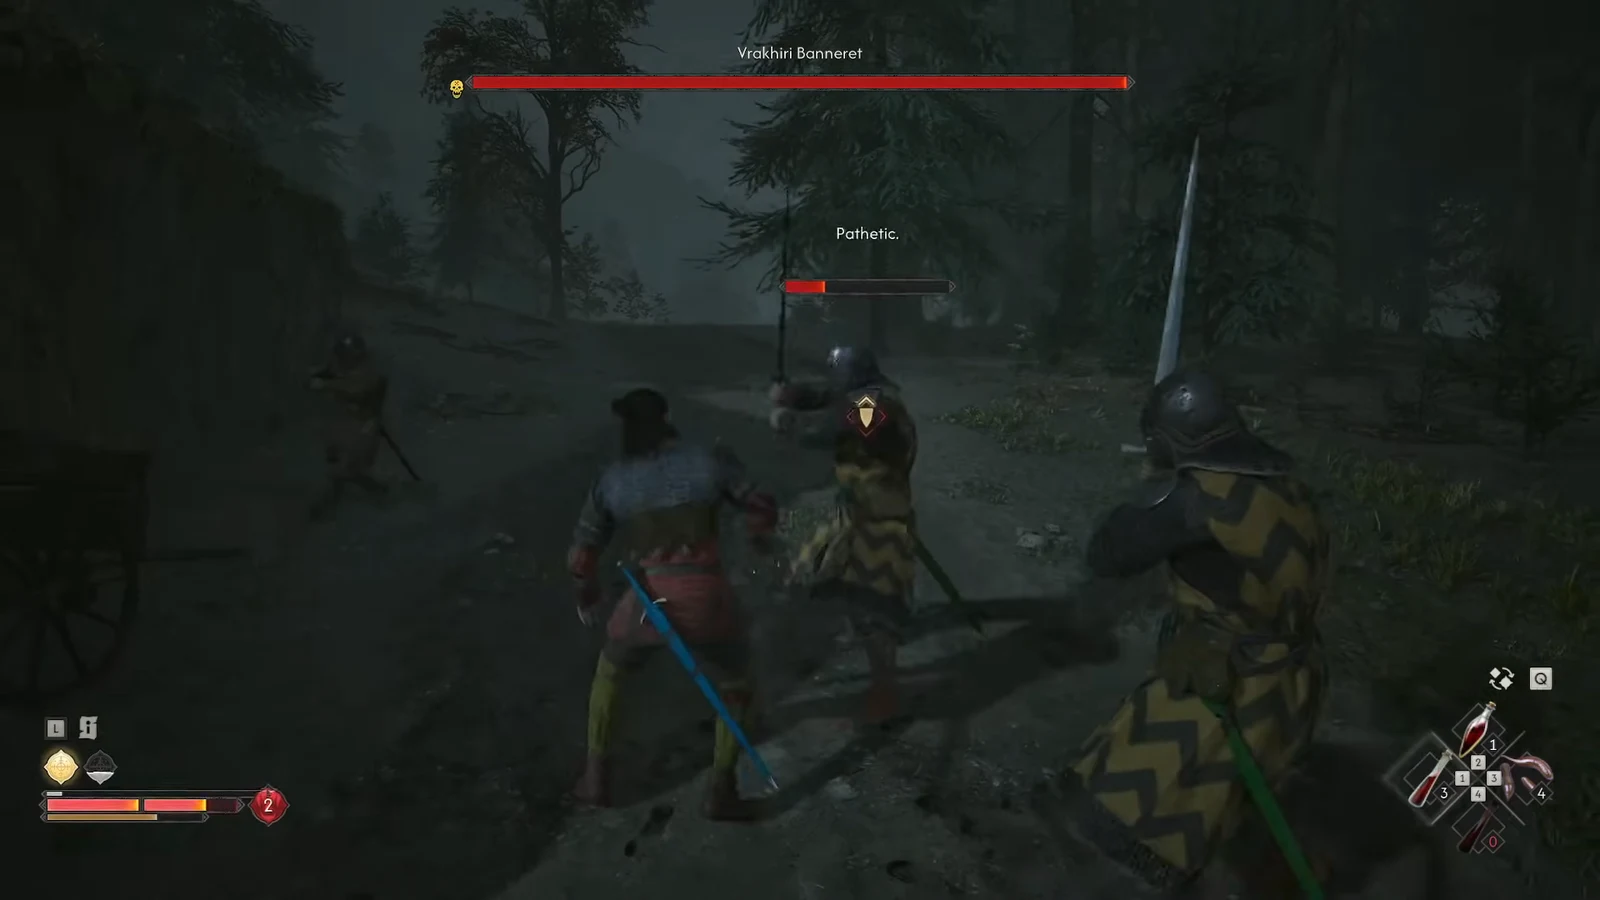
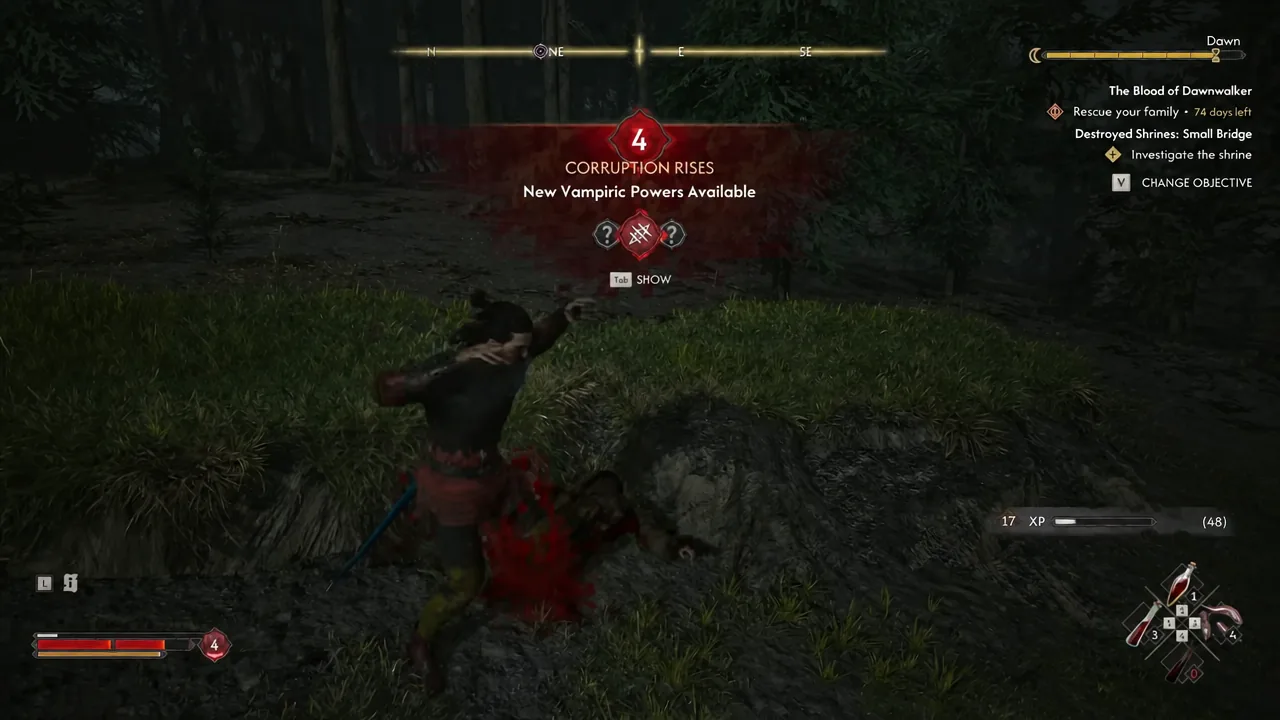
Feeding and vampiric attacks push your Corruption up. If a Corruption Rises prompt appears after the fight, tapping Tab shows the vampiric powers that just became available at your new level.
What the bodies and the camp drop
Search everything before you leave. The shrine piece is the only mandatory pickup, but the orders on the Banneret are worth reading for context on who posted this group here.
| Pickup | What it does |
|---|---|
| Small Bridge Shrine’s Heart | The missing piece. Required to restore the shrine and finish the quest. |
| Brencis’s Orders | A readable document looted from the fallen enemies. |
Restoring the shrine and confirming the quest is done
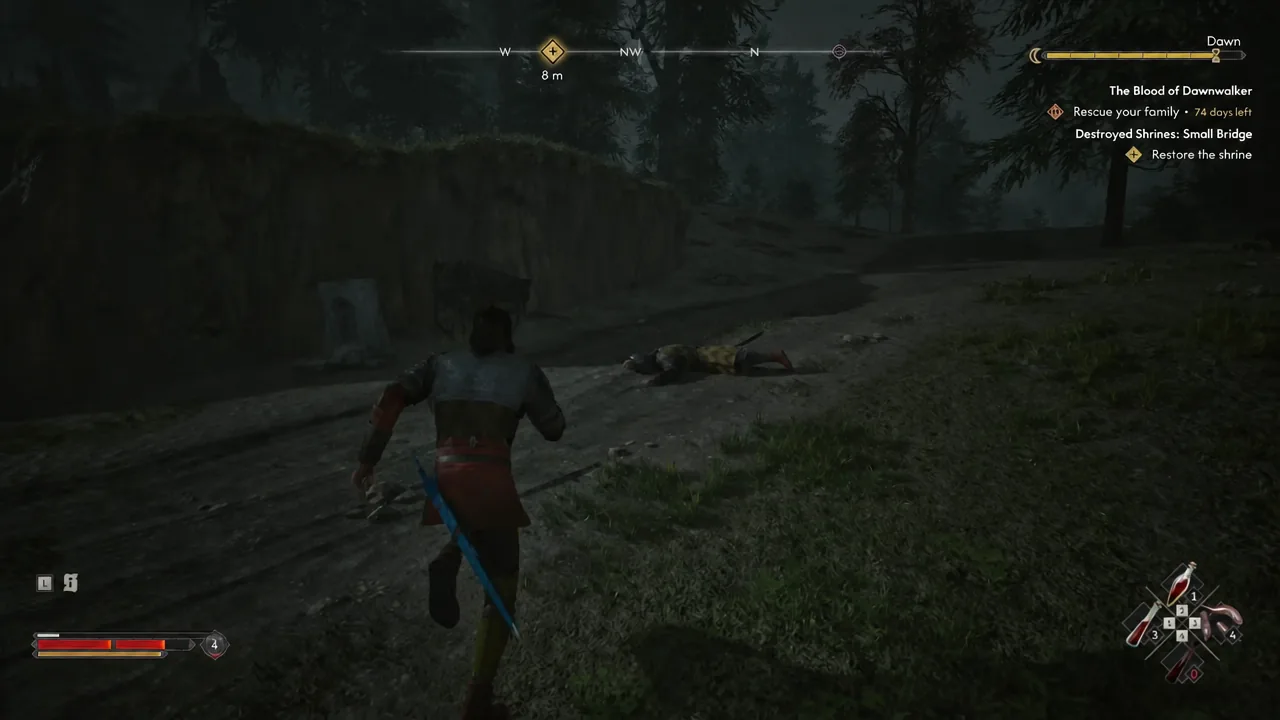
If the restore prompt does not appear
Two things stop this quest from closing. Either an enemy in the camp is still alive, or you never picked up the heart. Every destroyed shrine in the game works the same way, so if the interaction is missing, the piece is still sitting on a body or in a container nearby.
Hold Focus Mode and sweep the area again. The yellow highlighting on the shrine points toward wherever the heart ended up, and looting the fallen guards is usually enough to turn it up. Once it is in your inventory, the shrine accepts it without any further conditions.
With the shrine live, the small bridge becomes a useful anchor for reaching this stretch of the valley later, and that matters more than the fight itself. Every hour you save on travel is an hour you are not spending walking back across the map while the clock runs down.