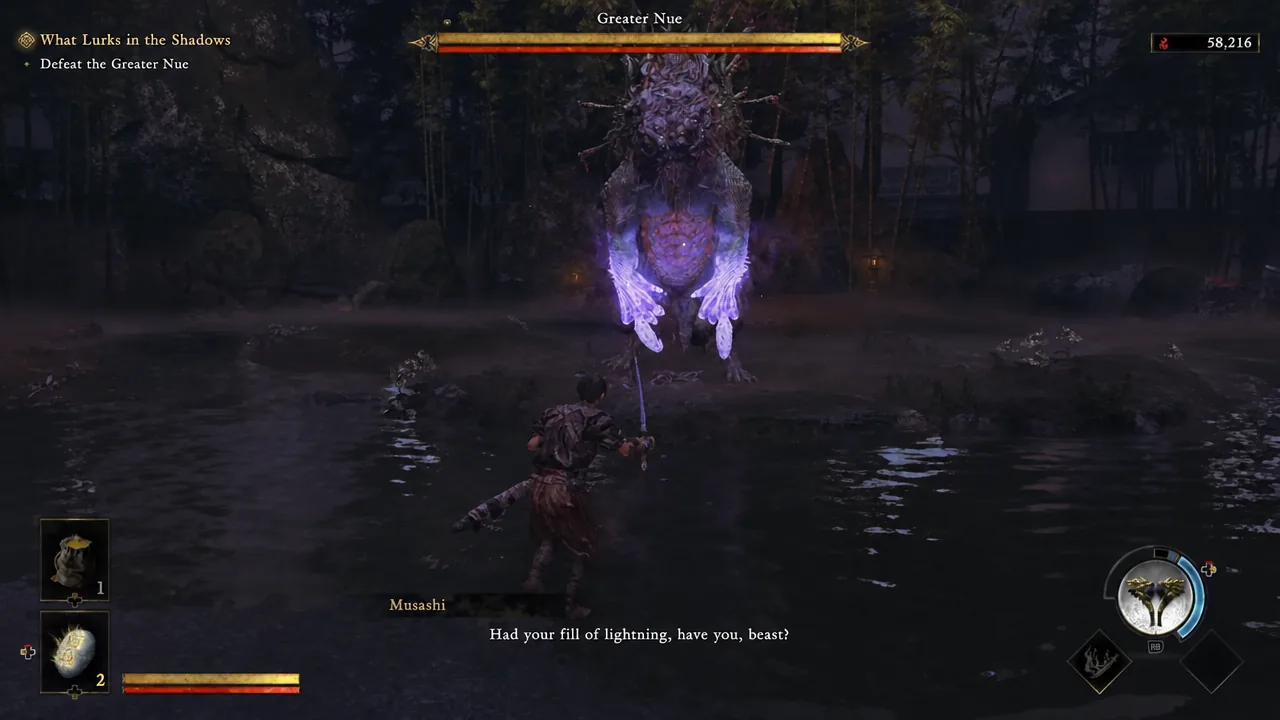
The Greater Nue is the first real wall in Onimusha: Way of the Sword. It is a Formidable Foe Genma built by Dokyo, a chimeric beast covered in masks that fights with fast animal attacks and, later, lightning. It also introduces the game’s unavoidable attack mechanic, which is why so many players lose here on Action difficulty even after clearing the two smaller Nue encounters.
Quick answer: Counter the unavoidable tail whip by timing your input as the beast’s head passes to the opposite side of your position, break its guard with Triangle and Circle when it hides behind its tail, and step out of every lightning circle it leaves on the ground in the second phase.
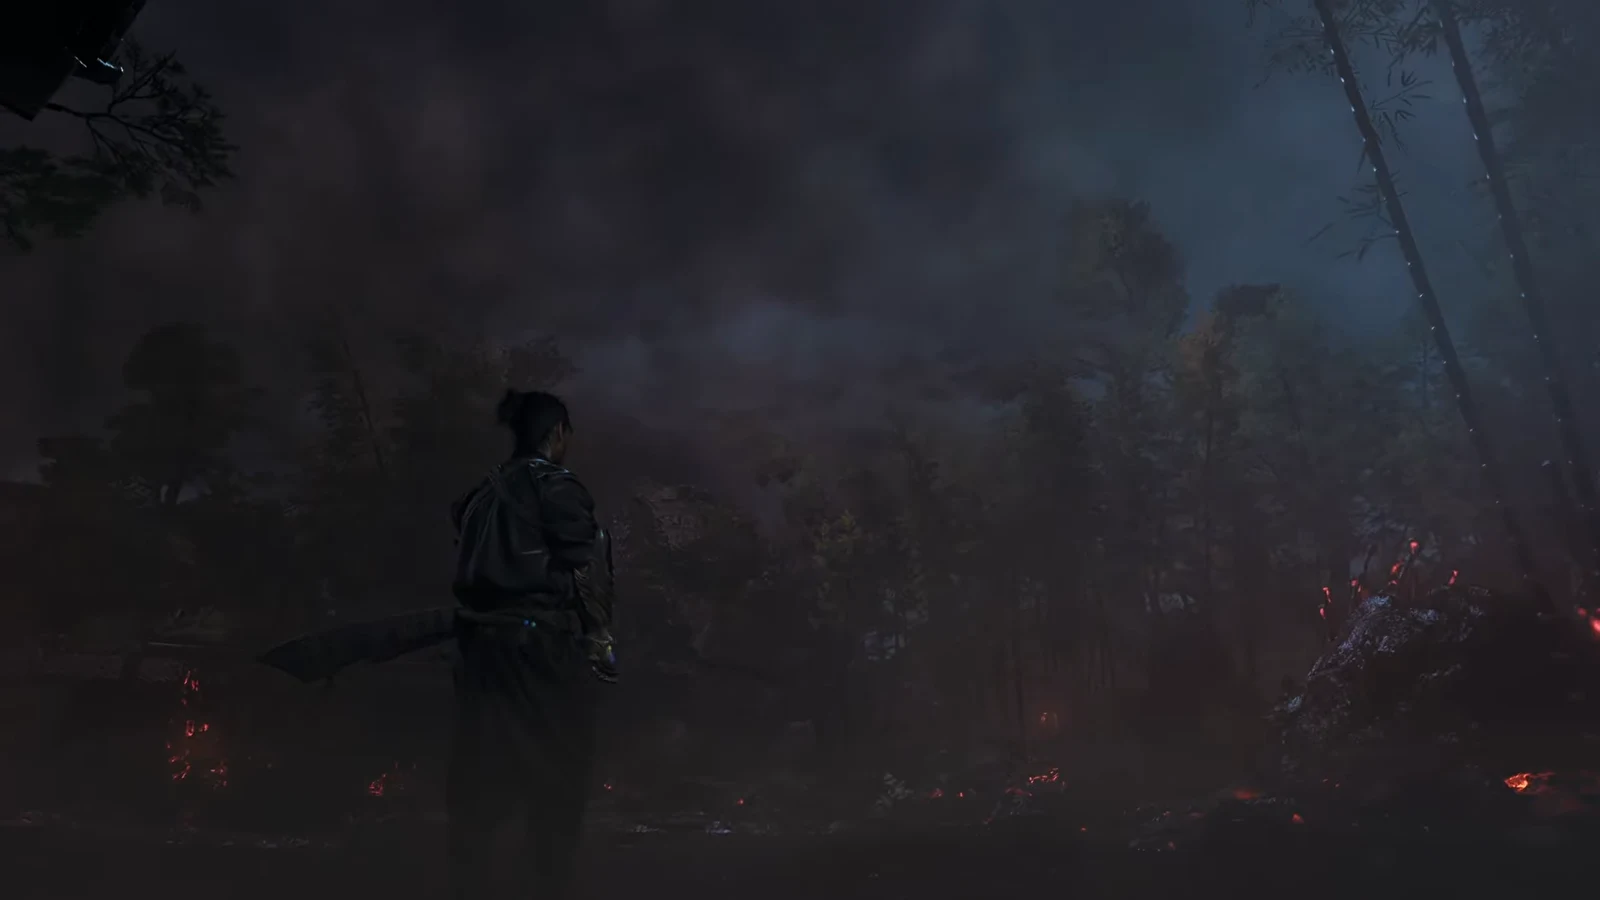
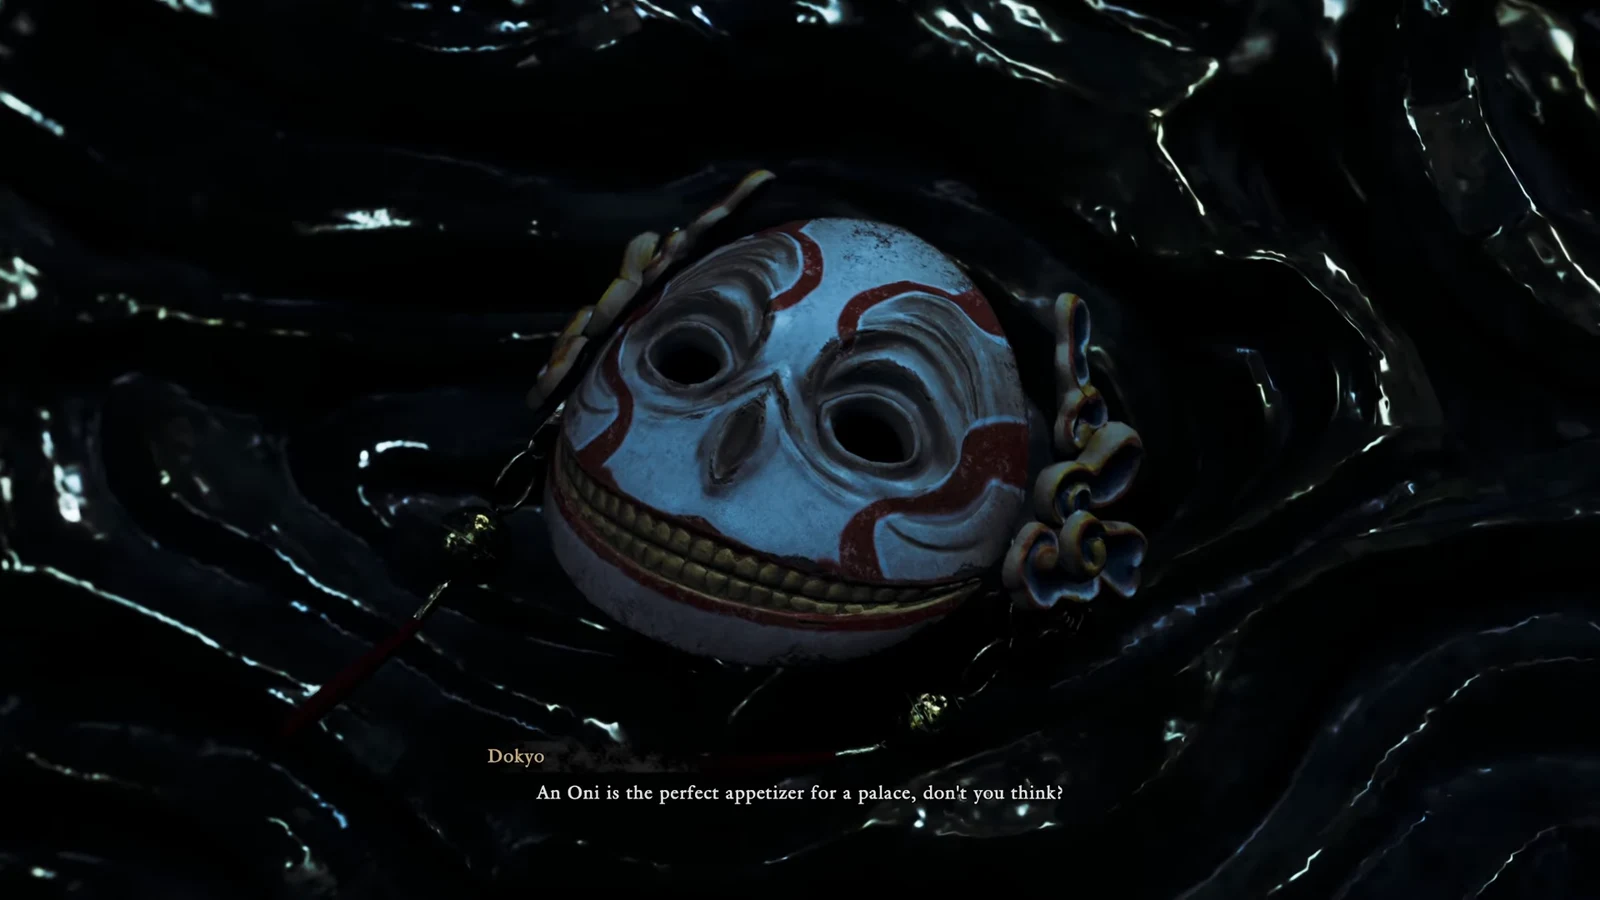
Dokyo speaks through the masks growing out of the beast during the opening cutscene, taunting Musashi before the health bar appears. Nothing said there changes the fight, so you can skip straight to positioning once control returns.
Countering the unavoidable tail whip
Partway through the first phase, the Greater Nue swings its tail in a full circle and the game locks out both guarding and dodging. A tutorial card appears the first time it happens, explaining that you must press the parry button, or the deflect input with the left stick, just before the attack connects.
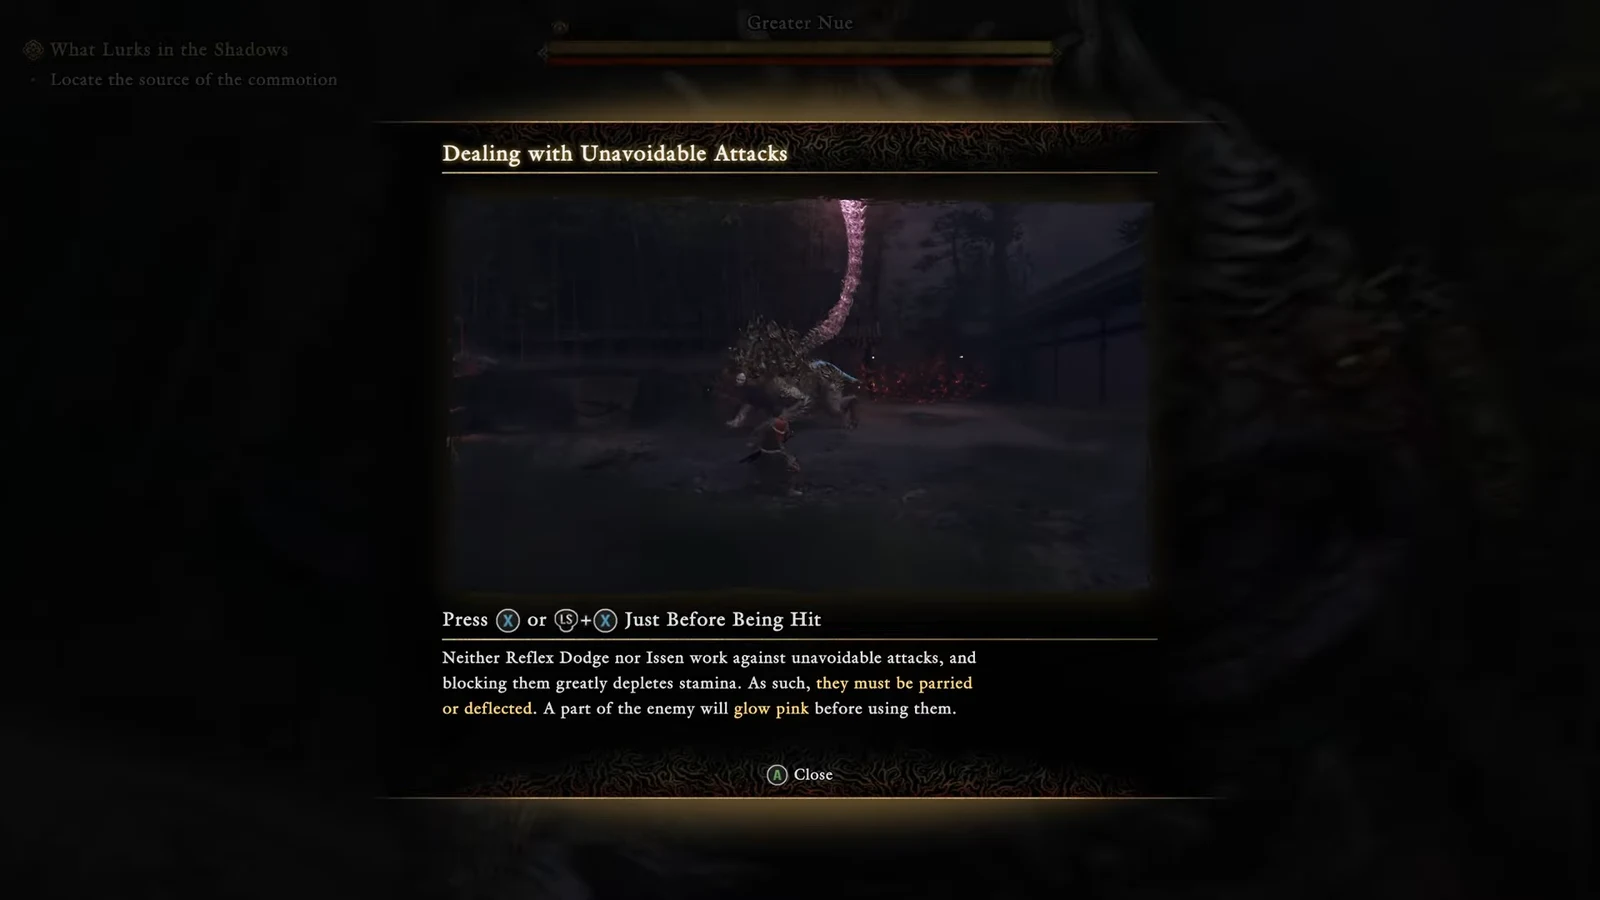
The reliable read is the head, not the tail. Input your counter when the beast’s head has rotated to the side opposite you, because that is when the tail is arriving at your position. A clean counter takes a large chunk off the stagger bar and buys you a safe attack window, which makes it the single fastest way to shorten this fight.
Note: this attack is the gentlest version of the mechanic in the game. Learning the timing here directly carries over to later bosses that use unavoidable attacks with far tighter windows.
Phase 1 moves and how to answer each one
The opening phase is entirely reactive. The claw combos look fast but are deliberately delayed, so parry inputs thrown out on the animation start will whiff. Wait until the claw actually begins moving toward you, then commit.
| Attack | Tell and response |
|---|---|
| Unavoidable tail whip | Cannot be blocked or dodged. Counter as the head swings to your opposite side. |
| Bite | Head tilts back for roughly a second, then snaps forward. The fastest tell in the phase, so watch the neck rather than the body. |
| Divebomb | Leaps into the air and slams down. It gets stuck for a few seconds afterward, which is your longest free damage window. |
| Three-hit combo | Three slow slashes with delays between them. One or two hits fit safely between each swing. |
| Hind leg combo | Rears up and slashes three times. Every hit is punishable if you parry rather than back away. |
| Guarding | Puts its tail in front of its face and your damage stops landing. Press Triangle and Circle together to break the guard. |
| Grab | Rare. It turns its body to the left with the mouth open and lunges with its tongue. |
The grab is the hardest thing to spot because the body turn blends into its other movement, and it usually comes out when you are mid-combo. If you keep getting caught, stop chaining full attack strings and settle for two hits before resetting your spacing.
Phase 2: purple mist and lightning attacks
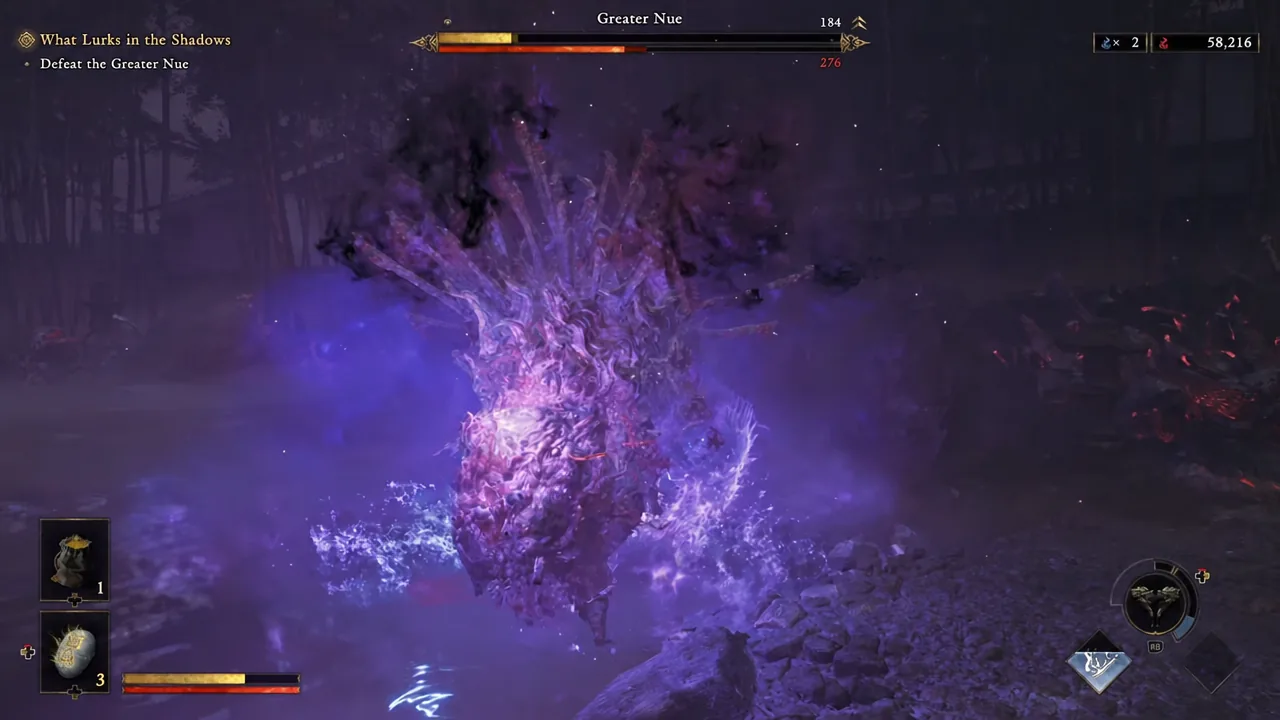
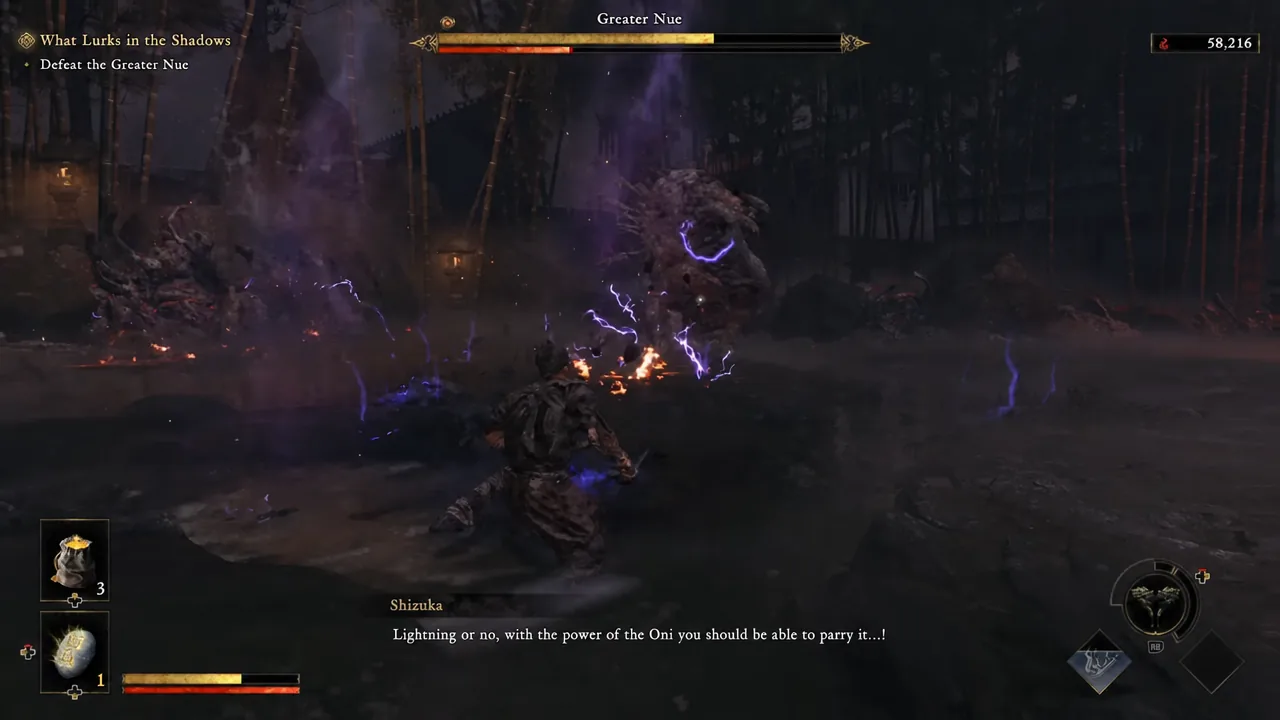
The second phase starts when purple mist begins steaming off the beast. There is no fixed health threshold for this. Bosses in this game shift into their stronger state based on how much damage you have taken, so a sloppy opening can trigger it almost immediately after the first hit. Your companion also calls out the incoming lightning, which is a useful audio cue if you are watching the boss rather than the ground.
| Lightning attack | How to handle it |
|---|---|
| Dash | Charges across the arena and leaves lightning zones behind it. Track where the trail lands before you chase. |
| Scream | Drops lightning zones in a ring around its own body. The only answer is to leave the area, so do not try to guard through it. |
| Tail slash | Swings the tail at a 45-degree angle, then a circular ring around the beast detonates almost instantly. Move outward, not around. |
| Lightning throw | Plants a claw into the ground and hurls bolts at you like thrown rocks. Deflect them back instead of running. |
Positioning matters more than aggression here. Most deaths in this phase come from standing inside a freshly placed zone while trying to squeeze in one extra hit.
The empowered state and how to avoid it
Failing the unavoidable attack repeatedly has a direct penalty. The Greater Nue drinks in the loose souls scattered around the arena and empowers itself. The moveset stays broadly the same, but now lightning orbs are dropped onto the field after its attacks, sitting there for about a second before exploding.
That turns every punish window into a risk, since the ground you just stepped into may be about to detonate. If you land the counter consistently, you will never see this version of the fight at all.
Where the damage comes from
Raw slashing is the slowest route. Parries and deflects drain the beast’s stamina far faster than attacking does, and once that bar empties you get an execution window. On a boss, the stamina break lets you choose between direct damage or a larger soul haul, so take damage when your health is low and souls when you want the upgrade materials.
The tail is also a target in its own right. When the glowing red weak point on the snake-like tail is exposed, severing it removes a chunk of the beast’s reach and hands you a temporary weapon you can turn back on it. Beyond that, the divebomb recovery is the safest stretch of the whole fight, so save your longest attack strings for the moment it lands and gets stuck.
Confirming the kill
The encounter ends with a cinematic execution rather than the health bar simply emptying out, followed by the kanji 勝利 and the word “Victory” on screen as Musashi sheathes his sword. A short cutscene with Dokyo and Okuni plays afterward, which confirms the “What Lurks in the Shadows” objective is complete and the story has moved on.
If you are still stuck after several attempts, the fix is almost always the same one thing rather than a build change. Practise the unavoidable tail whip counter specifically, accept a few extra hits while you learn the head cue, and the second phase becomes a spacing exercise instead of a damage race.