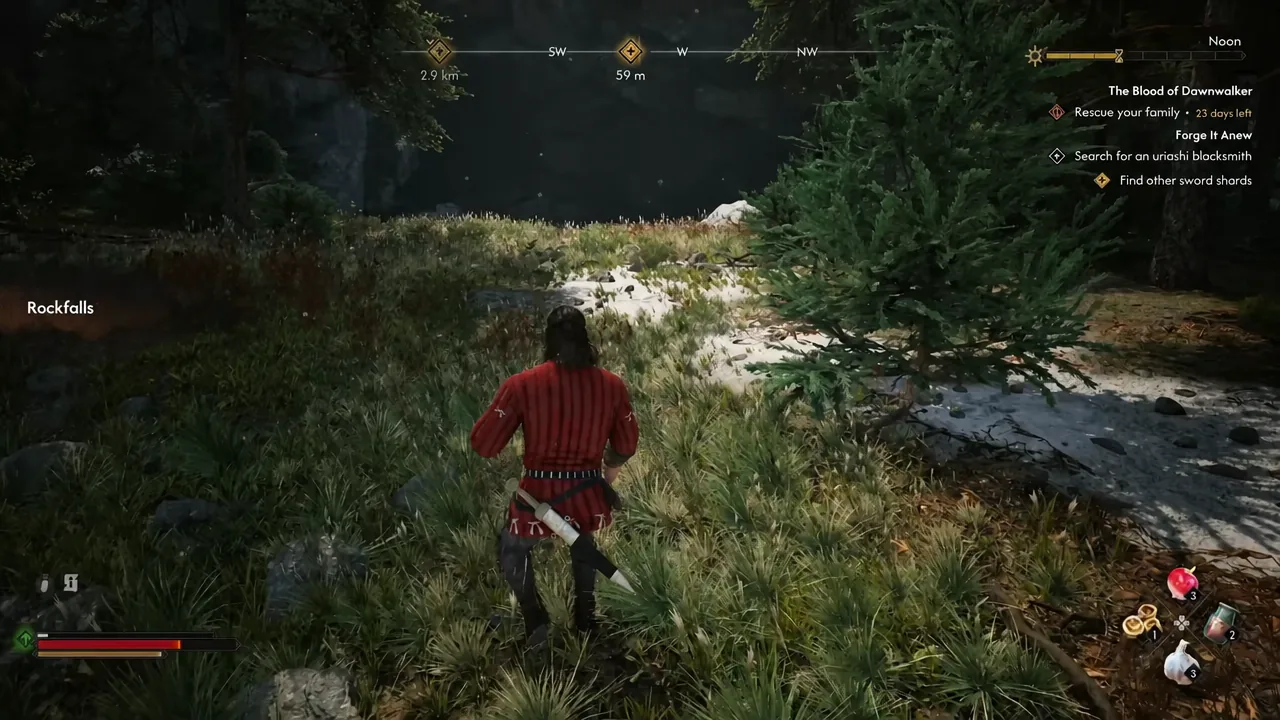
The Imbued Sword of St. Mihai is the fully upgraded form of a Legendary Greatsword in The Blood of Dawnwalker, and it only exists once you finish every stage of the Forge It Anew quest line. Getting there means finding three broken sword shards scattered across Vale Sangora, reforging them into the Restored Sword of St. Mihai, and then surviving a final combat trial that tempers the blade into its strongest state.
Quick answer: Collect all three Sword Shards (Maragir Wealds, near Shrike’s Crag, and a soldier camp southwest of Tantari), bring them plus the Broken Sword of St. Mihai to the Uriashi blacksmith and choose “I want to kill Brencis” to get the Restored Sword. Then travel northwest of the Hermitage, cut through the red vines, clear every enemy wave, and complete the altar ritual to receive the Imbued Sword of St. Mihai.
What you need before starting Forge It Anew
Forge It Anew does not appear in your journal automatically. You unlock it in one of two ways. The first is by completing the A Monk and a Saint quest in Svartrau, which ends with a fight against St. Mihai in the cathedral crypt and rewards the Broken Sword of St. Mihai. The second is by walking into any of the three shard caves, where a wall mural reveals all three locations on your world map.
You need both the shards and the Broken Sword to reforge the weapon, so the A Monk and a Saint quest is not optional. That fight nets 1,000 XP and an extra skill point on its own, and the Broken Sword acts as the hilt the blacksmith welds the shards onto.
Note: Each shard pickup costs 3 Time Segments, and the final ritual costs another 3, so plan your day/night cycle around them.
All three Sword Shard locations
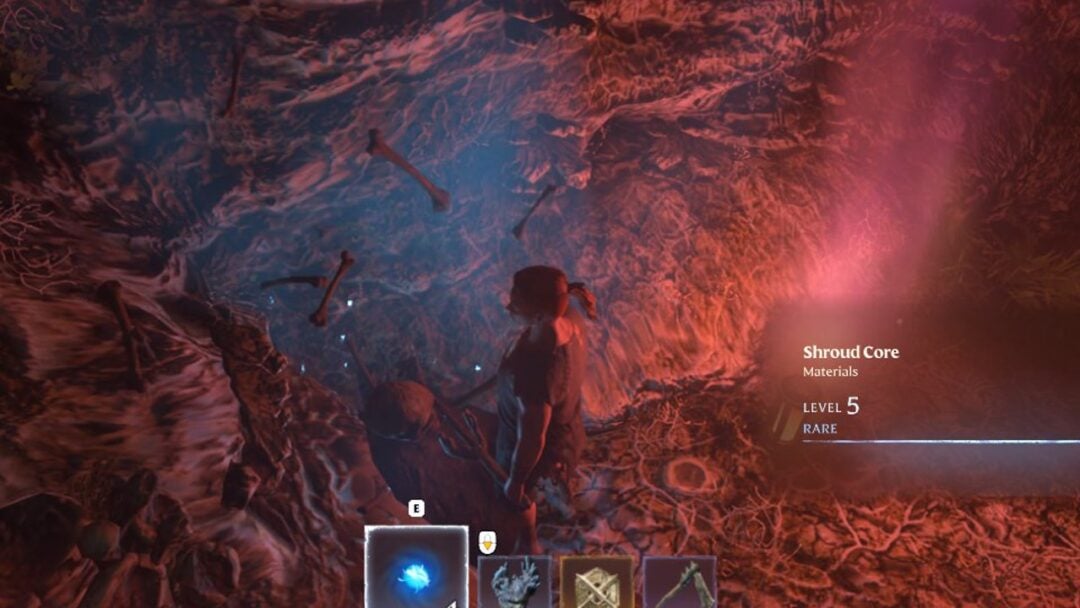
Once the map mural marks the three caves, you can grab the shards in any order. Each one sits in a separate sub-quest with its own obstacle. The table below lays out where each shard is and what stands in your way.
| Sub-quest | Location | Obstacle |
|---|---|---|
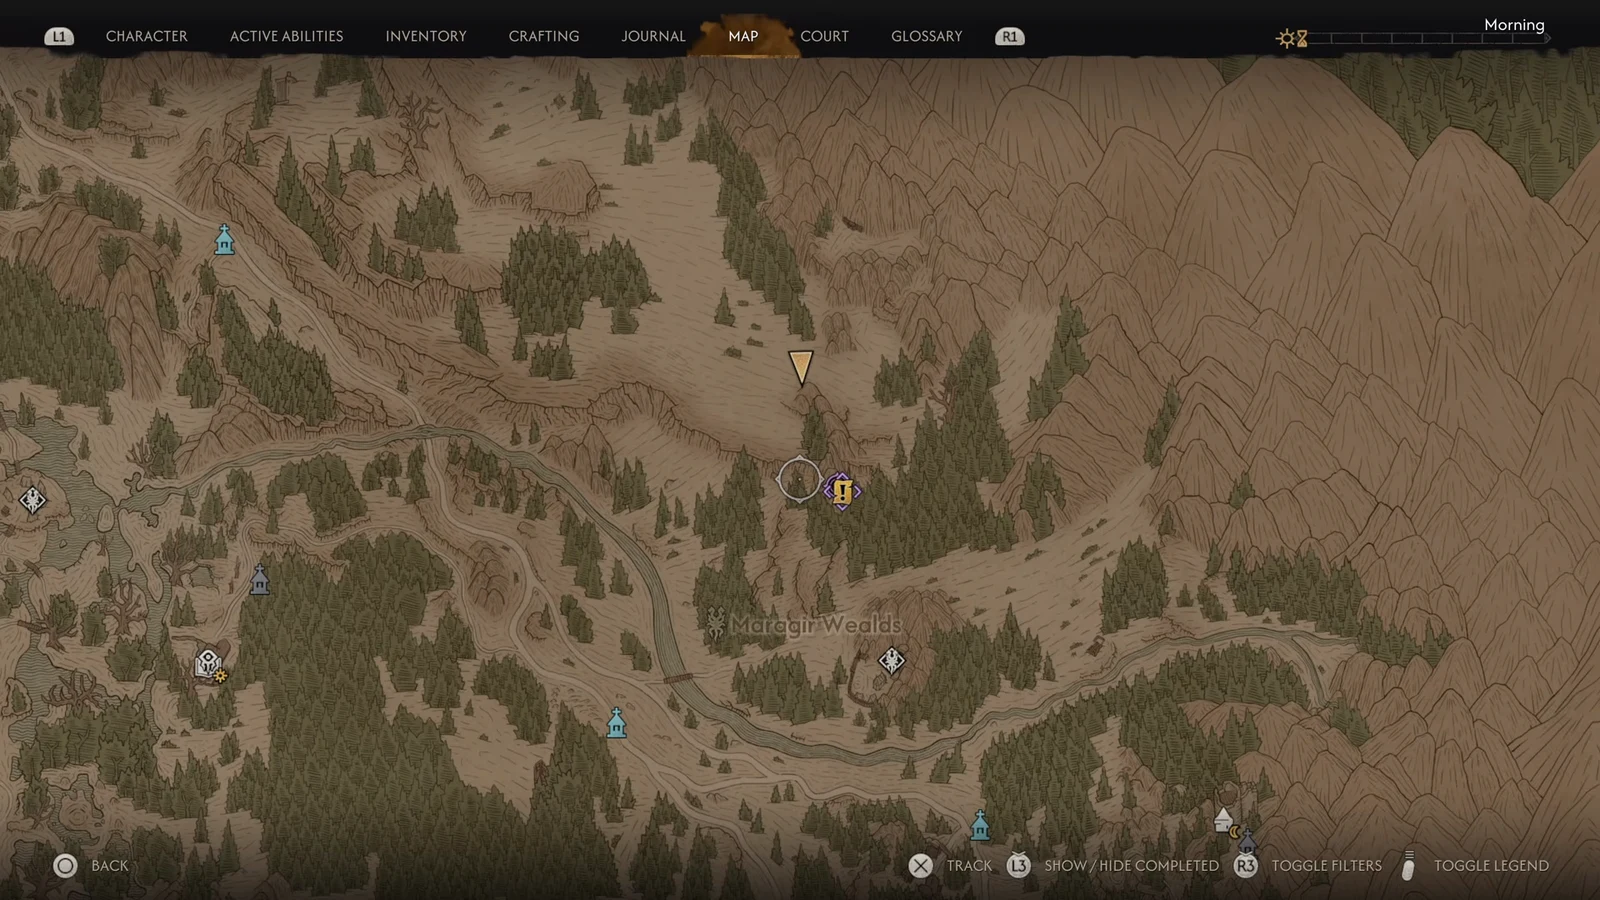
| Do Not Disturb | Cave in Maragir Wealds, north of the Maragir Wealds marker, near Laslea | Pack of kobolds and undead |
| Hostile Takeover | Cave near Shrike’s Crag, west of Svartrau City | Munch-Munch miniboss (inflicts poison) |
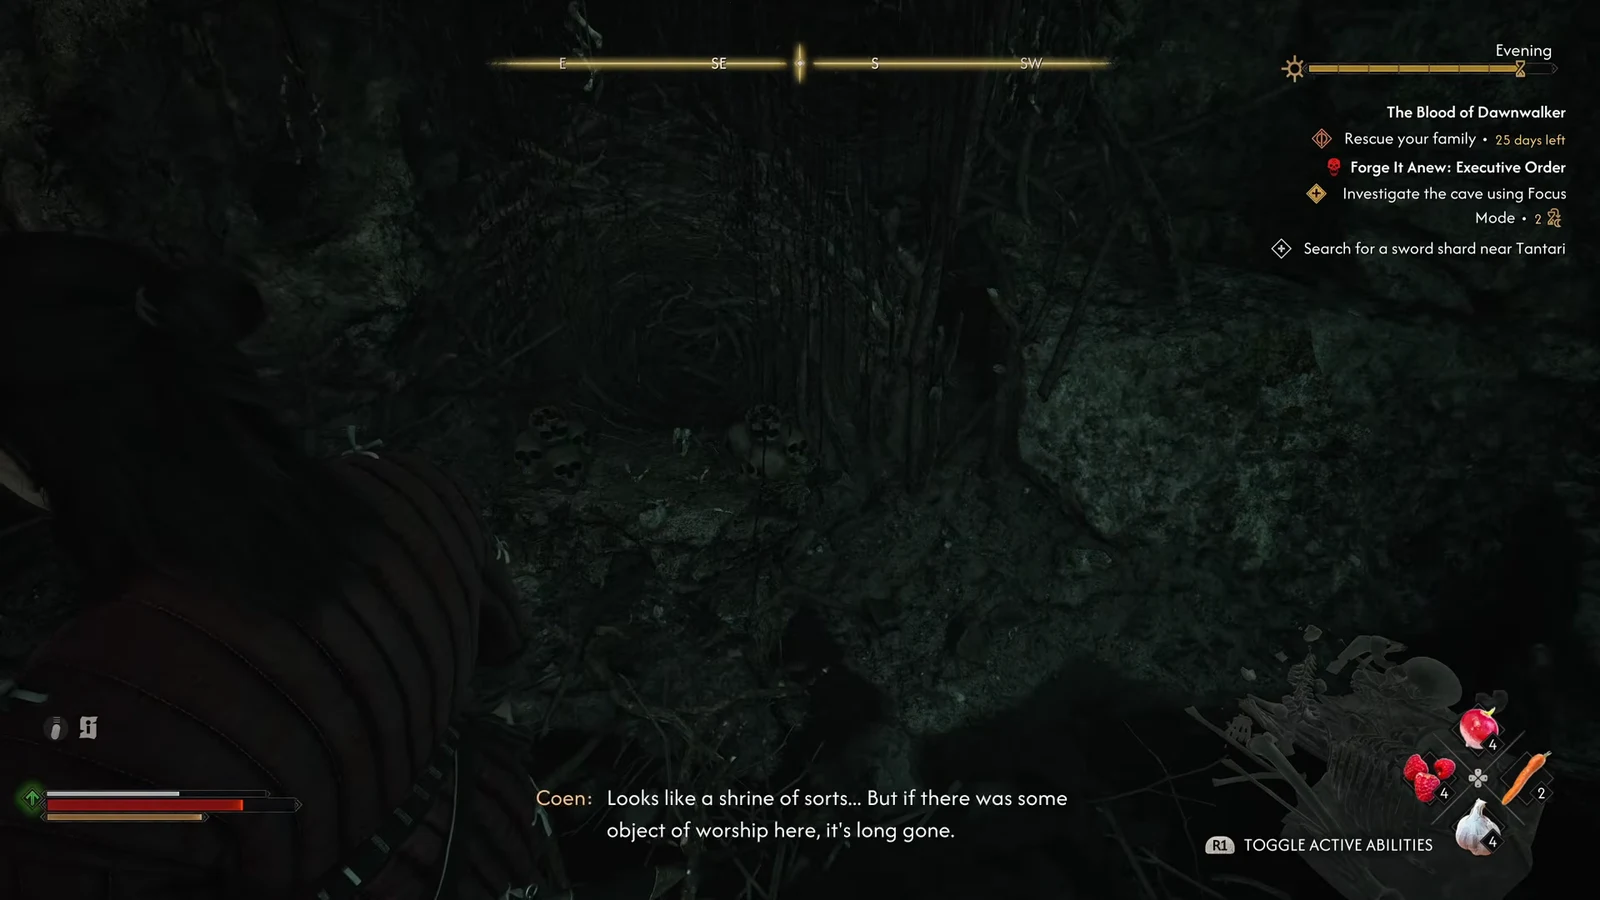
| Executive Order | Soldier camp southwest of Tantari, near the Drunken Bear Inn | Full camp of Xanthe’s soldiers |
First shard: Do Not Disturb (Maragir Wealds)
Second shard: Hostile Takeover (Shrike’s Crag)
Third shard: Executive Order (southwest of Tantari)
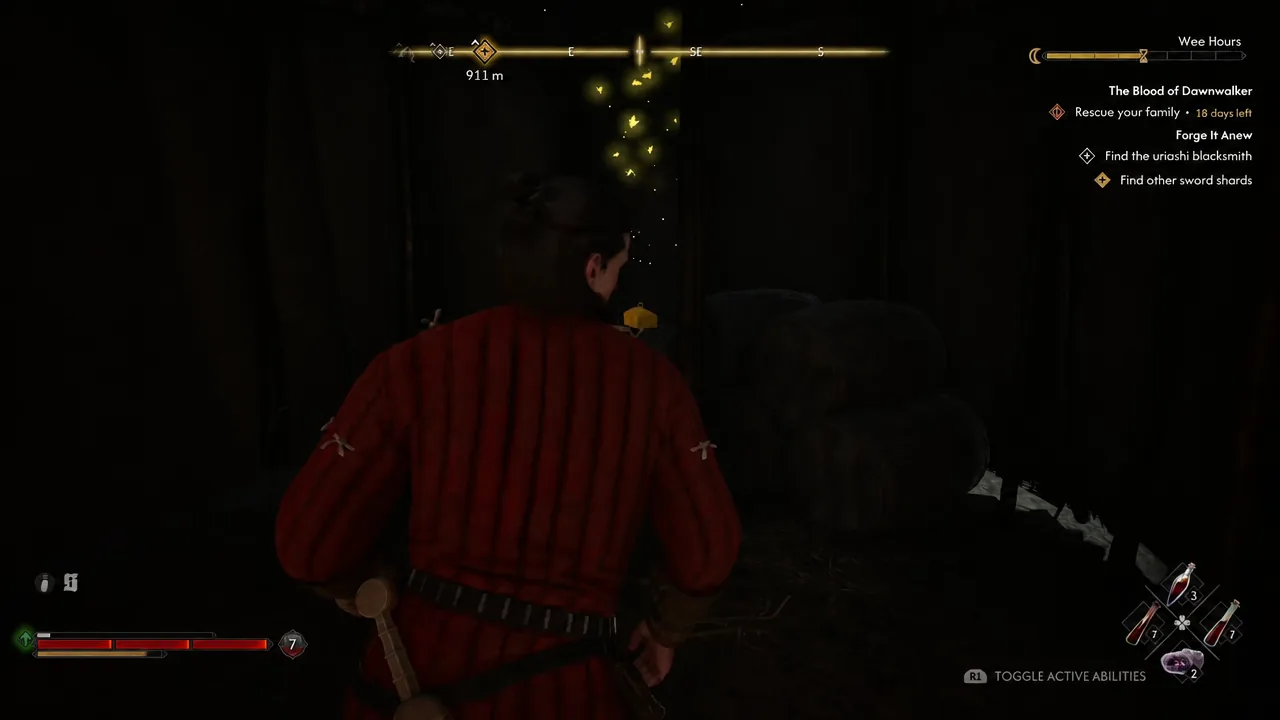
Reforge the blade at the Uriashi Hermitage
The only blacksmith who can rebuild the sword is the Uriashi hermit at the Uriashi Hermitage, far northwest of Mert’s Mill and the Military Camp, past the woods at the edge of the map. On your map, the location shows up as the Uriash Hermit and doubles as a merchant.
Temper the blade in the final ritual
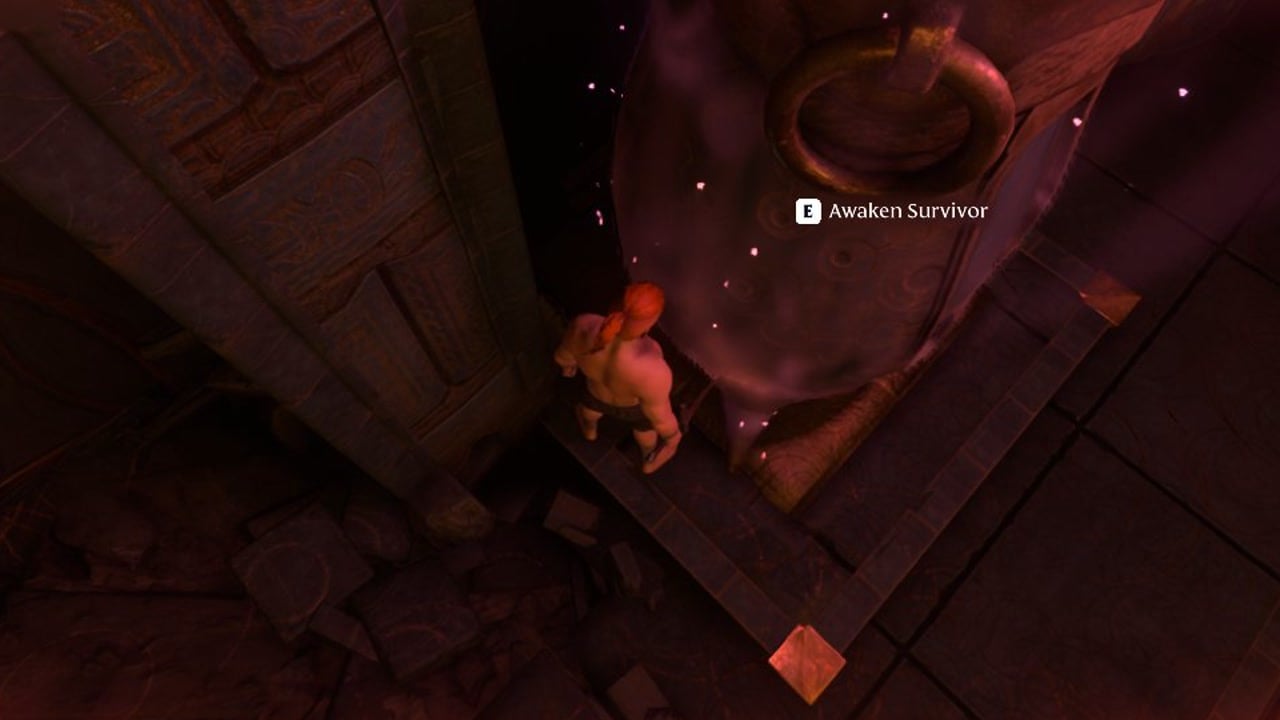
After the reforge, a new marker appears even further northwest of the Hermitage. This is where the Restored Sword becomes the Imbued Sword of St. Mihai, but only after you survive the toughest trial in the quest line.
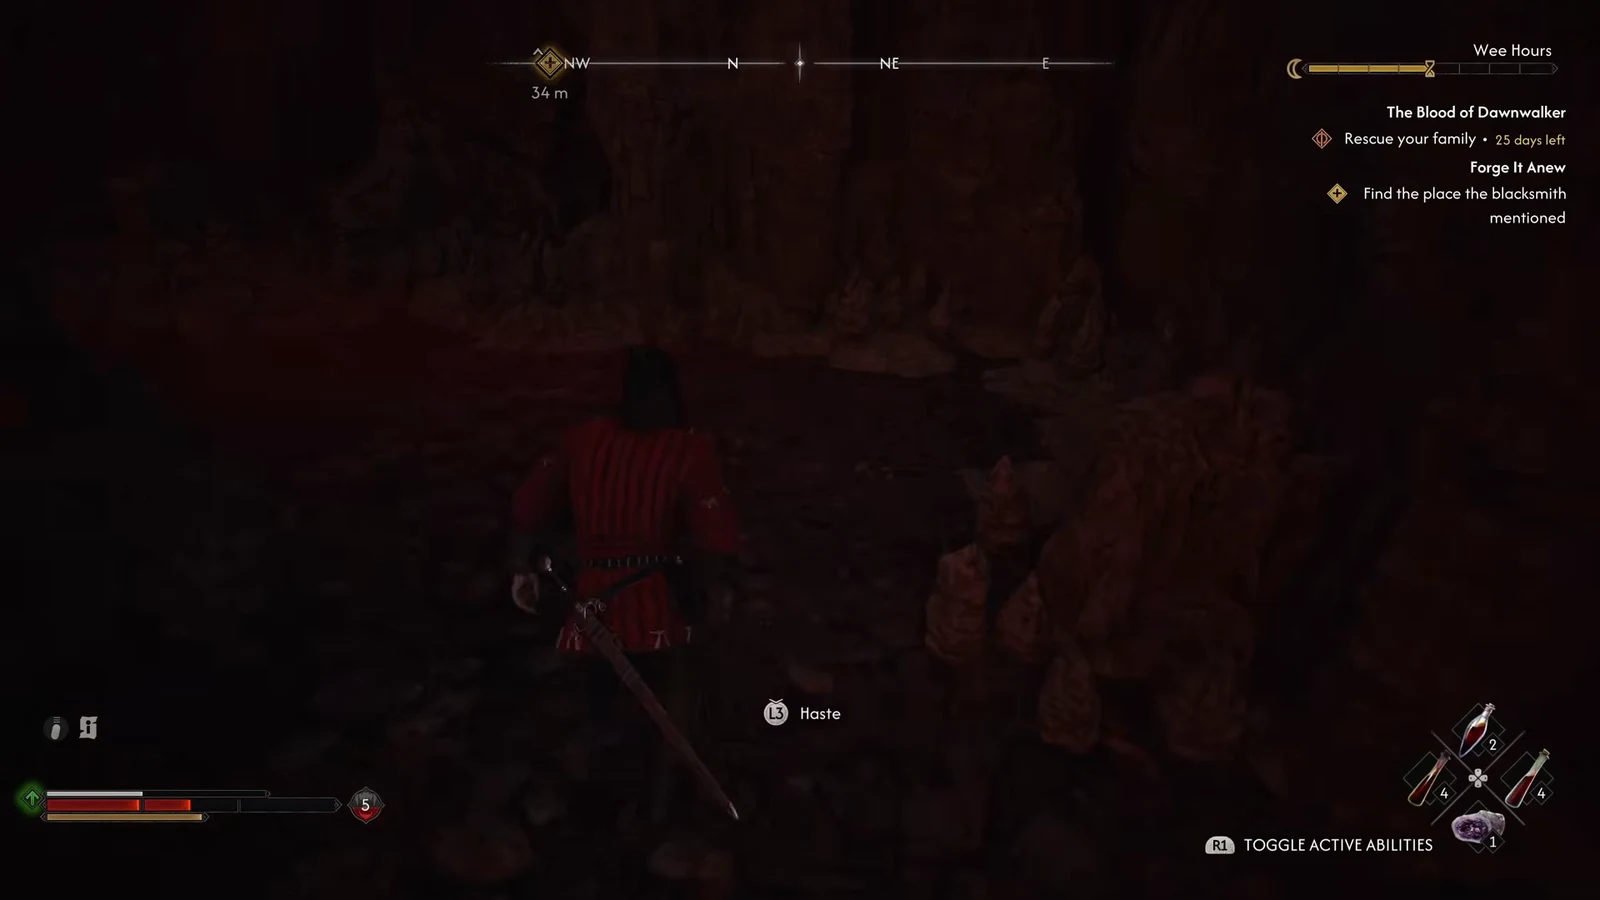
You will know it worked when the cutscene completes, the weapon in your inventory updates to the Imbued Sword of St. Mihai, and the Forge It Anew quest closes out. On PC, you also unlock the related achievement (listed in-game as the Arbitrator’s Blade / “Arbiter’s Blade”).
Imbued Sword of St. Mihai stats and effects
The finished weapon is a Legendary Greatsword whose stats scale as you level it up. Its Weapon Art is Daywalker Slash Enhanced, which hits a wide area on a 13–15 second cooldown. Its four core bonuses grow substantially between the low levels and level 50, reaching roughly three to four times their base strength.
| Effect | Base level | Level 50 |
|---|---|---|
| Swordmastery Ability Cooldown | -5% | -15% |
| Weapon Critical Hit Chance | +5% | +15% |
| Weapon Critical Hit Damage | +7.5% | +22.5% |
| Damage Against Supernatural Enemies | +8% | +32% |
At level 50 the sword deals roughly 451 to 651 damage. Because its scaling is tied to your level, it is one of the highest raw-damage weapons available and pairs naturally with a Swordmastery-focused build heading into the fight against Brencis.
The whole chain rewards patience. Line up the Broken Sword from A Monk and a Saint, sweep the three shard caves in whatever order suits your level, hand everything to the Uriashi hermit, and save your strongest gear for the tempering trial. Come out the other side and you own one of the sharpest greatswords in Vale Sangora.