A Pilgrimage for Power is the one quest chain in The Blood of Dawnwalker that never puts a marker on your map. Four uriashi sacred stones sit high in the mountains of Vale Sangora, each one carrying a glyph that Coen can copy, and the quest only nudges you toward “follow the windchimes.” The chain opens up after you scout your first tower, and every stone you finish pays out a Ravenous Flock Manual.
Quick answer: The four stones are in Briar Sloughs, Rockfalls, Tantari Woods, and St. Tyna’s Grove. At each one, hold Focus Mode to pick out the hanging windchimes, follow them up the mountain, clear whatever is guarding the summit, then spend two time segments on the uriashi glyph to bank a Ravenous Flock Manual and 250 XP.
Sacred stone locations and guardians
One stone sits in the northern half of Vale Sangora and the other three are spread across the southern reaches. Order does not matter, and none of them are locked to day or night.
| Quest part | Where to start | Guardian |
|---|---|---|
| Bear Trouble | Briar Sloughs, west of the Briar Sloughs scouting tower and south of Laslea Glen | Ravenous Bear |
| Dark-Thing | Rockfalls, due north of the Westridge Outpost shrine, east of Svartrau | Essence of Grief |
| The Ritual | Tantari Woods, along the southern edge of the map, southeast of the Vedera Spring shrine | Witch of Barren Peaks |
| Fanatics | St. Tyna’s Grove, northeast of the Woodland Outpost shrine | No boss, wolves on the path |
How to track each stone with the windchimes
Every sacred stone is reached by the same climb. When you get close, you will hear chimes and pick up a quest prompt telling you to follow them. Hold the Focus button and the chimes light up clearly, and the route is also marked with white chalk daubs on the rock, so if you have lost the trail, sweep Focus across the cliff face until the next chime or chalk mark appears.
Interacting with the uriashi glyph at the top costs two time segments. That is the only fixed time cost in the chain, so all four stones together burn eight segments before you spend anything on perks.
The three sacred stones with a boss on top
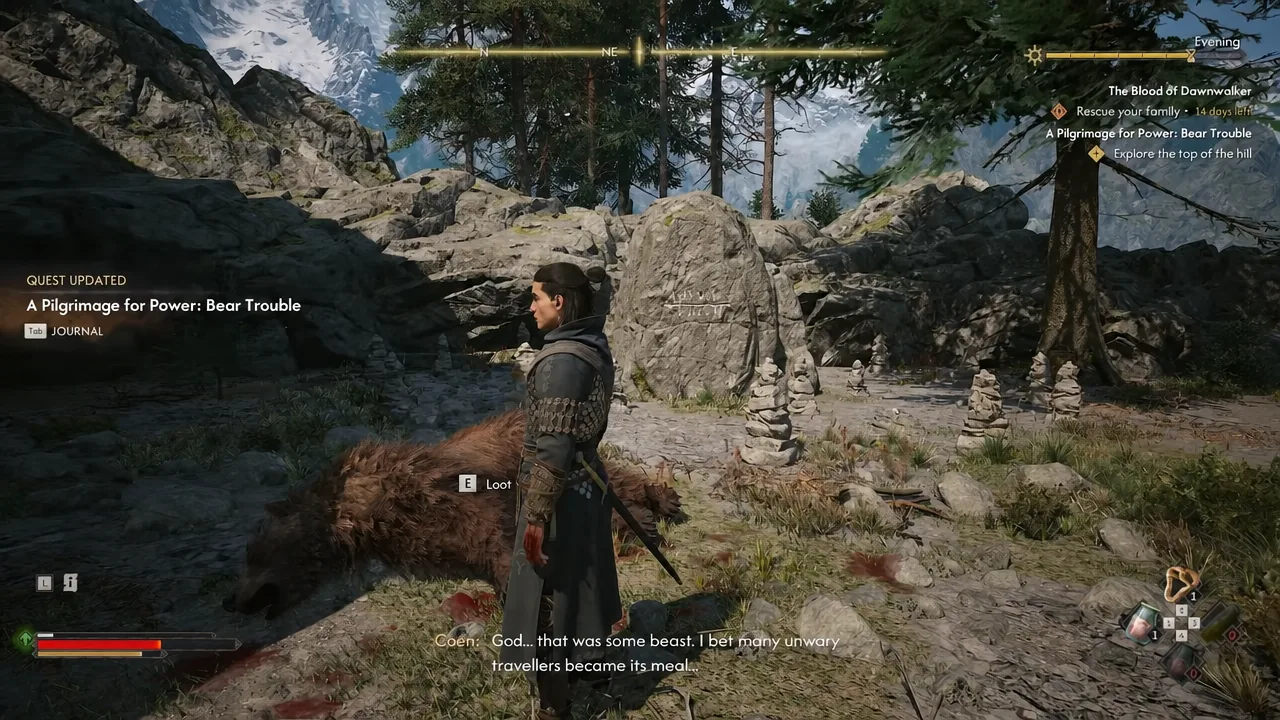
Bear Trouble: Briar Sloughs
This is almost always the first stone you stumble into, since the quest marker shows up right after you climb the Briar Sloughs tower on your way out of Laslea Glen. Head west of the tower, or west of the Laslea Gate shrine, and start up the mountain path once the chimes kick in.
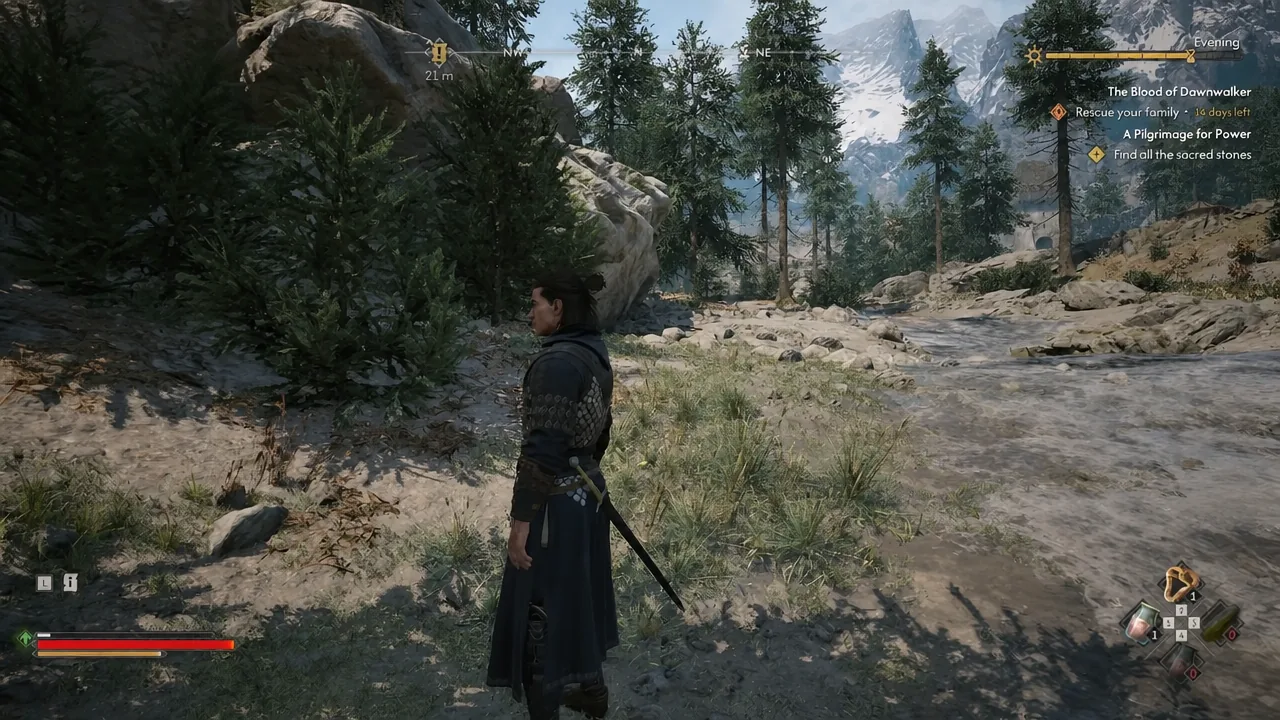
Save once you reach the plateau, because a Ravenous Bear is waiting next to the stone. After it goes down, check the uriashi corpse and the dagger in the cave nearby, then copy the glyph to close out this part.
Dark-Thing: Rockfalls
Fast travel to the Westridge Outpost shrine, then walk north from the abandoned outpost and climb the rocky crag. Partway up, an Essence of Grief blocks the path. It is a Vidmo specter miniboss rather than a full boss, but it hits hard enough to be worth a save first.
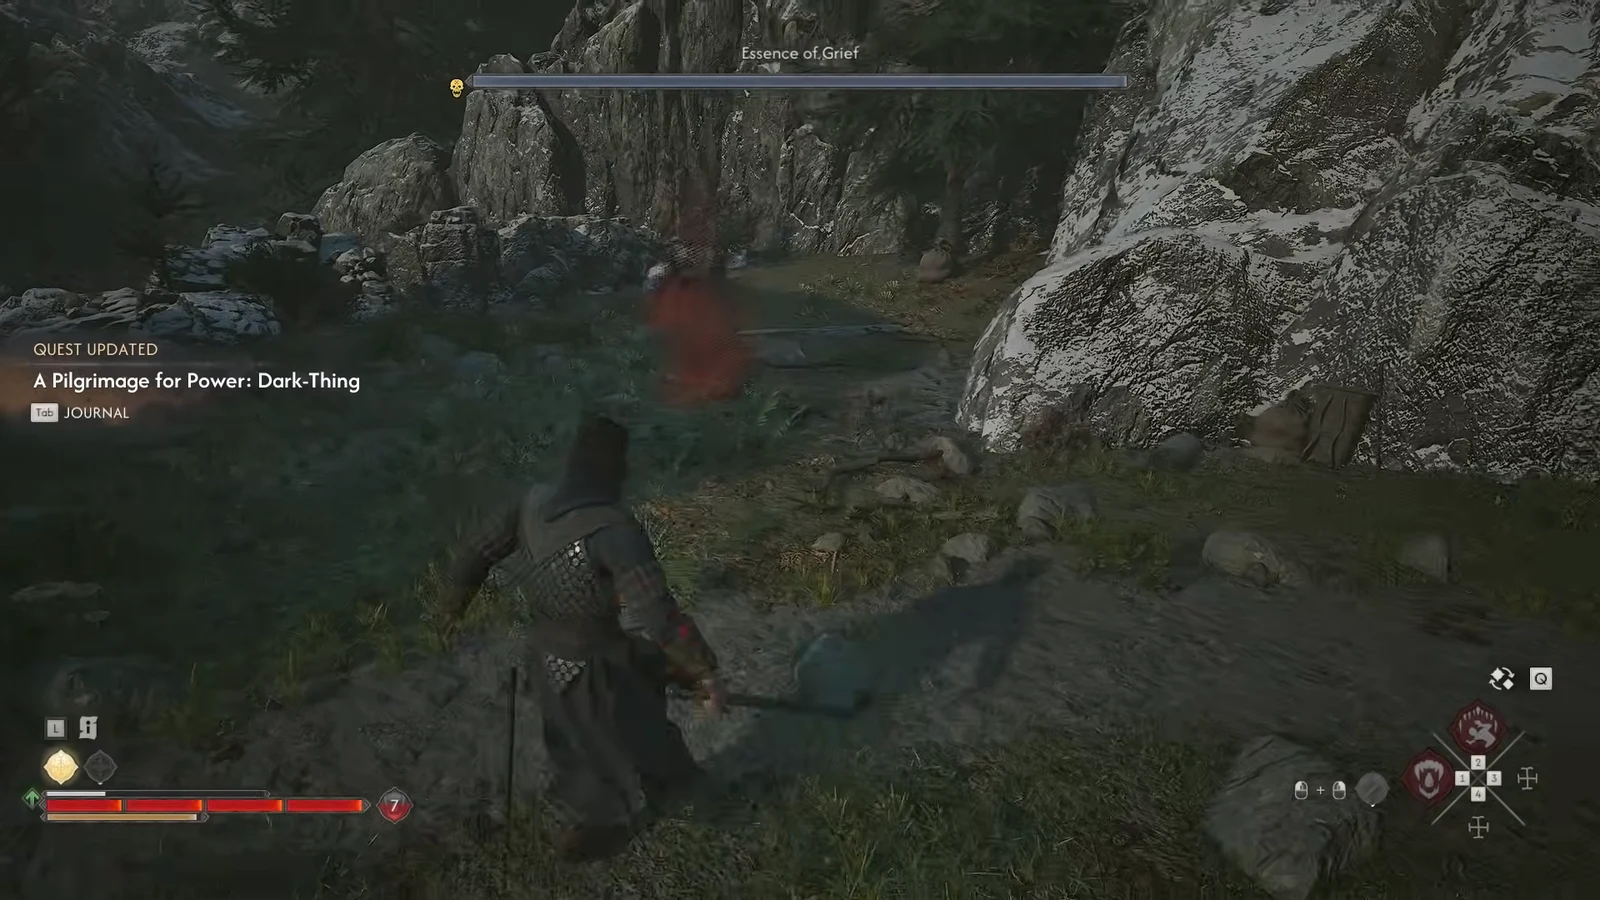
Keep climbing and you will run into uriashi pilgrims sheltering above. Stay friendly with them by picking “Just a wanderer.” and then “I killed the dark-thing.” Once they move on, loot the area and inspect the sacred stone.
The Ritual: Tantari Woods
The last stone sits on the southern edge of the world map, south of Tantari Woods. From the Vedera Spring shrine, push toward the southeastern corner of the area. Scouting the Tantari tower first puts a question mark on your map and makes the approach far easier to find.

Lightning strikes the ground around you as you climb, and burning trees line the route. Keep going until the path opens into a clearing, where the Witch of Barren Peaks is casting. Her lightning attacks cannot be blocked, so dodge through them and punish the gaps between casts.
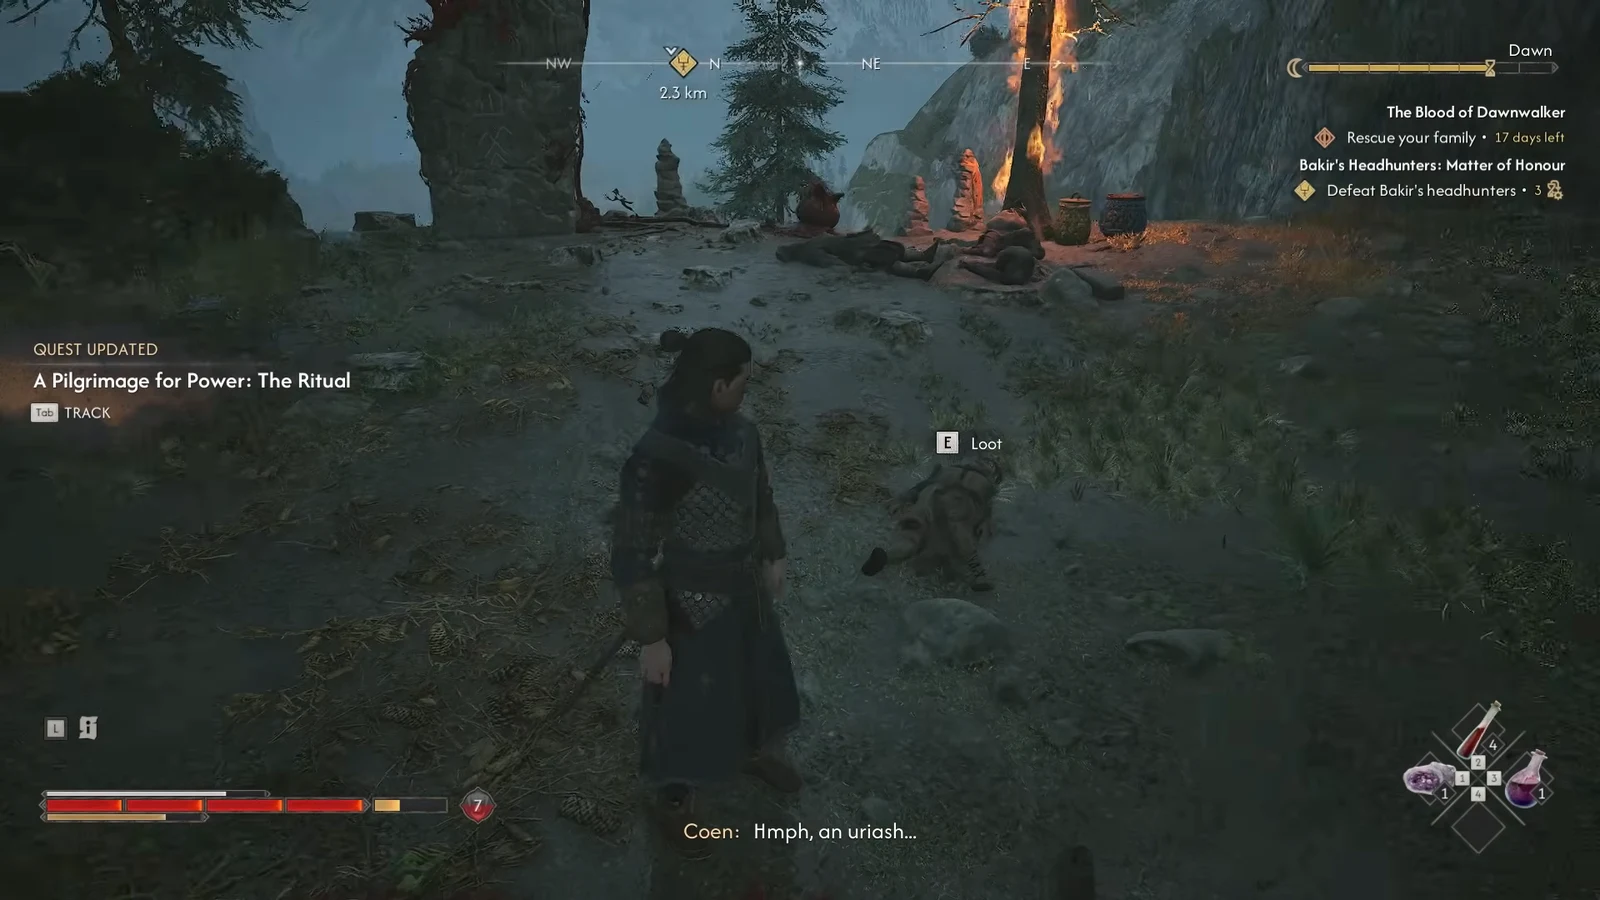
Loot her body before you do anything else. She drops an Aether Flow Manual, the epic ring Crimson Band, and the epic material Aetheric Essence. Inspect the scattered bodies around the clearing, then spend the two time segments on the glyph.
Fanatics: The St. Tyna’s Grove stone with no boss fight
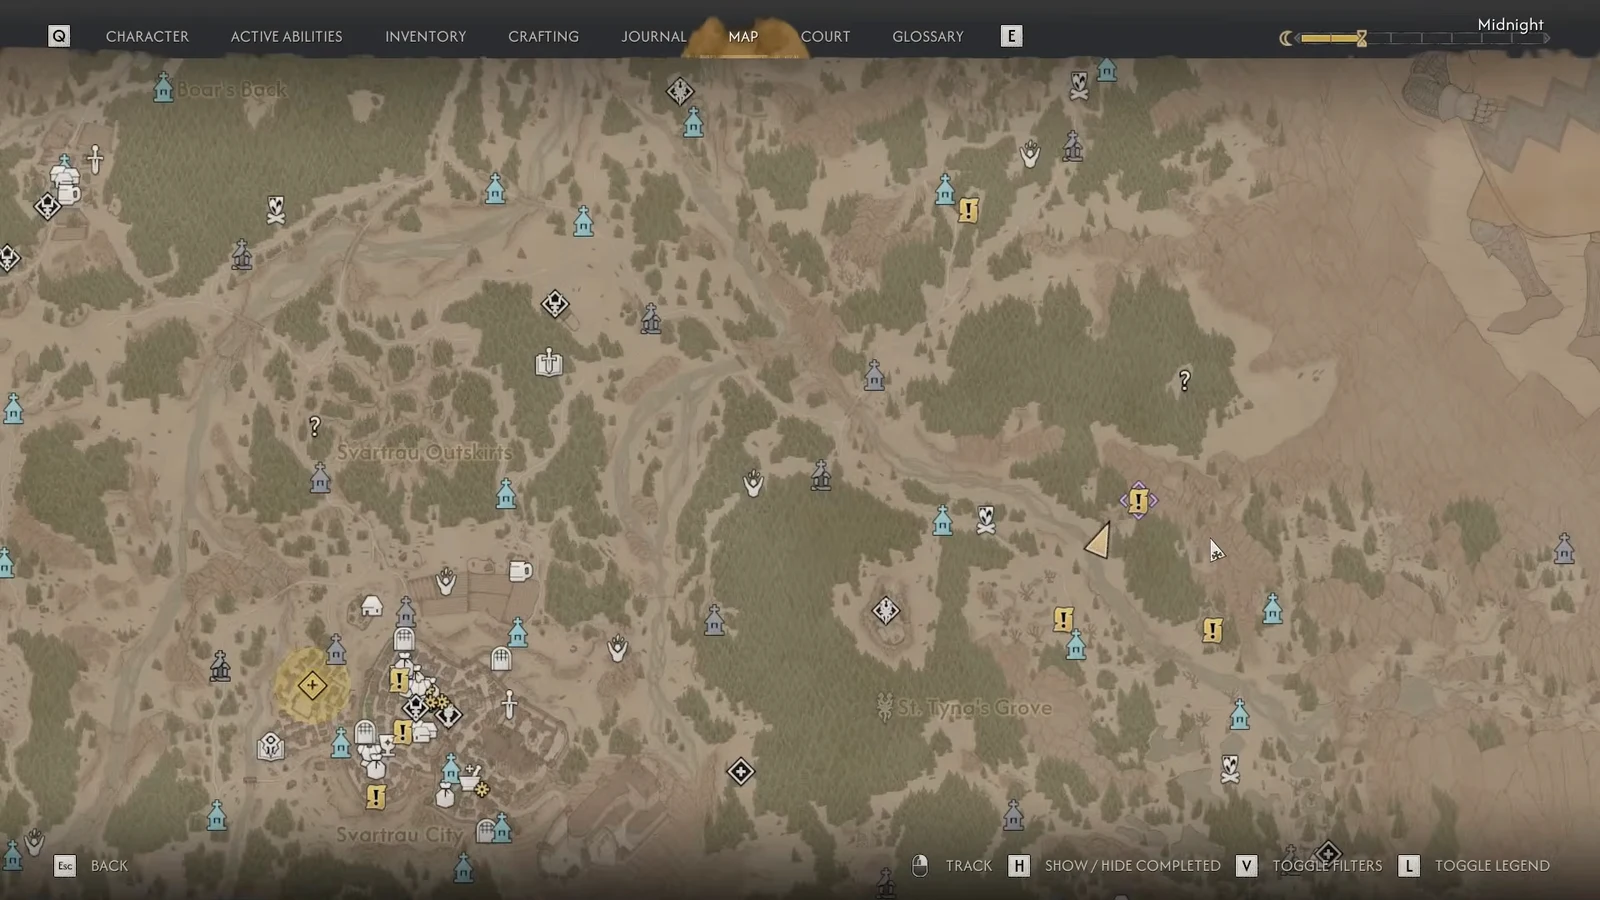
The Fanatics stone is the odd one out. There is no miniboss and no extra boss loot, just an investigation and a conversation you can talk your way out of.
Ravenous Flock Manual rewards and perk costs
Each glyph hands over one Ravenous Flock Manual and 250 XP. The manual does nothing sitting in your bag. Open your inventory and read it, which unlocks the Ravenous Flock Witchcraft ability, then travel to any shrine to actually spend skill points on its perks.
Ravenous Flock applies Area Attack and Stun to a target, and hitting that target sets off further area attacks. Four manuals is exactly enough to push it to maximum rank, where the area damage reaches 470 and lasts four hits or 20 seconds.
| Perk | Skill points | Time segments |
|---|---|---|
| 1st | 1 | 1 |
| 2nd | 1 | 1 |
| 3rd | 2 | 1 |
| 4th | 3 | 2 |
Note: that is seven skill points and five time segments on top of the eight segments the glyphs themselves consume, so budget for it before you start the chain.
Checking that a sacred stone actually registered
A stone counts as done the moment the glyph interaction resolves. The individual quest entry closes in your journal, the XP notification fires, and a Ravenous Flock Manual drops into your inventory. If none of that happens, you either walked away from the prompt before the two time segments were spent, or you are standing at one of the other uriashi structures scattered around Vale Sangora that carry glyphs but are not part of the pilgrimage.
The other common snag is thinking the ability is broken when it simply was not activated. Collecting all four manuals does not grant Ravenous Flock on its own. Read each manual from the inventory screen, then pick the perks at a shrine, and the ability shows up in your Witchcraft loadout ready to use.
Because the stones stay put and never expire, there is no pressure to sweep them all in one trip. Grab Bear Trouble on your way out of Laslea Glen, pick up the other three as your travels take you south, and the pilgrimage finishes itself alongside the rest of Vale Sangora’s map work.