The escape with Crake is the last real obstacle in What Hunts the Night, and it trips people up for one reason: the gate at the end of the run cannot be opened from the side you are standing on. Everything before that is straightforward combat.
Quick answer: Follow Crake and kill all three waves of guards, then at the locked gate use your Shadowstep vampiric ability to climb the wall, drop down on the far side, and open the gate for Crake.
Where the ambush happens in What Hunts the Night
The ambush is the final beat of Crake’s Svartrau City quest, which begins immediately after Where Loyalty Lies. By the time guards jump you, you have already killed the Beast of St. Teotim’s and pulled clues off its corpse, and Sara is out of the fight with an injury. Crake is on his own, and so are you.
| Stage | What it involves |
|---|---|
| Report to Crake | Head into the city, go down into the cellar of his house and talk to him. Dialogue choices here do not lock anything. |
| Investigate the churchyard | After nightfall, follow Sara and Crake and examine the stains on the ground, which point you to the belltower doors. |
| Beast of St. Teotim’s | Opening the belltower door starts the boss fight. Sara helps, then gets hurt. Examine several parts of the body afterwards for clues. |
| Help Crake escape | Fight through the guard waves and open the locked gate for him. |
| Meeting Mevasser | Crake leads you to Mevasser. Let the two of them talk to close out the quest. |
Fight through the three ambush waves
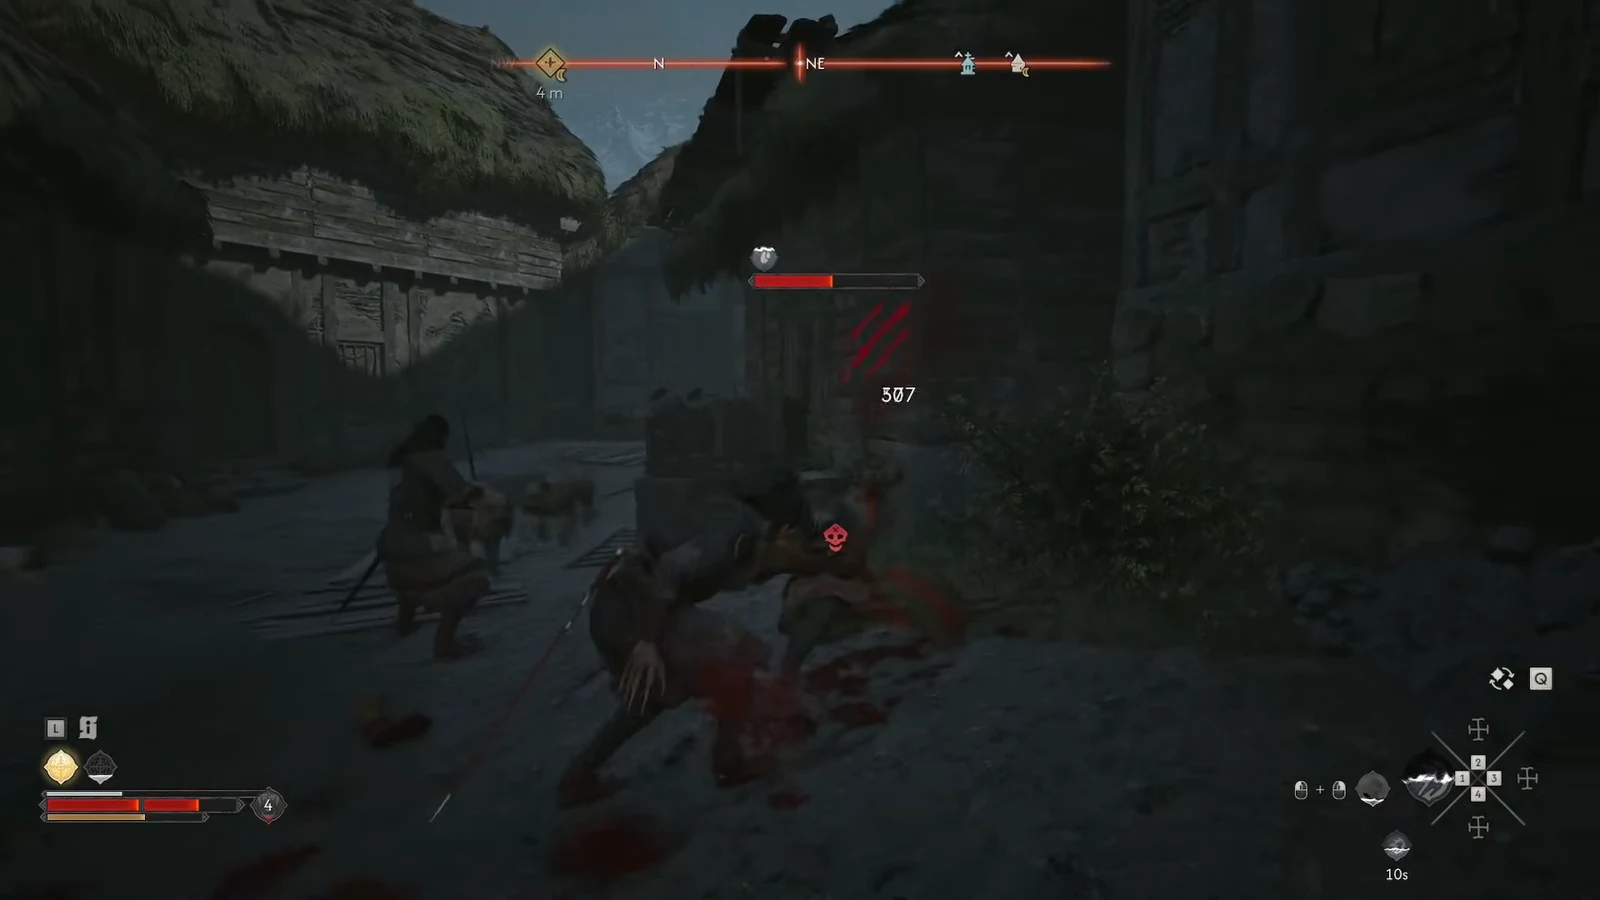
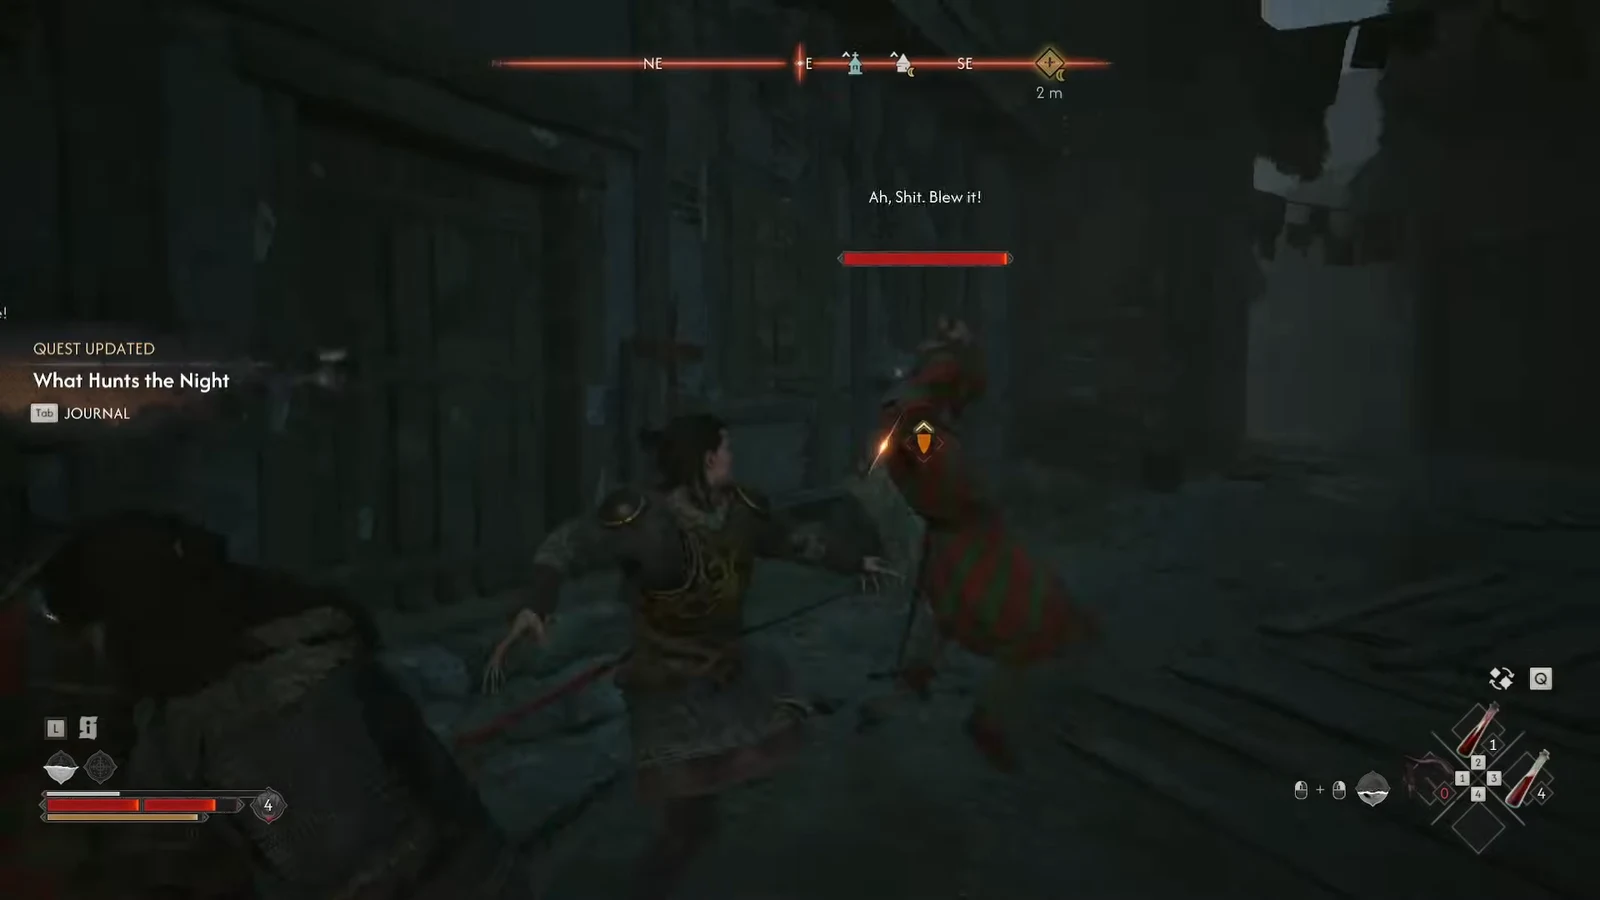
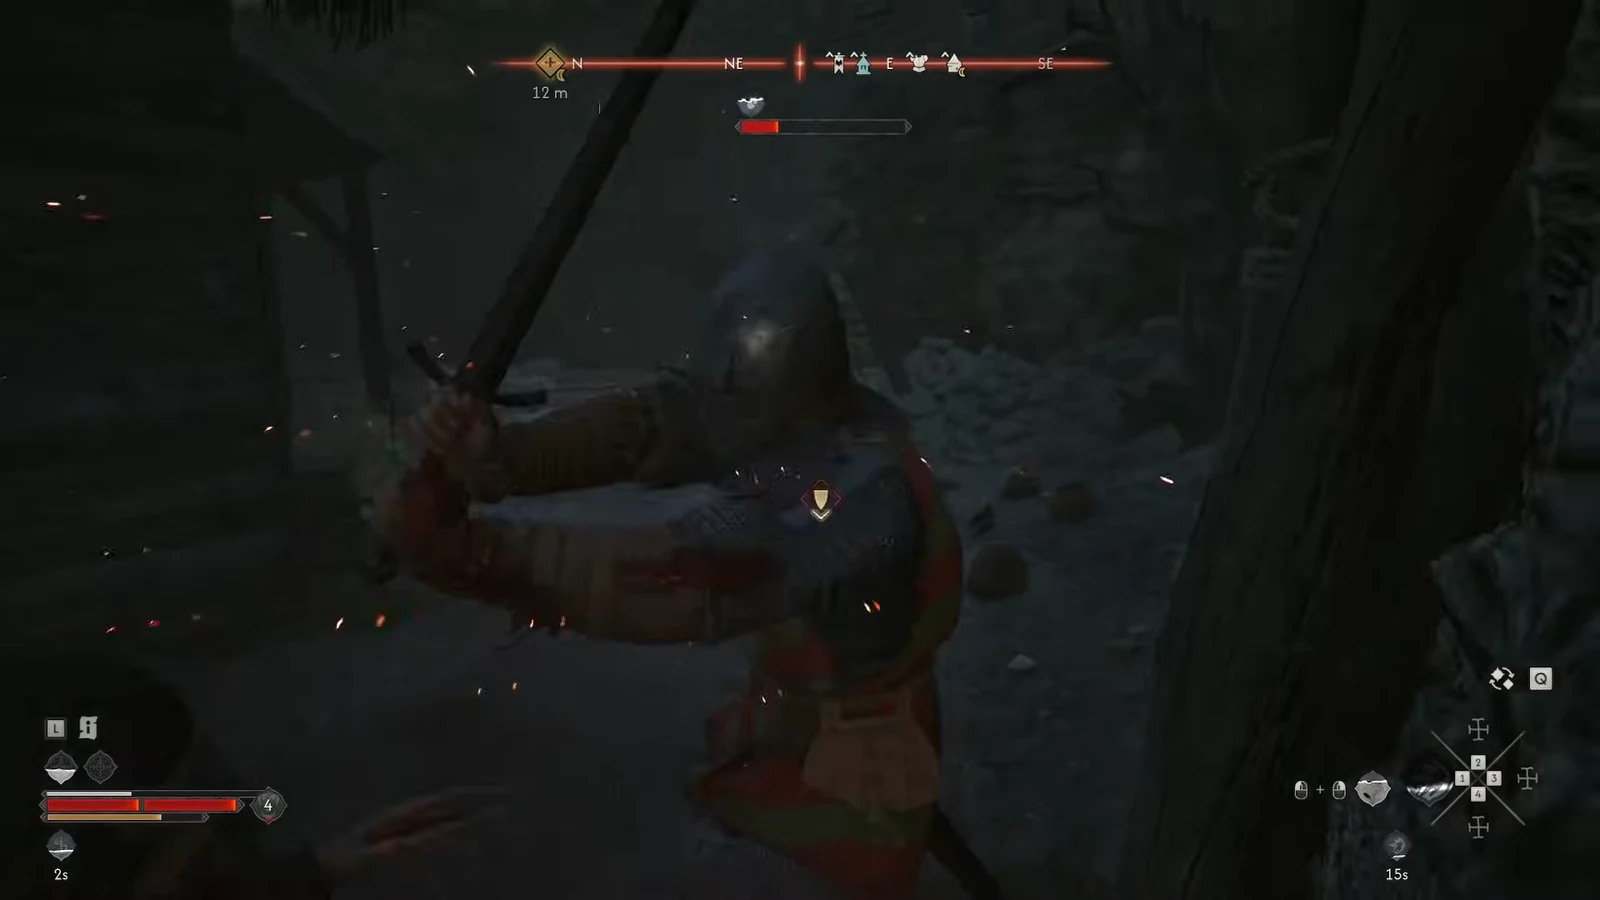
There is no stealth route and no way to outrun this. Crake stops and holds his ground at each ambush point, and the objective only ticks forward once every hostile in that group is dead.
Get past the locked gate with Shadowstep
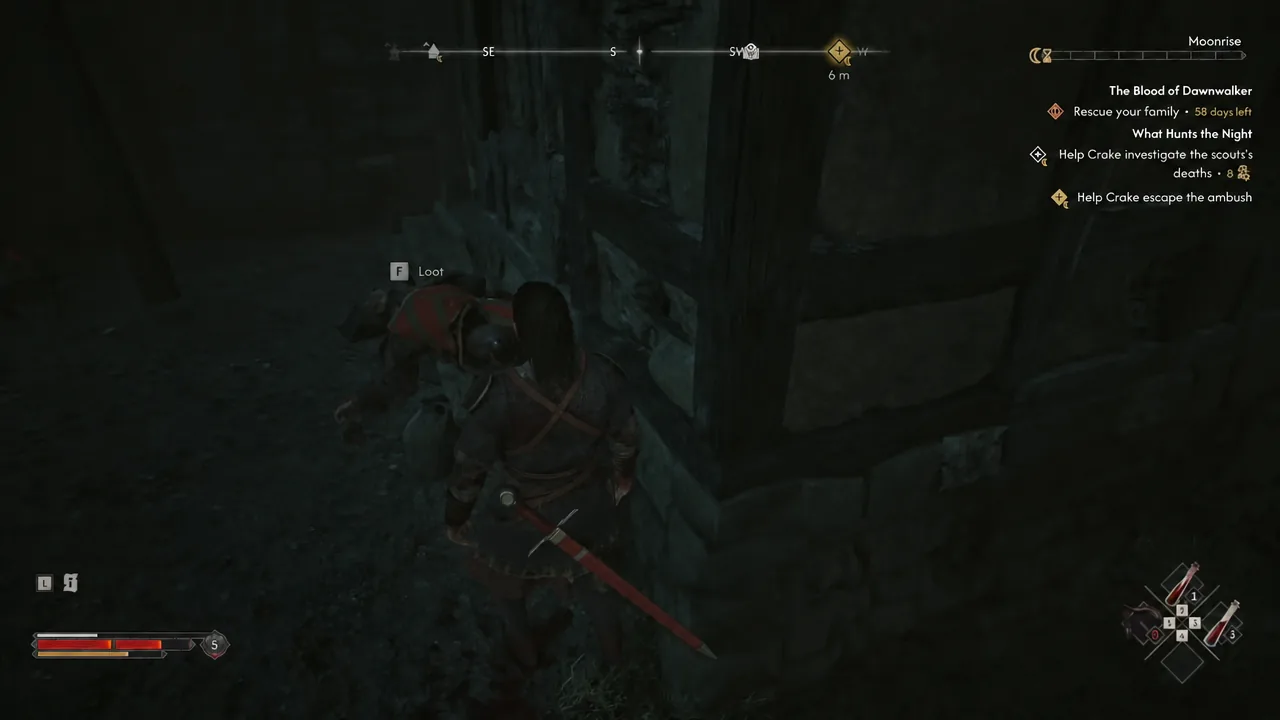
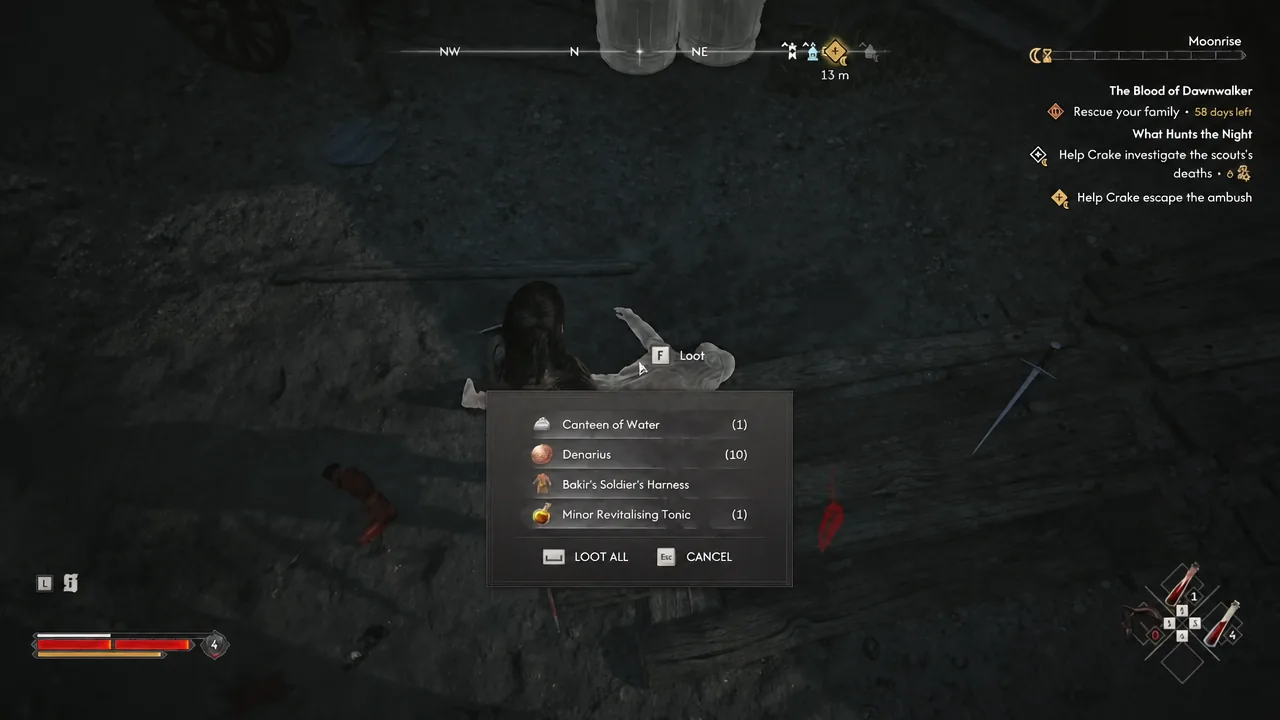
This is the part that stalls most players. The gate is locked, there is no key on any of the bodies you just looted, and interacting with it from your side does nothing. The route is over the wall, not through the door.
How to know the objective is done
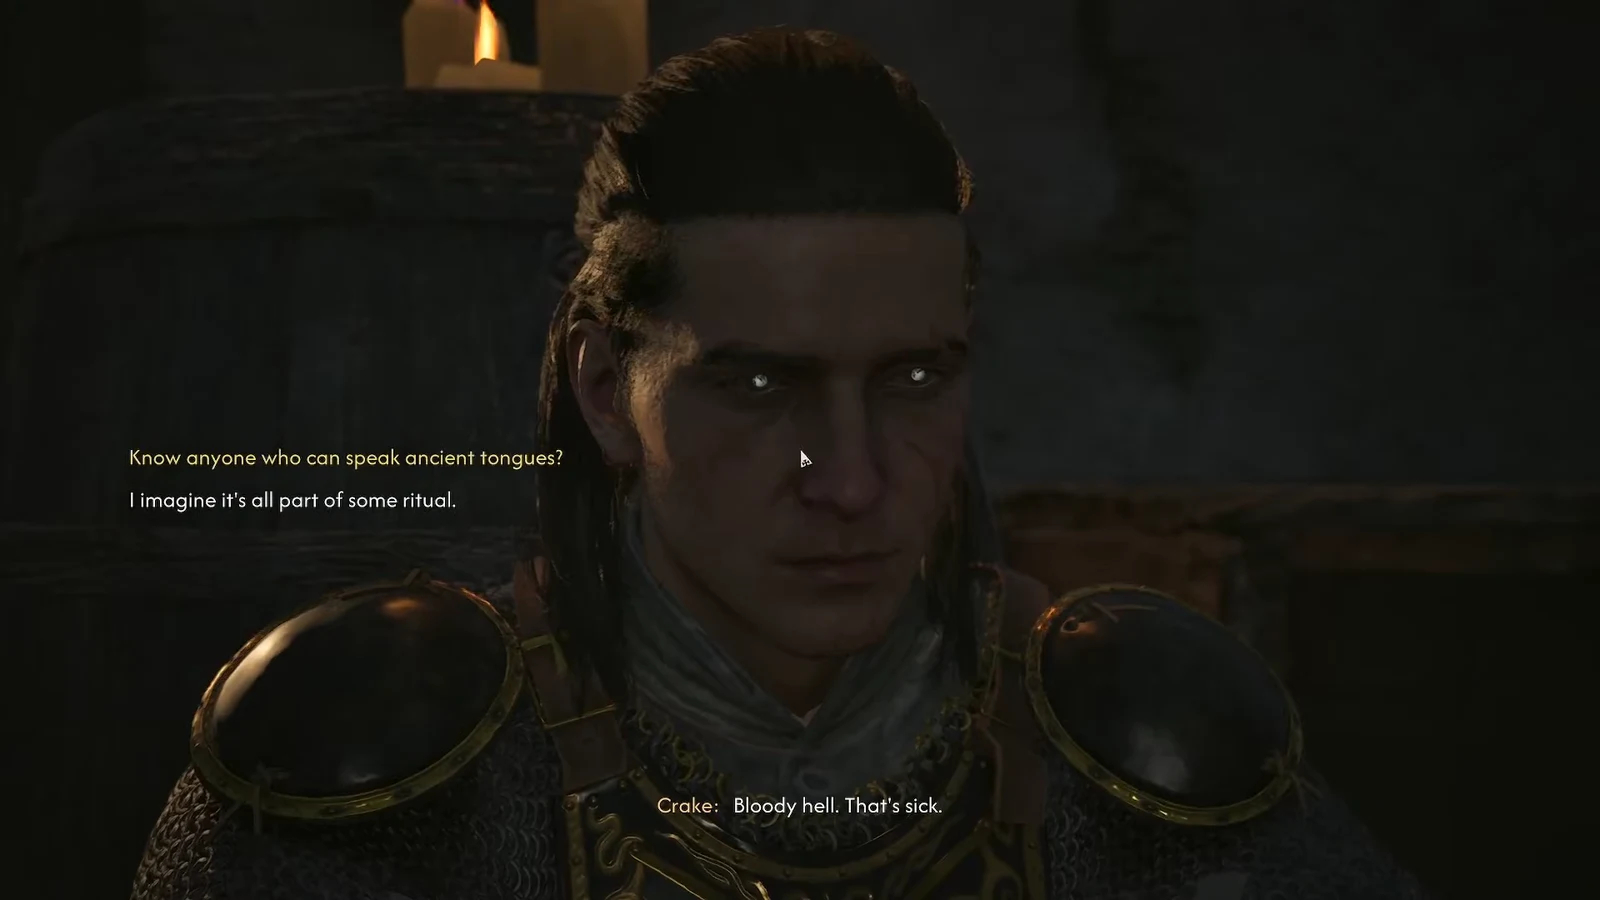
Opening the gate ends the escape. A conversation with Crake starts on the other side, followed by a time skip. Pick whichever dialogue lines you like, including the option asking whether he knows anyone who can read ancient tongues, since none of these choices change the outcome of the quest.
After the talk, Crake takes you to Mevasser. Stand back and let the two of them speak, and What Hunts the Night wraps up there.
Common reasons the escape stalls
- Crake will not advance while a guard is still alive nearby. Sweep the area before following the marker.
- The gate has no interaction from the approach side. If nothing happens when you press the interact key, you are on the wrong side of the wall.
- Looting is optional. Skipping the bodies and the sack does not block the objective, but you lose free supplies for the fights ahead.
Finishing this quest keeps Crake’s line moving toward What Moves the Dead and, eventually, the Rise at Dawn and Fall Before Dusk finale that unlocks The Knyazmaker. If you plan on ending the game alongside him, the ambush is a checkpoint you cannot skip.