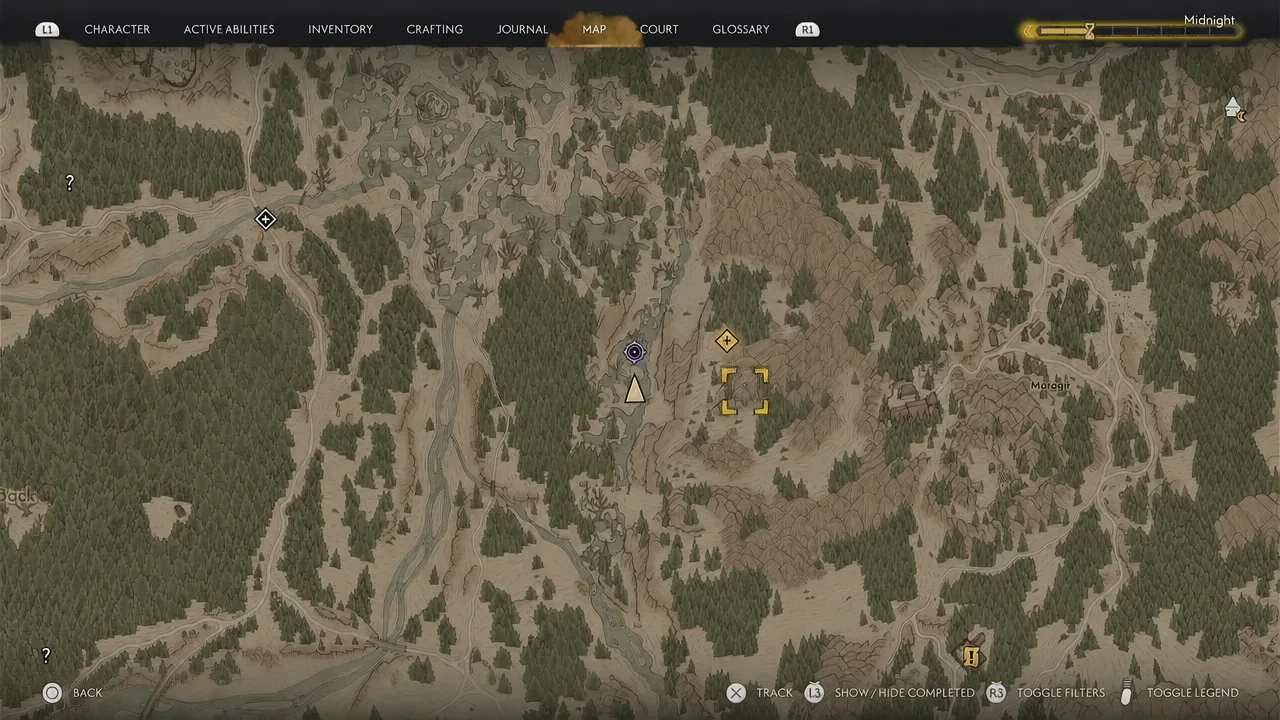
Bandit camps are the quiet workhorse collectible in The Blood of Dawnwalker. There are 15 of them scattered across the world, each one a small group of enemies guarding a chest, and that chest is frequently where your skill manuals come from. Several camps also hide a treasure map that starts a short side activity ending in a buried chest.
Quick answer: Climb all 11 towers to put every bandit camp icon on your map, then at each camp defeat the enemies, hold L2/LT for Focus Mode to spot the lootable chest, and grab any treasure map lying inside the hideout before you leave.
Reveal all 15 bandit camps by climbing the towers
Bandit camps use a white “crossed swords” icon on the world map. You do not have to stumble into them one by one. Climbing all 11 towers reveals them across the map, which turns a scavenger hunt into a simple route-planning problem.
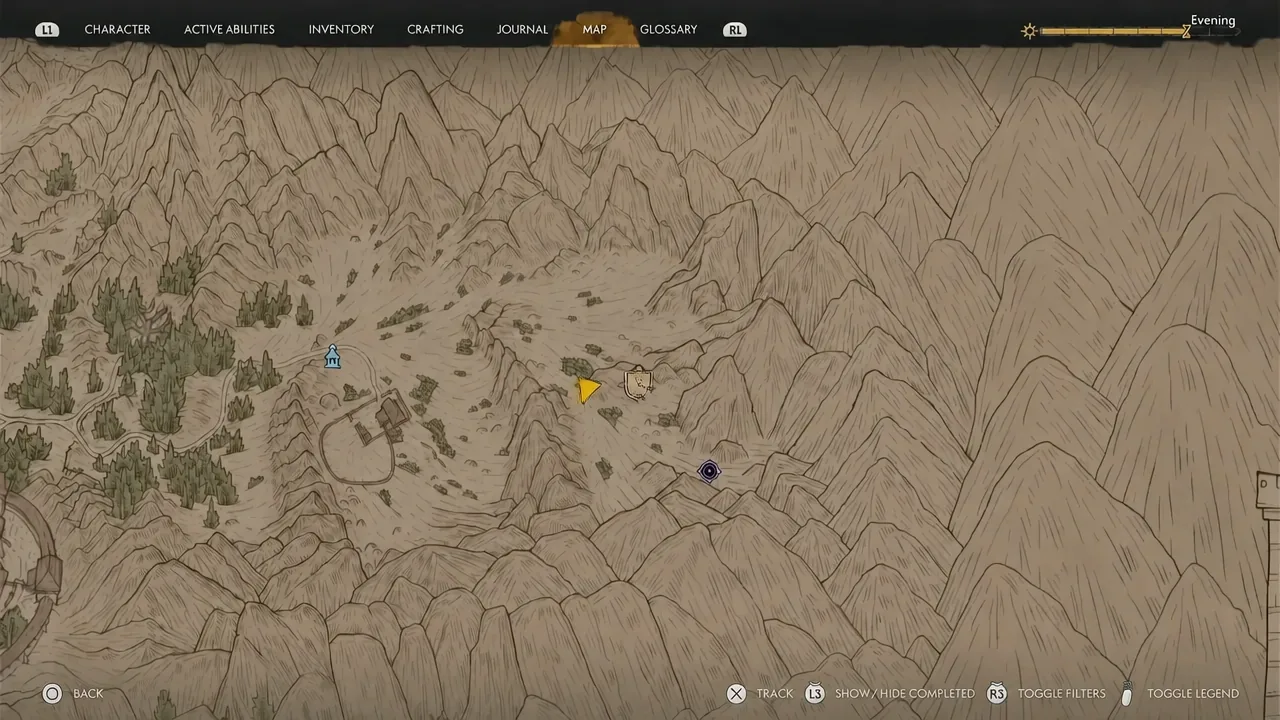
Travel between them is the real time sink, so unlock movement help early. The Shapeshift skill on the Vampirism side and Mercurial Fervor on the Witchcraft side both let you cover ground much faster than running.
Clearing a camp and finding the chest
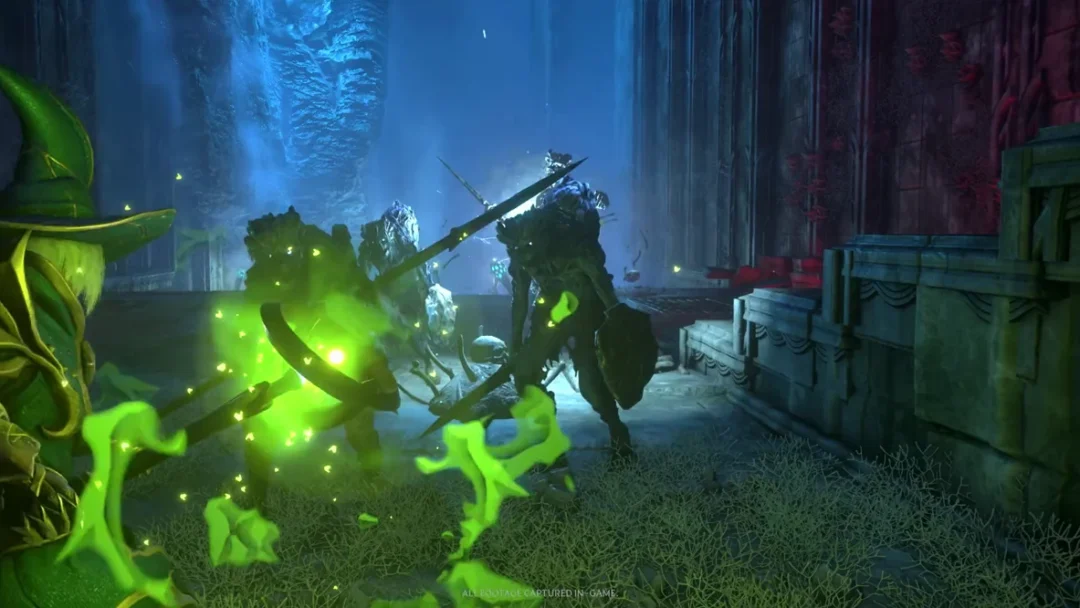
Every camp works the same way. Kill or defeat the group holding it, then sweep the area in Focus Mode to make the chest glow. Camps are small, usually a handful of humans and sometimes an animal companion, and the fights are short compared to court activities.
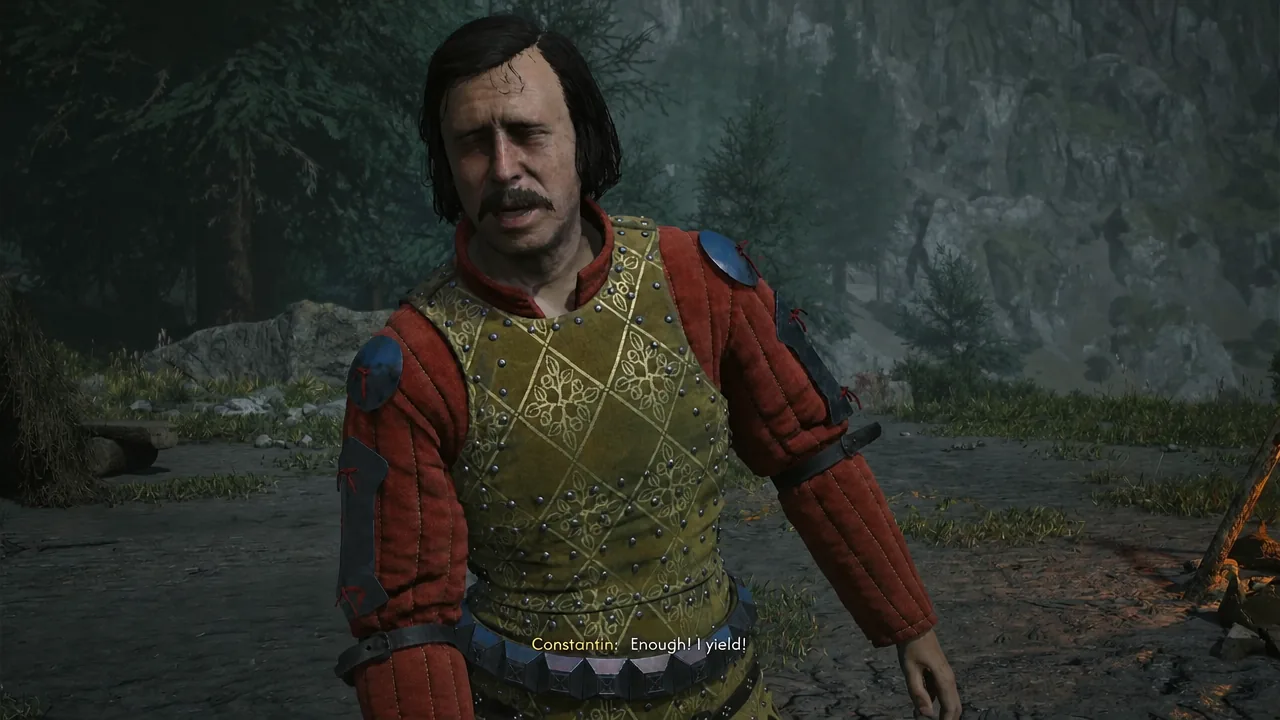
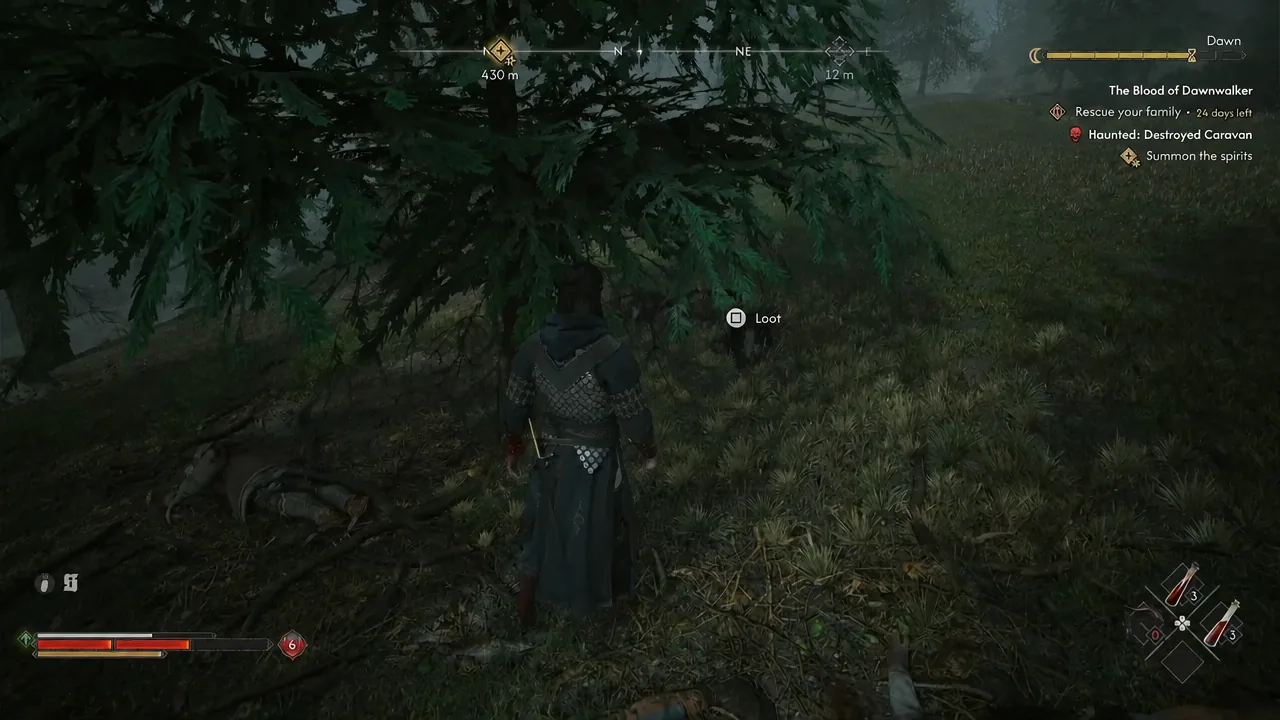
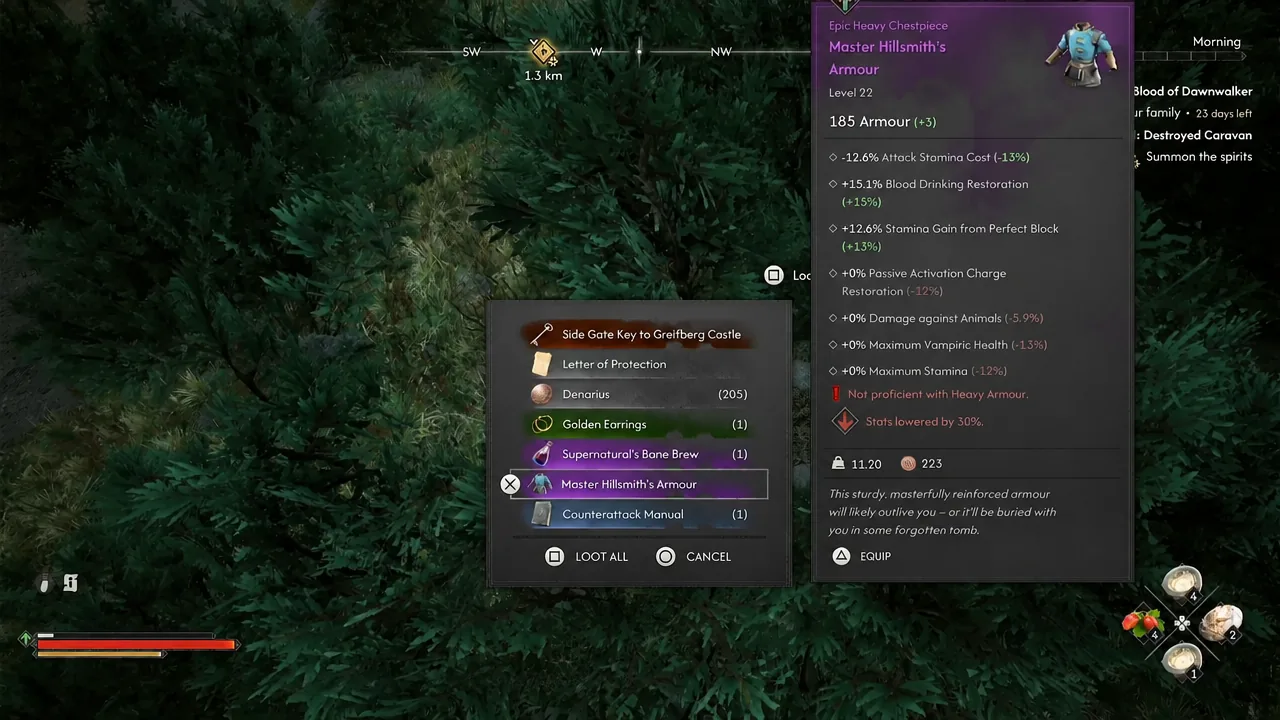
Do not walk off the moment the fighting stops. Bodies left behind can be looted for their own drops, and the notes and keys you pick up this way often matter more than the coin.
What bandit camp chests actually contain
The headline reward is skill manuals. These are permanent character upgrades, which makes camps one of the better returns for the time they cost. Armour pieces and jewellery show up alongside them, plus the usual consumables and sellable valuables.
| Camp | Chest contents | Treasure dig |
|---|---|---|
| Laslea Glen | Broad Swing Manual, Golden Earring, Balm of Fortitude, Hunter’s Trousers | 100 Denarius, Recipe for Minor Fortitude Paste, Polished Long Cleaver (90 DPS, Lv 5), gold valuable |
| Western Slopes | Master Fencer Manual, Knight’s Amulet | Swiftness Manual, Western Slopes Shrine’s Heart |
That Western Slopes dig is worth calling out. The Shrine’s Heart it contains completes the Destroyed Shrines: Western Slopes objective, so the treasure map doubles as a shrine fix.
How bandit treasure maps work
Picking up a treasure map inside a hideout formally starts the activity and puts a rough search area on your map. The drawn X is a hand-sketched approximation, not a precise pin, so expect the actual dig spot to sit slightly off from where the X appears to land.
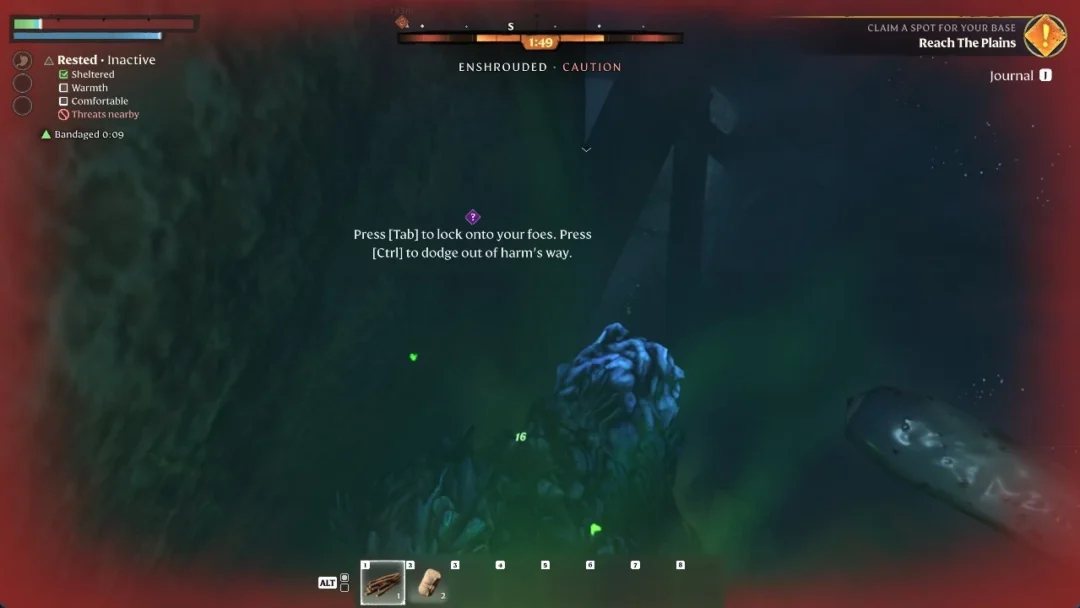
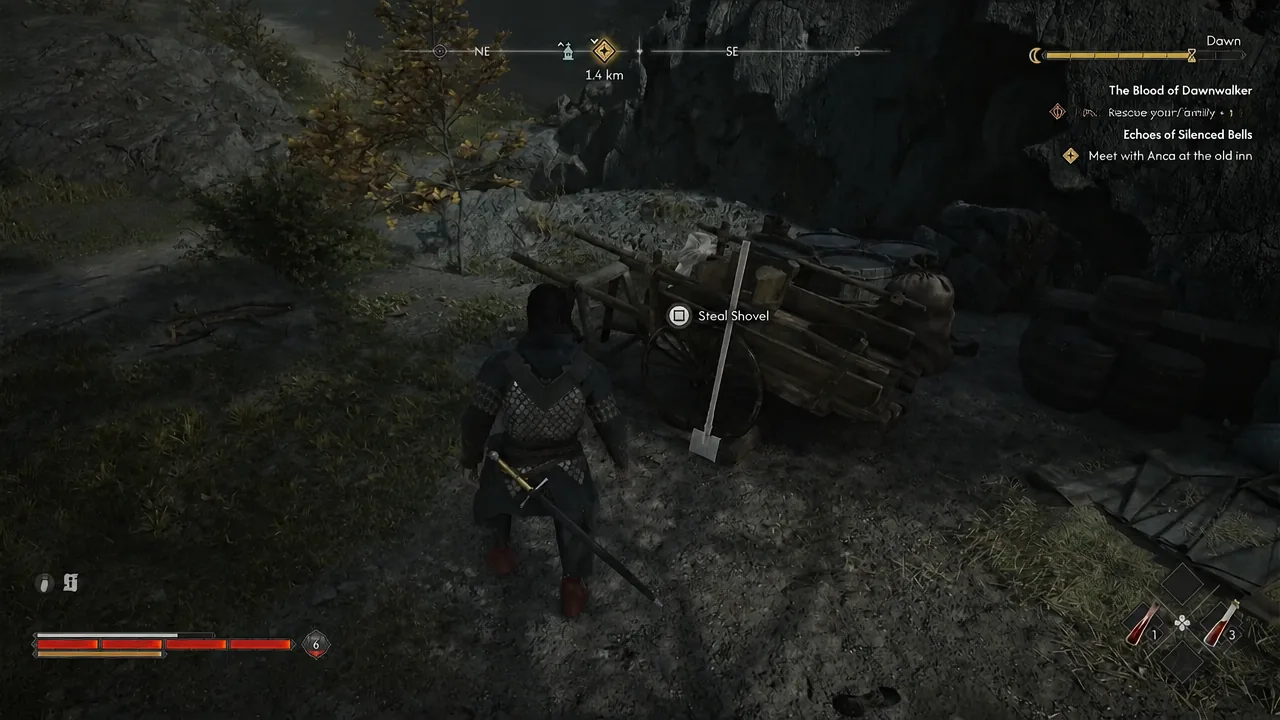
Once you are in the right area, hold Focus Mode. The dig site shows up as disturbed earth with a yellow highlight, usually with bodies or debris nearby as a landmark. You need a shovel to open it, and the game generally leaves one sitting within a few steps of the mound.
Laslea Glen bandit camp and treasure location
| Detail | Value |
|---|---|
| Starting location | Outlaw’s Gorge, Laslea Glen |
| Time available | Day |
| Total time cost | 2 segments |
| Missable | Yes |
| Completion reward | 100 XP plus the chest contents |
Time segments: What each camp costs you
Time is the real currency here. You have 30 in-game days to deal with the three vampire bosses and reach Brencis, and clearing a camp burns a segment, with the dig burning another. Two segments per treasure map adds up quickly if you chain all 15 camps back to back.
Note: Treasure map activities are flagged as missable and some are day-only. If you are pushing hard on the main path, keep a manual save before major story beats so you can come back and mop up camps without spending story time on them.
If the dig site will not appear
You will know the activity registered because the quest entry appears the moment you pick up the map, and the treasure area is marked while you track it. After digging, the chest opens on the spot and the activity closes out with its XP payout.
- You never picked up the map itself. Clearing the camp alone does not start the treasure hunt.
- You are standing on the X rather than beside it. Move around the area in Focus Mode until the disturbed earth lights up.
- The guard is still alive. Deal with the animal or enemies at the site before the dig prompt becomes usable.
- You have no shovel. Look for the one left nearby, usually on a cart or against the debris.
Work through the camps in geographic clusters rather than by number, and the whole set stops feeling like a detour. The manuals alone justify the stops, and a few of the buried chests quietly finish other objectives while you are there.