WARDOGS Tutorial Walkthrough: Every Objective in Order
A complete run through the beta training level, from the projector room to the final Hesco blocks.
A complete run through the beta training level, from the projector room to the final Hesco blocks.
by AllThingsHow Staff
The WARDOGS training level is a single linear route through a warehouse, and it teaches the systems that actually decide matches later: vendor purchases, bullet penetration, revives, zone scoring, and building. It runs roughly ten minutes if you know where you are going, and every step is gated by an objective prompt on screen.
Quick answer: Follow the OBJECTIVES list in the top corner in order — turn on the projector, buy an AK74M and ammo, shoot the three target types, throw a grenade through the top window, revive Kristopher twice, stand in the white and yellow circles, heal with a first aid kit, then build two Sandbags with the Small Hammer and two Hesco Blocks with the Medium Hammer from a deployed FOB.
What the tutorial covers
The level is split into phases, each held behind a door that only opens once the current objectives are cleared. You start with a helicopter insertion into Bakurani and end at an exit leading toward the shooting and vehicle ranges.
Phase
What you learn
Projector room
Interaction prompts and the developer welcome message
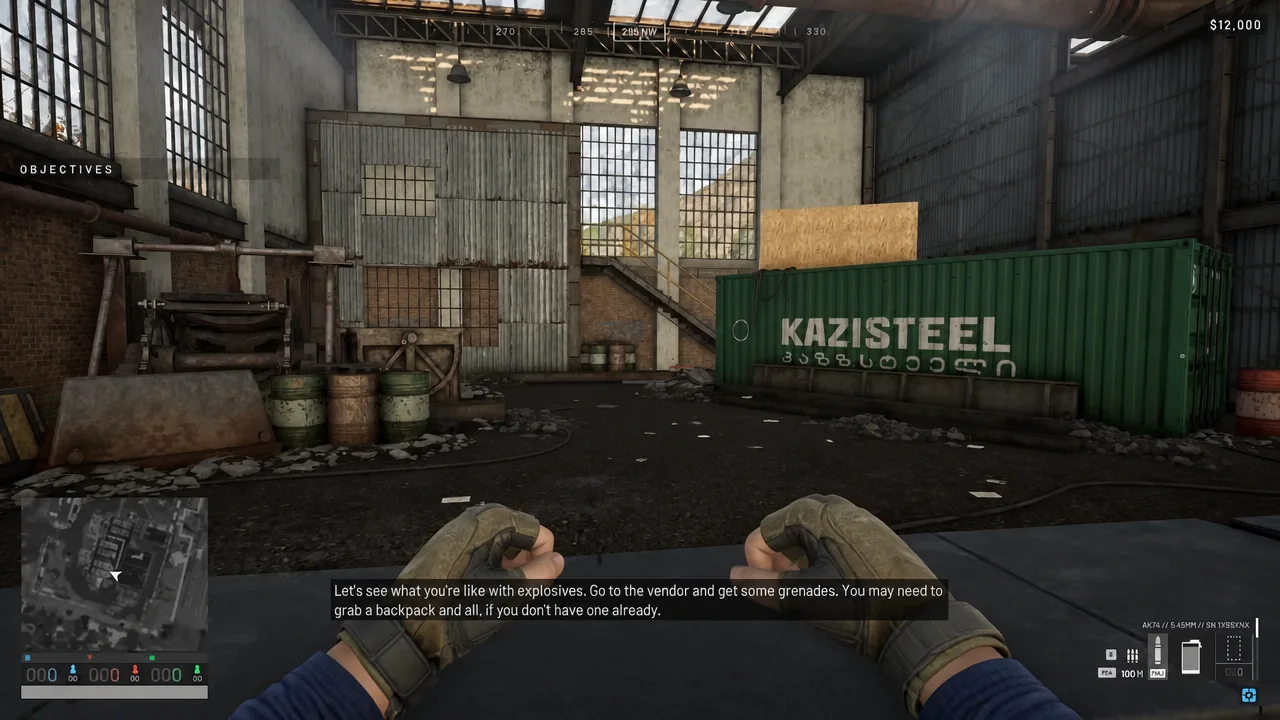
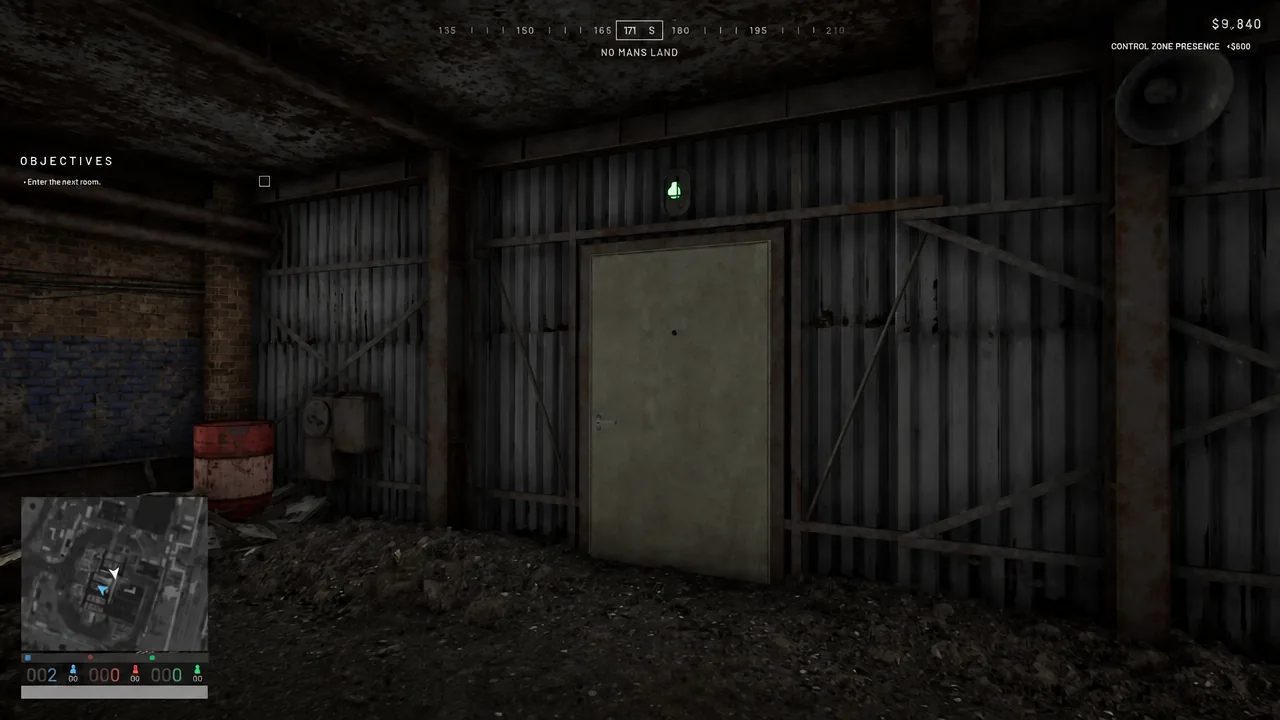
After the helicopter drops you at the helipad, walk through the compound doors into the warehouse. The first objective simply reads “Enter the warehouse,” so there is nothing to interact with along the way.
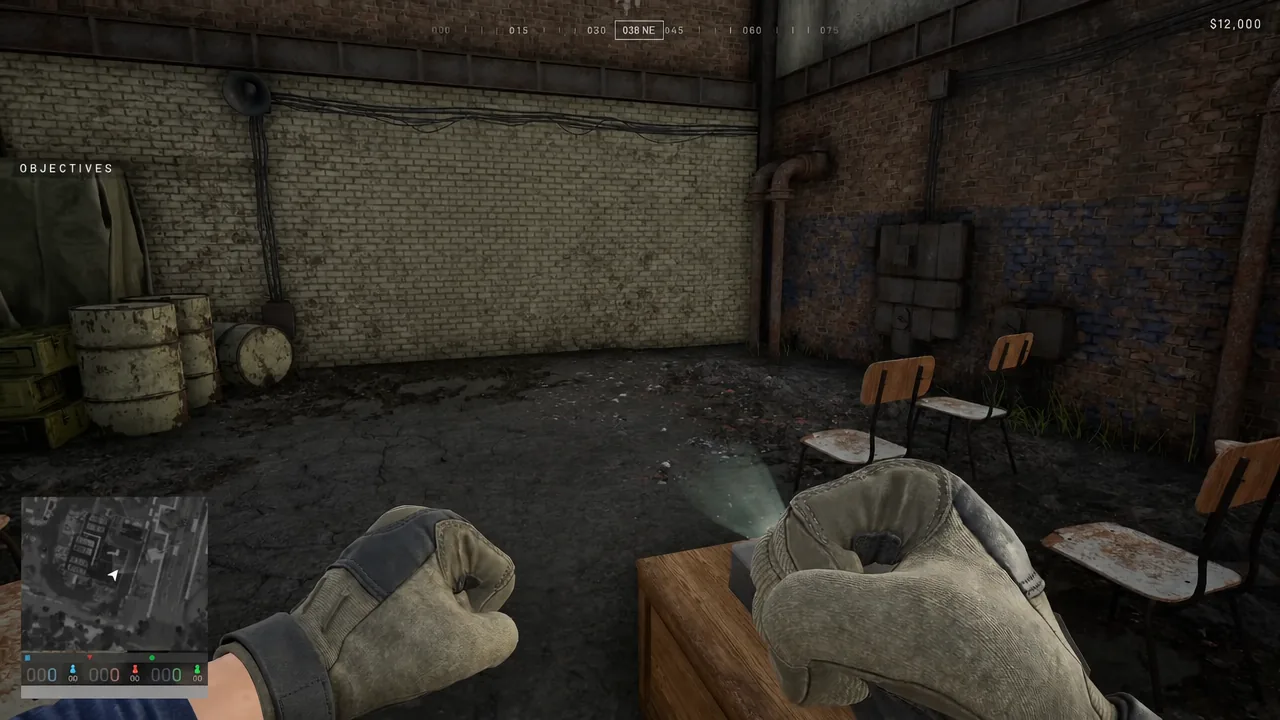
Take the projector room on the right side of the hall. Interact with the projector to switch it on, then play the media to start the developer’s welcome video about the beta.
00:42The projector room plays a short developer message before the objective list advances. Shown at 00:42 in PazarGamingGuides’s video. Image: BULKHEAD
Open the Equipment Vendor menu and purchase the AK74M. You also need 5.45mm Standard (FMJ) ammunition and an AK74M 30 rnd magazine — the rifle alone will not fire.
Shoot a target through the wooden boarding. Rounds pass through soft cover, which is the point of the drill — the target behind the wood registers the hit without you having an angle on it.
Fire at the metal container to ricochet a round into the remaining target. Angled shots off hard surfaces deflect rather than penetrate, so aim at the metal rather than the target itself.
Note: These three behaviors carry straight into live matches. Wood, plaster and thin panelling do not stop rifle rounds, while hard metal can send them somewhere neither player expected.
Return to the vendor and buy a backpack — the Operator Backpack works — along with an M67 Frag Grenade. Without storage space you cannot carry the throwable.
Open your inventory and check the weight readout. Armor and ammunition push you into heavier tiers, which slow your movement, increase weapon sway and lengthen your aim-down-sights time.
Reviving Kristopher: hands versus the Resuscitator
Phase two opens into an industrial room where a scripted teammate goes down. You revive him twice, using a different method each time.
03:34The objective list updates as you cross into the medical training area. Shown at 03:34 in PazarGamingGuides’s video. Image: BULKHEAD
Use the Resuscitator on him once he is in cover. The device revives far faster than hands, which is why it is worth carrying every life.
05:05The Field Resuscitator equipped in hand after the vendor purchase. Shown at 05:05 in PazarGamingGuides’s video. Image: BULKHEAD
Control Zone and Hot Zone scoring room
The next room uses a floor diorama with two painted circles to demonstrate how scoring works in a real match. There is nothing to shoot here — you just stand in the right places.
Step into the white circle labelled CONTROL ZONE. Standing inside it begins accumulating points and cash, mirroring how the live objective pays out over time.
Move into the smaller yellow circle marked HOT ZONE. Inside it you count double for objective control and earn double cash, which is exactly how the moving Hot Zone behaves in a match.
Sit through the downed state to see the revive timer, then release when it lets you. This is the same bleed-out window you get in a live match while waiting for a teammate.
Buy an Individual First Aid Kit from the vendor and use it on yourself. Health returns to full and the objective clears.
Building: sandbags, the FOB and Hesco Blocks
The final room is construction training, and it is the part most new players skip in real matches. Two hammer tiers are involved, and the better one comes out of a deployed base.
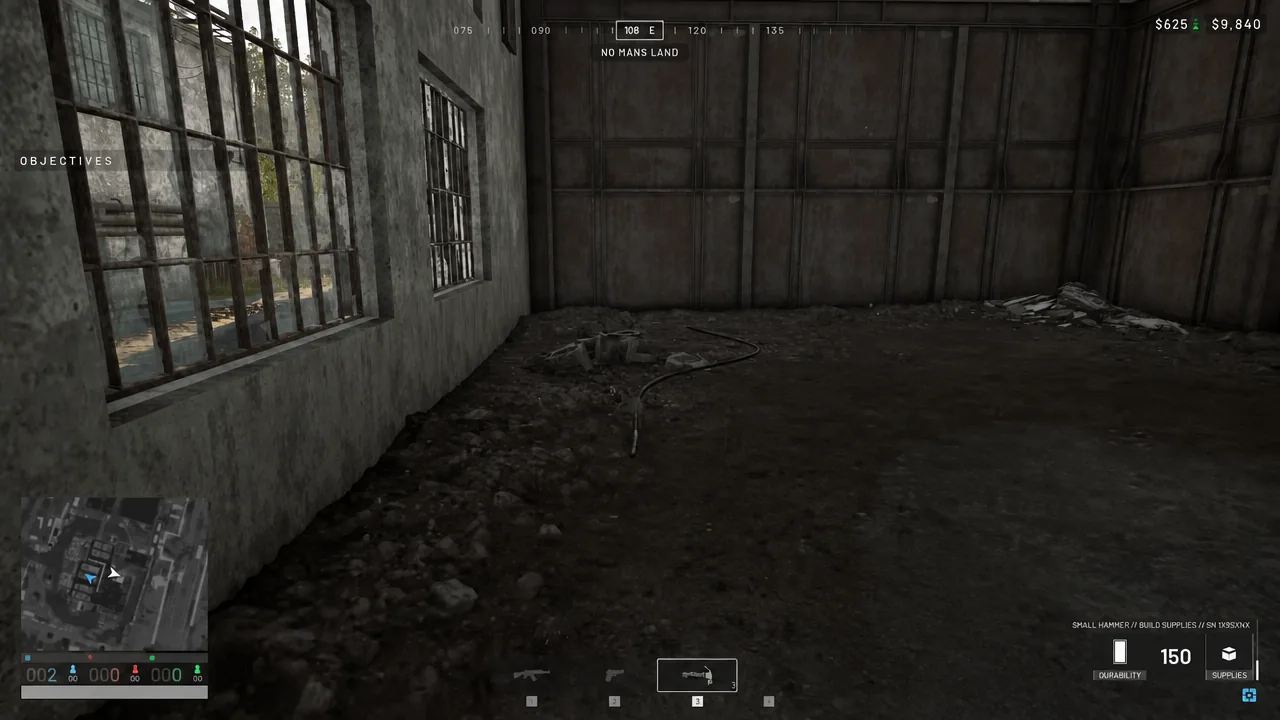
Equip the Small Hammer, open the radial build menu, and place two Sandbags. Placing a ghost is not enough — hammer each one until the structure finishes.
07:48The Small Hammer selected against build supplies before placing the first sandbag wall. Shown at 07:48 in PazarGamingGuides’s video. Image: BULKHEAD
Take the Medium Hammer out of the FOB, then place and build two Hesco Blocks with it. The Small Hammer cannot construct these, which is the lesson the room is built around.
Finishing the second Hesco Block ends the tutorial. The narrator confirms completion and the exit door opens toward the shooting and vehicle ranges.
Objectives checklist in order
If an objective refuses to tick over, it is almost always because a prerequisite purchase is missing from your inventory or a structure was placed but never hammered to completion.
#
Objective
1
Enter the warehouse
2
Enter the projector room on the right
3
Turn on projector, then play projector media
4
Enter the next room across the hall
5
Buy the AK74M, FMJ ammo and a magazine
6
Shoot each of the targets
7
Shoot a target through the wood
8
Shoot a target by ricocheting a bullet
9
Buy a backpack and some grenades
10
Throw a grenade into the top window
11
Buy a helmet and some armor
12
Open your inventory
13
Revive Kristopher using your hands
14
Buy a resuscitator
15
Drag Kristopher out of the danger area
16
Revive Kristopher using the Resuscitator
17
Enter the white circle
18
Enter the yellow circle
19
Buy an Individual First Aid Kit from the vendor
20
Use the Individual First Aid Kit to heal yourself
21
Buy a Small Hammer and some Build Supplies
22
Place and build 2 Sandbags using the Small Hammer
23
Buy a Forward Operating Base (FOB) from the vendor
24
Place the FOB
25
Take out the Medium Hammer from the FOB
26
Place and build 2 Hesco Blocks using the Medium Hammer
Everything the training level hands you costs money in a real match, and your balance starts at $10,000 and carries between rounds. The habits worth taking out of the warehouse are the cheap ones: buy a resuscitator every life, watch your weight before you leave the vendor, and remember that the yellow circle counts twice.