The MOSES Field Reserve Program sends you into the logistics floor buried underneath Central Warehouse Alpha, a space most players sail past long after they have already looted the warehouse itself. The quest is short on objectives but heavy on combat, and the actual completion condition is a pair of scans in a room at the far end of the facility.
Quick answer: Reach the prototype storage bay under Central Warehouse Alpha, climb to the upper walkway office, and scan both wall displays — the Bulk prototype blueprint and the Barrel prototype blueprint. Scanning the second one ends the quest immediately.
Central Warehouse Alpha location and entry requirements
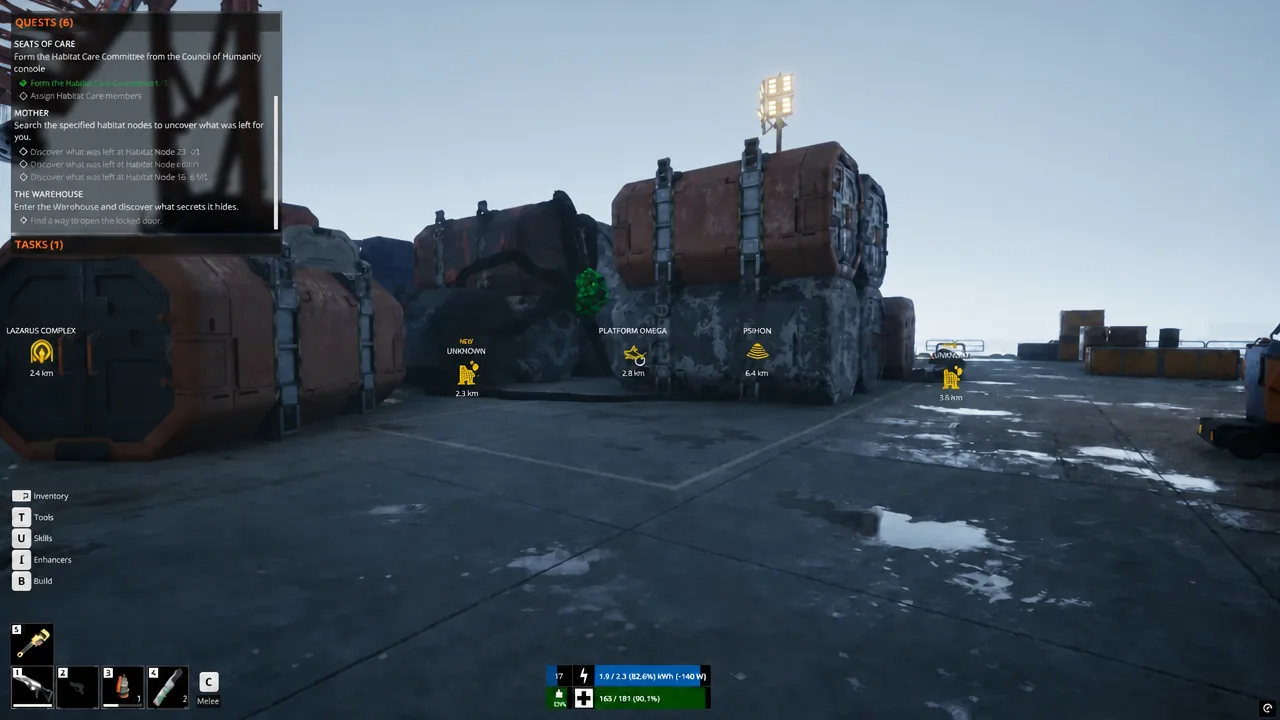
Central Warehouse Alpha sits south of the Lazarus Complex, close to Platform Omega, and shows on the navigation map around grid coordinates 66 : 22. Set the waypoint from the helm terminal, anchor at the dock, and moor the boat before climbing the exterior stairs.
Two things need to be true before the quest will open up. The warehouse has to be unlocked and powered from the earlier Warehouse work, and your character needs to be around level 10. Restoring power means building a Medium Battery in the lower control room and feeding it from at least two Typhoon wind turbines on the roof, linked down through the wall sockets with electric cable extenders.
Note: the lower corridors are usually infested before you get power running. A flamethrower or crowbar clears the crawling biomass cheaply, which saves your rifle charge for the bots waiting downstairs.
How to trigger the MOSES Field Reserve Program quest
Nothing starts the quest from a terminal or a radio call. You have to physically open a door that most players walk past.
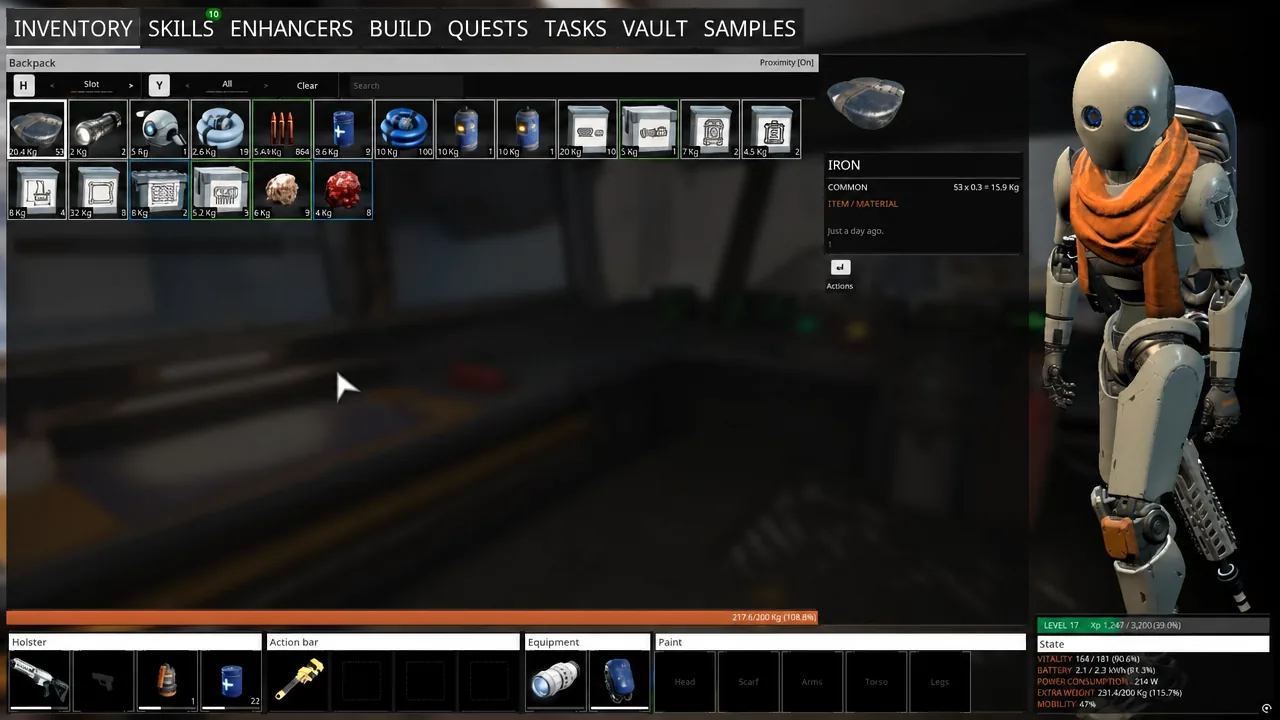
Before you go any further, restock. Once you are below, resupplying means walking the whole route back. Bring healing, spare ammo, charged batteries, and explosives.
Roller Boi trap layout on the lower level
Take the elevator down. The large space at the bottom has wide openings in the walls on both sides, and those are the spawn points. Sensor beams across the floor — visible as green light barriers, red on some floors — are the triggers. Cross one and a pair of Roller Bois deploys.
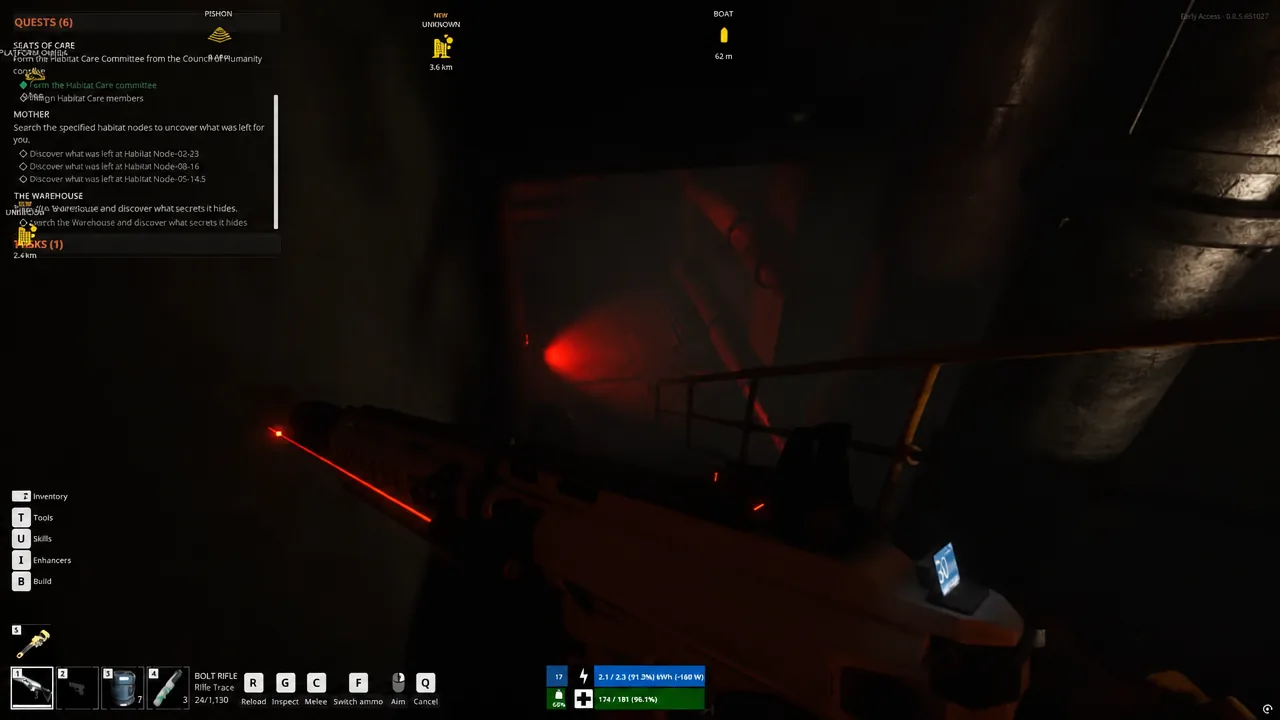
Six Roller Bois guard the area in total, and they only ever come two at a time. The door to the next room stays locked until all six are destroyed. Because the beams are visible, you control the pace of the fight — walk up to a line, clear the pair it summons, then move to the next one instead of sprinting through and pulling everything at once.
There is also a bypass. Stacked crates near the entry area let you climb up and crawl through an air vent that drops you straight into the main prototype storage bay, skipping the trap floor entirely. That route leaves the bots alive behind you, so it works best if you only want the scans and plan to loot later.
Best loadout for fighting the Roller Bois
Roller Bois shoot back and they hit hard enough to end an unprepared run in seconds. Electric damage is the reliable answer.
| Item | How to use it |
|---|---|
| Electric Big Explosive | The most effective option. Throw it into a spawn opening as a pair rolls out; around five will carry you through the whole fight. |
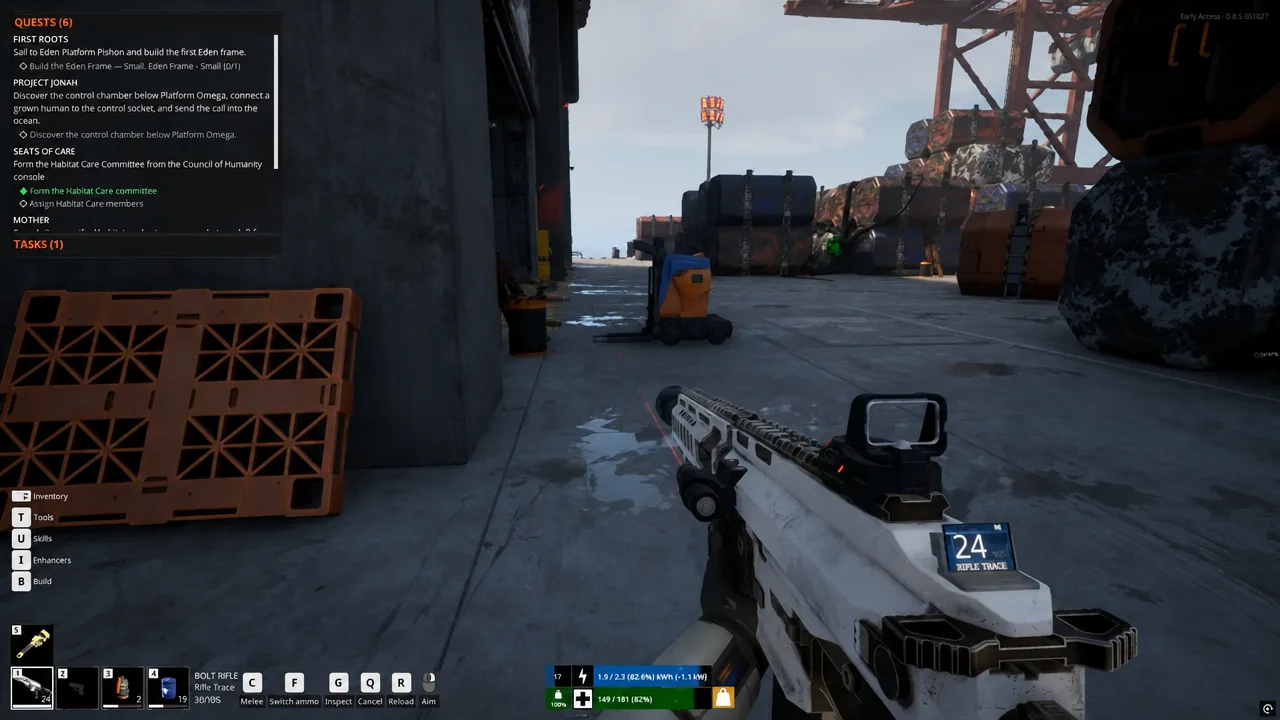
| Fire or electric rifle ammo | Fire from a doorway with cover. The Rifle Trace with fire rounds and the Electric Rifle both work. |
| Small Petrol Container | Place them on approach lanes ahead of time and shoot them as bots pass through. |
| Charge Injector / healing | Craft extras before descending. There is no restock point below. |
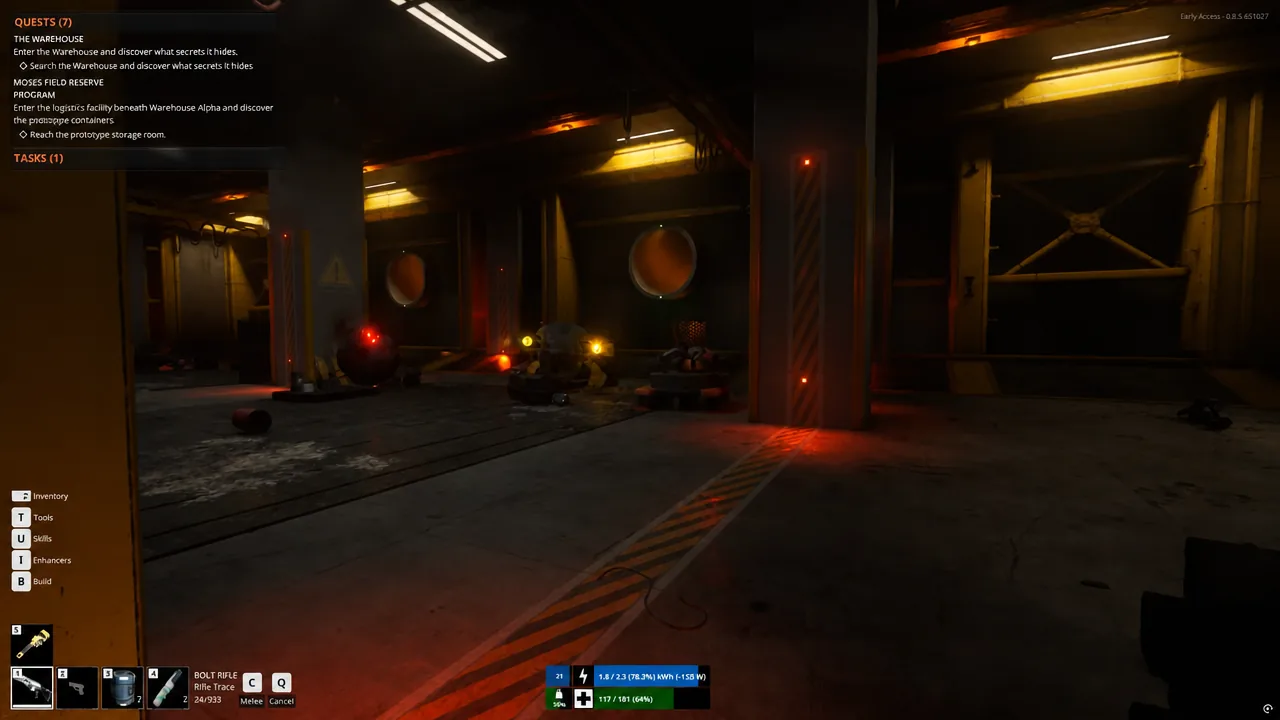
Two habits make the difference. Retreat freely between waves to heal and rearm, since the bots do not chase you back up, and save at a Backup Station after clearing each cluster so a bad pull does not cost you the entire descent.
Scan the Bulk and Barrel prototypes to finish the quest
The room past the locked door is the prototype storage bay, filled with oversized fuel and battery containers sitting on the floor. Those are display pieces. The objective is on the level above them.
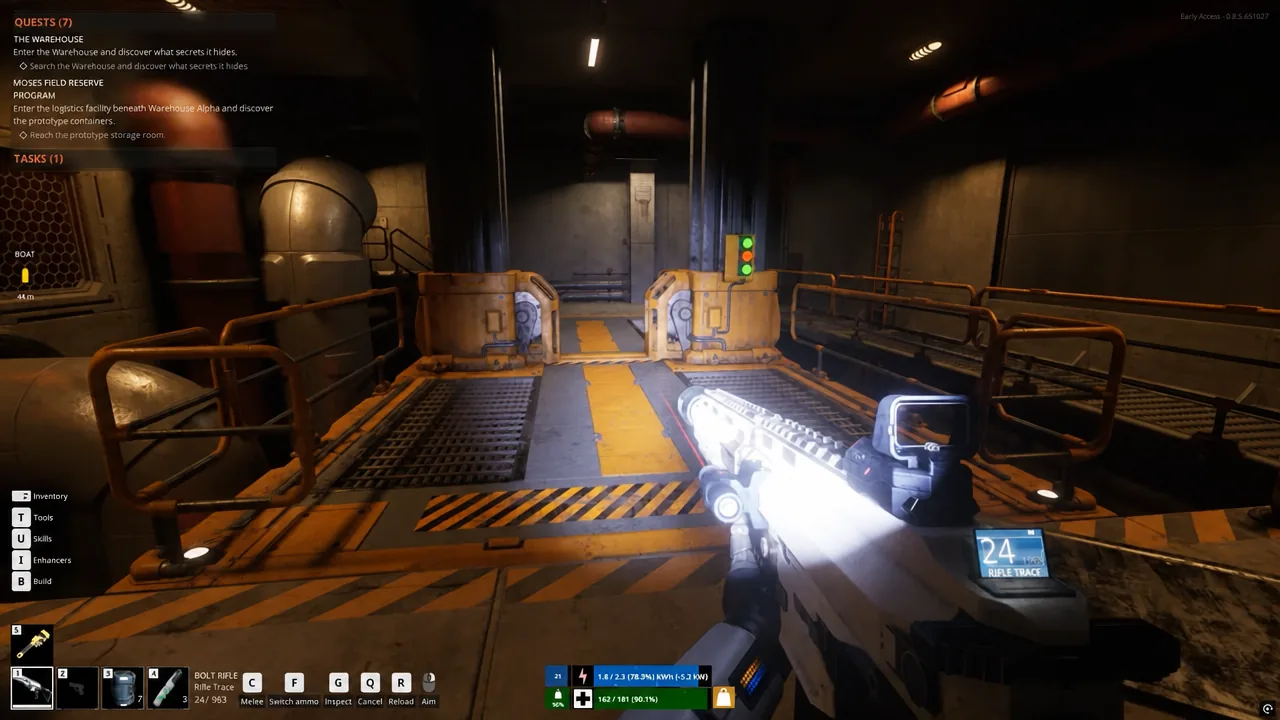
You will know it worked when the second scan completes the quest outright and the new container technologies appear in your Skills menu as purchasable entries. If the quest is still open, one of the two displays has not been scanned — both hang in the same office, so double back and check the second wall.
What the MOSES prototype blueprints unlock
Scanning does not hand you the items. It opens the entries in the skill tree, and you still pay skill points to learn each one. Barrels cost 2 points apiece and the bulk containers cost 3, so unlocking everything takes a decent point reserve.
| Category | Unlocked builds |
|---|---|
| Barrels (2 skill points each) | Petrol, Diesel, Oil, Fresh Water, Oxygen, Methane and CO2 barrels |
| Bulk containers (3 skill points each) | Bulk Diesel Tank, Bulk Petrol Tank, Bulk Battery, Oil Tank |
The capacity jump is the point. A Bulk Diesel Tank holds 6,000L and a Bulk Battery stores 18 kWh, which changes how much fuel and charge you can stage on the boat or at a base between trips. Individual barrels are cheaper to build and useful for splitting resources into smaller, movable stock.
Shortcuts back to the boat
Three exits open up once you are inside, and all of them beat walking the elevator route again. A side door near the elevator unlocks a ladder that runs back toward the dock. An emergency ladder in the storage bay pops you out inside a blue cargo container on the exterior platform. And a room with a water pool holds a wall lever that opens a submerged hatch, letting you swim out through a tube into open water beside the boat.
Open at least one of them before you start hauling loot. The warehouse floors are stacked with resource crates, lockers and dismantlable scrap, and the shortest path out is what makes farming the place worth repeating.