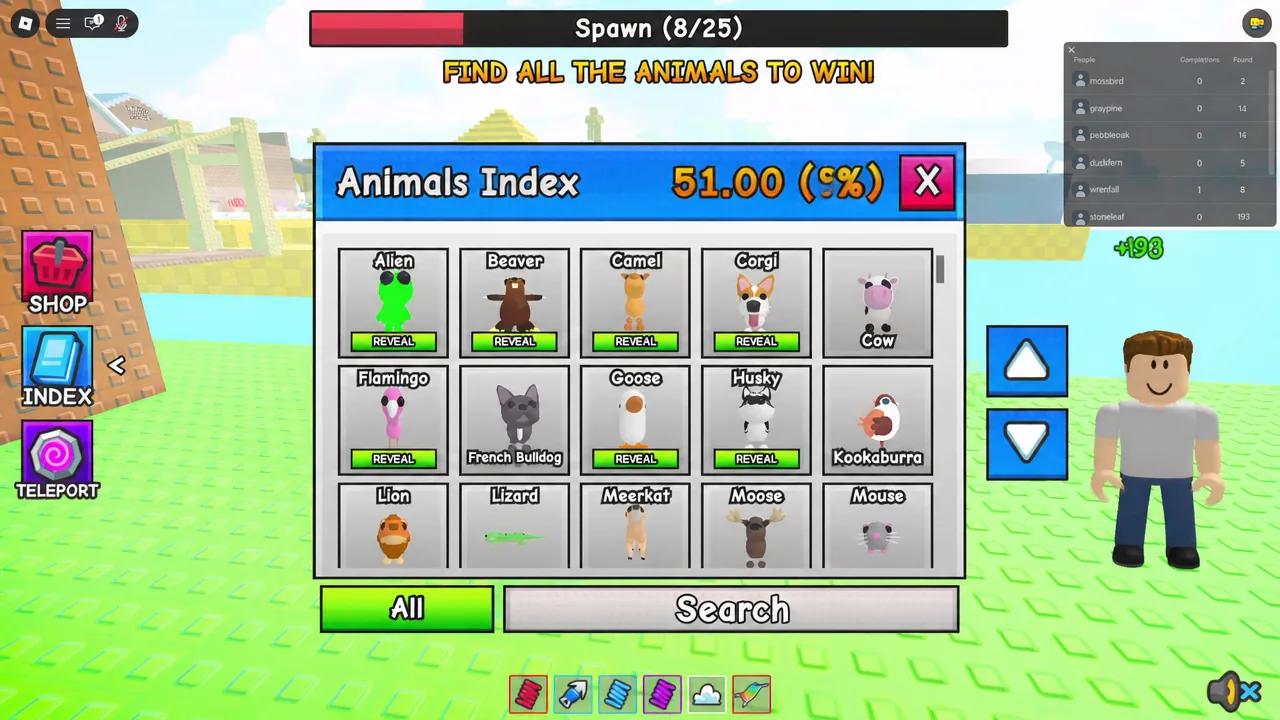
Find The Animals, a Roblox experience by Veztez Echo, hides its collection across 11 connected biomes. The roster has grown past the original 100 and now sits at 102 animals, and each one you touch awards its own badge. Some sit in plain sight on a snowy field or a beach; others are buried behind button puzzles, underwater spirals, and long parkour climbs.
Quick answer: Touch each animal model once to claim its badge. Work one biome at a time — spawn, ocean, barn, campsite, jungle, snow, desert and savannah, city, and Dinosaur Island — and check the “Animals Found” billboard near spawn to see which biome still owes you badges.
How animal badges register and how to track your count
Collection is contact-based. Walk into or swim into the animal model and a full-screen badge notice appears — “YOU FOUND FLAMINGO,” for example — confirming the badge is yours permanently. There is no interaction key and nothing to pick up.
The “Animals Found” billboard in the spawn area shows your running total, which is the fastest way to confirm a badge landed after a messy jump or a teleport. If the number did not move, you clipped past the model instead of touching it.
Spawn area and ocean animal locations
Four animals sit within a short walk of spawn, and the ocean biome adds nine more. The surface catches are trivial; the cave animals are where players stall, because the coloured walls inside those caves teleport you back out on contact.
| Animal | Where to find it |
|---|---|
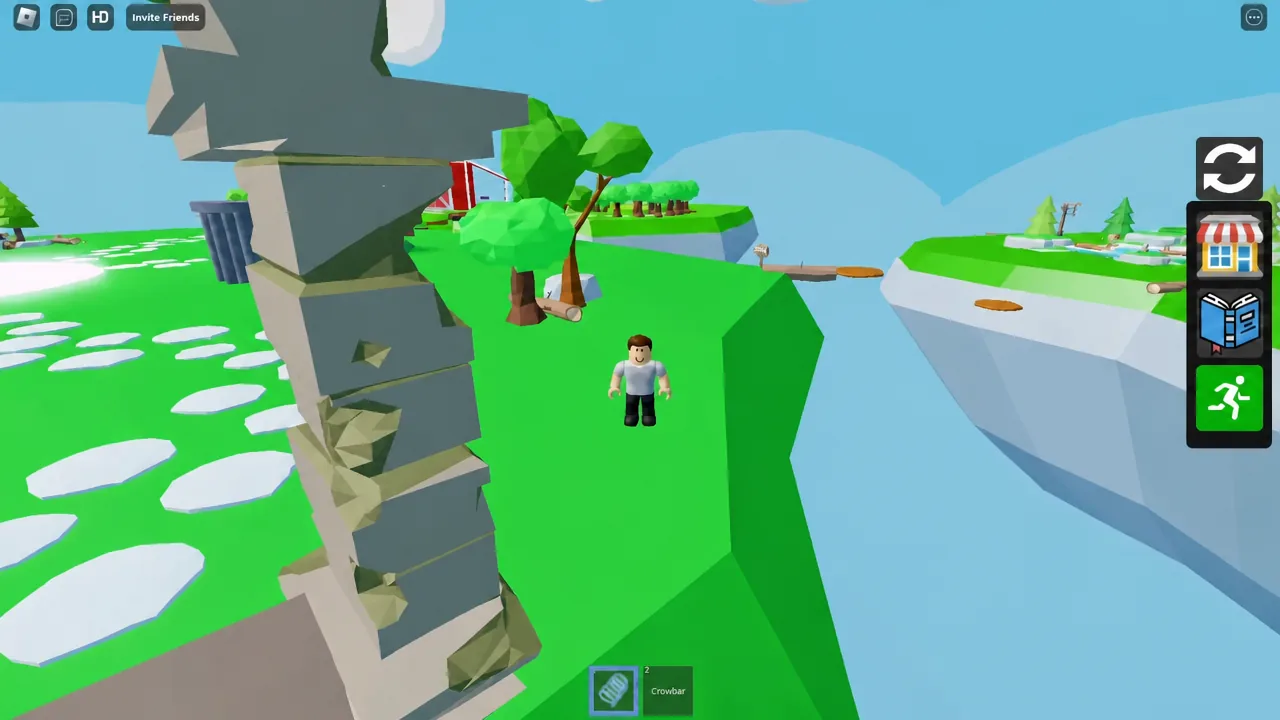
| Flamingo | On top of the cobblestone pillar structure by spawn. Climb the ladder near the barn and hop the pink blocks. |
| Dog | Sitting by the stone pillars at spawn, in the corner facing the desert. |
| Mole | Tucked behind the “Animals Found” billboard — easy to mistake for a flower. |
| Chipmunk | In a bush by the park benches just past the billboard. |
| Orca | Floating on the surface of the ocean. |
| Sea Turtle | Also on the ocean surface, near the shore side. |
| Pelican | Standing on the sand at the ocean’s edge. |
| Jellyfish | Underwater, in the corner closest to the savannah. |
| Seahorse | Underwater in a seaweed patch on the campsite side. |
| Octopus | Inside the purple-walled cave near Dinosaur Island. Swim around the purple walls, never into them. |
| Crab | Through a cavern entrance cut into the underwater side wall. |
| Lobster | In the cave near the jellyfish. Enter from the far side, pass through the back-left wall, then weave over and under the orange blocks. |
Megalodon completes the ocean set. Note that you float upward automatically while swimming, so the orange-block section on the way to the lobster needs deliberate downward movement rather than momentum.
Barn and farm animal locations
The barn holds 12 animals, the densest cluster in the game. Three of them sit behind sealed doors or hidden rooms, so clear the open ones first and save the puzzles for a second pass.
| Animal | Where to find it |
|---|---|
| Horse | Standing in its stall on the barn’s ground floor. |
| Rooster | Second floor of the barn, on the hay by the window near the ladder. |
| Chick | Behind a hay bale on the second floor, opposite the ladder. |
| Barn Owl | On the barn roof. Climb out of the rooster’s window, or take the silo ladder. |
| Hen | In the white silo tower. Climb the ladder, drop to the bottom, then ride the yellow disappearing platforms up. |
| Pig | In its pen. Walk in along the path or jump in — charging the fence launches you. |
| Bull | In the front pen. Approach from behind, from the campsite side, and time the spinning red laser bars. |
| Goose | In the toxic waste dumpster. Cross on the wood and green bubbles, avoid the purple sludge. |
| Sheep | Behind the toxic waste dumpster, along the outer fence path. |
| Cow | Behind a sealed barn door. Climb the invisible ladder and jump in through the opening above. |
| Donkey | Ground floor, behind a locked door. Climb out of the upstairs window onto the ledge and hit the button until it turns green. |
| Turkey | Walk into the hay block in the back corner by the ladder to drop into a room, then pass through the doors in order: light blue, dark blue, orange. |
Campsite and river animal locations
Ten animals live around the campsite, split between the riverbed tunnels and a treetop obby. The axolotl is the longest single detour in the game — a spiral tunnel that keeps turning right for several minutes before it opens out.
| Animal | Where to find it |
|---|---|
| Brown Bear | Inside the tent at the campsite. |
| Frog | On the back side of a large rock by the riverbank. |
| Crocodile | Floating in the muddy water beside the campsite. |
| Snapping Turtle | Dive next to the crocodile and follow the underwater tunnel, swimming around the green blocks. |
| Axolotl | Same dive spot, but take the tunnel hidden behind the seaweed patch. Keep turning right until you reach the centre of the spiral. |
| Beaver | Inside the floating log in the river. Enter through the holes underneath. |
| Catfish | Jump in with the beaver’s log on your right, then swim left into the raised underwater ledge. |
| Koala | Climb the tree ladder and cross the first set of brown sky blocks to the next tree branch. |
| Red Panda | Continue from the koala across the second set of sky blocks. |
| Kingfisher | Top of the campsite tree nearest Dinosaur Island. |
Jungle animal locations and the four tiger buttons
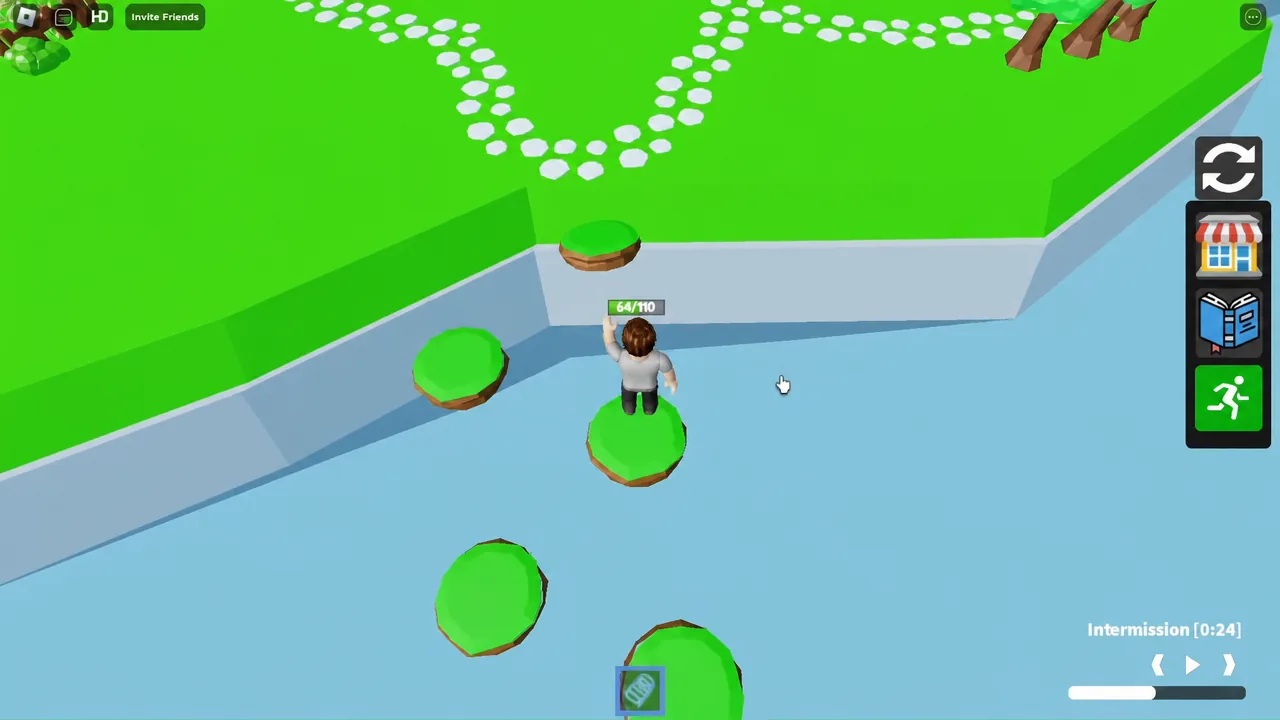
Eight animals hide in the jungle, and two of them — Panther and Tiger — are the biggest single time sinks in the game.
| Animal | Where to find it |
|---|---|
| Sloth | Hanging from a tree in the back left corner of the jungle. |
| Cobra | Jump behind the cave in the back right corner and check the green bush. |
| Panda | Top of the tallest bamboo stalk by the bridge. Climb using the wider green blocks. |
| Chimpanzee | Top of the wall-jump and balance beam obby. You can skip the wall-jumps by climbing the bamboo near the panda and walking the outer walls to the beams. |
| Macaw | Climb the bamboo on the back left wall, hop the platforms onto the temple roof, and take the corner facing the jungle entrance. |
| Bat | In the cave maze. Reach the end, climb the wall ledge, walk the maze tops back to the start, then push the purple cube through the maze and under the alcove to reach the ceiling. |
| Panther | Enter the log right of the jungle entrance and wait for the elevator to spawn. |
| Tiger | Inside the temple’s lower level, after all four buttons are lit. |
For the panther, the elevator has arrived when the grey-square pattern appears on the ground. As it rises, stand under the gaps in the yellow layers — touching yellow drops you back to the bottom. Turning sprint on with the run button makes the repositioning far easier.
Snow biome animal locations
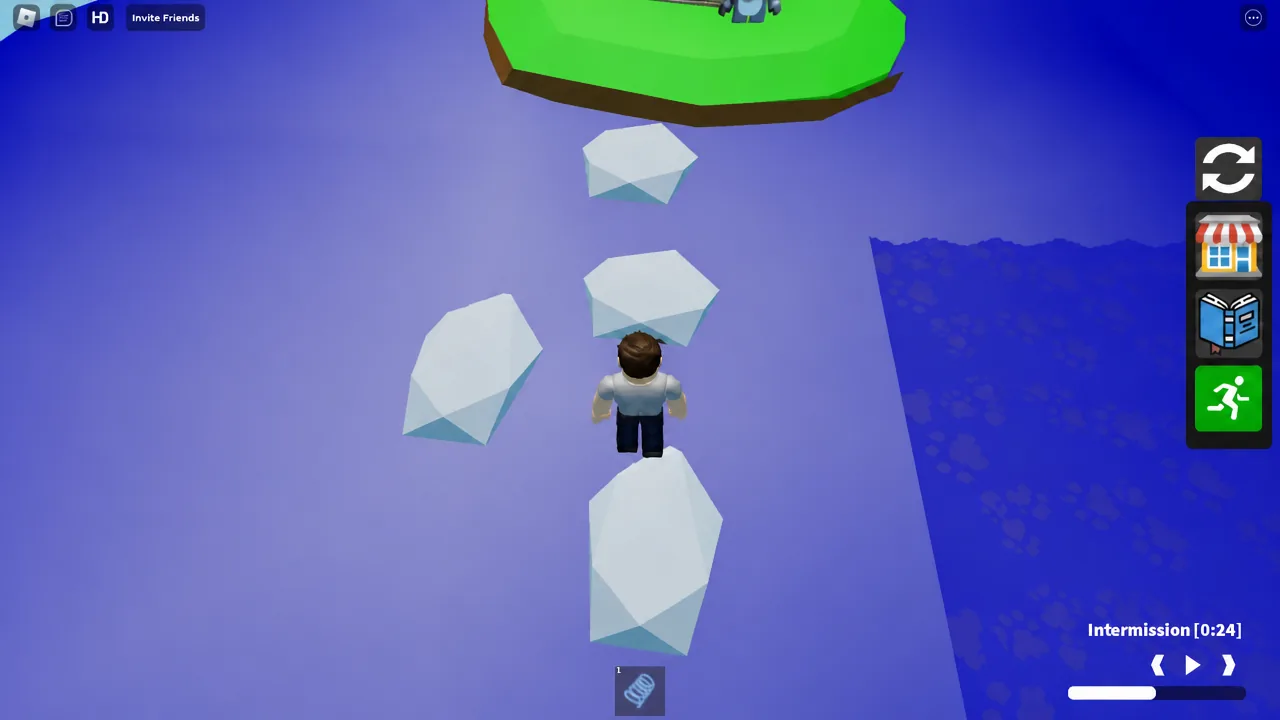
The snow biome has eight animals, and most of the route runs vertically up one mountain face. Grab the moose and reindeer at ground level, then commit to the climb and collect the rest on the way up.
| Animal | Where to find it |
|---|---|
| Moose | Standing in the open on the snowy ground. |
| Reindeer | On top of the tiered structure in the middle of the biome. |
| Stoat | Inside the ground-level log. Enter through the hole on the right and follow it to the end. |
| Lynx | Partway up the mountain path, on a snowy ledge. |
| Arctic Fox | Climb the ladder in the back corner, drop into the square hole, and clear the checkerboard obby. |
| Hare | From the platform above the arctic fox hole, jump to the platform behind it, then drop to the thin ledges on the back of the wall. |
| Snowy Owl | Back at the hare platform, climb the ladder on the rear of the tree to the top. |
| Snow Leopard | The highest peak. Follow the parkour path all the way up. |
Desert, pyramid, and savannah animal locations
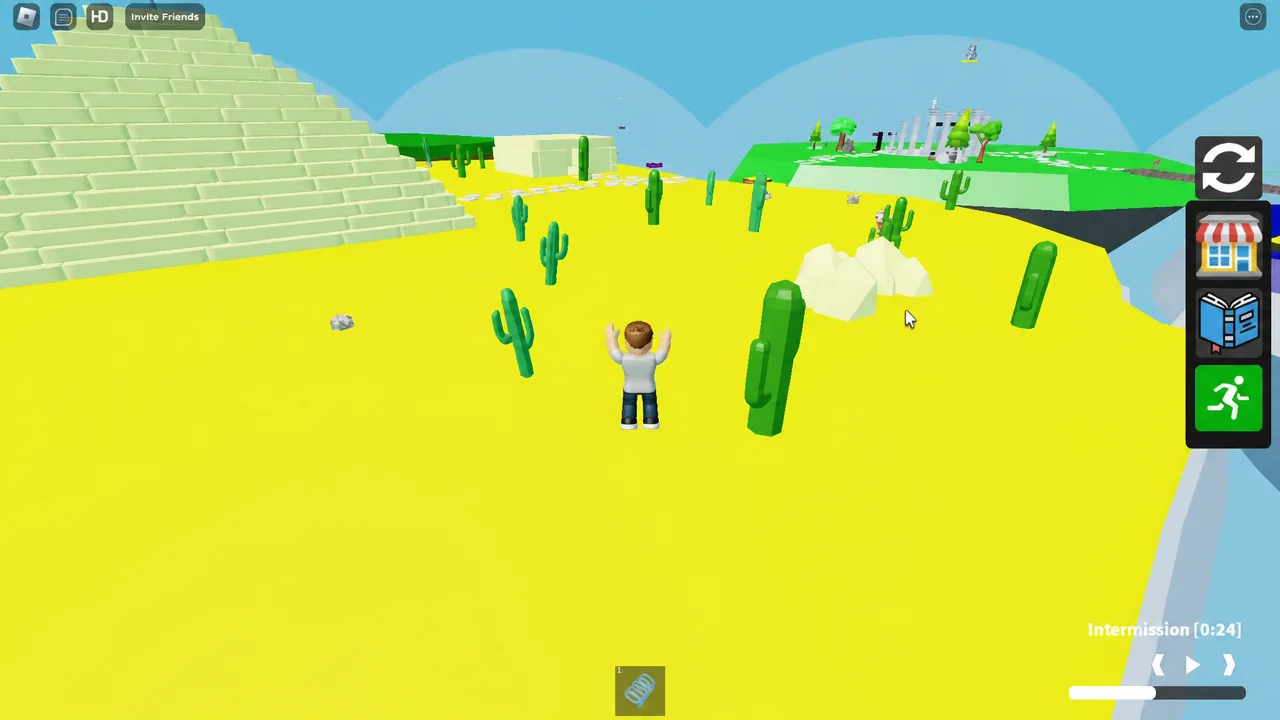
The sand region combines an outdoor pyramid climb with two interior mazes. Several animals here sit only a few steps apart, so sweep the surface first, then handle the pyramid interior in one trip.
| Animal | Where to find it |
|---|---|
| Camel | Walking across the open sand near the pyramid. |
| Jackrabbit | Behind the cactus at the base of the pyramid steps. |
| Horned Lizard | Beside another cactus on the desert edge. |
| Ostrich | Next to a nest with an egg, near the desert structure ramps. |
| Vulture | Top of the tall brown rock pillars. |
| Golden Eagle | Climb the ladder on the central desert tower and cross the narrow wooden platforms to the nest. |
| Woodpecker | Parkour the bare trees along the desert coastline. |
| Jerboa | Drop into the opening between the rock pillars. |
| Meerkat | Inside the pyramid’s interior passage. |
| Armadillo | In the chamber under the pyramid steps, up the wooden platforms. |
| Rattlesnake | Through the side opening at the pyramid base, up the red-striped stepped platforms. |
| Fennec Fox | Inside the pink-and-orange wall maze in the desert building. |
| Porcupine | In the sandy corridor maze behind a hidden opening in the rock wall. |
| Serval | Deeper inside the same maze. |
| Lion | Jump the sandy cliffs and follow the cyan floor trail above the desert. |
| Lioness | Through the dark entrance and down the long corridor. |
| Rhino | In a caged enclosure at the ruins, opened with the pressure plates. |
| Giraffe | Standing on the hill area — you can walk straight onto it. |
| Baboon | Climb the giraffe and jump to the tree branches above it. |
| Elephant | In the shallow pond by the road. |
City and skyscraper animal locations
The urban half of the map splits into three layers: house interiors, rooftops, and the sewer below the street. House pets are quick; the skyscraper climb and the sewer jumps take the longest.
| Animal | Where to find it |
|---|---|
| Squirrel | Up the leafy tree near the skyscraper. |
| Ferret | In the grass and bushes behind the houses. |
| Tortoise | In the underground corridor hidden behind the rocks. |
| Clownfish | Inside the glass aquarium on an upper floor of the blue building. |
| Cat | Up the blue building’s stairs, on the bedroom floor behind a wall. |
| Pigeon | On a ledge up the skyscraper’s outer ladder truss. |
| Mallard | On the top roof — drop down the chimney chute. |
| Parrot | Step onto the top-floor window sill and drop down the building’s exterior. |
| Iguana | Jump from the high-rise window onto the tree canopy. |
| Koala | Across the suspended platforms between the skyscraper pillars, on a wooden beam. |
| Rabbit | In the caged enclosure on the city lawn, opened with the red button high on the tower wall. |
| Chameleon | On the green block by the rooftop’s blue metal ladder, near the park bench street. |
| Skunk | On the perimeter beam of the yellow and purple building roofs. |
| Crow | At the far edge of the coloured rooftops. |
| Alligator | Down in the green sewer canal, after the platform jumps. |
| Raccoon | Deeper through the sewer pipes and floating blocks. |
| Hamster | In the orange house’s upstairs bedroom, behind the bedside table. |
| Goldfish | In the light blue house’s upstairs bathtub. |
| Peacock | In the purple house, through the wall picture into the secret room. |
| Possum | In the yellow dining building, on the corner table. |
| Mouse | On the restaurant bathroom counter. |
| Hedgehog | Behind the living room couch in the green house. |
Dinosaur Island animal locations
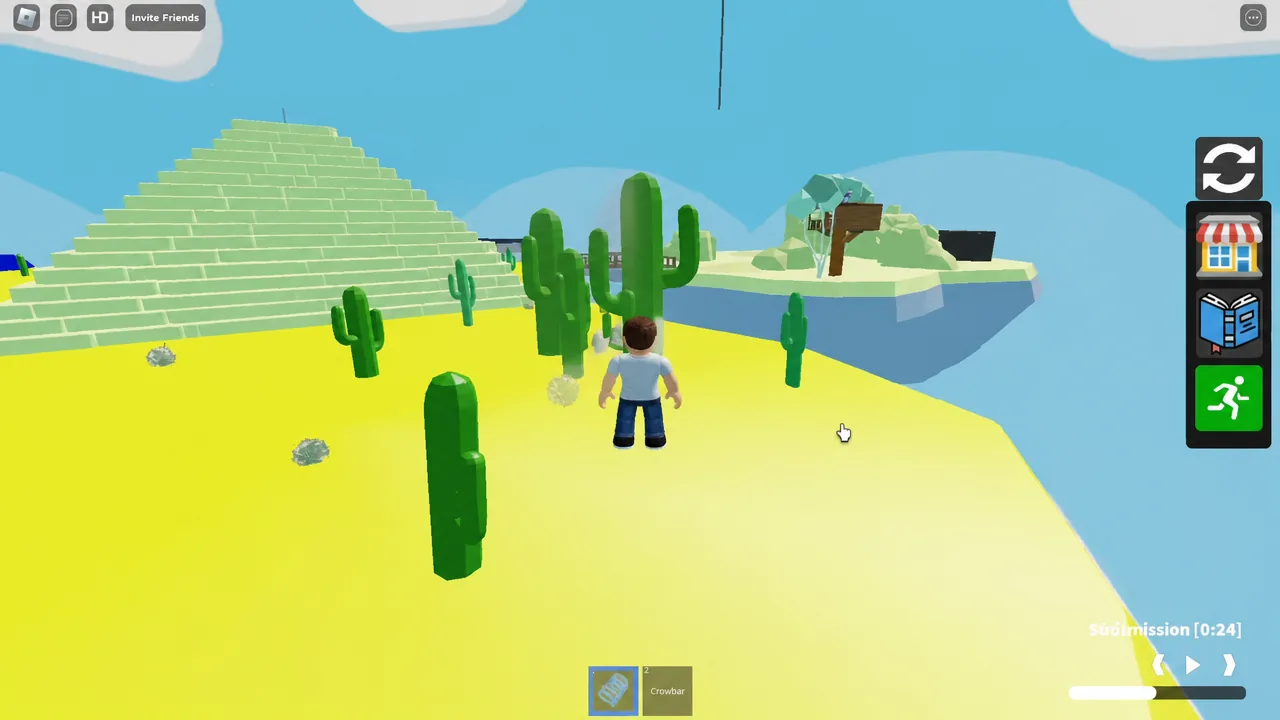
Swim out from the ocean to reach the island. Brachio is the simplest badge on the map — walk up the Brachiosaurus tail and touch the model. Para sits behind a short climb instead: take the ladder on the structure at the back of the island, then clear the checkerboard obby to reach the Parasaurolophus.
Why an animal does not unlock
Almost every failed attempt traces back to one of a handful of hazards, and none of them are bugs.
- Coloured hazard blocks teleport you away on contact — the green blocks along the snapping turtle tunnel and the purple walls inside the octopus cave both reset your position instantly.
- Touching the yellow sections of the panther elevator sends you back to the bottom of the shaft, so line up under a gap before the platform rises.
- Walking head-on into the pig and bull pens launches you across the map. Enter the pig pen from the path or by jumping, and approach the bull from the campsite side.
- The temple stays sealed until all four jungle buttons glow yellow. Miss one and the hatch will not open, no matter how many times you re-press the others.
- The turkey door sequence only accepts light blue, then dark blue, then orange. Any other order dead-ends the room.
Badges are stored on your account, so a disconnect mid-obby never costs you an animal you already touched. The efficient run is to sweep each biome’s open-air animals first, then return once for the gated ones — the tiger, the bat, the axolotl, and the pyramid mazes — since those are the only entries that reliably eat more than a couple of minutes each.