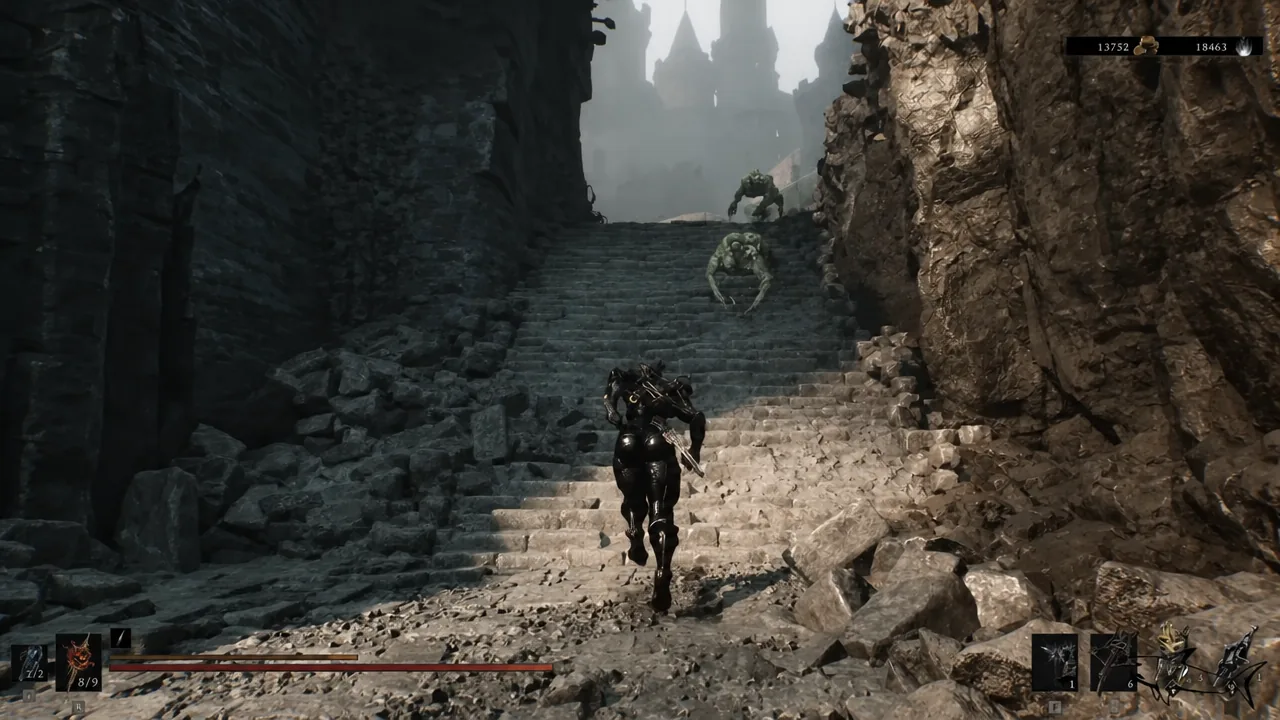
The Collapsed Mine is one of the smaller optional dungeons in Mortal Shell 2, tucked into the Ruins of Mammon, and it lives up to its name — the way you walk in is not the way you walk out. It is short, it holds a tarstone worth carrying on a stagger-focused build, and it can be finished in a few minutes once you know where the cave mouth actually is.
Quick answer: Fast travel to the Lonesome Spire beacon, drop down the cliffs to the cave entrance, ride the elevator to the bottom, then fight through the caverns to the stone chest and claim the Shattering Stone tarstone.
Collapsed Mine location in the Ruins of Mammon
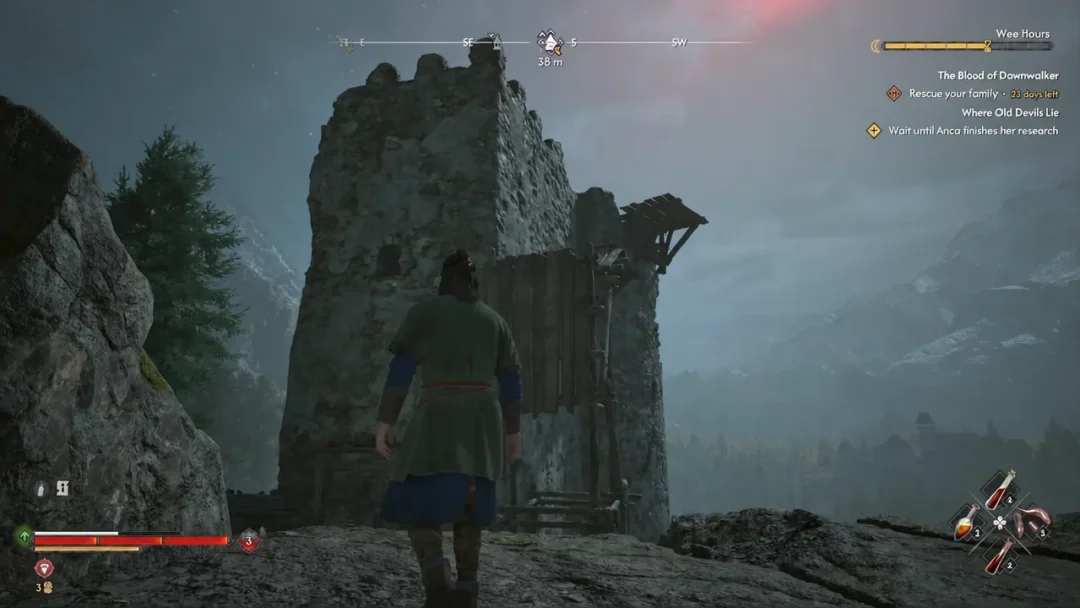
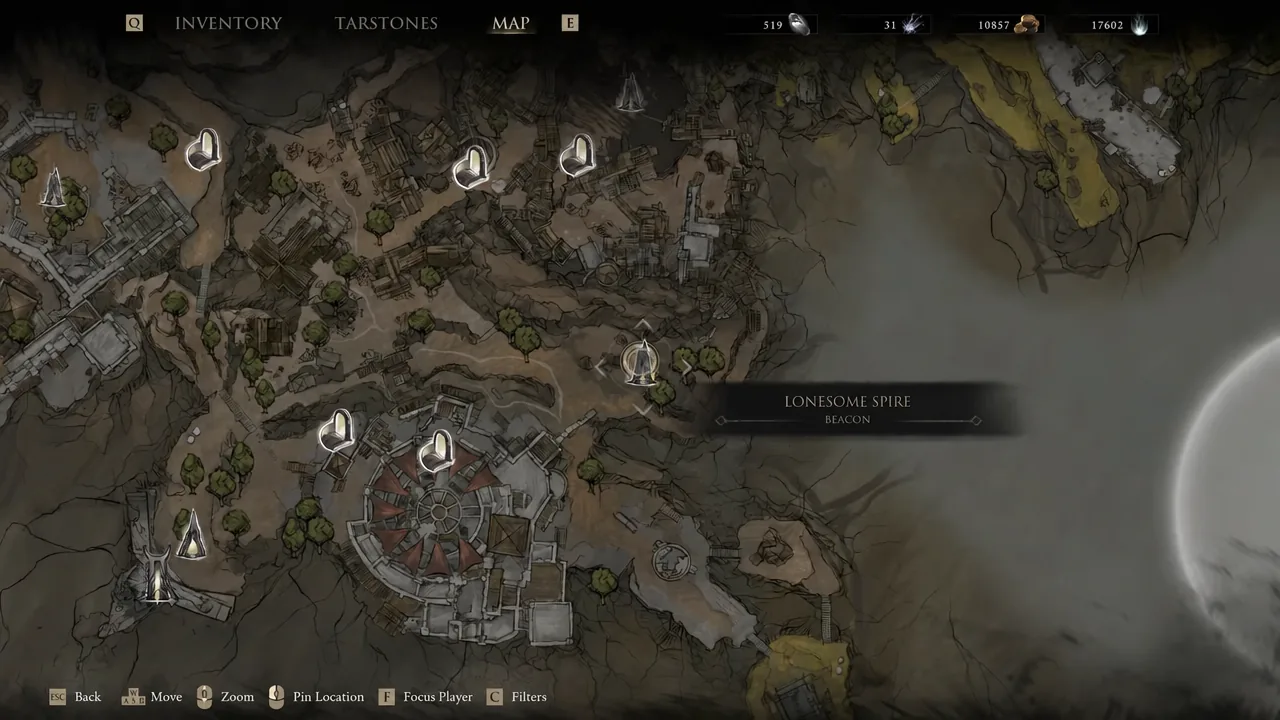
The dungeon sits in a cave near the central pit of the slums, south of the Abandoned Outpost beacon. In practice, the fastest approach is from the Lonesome Spire beacon, since the cliff path there drops you almost on top of the entrance. Like every dungeon in the game, it is not missable — you can come back for it at any point, including after the final boss.
Note: the dungeon icon only appears on your map after you pass through the fog gate for the first time, so it will not show up before you have physically found the cave.
Beacon route to the Collapsed Mine entrance
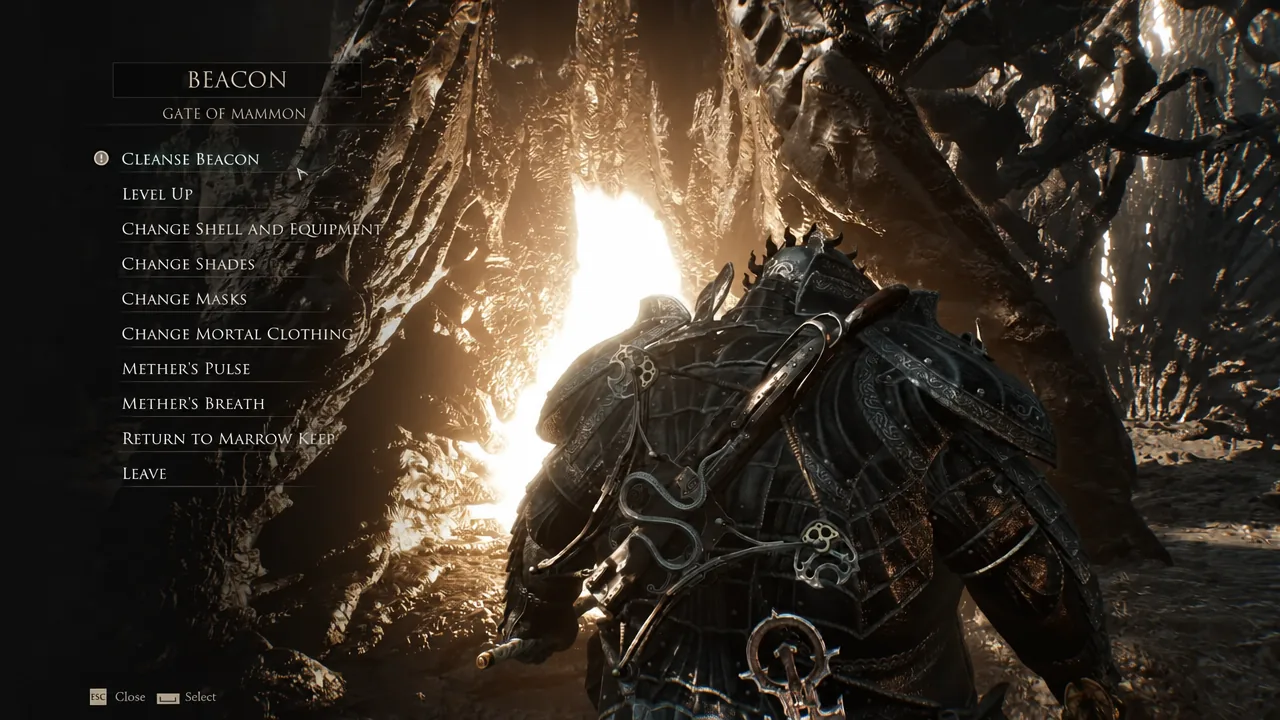
If you have not unlocked the beacons in this part of Mammon yet, this is the chain that gets you there on foot. Once each beacon is cleansed, you can skip the whole walk with Mether’s Breath.
| Order | Location | What to do there |
|---|---|---|
| 1 | Outskirts of Mammon | Cross the wooden bridge from the beacon and take the portal |
| 2 | Deserted Slums | Arrive by portal, push on to the Abandoned Outpost beacon |
| 3 | High Lord’s Terrace | Run past the enemies and activate the beacon |
| 4 | High Lord’s Keep | Climb the stairs and cut through the keep |
| 5 | High Lord’s Courtyard | Activate the courtyard beacon |
| 6 | Gate of Mammon | Drop down the cliffs, cross the swamp, cleanse the beacon |
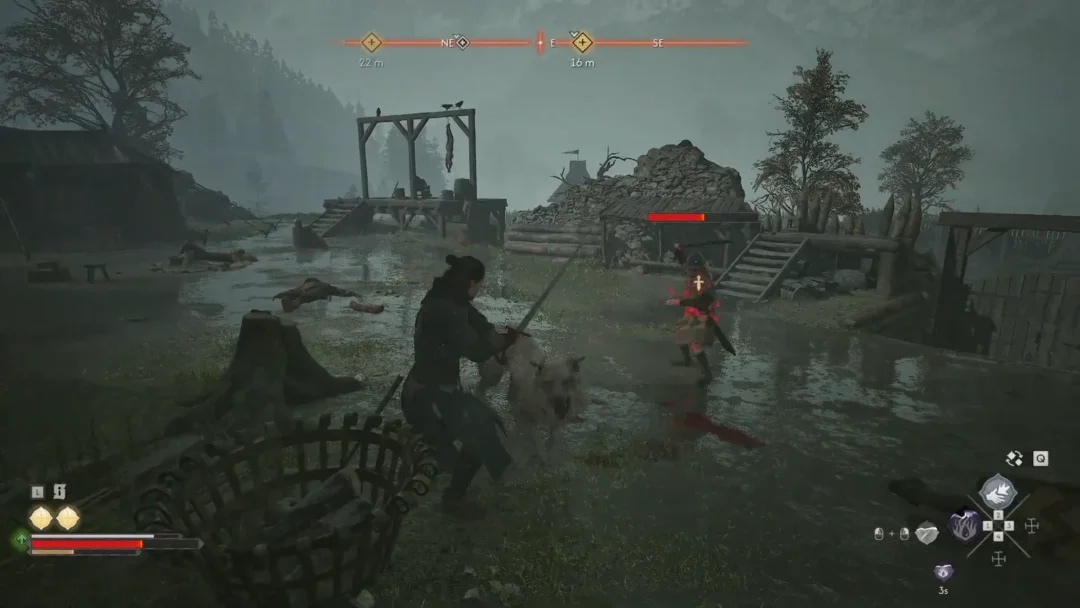
| 7 | Lonesome Spire | Fight through the ruined village and activate the beacon |
Inside the mine: enemies, the chest, and the Shattering Stone
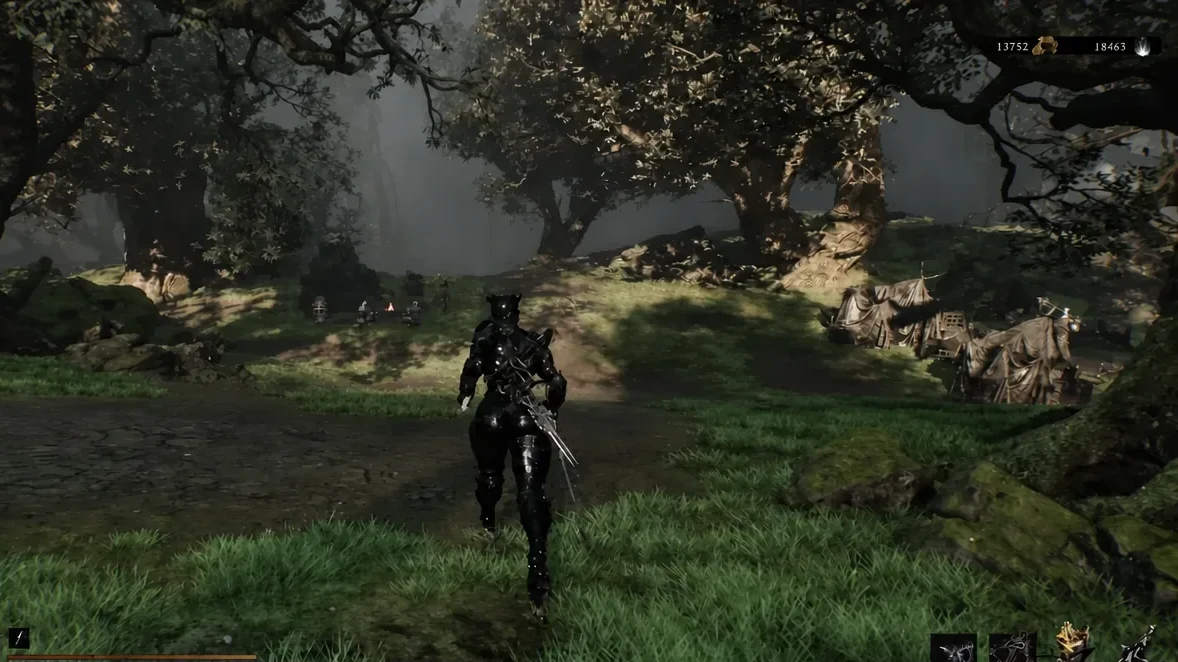
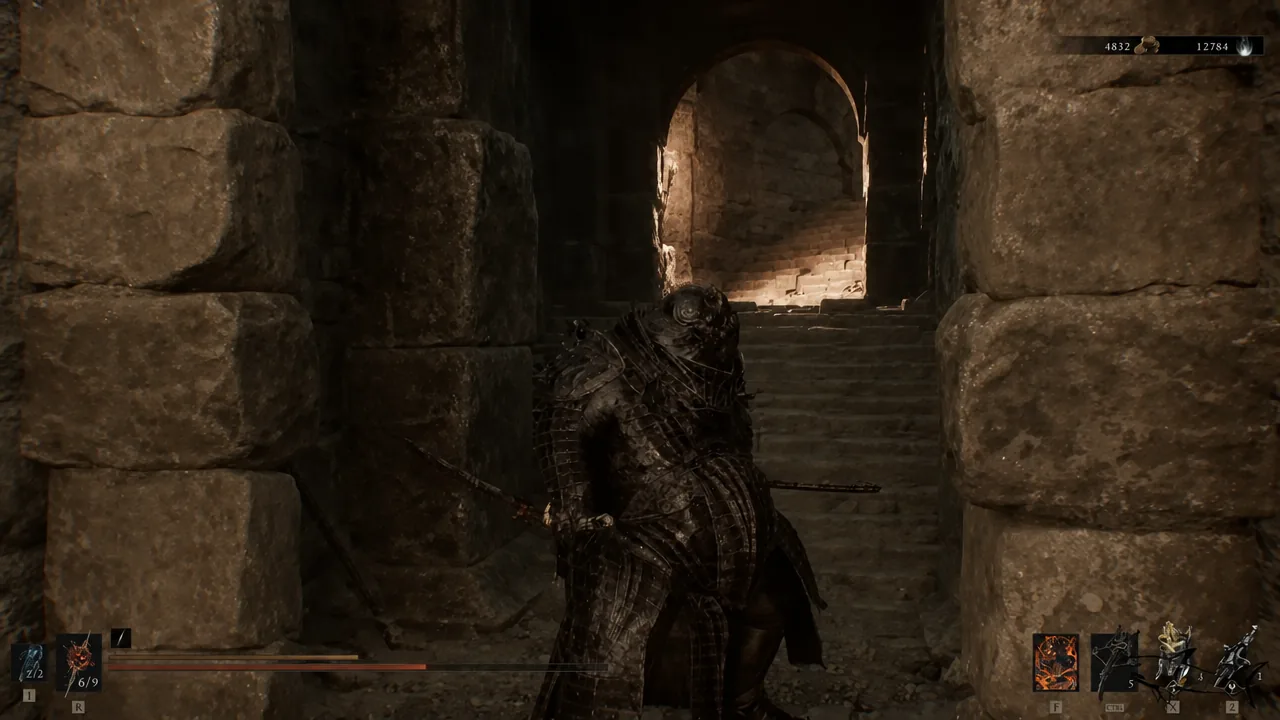
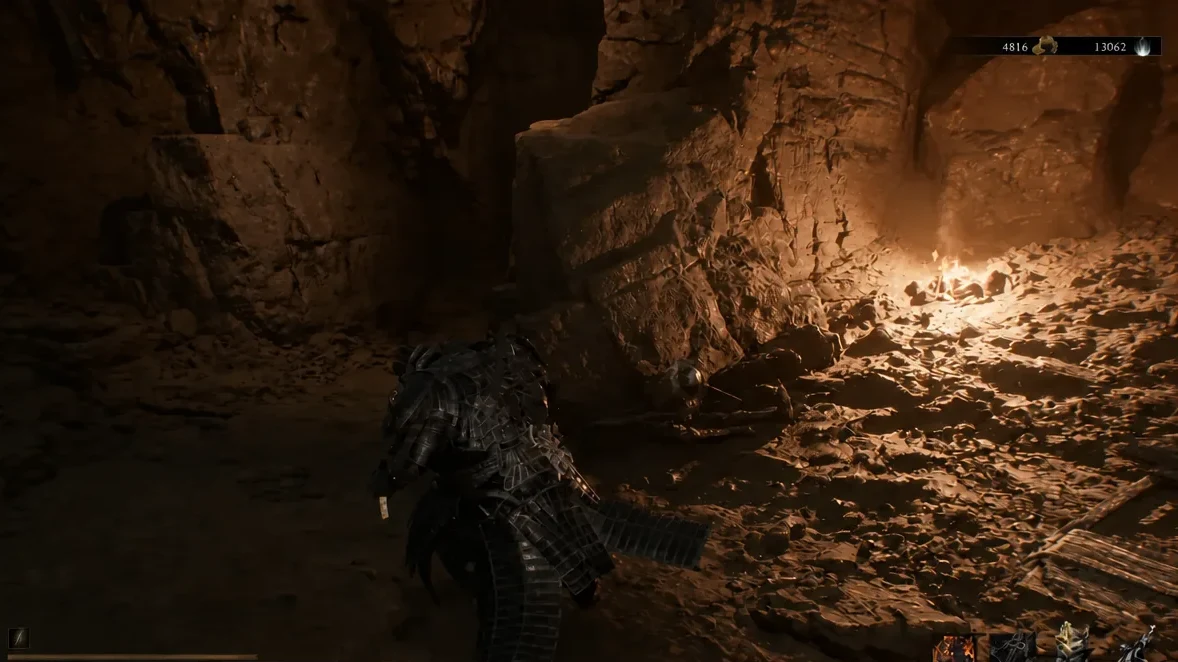
Once you step into the cave, the map switches to “Map unavailable for this area,” so navigation is done by eye. The layout is short and mostly linear until the chest.
Shattering Stone effect and rewards
The Shattering Stone is a stagger-damage tarstone. At Level 1 it adds +20% Stagger Damage to your next melee attack, which pairs well with heavy weapons and riposte-heavy play. You can check the numbers straight away in the Tarstones menu without leaving the mine.
| Item | Where it is |
|---|---|
| Shattering Stone (tarstone) | Stone sarcophagus chest in the torchlit room |
| Ventrium x1 | To the right of the chest room |
| Laterite | Below the jump pad on the escape route |
| Dewslits | Wooden platform outside, near the cave entrance |
| Coins | Scattered around the chest area |
Getting out past the collapsed exit
After the chest, falling rubble seals the corridor you came through. The way out is a squeeze through a narrow crevice and a short climb, and there is one collectible most players walk straight past.
Confirming the Collapsed Mine as complete
The game does not tick dungeons off for you. Open the map, move the cursor over the Collapsed Mine icon, and use Mark Complete to change the icon — that is the only completion tracking available, and you can flip it back with Mark Incomplete if you want to revisit it.
If the Shattering Stone is not in your Tarstones menu, you missed the chest room rather than a hidden trigger. There is no boss and no gate item here, so the only way to leave empty-handed is to take the crevice route out before opening the sarcophagus.
With the tarstone equipped and the map marked, the Collapsed Mine is done. From the Lonesome Spire beacon you are already positioned to keep pushing deeper into the Ruins of Mammon, and the extra stagger damage makes the region’s heavier enemies noticeably quicker to break.