Duelist is the hardest preset in The Blood of Dawnwalker, and it does not work by inflating health bars. Enemies actually have less health than on Fair, but they hit far harder, press constantly, and the directional attack indicators are gone entirely. That last part is the real difficulty, and it is also the reason a build that removes enemies from the fight in one hit is so effective here.
Quick answer: Slot Artery Strike from Swordmastery alongside the Shred passive from Vampirism. Land a quick attack to apply Bleeding, then fire Artery Strike — its 50% decapitation chance doubles on a bleeding target, which makes the beheading a guaranteed kill regardless of the enemy’s remaining health.
Why Artery Strike and Shred guarantee a decapitation
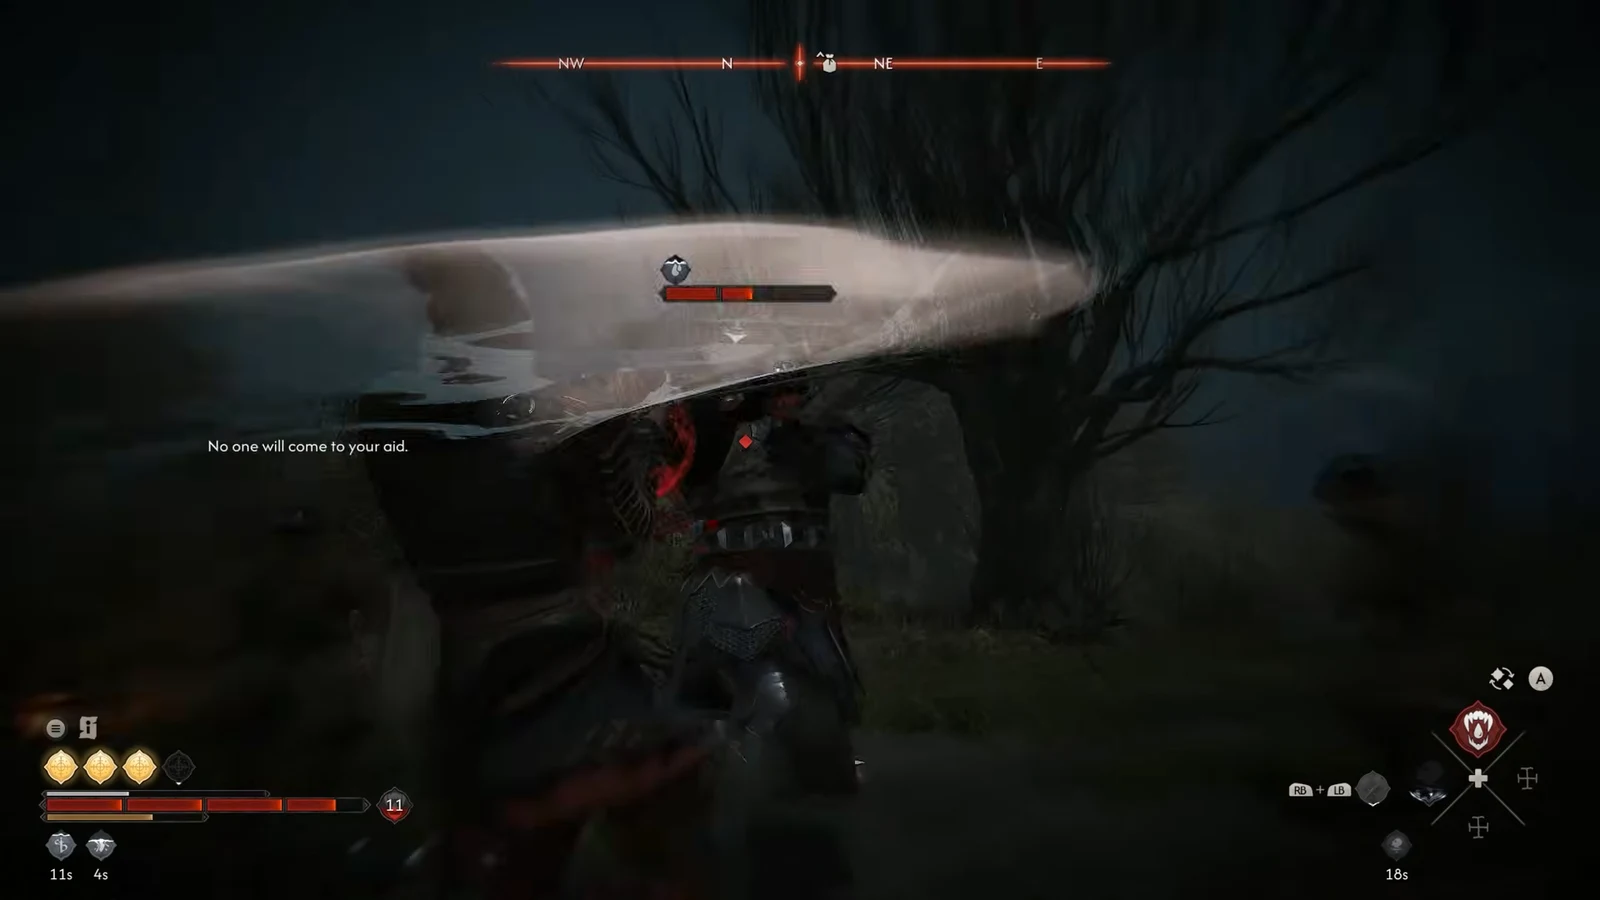
Artery Strike is a Swordmastery active ability. It deals heavy damage on its own and carries a Decapitation: 50% chance line. The second line on the same ability is the one that matters: Decapitation chance x2 on Bleeding enemies. Doubling 50% gives you 100%, so any target with an active Bleed effect loses its head the moment Artery Strike connects.
Shred supplies the Bleed. It is a Vampirism passive that adds a Bleed chance to your weapon and claw attacks, starting at 20% and climbing with each level, along with more damage from the bleed itself. Level it up and a single quick attack is usually enough to prime the execution.
Note: Vampirism perks are night-only, so this exact loop is a nighttime build. Artery Strike still works during the day, but without Shred you are back to a coin flip on the decapitation roll.
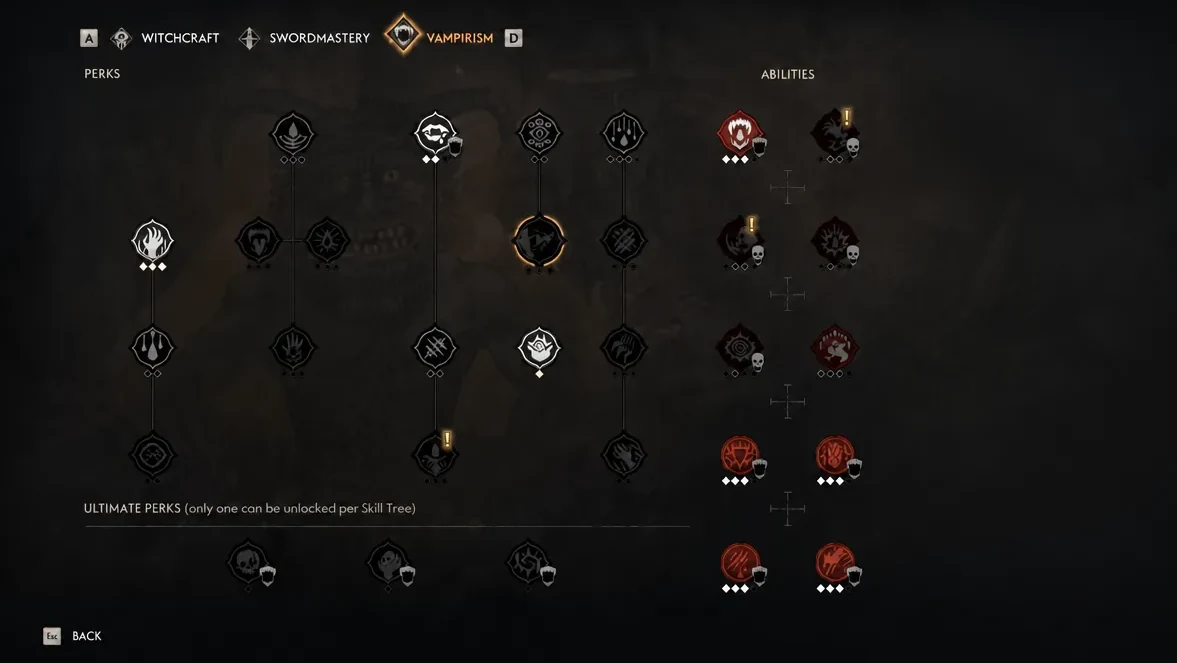
Skills to unlock, and what each one does for the loop
Artery Strike costs two Activation Charges every time you use it, so the whole point of the supporting perks is charge regeneration. Everything below is picked to refill charges through blocking rather than waiting on cooldowns.
| Skill | Tree | Role in the build |
|---|---|---|
| Artery Strike | Swordmastery | The finisher. High damage plus the doubled decapitation roll on bleeding targets. |
| Shred | Vampirism | Adds Bleed chance to weapon and claw hits at night. |
| Walking Fortress | Swordmastery | Improves Activation Charge restoration and cooldowns from perfect blocks. |
| Adrenaline Rush | Swordmastery | Passive Activation Charge regeneration. |
| Perfect Block | Swordmastery | Restores stamina and charges after a well-timed parry. |
| Renewed Focus | Swordmastery | Further charge recovery to keep Artery Strike available. |
| Restless Blade | Swordmastery | Sustains offence between executions. |
| Omniblock | Swordmastery | Blocks without matching the attack direction, at a stamina cost. |
| Scarlet Shield | Vampirism | Perfect blocks restore health segments. |
| Crimson Rush | Vampirism | Closes distance so the bleed-then-execute window stays short. |
| Sword Sage (ultimate) | Swordmastery | Resets all active ability cooldowns on a kill. |
Sword Sage is the piece that turns the build into a chain. Because every decapitation counts as a kill, the ultimate wipes your cooldowns immediately and you roll straight into the next target. Reaching it requires 35 skill points spent in Swordmastery, which is a lot in a run capped at 30 days and 30 nights, so treat it as the long-term goal rather than an early pickup.
Swordmastery perks are gated behind Manuals. Vampirism perks are gated behind Corruption level, which rises when you drain blood with Voracious Bite, complete certain quests, or drink Phials of Blood. Points are only spent at shrines, and most upgrades consume time segments, so plan the order before you sit down at one.
Gear that keeps Artery Strike online
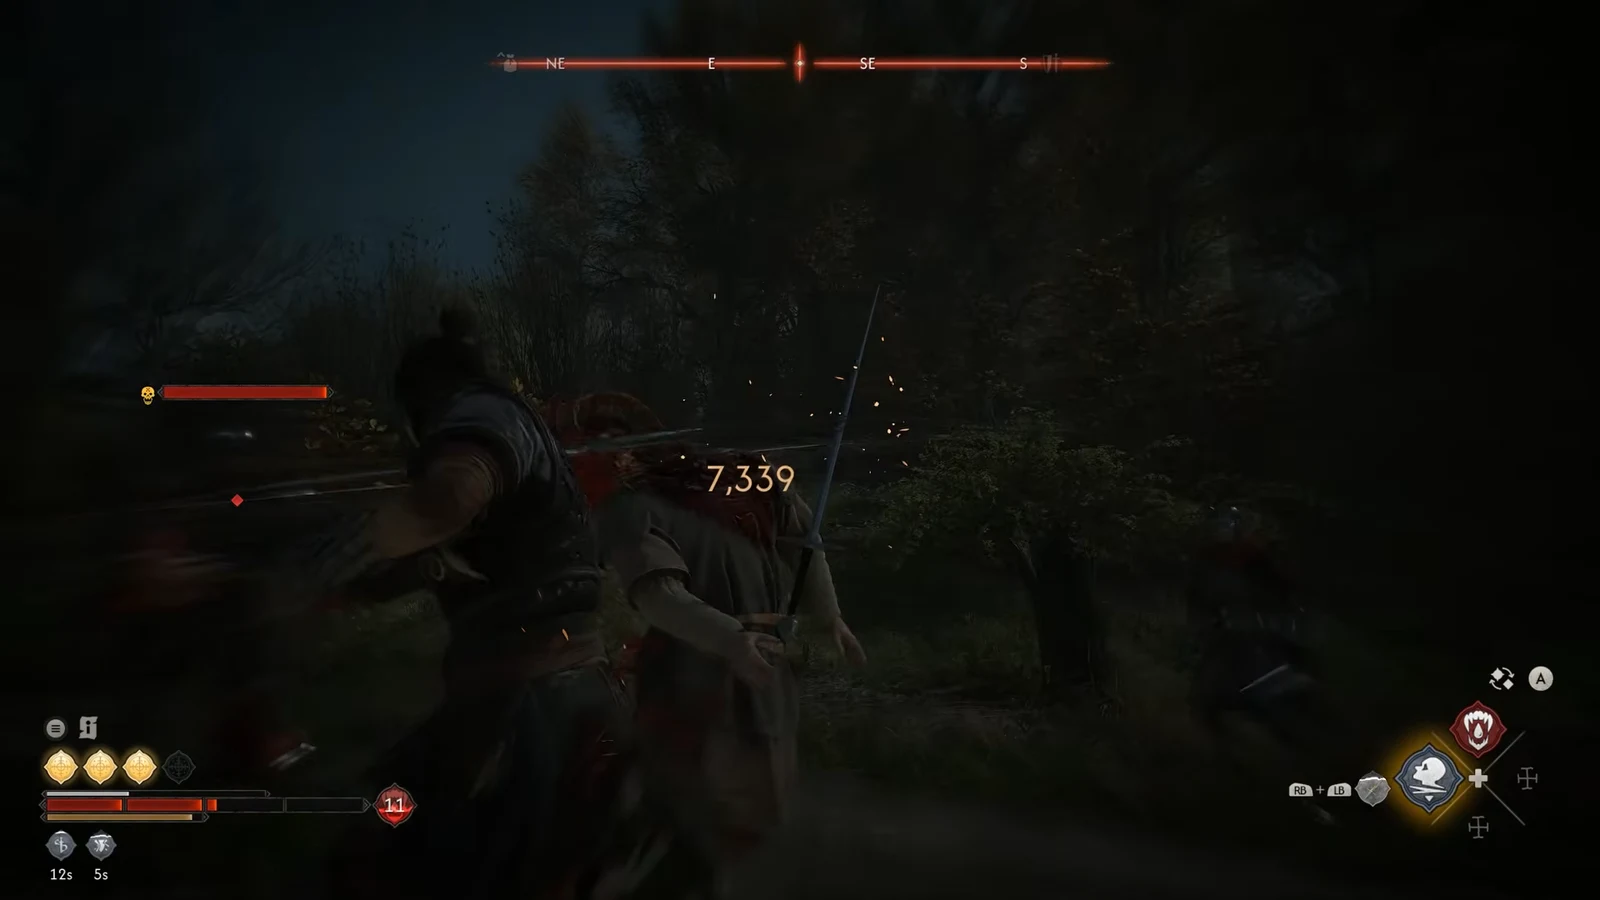
The weapon choice is not about raw numbers. The Kingslayer legendary greatsword widens the perfect block window by 55%, which is the single most valuable stat on a preset where you are reading animations instead of on-screen prompts. A wider window means more successful parries, and every parry feeds charges back into Artery Strike. In practice the sword sits around 451 DPS, with Artery Strike hits registering close to 7,974 damage before the decapitation resolves.
| Slot | Item | Why it is here |
|---|---|---|
| Weapon | The Kingslayer | +55% perfect block window |
| Chest | Enhanced Armor of the Arbiter | Activation Charge restoration |
| Legs | Guards of the Arbiter | Activation Charge restoration |
| Boots | Enhanced Boots of the Arbiter | Completes the Arbiter set |
| Arms | Mercenary Light Bracers | Lighter arm slot to offset armour weight |
| Amulet | Mindbrace Amulet | Supports the focus and charge economy |
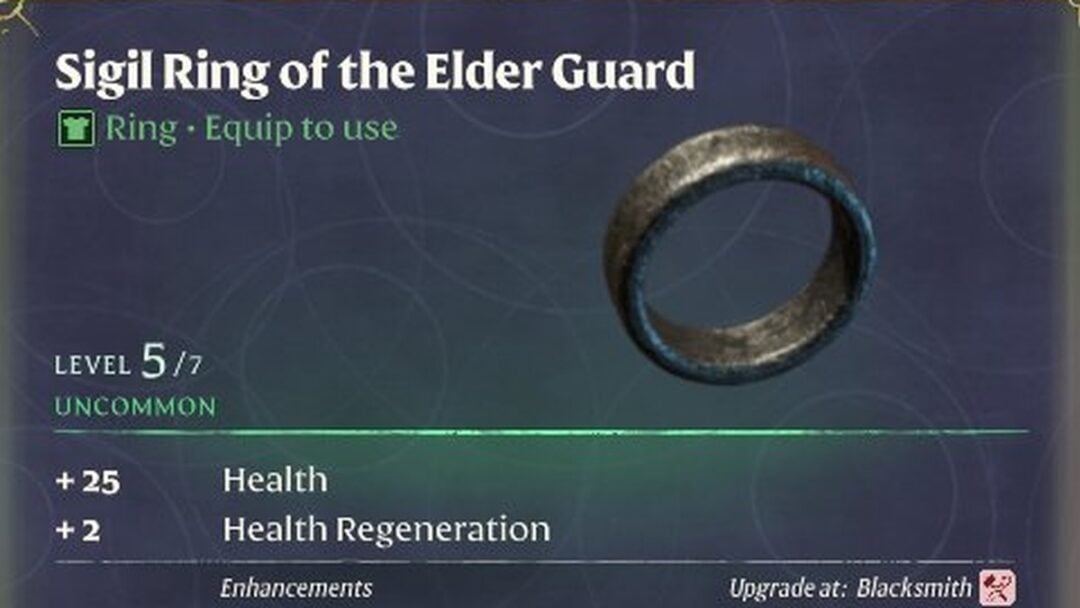
| Ring | Ring of Focus | Supports the focus and charge economy |
| Ring | Knightly Ring | Rounds out the jewellery slots |
Because the Vampirism half only functions after dark, it is worth saving this loadout as your Night Set so you can swap into it in one action when the sun goes down.
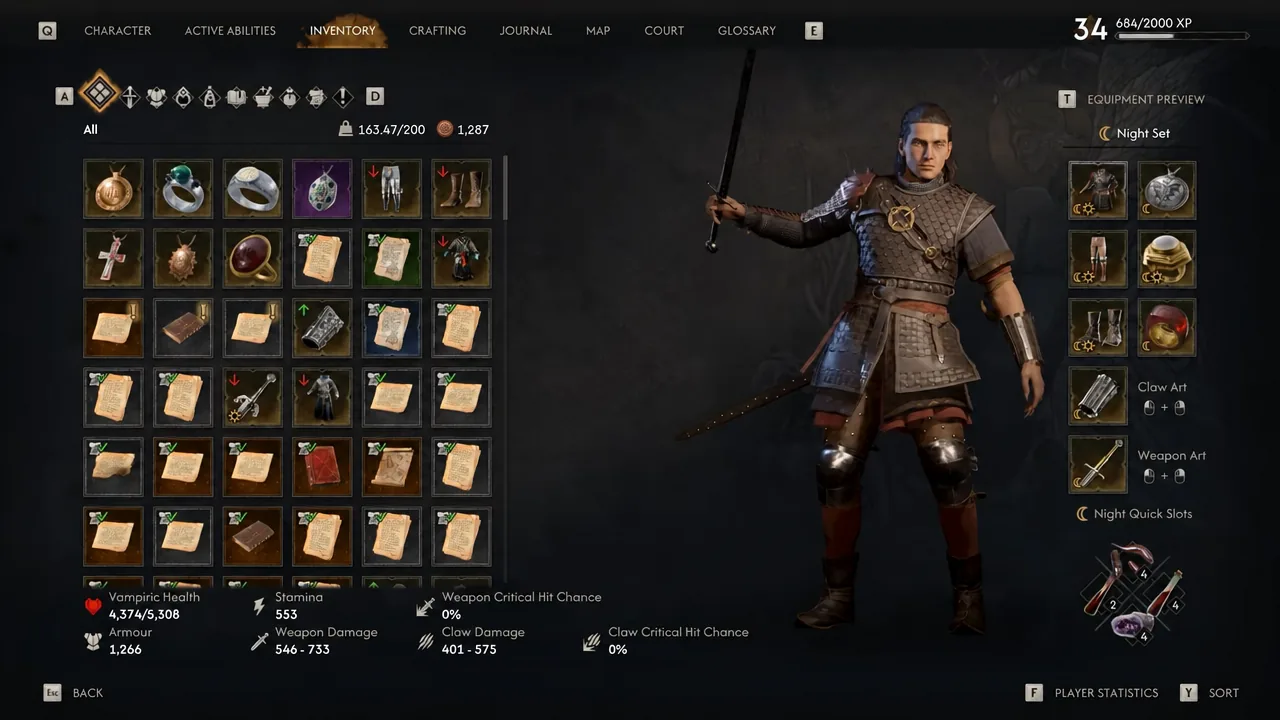
Where to find the Manuals and the legendary gear
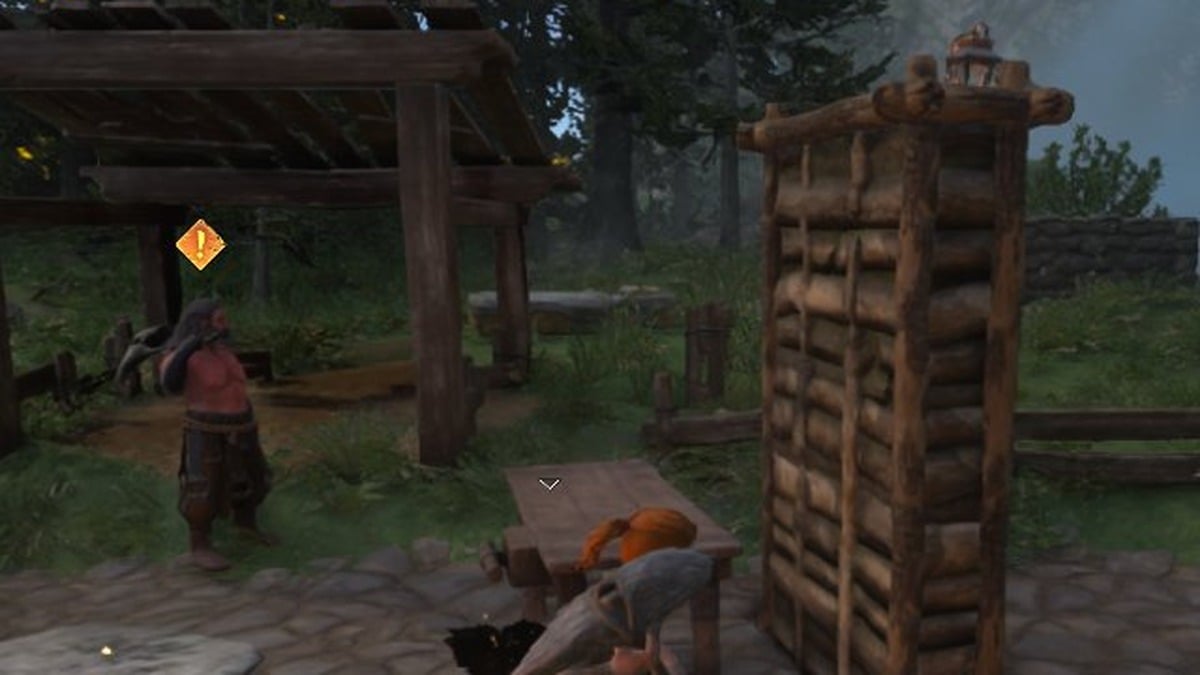
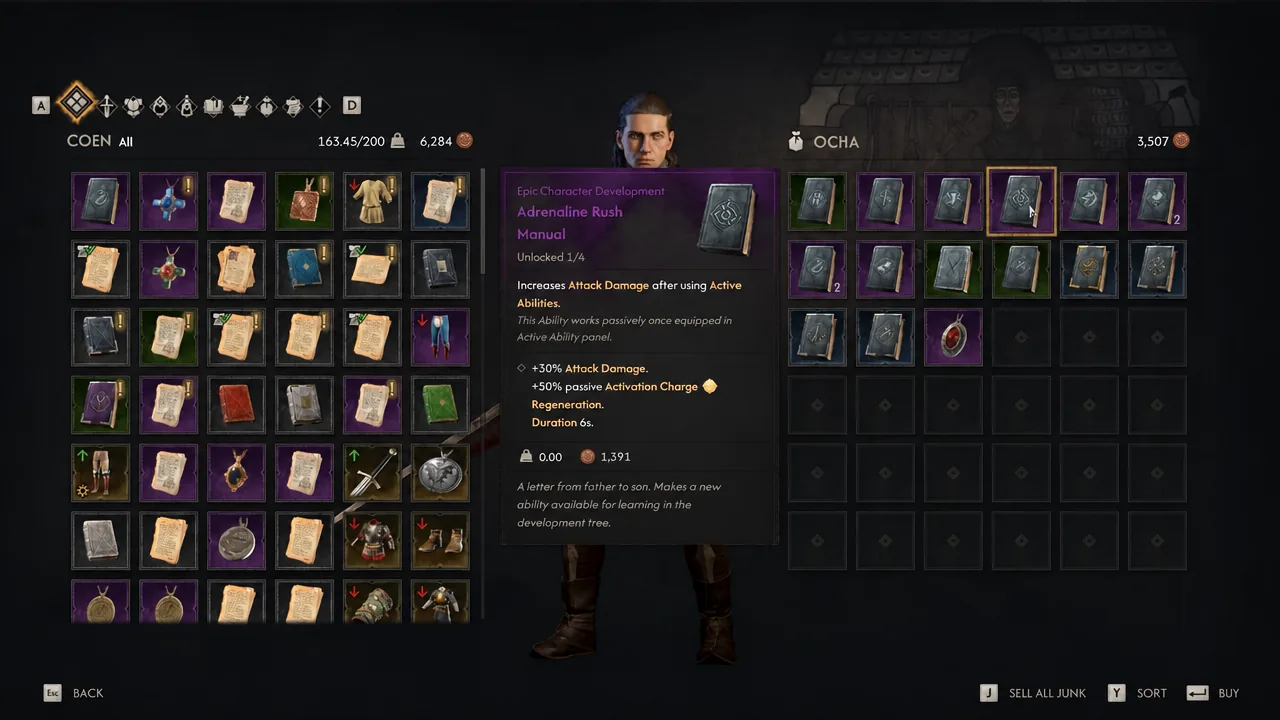
Two trainers sell most of what you need, and both have to be unlocked through their own quest chains first. Ocha covers the bulk of the Swordmastery list.
Unlocking Ocha’s shop
Unlocking Baltzer’s shop
Chest and quest locations
| Item | Where to get it |
|---|---|
| Artery Strike Manual | Chest in the enemy soldier camp southwest of Svartrau City |
| Adrenaline Rush Manual | Chest in the bandit camp south of Svartrau City |
| The Kingslayer | Buried treasure chest on the riverbank west of Svartrau |
| Knightly Ring | Buried treasure chest in Tantari Woods |
| Mindbrace Amulet | Reward from the Excavation: Malevolent Presents activity in the south |
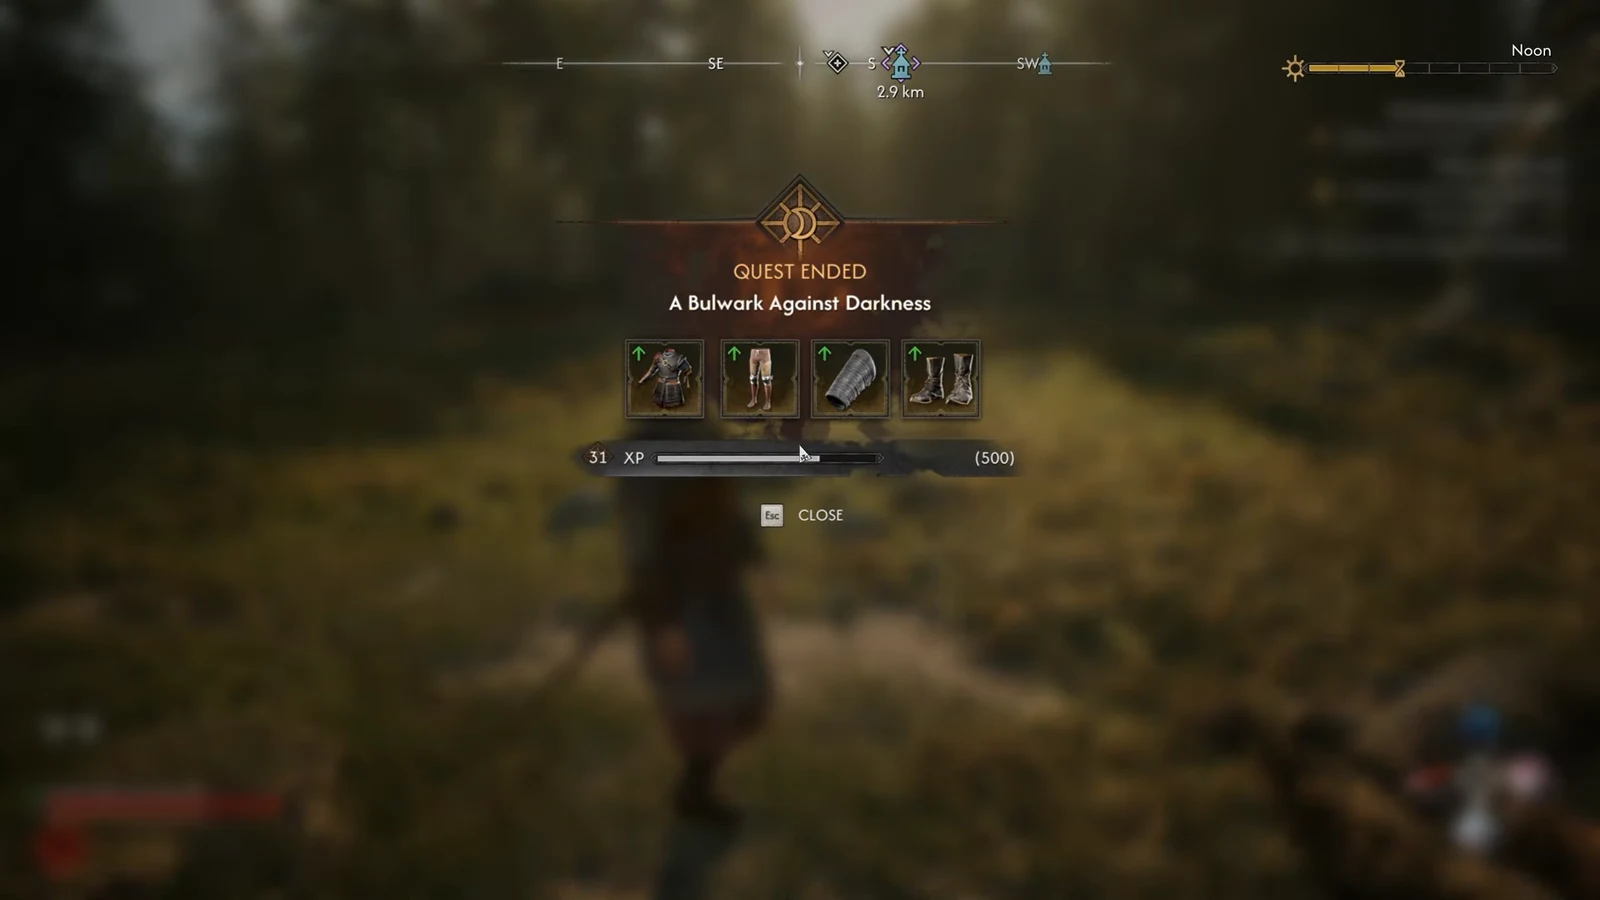
| Arbiter armour pieces | Tied to A Bulwark Against Darkness |
The combat rotation on Duelist
Because Duelist hides the directional attack indicators, Omniblock is close to mandatory here. It blocks regardless of the incoming direction, so a misread animation does not immediately cost you the fight. The trade is stamina, which Duelist already keeps in short supply, so use it as a safety net rather than your default block. If you would rather not rely on the perk, the Gameplay settings also carry an Auto Block toggle that lets a wrong-direction block succeed at a stamina cost, and both the difficulty preset and the individual RPG Difficulty and Action Difficulty options can be changed at any point in a run.
How to tell it is working, and why it sometimes does not
A successful execution is unmistakable. The enemy’s head comes off and the health bar disappears mid-fight, even if a large chunk of it was still full. If Artery Strike lands and the target survives with a reduced bar instead, the decapitation roll failed, which means the Bleed was not active at the moment of impact.
There are only a few reasons the loop breaks down:
- The target is not bleeding. Shred is a chance-based proc, so one quick attack may not apply it — confirm the Bleed before committing the ability.
- You are fighting in daylight. Shred and the rest of the Vampirism tree are inactive during the day, which drops Artery Strike back to its base 50% roll.
- You are short on Activation Charges. Artery Strike needs two, so if your parries are missing, the finisher simply will not fire.
- Combat Finishers are switched off in the Gameplay settings, in which case you lose the animation even when the kill lands.
The build asks a lot up front — a legendary greatsword, a full armour set, several Manuals and enough Corruption to push Shred up a few levels — and every skill point spent at a shrine eats into the 30-day clock. But once the pieces are in place, Duelist stops being a war of attrition and turns into a sequence of single exchanges: block, cut, behead, repeat.