Michael Myers only has one job in Halloween: The Game, and it is not chasing the loudest player around a parked car for four minutes. The Shape wins by scoring, by owning the dark, and by killing the residents who are worth the most before they slip out of Haddonfield. IllFonic built the whole kit around John Carpenter’s lighting rules, which means almost every mistake a new Michael makes traces back to standing somewhere lit.
Quick answer: Kill the power to a house, stalk and execute NPC residents and special targets first to reach Bloodthirst tier 1, then use Shape Jump or Reality Tear to locate and clear the remaining high-priority residents before you ever pick a fight with a human civilian.
Scoring order: which residents to kill first
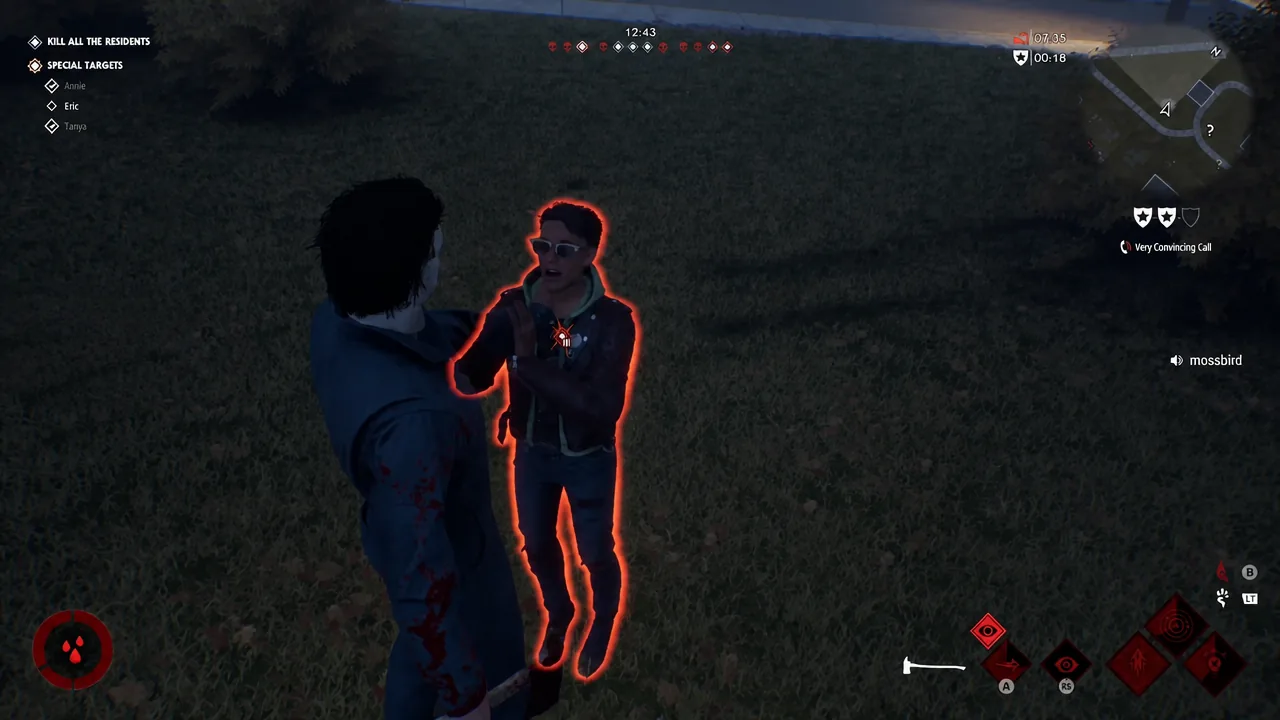
The top of your screen splits the neighborhood into three groups, and they are not worth the same. On the left are your key residents, the NPCs that pay the most points. In the middle sit the low-priority residents, of which there are more, making them easy early kills. On the right are the four human players, whose entire job is to get everyone else out before saving themselves.
Every kill adds to your match score. Every escape hands those points to the civilian side instead, which is why the feed lines like SPECIAL TARGET THOMAS ESCAPED and HAZEL CLARK ESCAPED hurt more than they look. Special targets run on a clock, so killing them before the timer expires is where the biggest swings come from.
Michael can also win outright by killing everyone, which the scoreboard confirms with ALL RESIDENTS KILLED. That is the harder path, and it usually only happens after you have already won the points race.
Bloodthirst tiers and what each one unlocks
Bloodthirst is the meter that quietly decides matches. Nearly every action you take against a resident feeds it, including stalking, and a single fully played-out kill is enough to reach tier 1. The game announces each threshold with BLOODTHIRST TIER 1 REACHED and so on up to tier 3.
Once tier 1 is live, triggering Shape Jump or Reality Tear shows you where all the high-priority residents are on the map. That is the single biggest reason to slow down at the start of a match instead of sprinting at players. Higher Bloodthirst also raises melee strength, cuts ability cooldowns, speeds up Shape Jump travel, and opens an extra kill animation.
| Bloodthirst factor | Effect on Michael |
|---|---|
| Building it | Stalking, grabs, executions, and general pressure on residents |
| Tier 1 payoff | Shape Jump or Reality Tear reveals every high-priority resident |
| Ongoing buffs | Stronger melee, shorter cooldowns, faster Shape Jump, extra execution |
| Losing it | Standing in light, taking damage, getting knocked down |
Note: because light drains the meter, a group of civilians who flip on every lamp in a house is not just hiding from you. They are actively pulling down your damage and cooldowns before the fight starts.
Shape Jump rules: when darkness lets you move
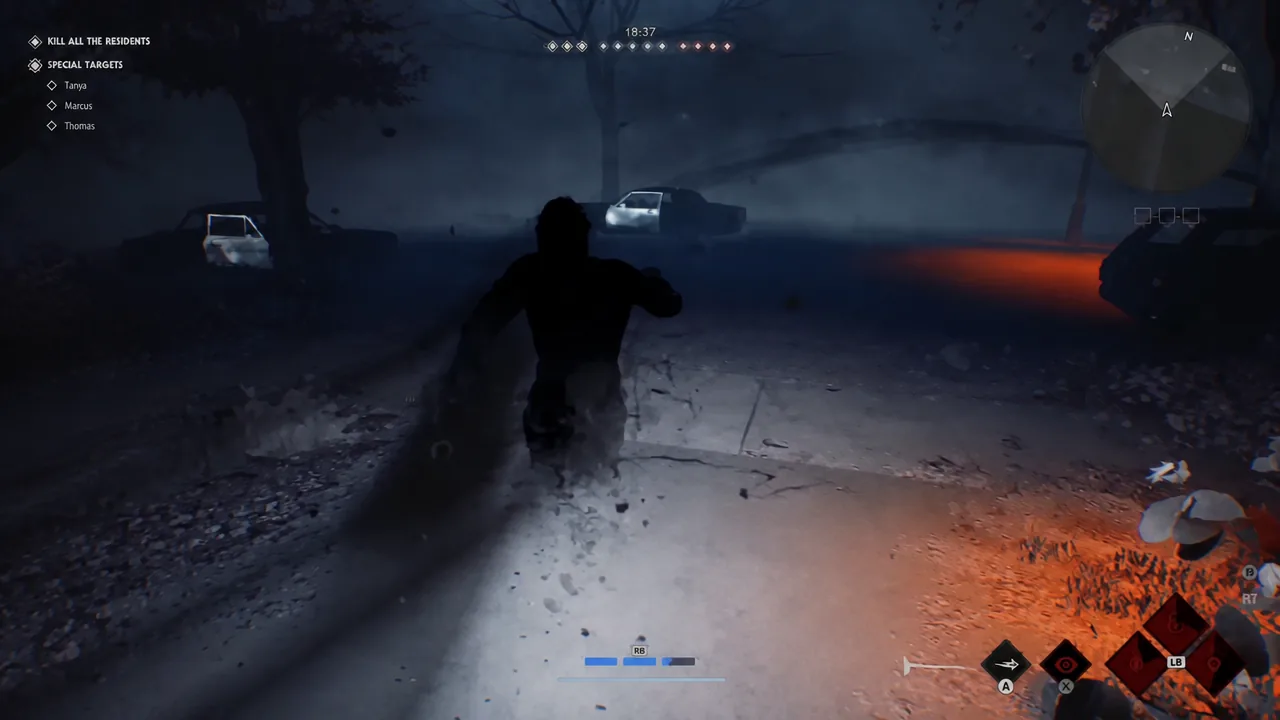
Shape Jump is your main traversal tool, not a chase button. While it is active you move faster, become effectively invisible, see outlines of nearby residents, and can slip through fences, doors, and windows. Pressing the jump input adds Shape Dash, a longer lunge that covers ground fast or closes the last few feet on someone.
The restrictions are the whole balance. You cannot enter or exit Shape Jump in direct light, while a resident is watching you, or while standing too close to one. If you try, you get lit up in red rather than wrapped in shadow. Hiding spots are the workaround, since closets, cars, and similar nests let you materialize inside a house that civilians think is sealed.
That is why power boxes on the sides of houses matter so much. Breaking one plunges the building into darkness, opens every window as an entrance, and frightens the people inside, which pushes stalk progress up quickly. Phone lines are a separate job. Cutting them stops residents calling for help without touching a single lamp.
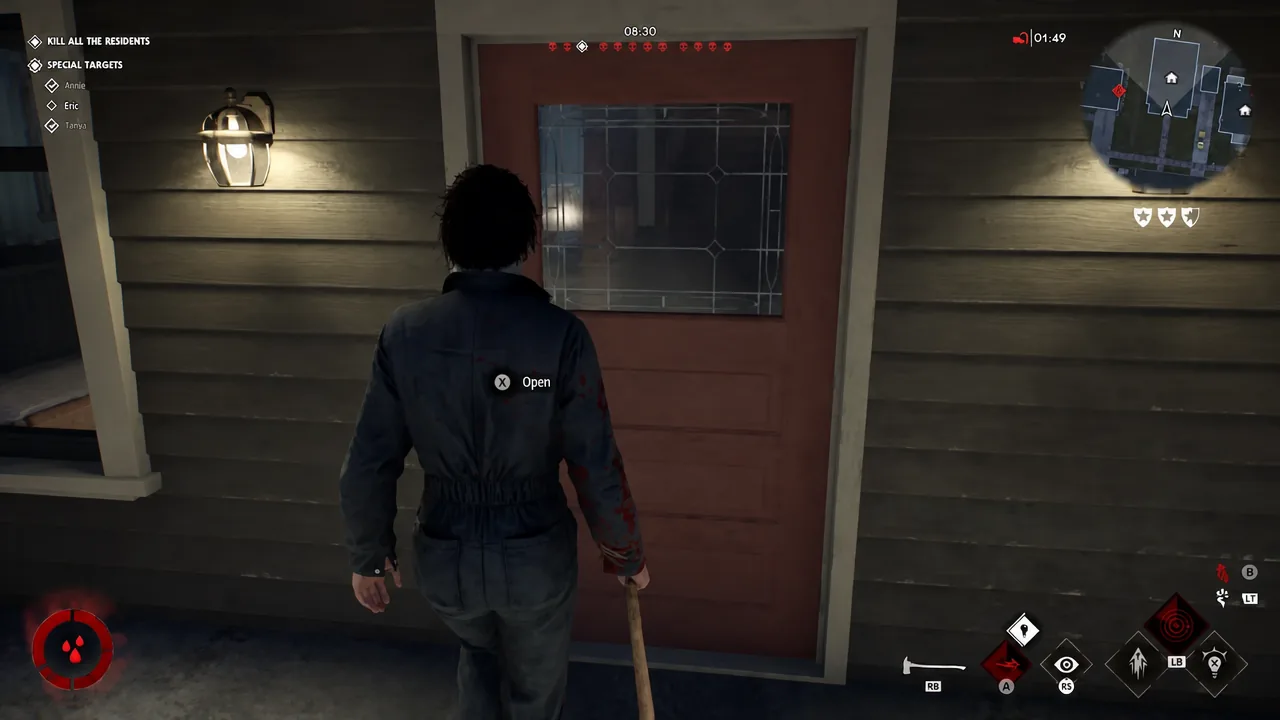
Doors work both ways. Closing one behind you cuts sightlines, keeps a panicking resident boxed in, and buys the second or two you need to exit Shape Jump somewhere a civilian is not looking.
Michael’s special abilities compared
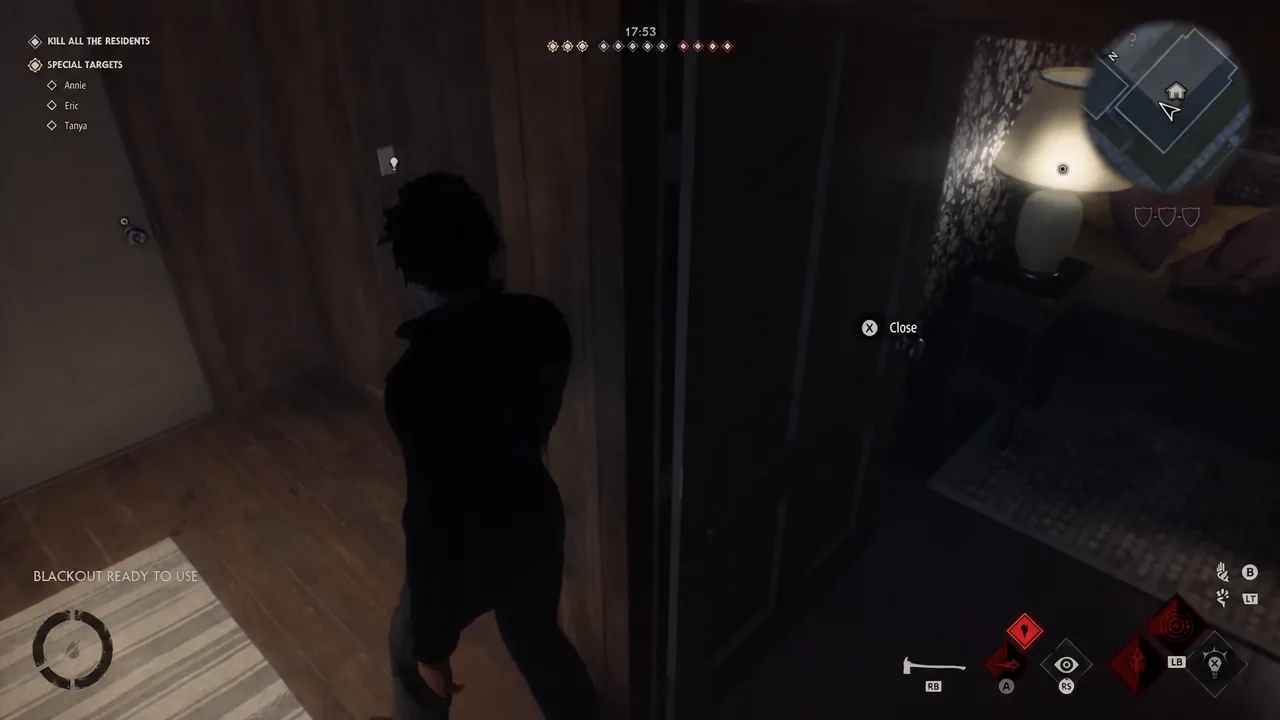
Shape Jump and Killer Sense are fixed traits. On top of those you pick up to three special abilities, and the game flags each one as available with prompts like BLACKOUT READY TO USE or REALITY TEAR READY TO USE.
| Ability | What it does and when to use it |
|---|---|
| Detection Pulse | Reveals which buildings are occupied rather than pinning an exact room. Save it for the late game or for a target who just slipped away. |
| Blackout | Kills power in a radius for a few seconds, temporarily disabling vehicles and bikes caught inside it. Treat it as Shape Jump fuel for a sealed house. |
| Reality Tear | Forces Shape Jump even in light or while watched. Best used to reset when a group has you cornered, or to reappear directly behind a fleeing target. |
| Shadow Strike | Throws a shadow knife that slows and briefly blinds. Useful against residents who try to loop you in circles. |
| Evil Presence | Staggers nearby residents and makes Michael tougher for a short window. The answer to being ganged up on by armed civilians. |
Blackout’s effect is temporary, so power comes back on after a few seconds. Plan the entry before you press it rather than blacking out a street and then walking down the middle of it.
Killer Sense and stalk tiers before every kill
Killer Sense drops you into first person behind the mask. It sharpens sound, so running footsteps and general movement give away positions, though residents can bait you by switching on a TV or radio.
Looking directly at a resident in that view builds stalk across three levels. Each level raises their fear, and at maximum they start tripping and stumbling when they run. Red icons on a target’s body are the fast lane, since focusing on those spots builds progress quicker than staring at the body generally.
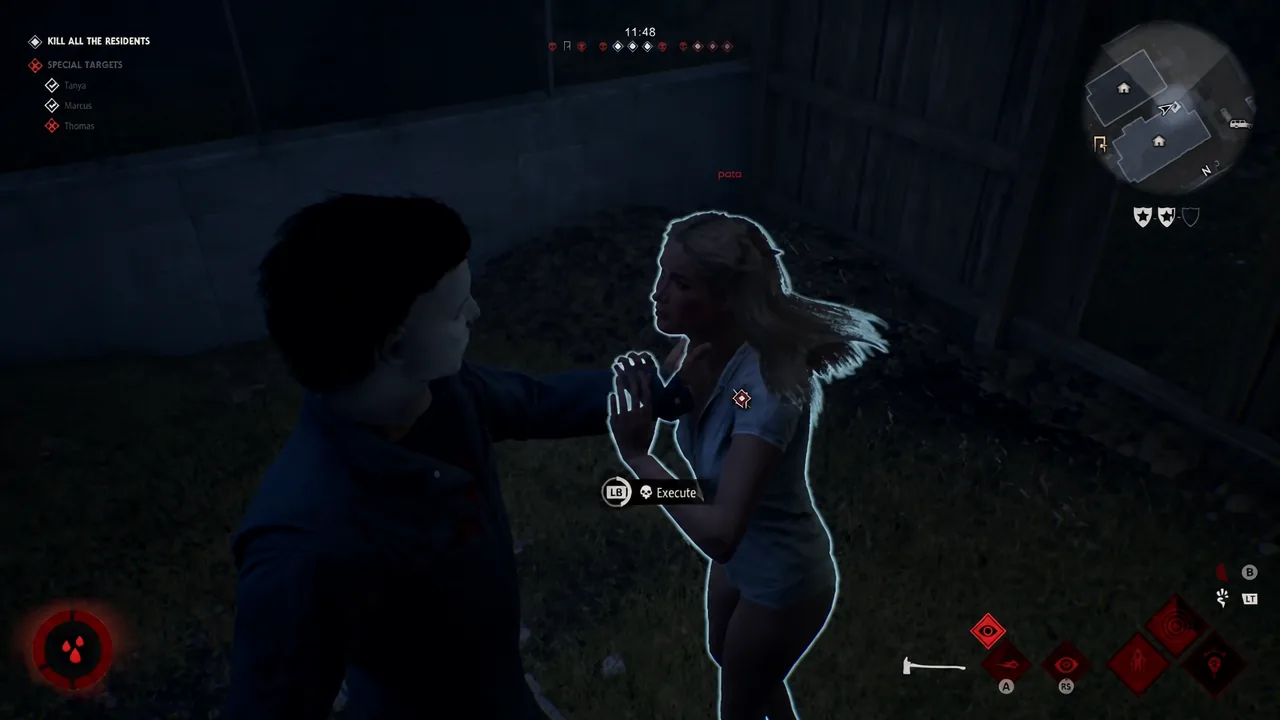
Stalking pays out three ways. It weakens a victim’s ability to struggle out of a grab, it marks them through walls for a while, and at high enough levels it unlocks the more elaborate environmental executions. Grabbing beats swinging in most situations, so the loop is stalk, grab, then execute.
Environmental executions, weapons, and driving
You can walk a held resident toward a specific object and use it, which is where most of the game’s more theatrical kills come from. The ones seen most often around Haddonfield’s houses cover kitchens, living rooms, garages, and yards.
| Execution | Object used |
|---|---|
| TV Zap | A powered television set |
| Fireplace kill | A lit fireplace |
| Window Crush | A sash window slammed on the neck |
| Barbell Press | A weight bar in a garage or home gym |
| Flamingo Stab | A plastic lawn flamingo |
Michael also picks up map weapons such as a wood axe, pickaxe, or pitchfork, and can pin a body to a post as a warning for anyone who walks past. The kitchen knife stays the identity, but the blade is slow, so it is a fallback rather than an opener.
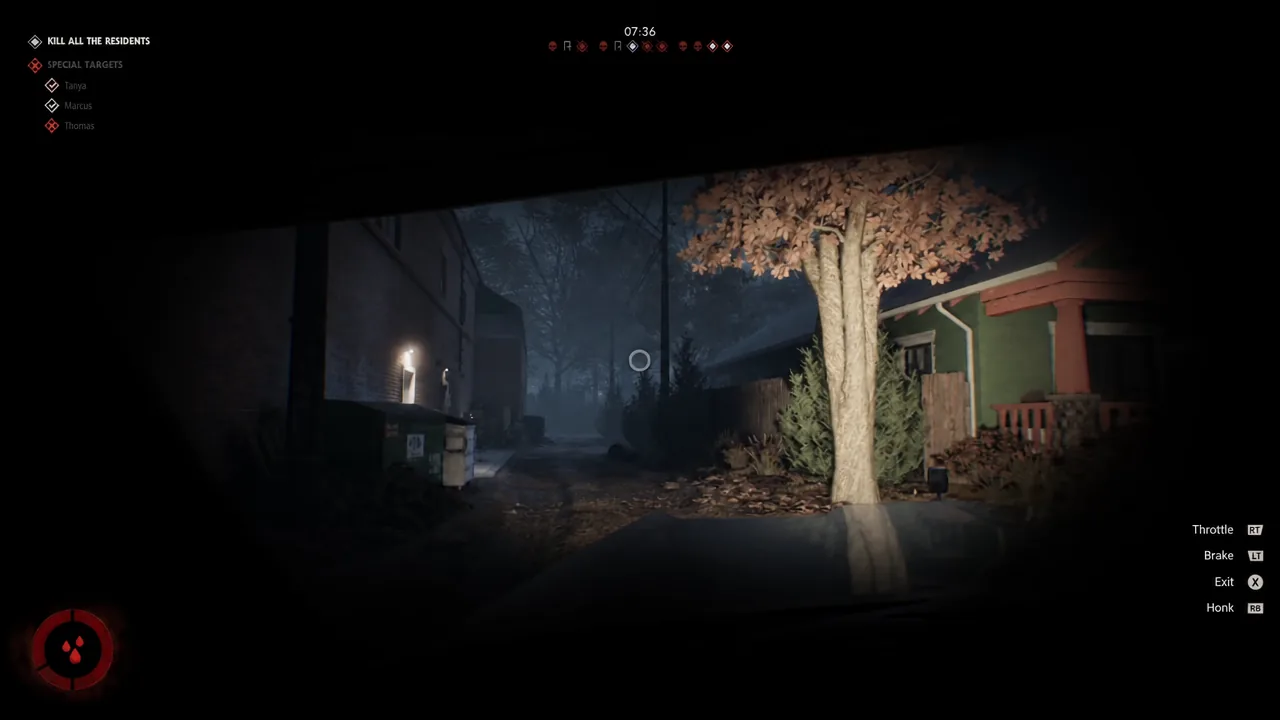
Driving is confirmed and works best as relocation across large maps like Haddonfield Town Center and Orange Grove Estates. Running down stragglers with a station wagon is possible, but it burns time and announces exactly where you are.
How the match ends and how Michael loses
A clean sweep is confirmed on screen with ALL RESIDENTS KILLED followed by GAME OVER. Short of that, the score comparison at the end decides it, weighing your kills against everyone the civilians managed to save.
Police are the pressure valve on the other side. The feed escalates from A COP HAS ARRIVED TO INVESTIGATE to MORE COPS HAVE ARRIVED, and once enough officers are patrolling, a police wagon can be called and then arrive as an escape route for residents.
Civilians cannot kill The Shape. Household weapons and police guns knock him down instead. With enough resistance, firepower, and a surviving Dr. Loomis or deputy in play, Michael can be detained and shipped back toward Smith’s Grove, which counts as a loss.
The most common ways a Michael match falls apart are simple and worth checking against your own play.
- Chasing human players in the opening minutes, before Bloodthirst is built.
- Trying to Shape Jump in lit rooms or while someone is watching you.
- Ignoring special targets until their timers expire.
- Spending Detection Pulse early, when every house is occupied anyway.
- Leaving phone lines intact and letting police arrive before the neighborhood thins out.
If you are still learning the kit, the six-chapter story mode is the low-pressure place to do it. It is played entirely as Michael, narrated by Dr. Loomis, and its tooltips explain details the multiplayer loadout screen leaves out, including the fact that Shape Jump phases through locked doors and windows. Run those chapters until the shadows feel like doors you open on purpose, then take the same habits into a 1v4 lobby on PS5, Xbox Series X|S, or PC.