Most of what you pick up in Halloween: The Game is fuel, tools, or car parts. A small pool of rare items is different. The Ancient Amulet, the Fragile Hourglass, and the Brass Lantern all interact directly with Michael Myers, and each one changes what happens the moment he closes the distance on you.
Quick answer: Hold the Ancient Amulet and it automatically deflects one grab or hit from Michael, blinding and damaging him before it breaks. Throw the Fragile Hourglass at him to blind him. Light the Brass Lantern to keep him from shape jumping near you. All three are one-shot or fragile, so carry them into a moment you expect, not one you hope to avoid.
Rare item effects compared
| Item | Effect | How it is spent |
|---|---|---|
| Ancient Amulet | Passive shield that deflects a grab or hit, blinding and damaging Michael | Breaks on the deflect, or when thrown at him |
| Fragile Hourglass | Blinds Michael on impact | Consumed when thrown |
| Brass Lantern | Emits light that blocks his shape jump teleport; releases green smoke when dropped | Stays with you while lit; drops on death |
Where rare items spawn and how to pick them up
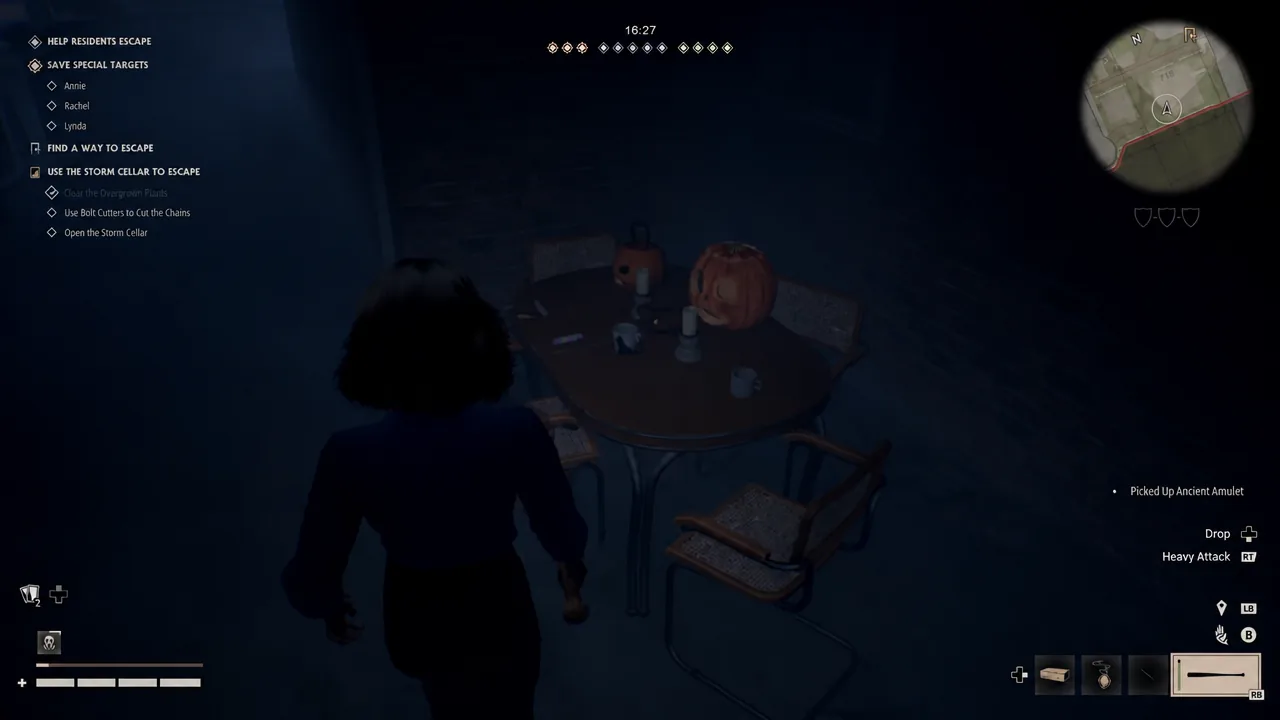
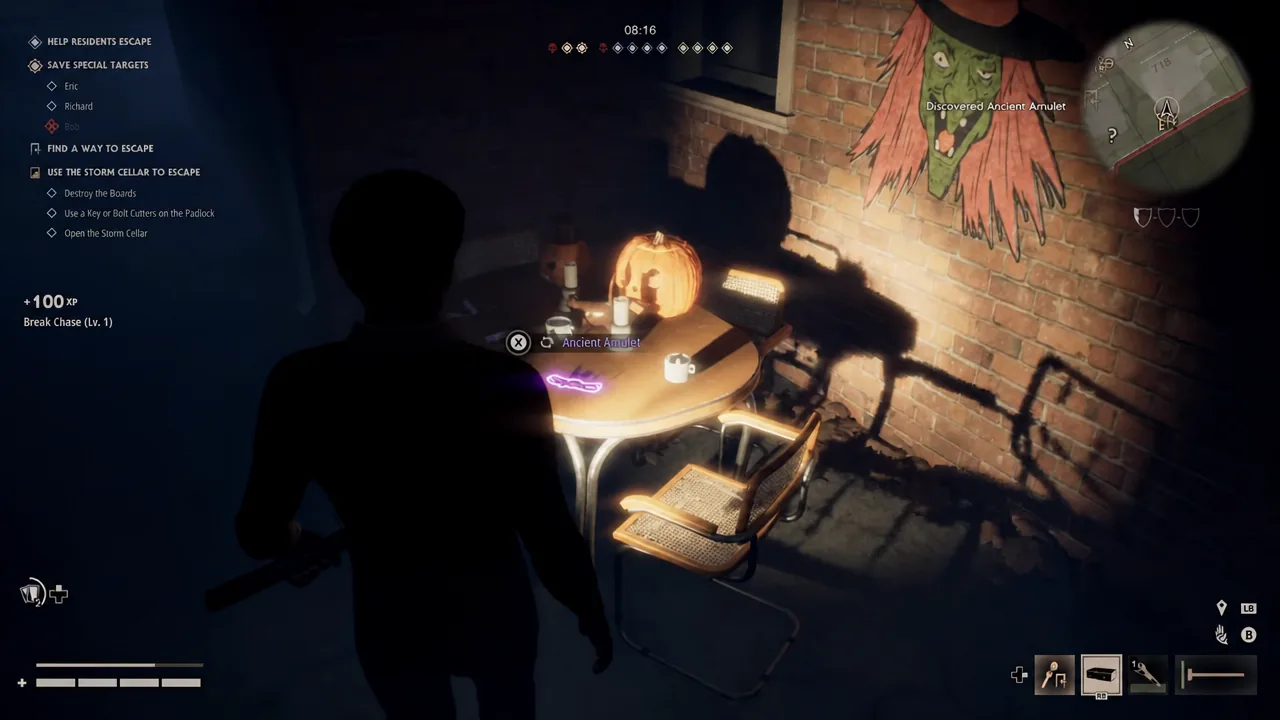
Rare items sit on flat interior and exterior surfaces rather than inside searchable containers. Tables, desks, and workbenches are the spots worth checking, both inside resident homes and on outdoor patio furniture. They are visible from a short distance and glow when you get close, so sweeping rooms with a wide arc is faster than opening every drawer.
Pickup uses the standard prompt on the highlighted object. On controller that is the X button on the interact prompt, and the item then occupies your held slot.
Note: because these are held items, you cannot stockpile all three at once. Decide which one matches what your team still needs to do before you commit to carrying it across the map.
Ancient Amulet: automatic deflect on a grab
The Ancient Amulet works without any input. As long as it is in your hands, the next grab or hit Michael lands on you triggers a burst that pushes him off, blinds him, and deals damage. You do not survive the encounter by dodging; you survive it because the item spends itself for you.
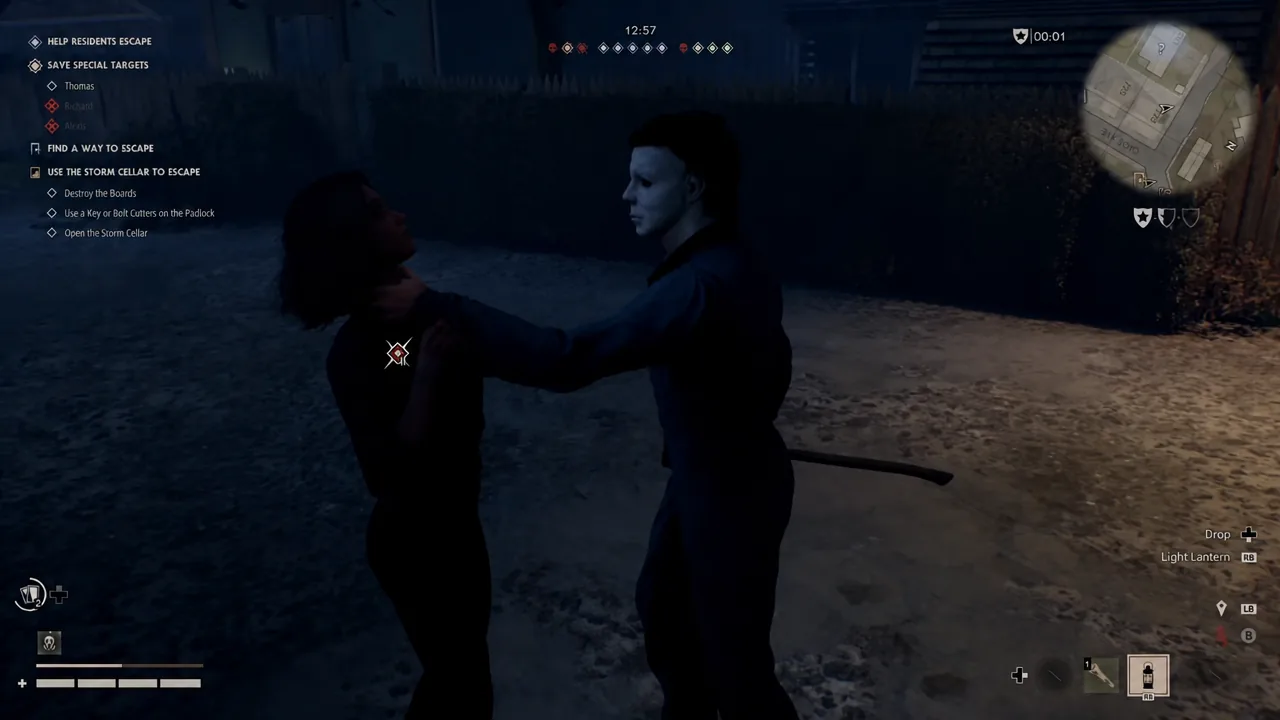
You can also use it offensively. Throwing the amulet directly at Michael blinds and damages him the same way, which is useful when he is chasing a teammate instead of you. Either way the amulet is gone afterwards, so treat it as one guaranteed escape from a losing position.
You will know it fired because Michael is thrown back and staggered while you are still standing and free to move. If nothing triggers when he grabs you, the amulet was no longer in your hands.
Fragile Hourglass: a thrown blind
The Fragile Hourglass is purely a thrown item. Landing it on Michael blinds him for a short window, which is enough to break line of sight, get a downed teammate up, or finish an interaction you were seconds away from completing. It is also frequently found on desks, so it tends to turn up during the same interior sweeps that produce the amulet.
Beyond the blind, there are indications that a hit also interferes with his ability cooldowns, though that behaviour has not been confirmed outright. Plan around the blind alone and treat anything else as a bonus.
The strongest sequence pairs it with the amulet. Let the amulet deflect the grab, then immediately throw the hourglass into the stagger. That stacks two disables back to back and usually buys enough distance to reach an escape point.
Brass Lantern: light that shuts down the shape jump
The Brass Lantern is the only one of the three you keep using instead of spending. It spawns on desks and workbenches indoors, and once lit it emits a steady light that appears to stop Michael from using his shape jump teleport in your vicinity. That makes it a positional tool rather than a panic button.
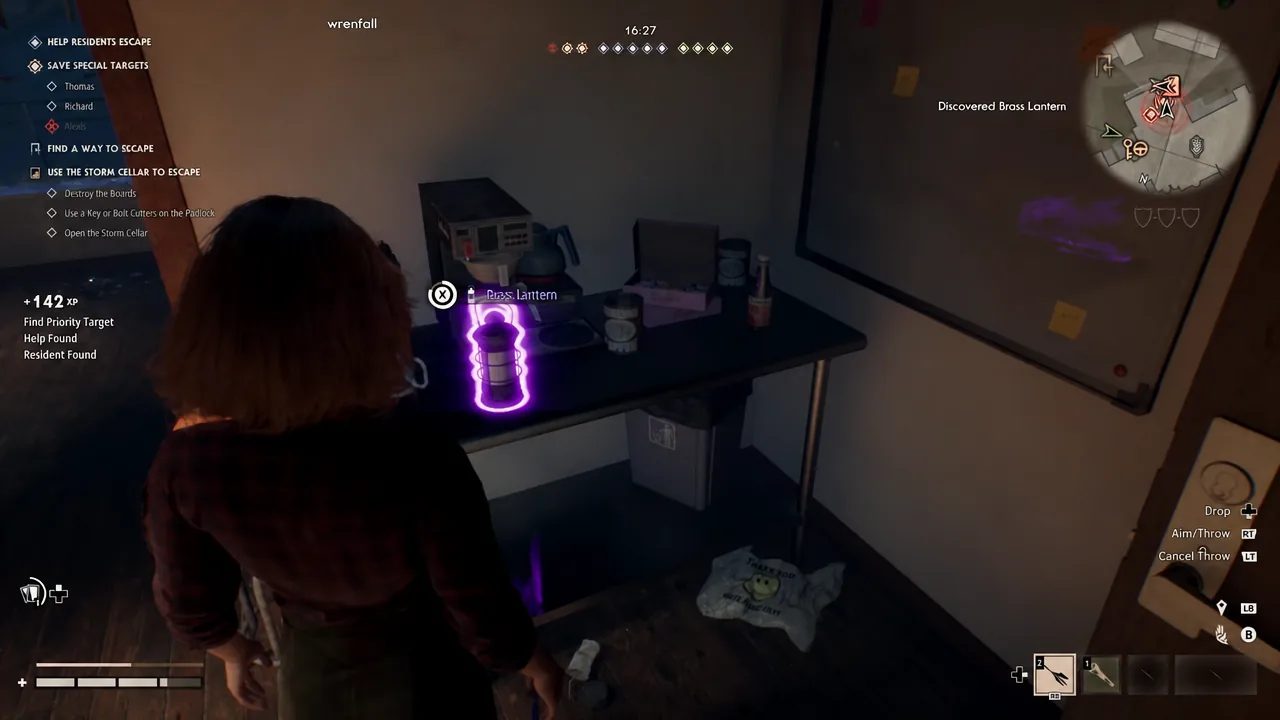
Dropping the lantern, including when you are killed while carrying it, releases a cloud of green smoke where it lands. The smoke has a visible effect on the area around it and appears to help nearby players, though the exact benefit is not spelled out in the match.
Dying with it is not the end of the item. After a death you can come back as a police officer and return to the spot where the lantern fell to pick it back up, then keep using it to track and pressure Michael for the rest of the night.
Timing rare items around the car and storm cellar escapes
Rare items are most valuable during the objective, not while you are wandering. Both main exits leave you stationary and exposed for a stretch, and that is exactly when Michael shows up.
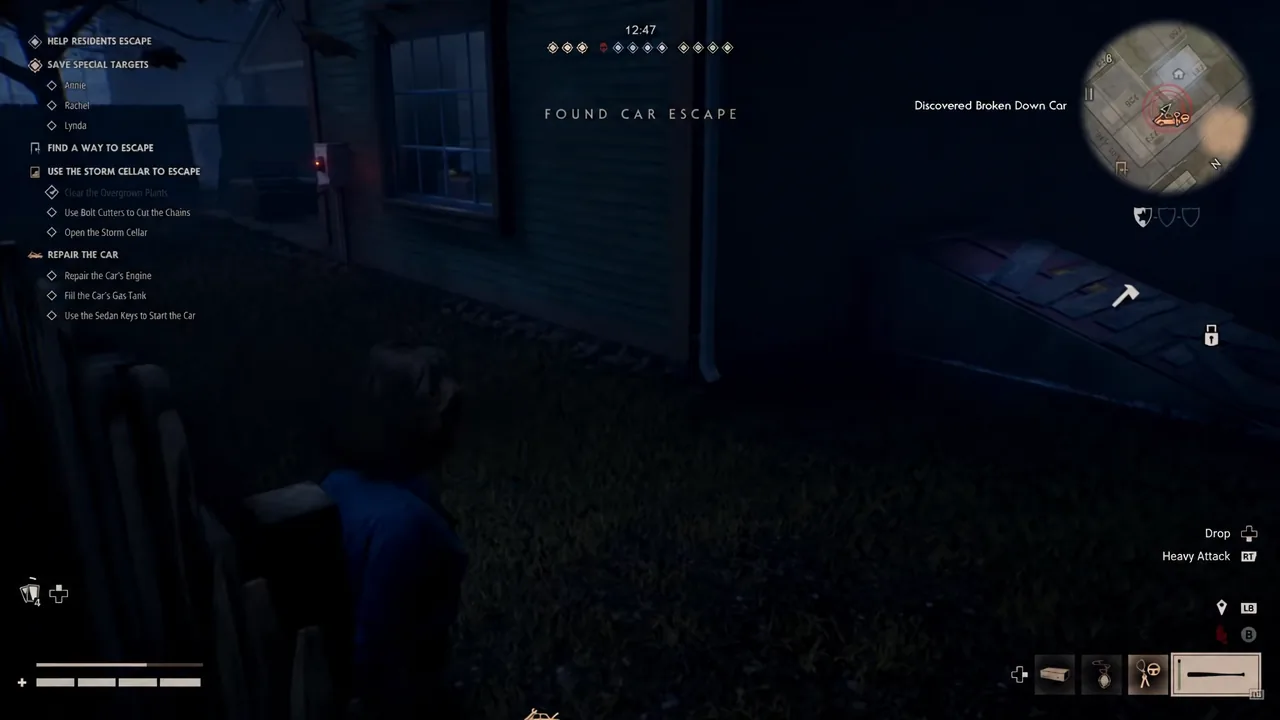
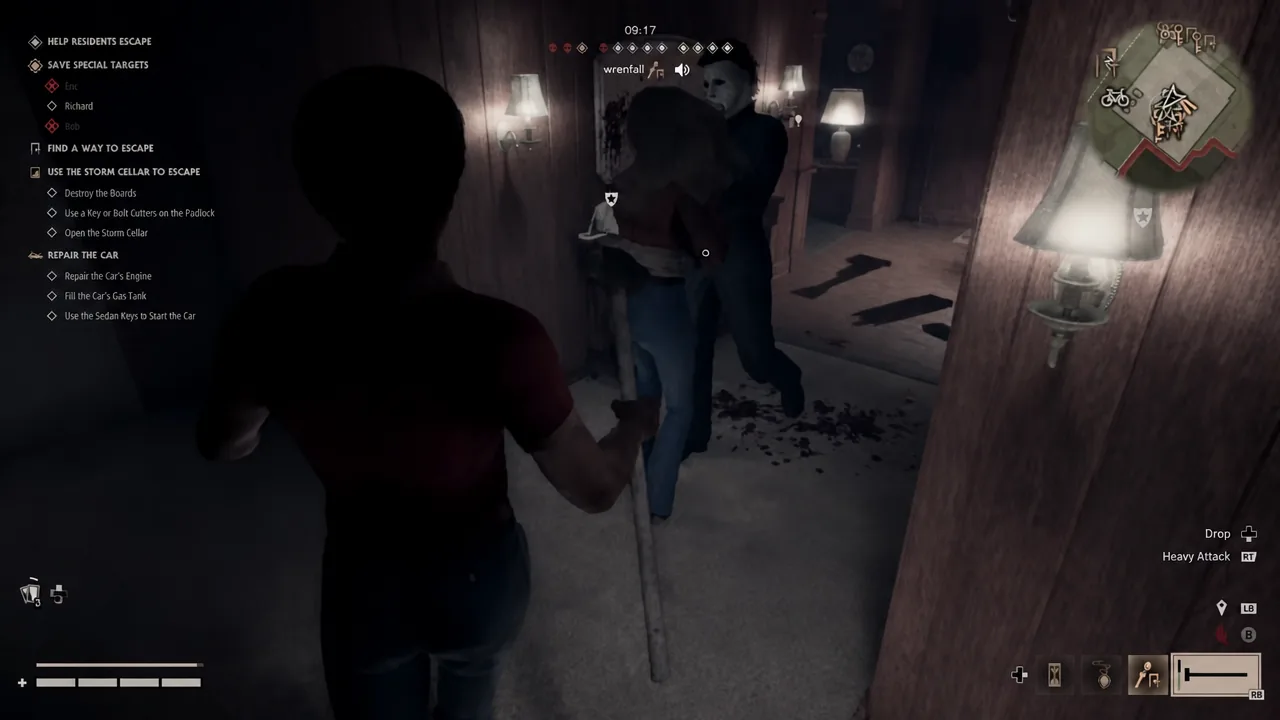
A successful run ends with a clear on-screen confirmation. Driving out or clearing the cellar produces an escape message for your character, and surviving to the end of the match shows that you survived the night, with Michael leaving the map.
Why the amulet breaks before you use it
There is one failure case worth knowing about. A teammate swinging a weapon can hit you while you are holding the Ancient Amulet, and that impact breaks it exactly as if Michael had triggered it. In a crowded fight around the car, with several survivors swinging at once, this happens easily and silently.
If you are the amulet carrier, keep a body’s width of space between yourself and anyone attacking, and step out of melee scrums rather than joining them. The item is only worth carrying if it is still intact when Michael reaches you.
Across all three, the pattern is consistent. The amulet buys you one survived grab, the hourglass buys you a few seconds of blindness where you choose them, and the lantern denies Michael his fastest way of closing distance. None of them win a chase outright, but each one converts a moment you would normally lose into one you can walk away from.